Learn how to activate WhatsApp, configure settings, handle verification, and troubleshoot common issues. Whether you are using the Cloud API, 360dialog, or Twilio, this guide provides clear instructions for ensuring a successful integration.
- From Settings > Apps, click WhatsApp and activate the app.
WhatsApp Cloud API Setup – Automatic sync mode
- Click Synchronize now and complete the procedure.
- To add new numbers, visit https://business.facebook.com/wa/manage/phone-numbers/. If you add new numbers after the sync process, you will need to sync them again. All numbers will be automatically synchronized. If you wish to disable specific numbers, you can delete them from Settings > WhatsApp > Cloud API numbers.
- If you sync again with the same phone number and do not receive the verification SMS or call, you can enter the latest PIN you received and it will work.
If you do not receive the messages sent to your WhatsApp number in OmniChat, please check the following:
- Click Reconnect and complete the procedure.
- Go to the Meta Business Suite and add a payment method.
WhatsApp Cloud API Setup – Manual sync mode
- Create a new account at https://developers.facebook.com or login with your existing account.
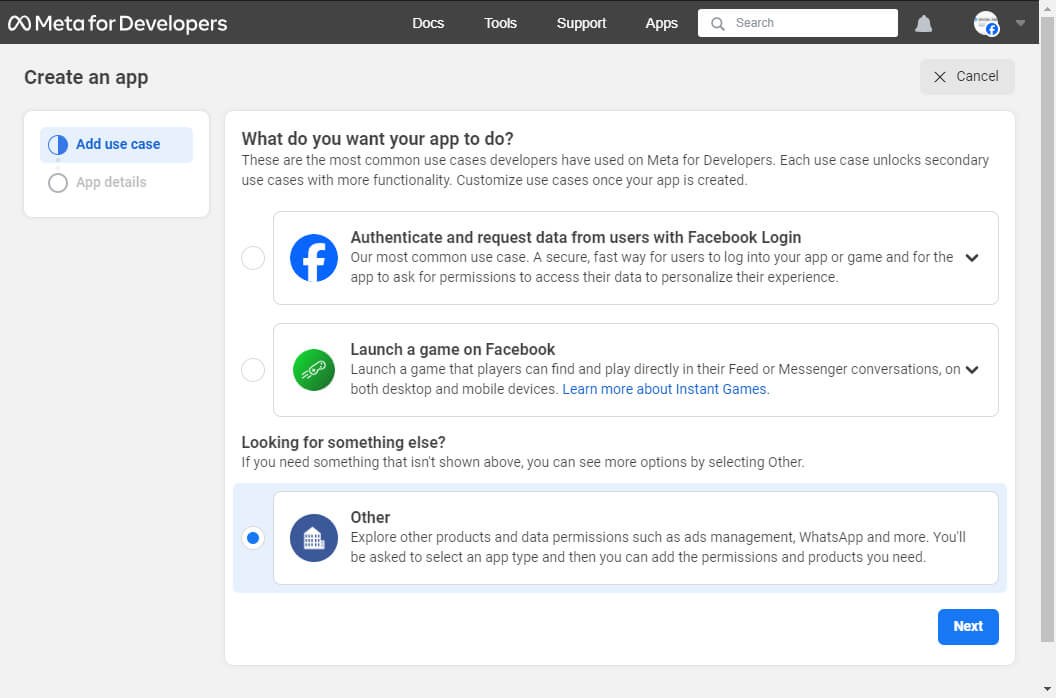
- Create a new app and choose Other as the app type. Then select Business. Enter a name for the app and select the Business Account used for WhatsApp.
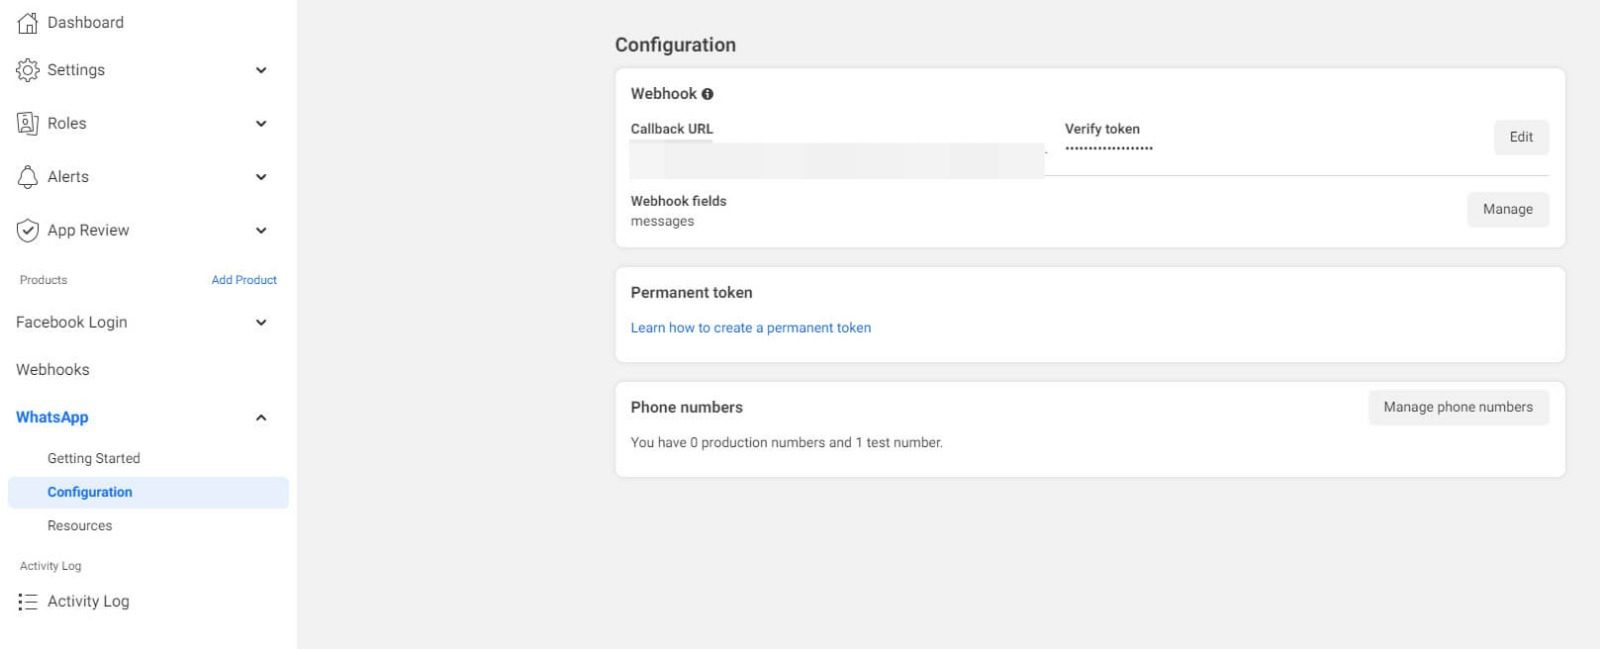
- In OmniChat > Settings > WhatsApp > Cloud API settings > Secret key enter a random string then go to https://developers.facebook.com/apps and select your app. Click Add product and add WhatsApp, then go to WhatsApp > Configuration and in Webhook URL enter the URL you get from OmniChat > Settings > WhatsApp > Cloud API > Configuration URL. In Verify token enter the secret key you previously entered in OmniChat. Click Verify and save, click Webhook fields > Manage, enable the following Webhook fields: messages.
- To verify the integration, simply go to https://developers.facebook.com and select your app. From there, click on “WhatsApp” in the left menu and then select “API Setup”. Copy the Phone number ID and paste it into OmniChat > Settings > WhatsApp > Cloud API numbers > Phone number ID. Enter the desired phone number in the “To” field, such as your personal WhatsApp number, and send a test message. Check your WhatsApp account and send a reply, which should then appear in OmniChat. To reply to the test number from OmniChat, copy the “Temporary access token” and paste it in OmniChat > Settings > WhatsApp > Cloud API numbers > Token.

- To activate the WhatsApp integration for all phone numbers and add a live phone number, refer to the following guidelines.
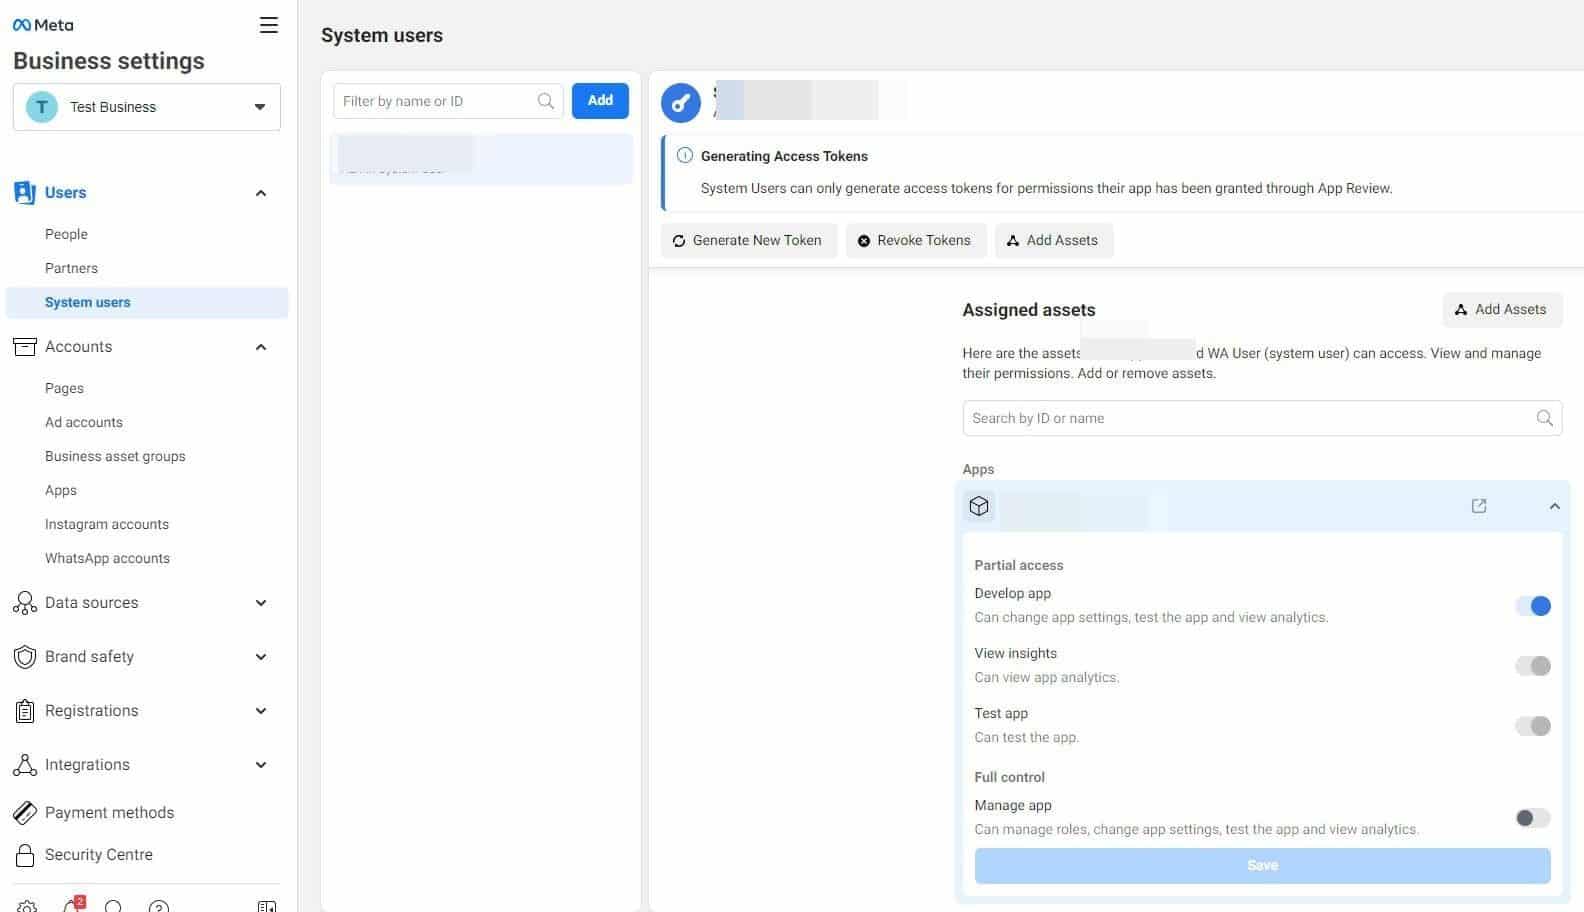
In OmniChat > Settings > WhatsApp > Cloud API numbers > Token enter the permanent access token, follow the instructions below for getting it.- Visit https://business.facebook.com and go to Left menu > Settings > Business settings, then go to Users > System Users to view your admin system user, or create a new one. Open the user and click Add Assets, then select the app used for the WhatsApp API integration and check Develop App, or Full control. The system user needs to be an admin. If you do not see the option, click Business settings.
- Click Left menu > Account > Apps. Select your app or add it. Make sure the system user is there and has full control. If not, click Add user, select the system user, click Full control, and click Assign.
- Click Left menu > Apps and under Select Assets and choose your app, enable Develop App, or Full control and save.
- From Users > System Users select the user you just creted and click Generate New Token, click Apps and select the app used for the WhatsApp API integration, set the Token expiration to Never, enable the following permissions: whatsapp_business_management, whatsapp_business_messaging, business_management. Click Generate Token and save. Paste the token in OmniChat > Settings > WhatsApp > Cloud API numbers > Token.
- To add additional phone numbers, you can do so by visiting https://developers.facebook.com, selecting your app, and navigating to Left menu > WhatsApp > API Setup. To get started, click on Add phone number at the bottom and follow the instructions provided. Please keep in mind that if you use your current WhatsApp business number in OmniChat, it will no longer be usable with your WhatsApp Business app, and you will need to migrate it following these instructions. After activating the number, copy the Phone number ID and paste it into OmniChat > Settings > WhatsApp > Cloud API numbers > Phone number ID.
360dialog Account Setup
- Go to https://www.360dialog.com/ and create a new account.
- Enter your dashboard and from Left menu > WhatsApp Accounts generate the API key and copy and paste it in OmniChat > Settings > WhatsApp > 360dialog settings.
- Click OmniChat > Settings > WhatsApp > 360dialog settings > Synchronize now.
- Done! OmniChat should start receiving the WhatsApp messages sent to your number, and you can reply to those messages from OmniChat.
- Note that you can also use the free sandbox account for testing, more details at https://docs.360dialog.com/whatsapp-api/whatsapp-api/sandbox. The sandbox account has limitations and some features, such as media attachments, will not work.
Twilio Account Setup
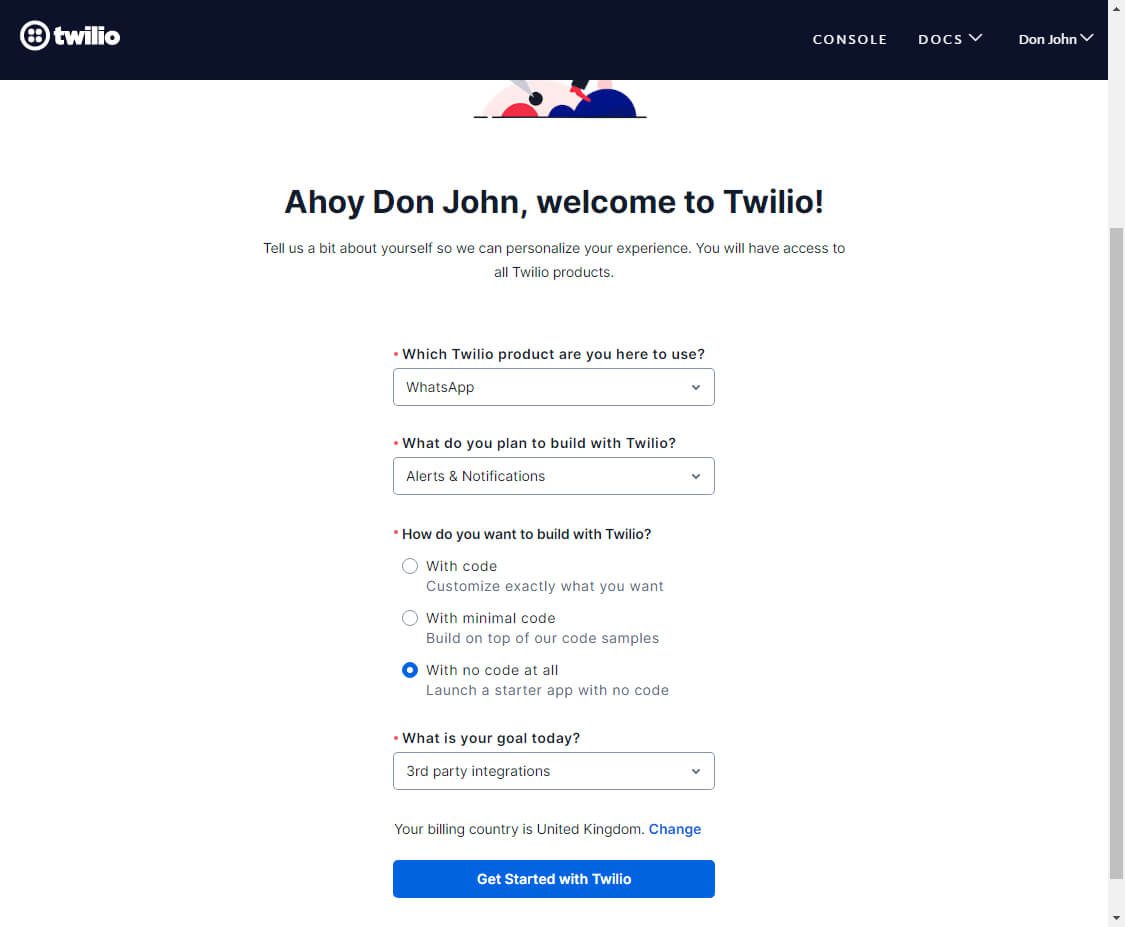
- Go to https://www.twilio.com and create a new account.
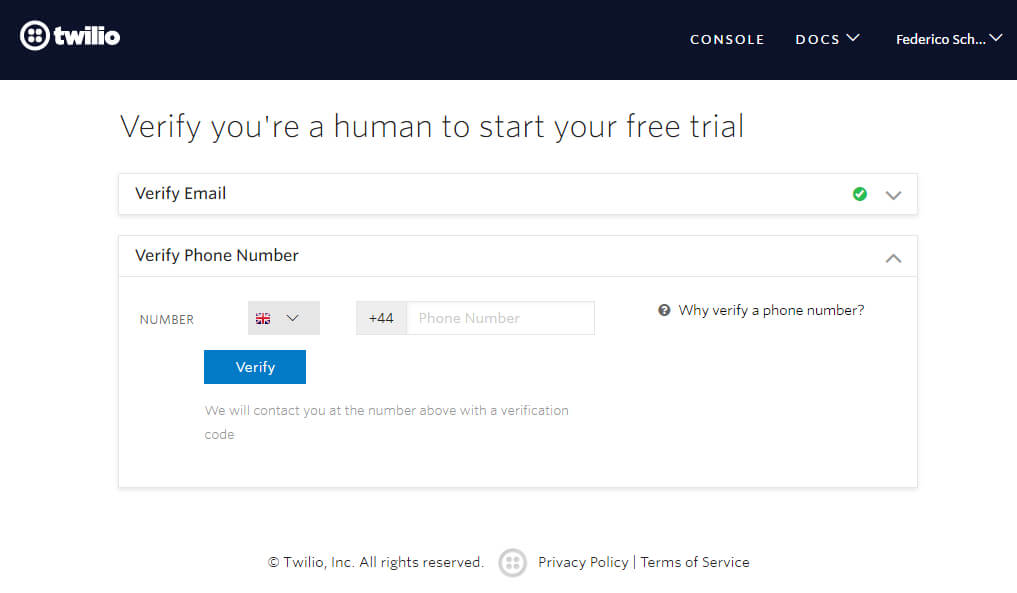
- Verify your phone number.
- Complete the form and choose WhatsApp, Alerts & Notifications, With no code at all, 3rd party integrations.
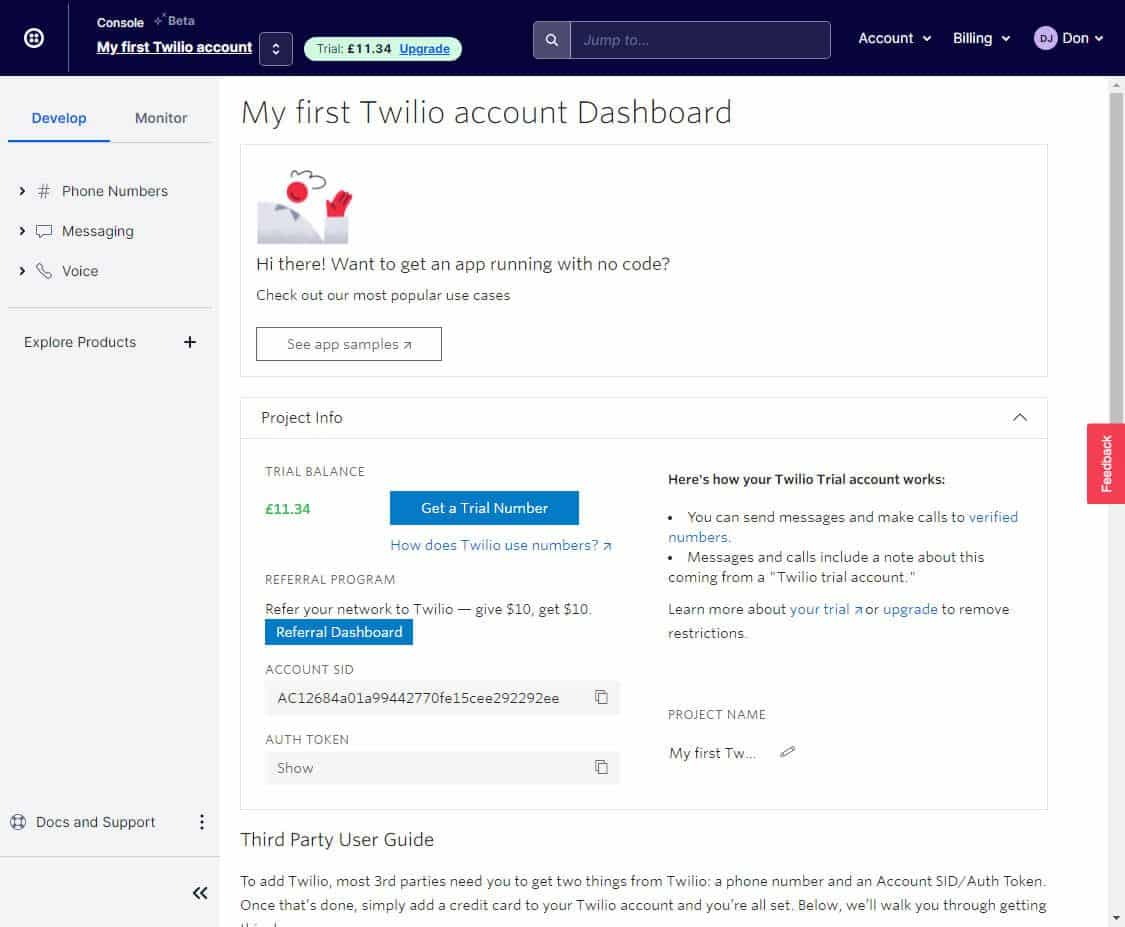
- From the Twilio console copy ACCOUNT SID and AUTH TOKEN and paste them into OmniChat > Settings > WhatsApp > Twilio settings, save the changes.
- You will now set up a free test account to run some tests and make sure the integration works with OmniChat. From the left menu click Messaging > Settings > WhatsApp sandbox settings and enter into WHEN A MESSAGE COMES IN and STATUS CALLBACK URL the URL of OmniChat , get it from OmniChat > Settings > WhatsApp > Twilio settings > Get configuration URL. Mind that localhost will not work, you need a public URL and a live server.
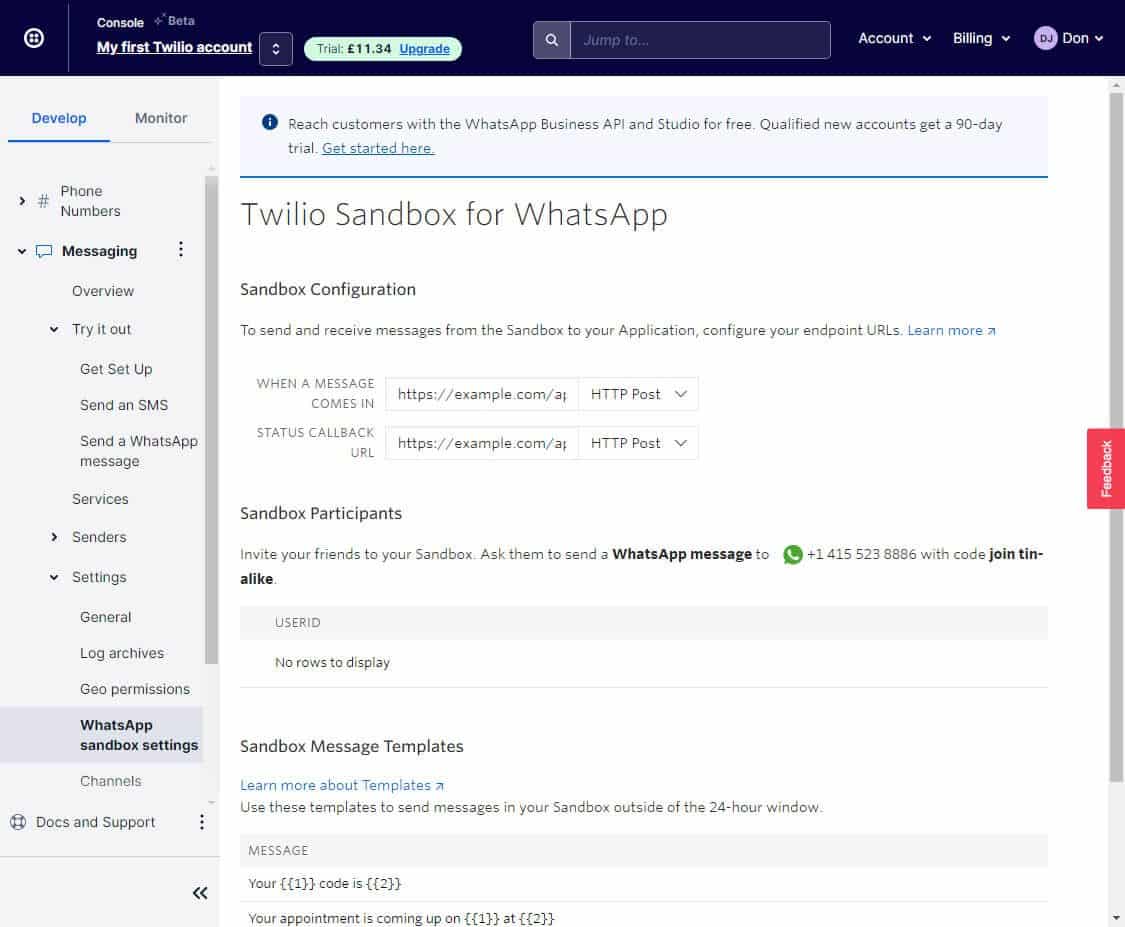
- From the left menu click Messaging > Try it out > Send a WhatsApp message. Follow the instructions and send the message with the code to the WhatApp number provided. Click the next buttons until the configuration is complete.

- Done! OmniChat should start receiving the WhatsApp messages sent to the sandbox account, and you can reply to those messages from the OmniChat.
- To publicly use the WhatsApp integration with your customers you need also to complete the steps below:
- Update your account and enable billing, you can do that here.
- Purchase a Twilio number, which will be the phone number of your official WhatsApp Business account. More details here. You cannot use the phone number of your existing WhatsApp Business account, you must use a Twilio number. More details here.
- From the Twilio console go to Messaging > Services and create a new Messaging Service. Click Add Senders, select WhatsApp Number as the sender type, and add the Twilio number you purchased. Copy the Service SID and paste it into OmniChat > Settings > WhatsApp > Twilio settings > Sender.
Unofficial WhatsApp API
OmniChat only supports the Official WhatsApp Cloud API, 360dialog, or Twilio. Unfortunately, unofficial WhatsApp APIs are not supported. However, you can still implement them using the OmniChat API and Webhooks. Please be aware that you must possess coding skills as a developer to proceed with this task. Additionally, our default integrations are equipped with advanced features including chatbot support, automated messages, human takeover, WhatsApp rich messages, attachments, and more. Consequently, although setting up a basic integration for sending and receiving text messages is relatively straightforward, ensuring its flawless functionality is a more intricate process. For more information, you can ask the AI here.
If you wish, you have the option to hire us; however, we are available only for developing a basic integration that enables two-way text messaging and attachments.
If you have additional doubts, remember that you can always contact us.
