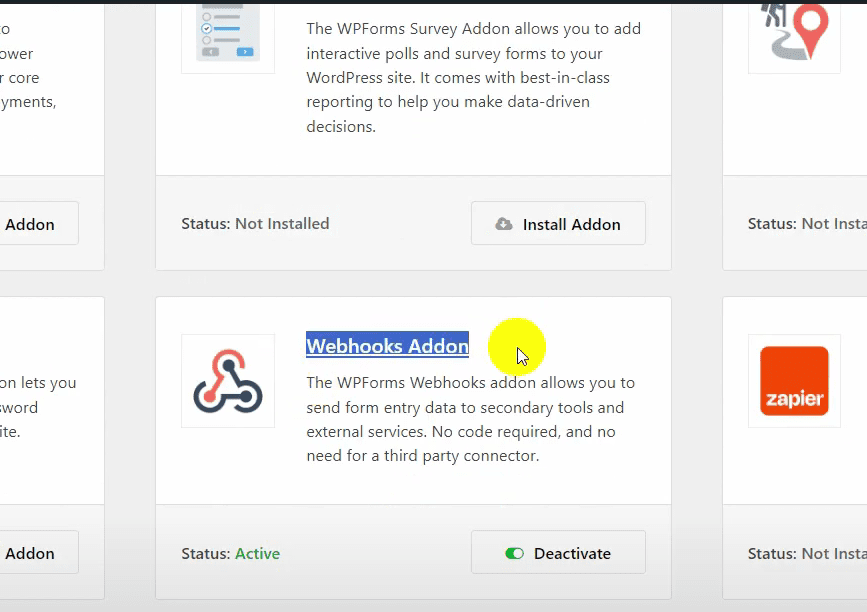
Ensure you have the WP Forms Pro version and the WP Forms Webhook add-on installed on your WordPress site.
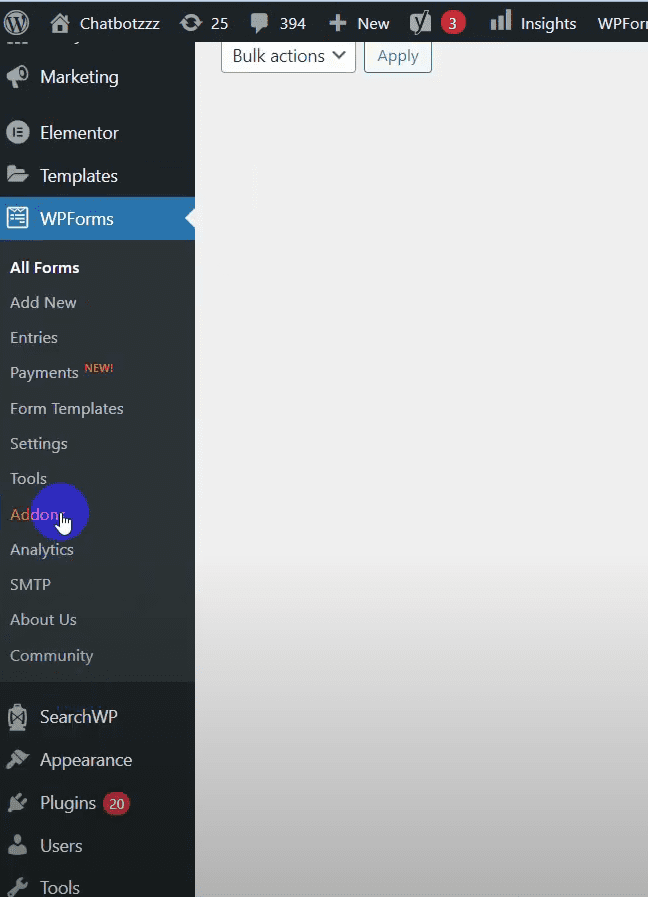
Download the add-on from the WP Forms website and install it as a plugin on WordPress.
Create a WhatsApp Message Template
Go to Bot Manager in BotCommerce.
Select the WhatsApp account and navigate to the Message Template section.

Use an existing approved message template for WP form submission.
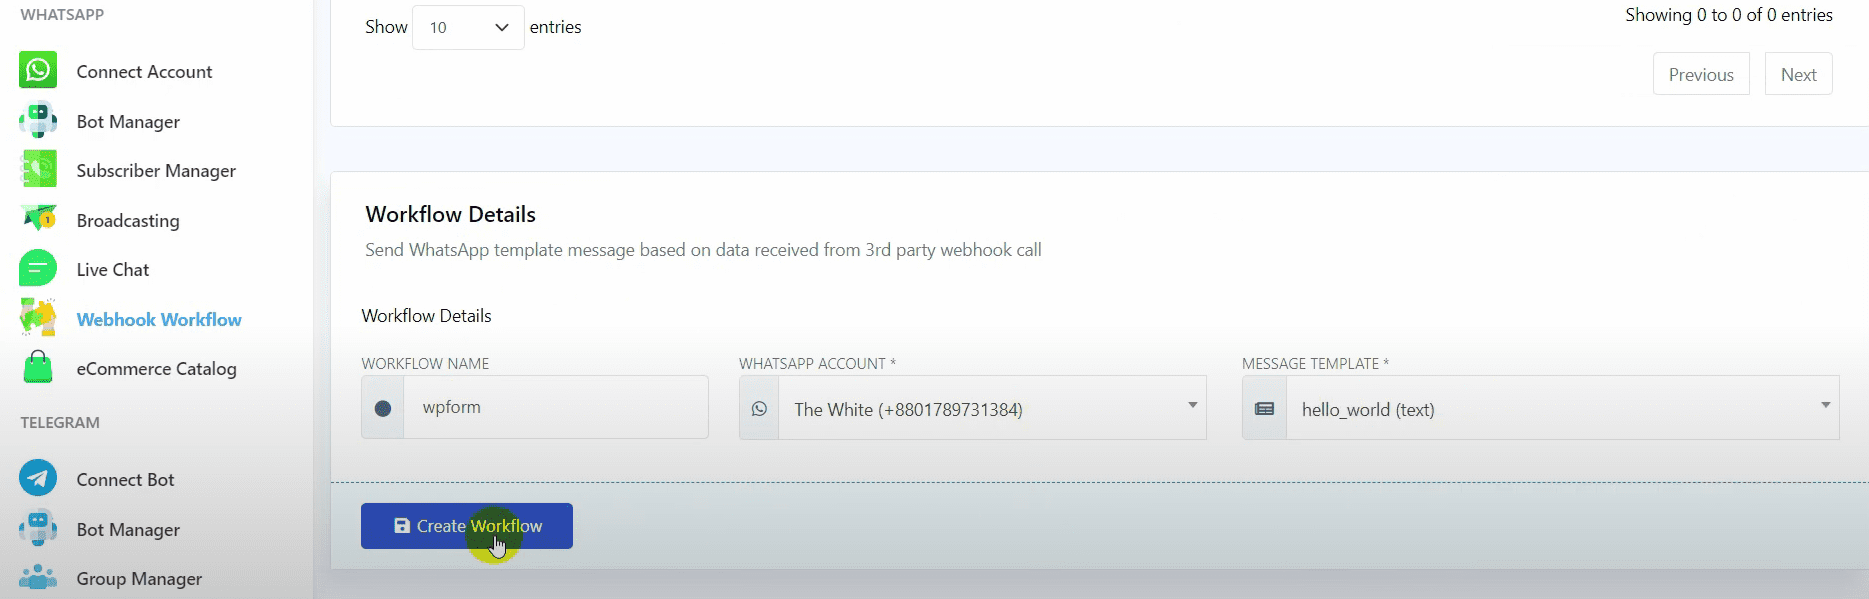
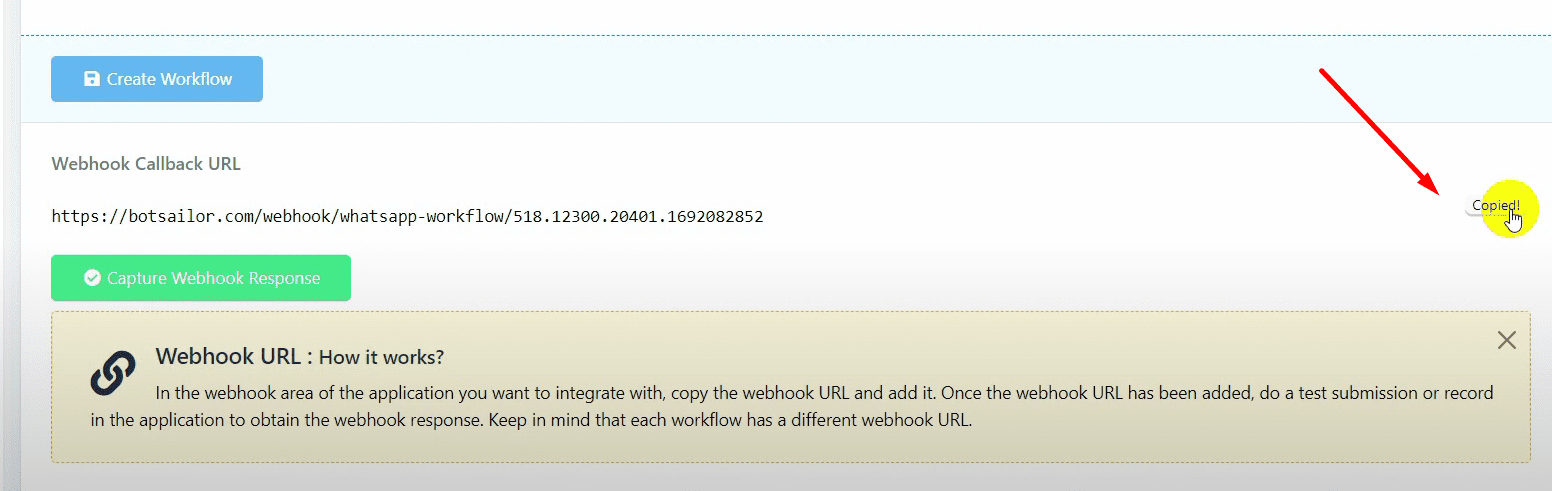
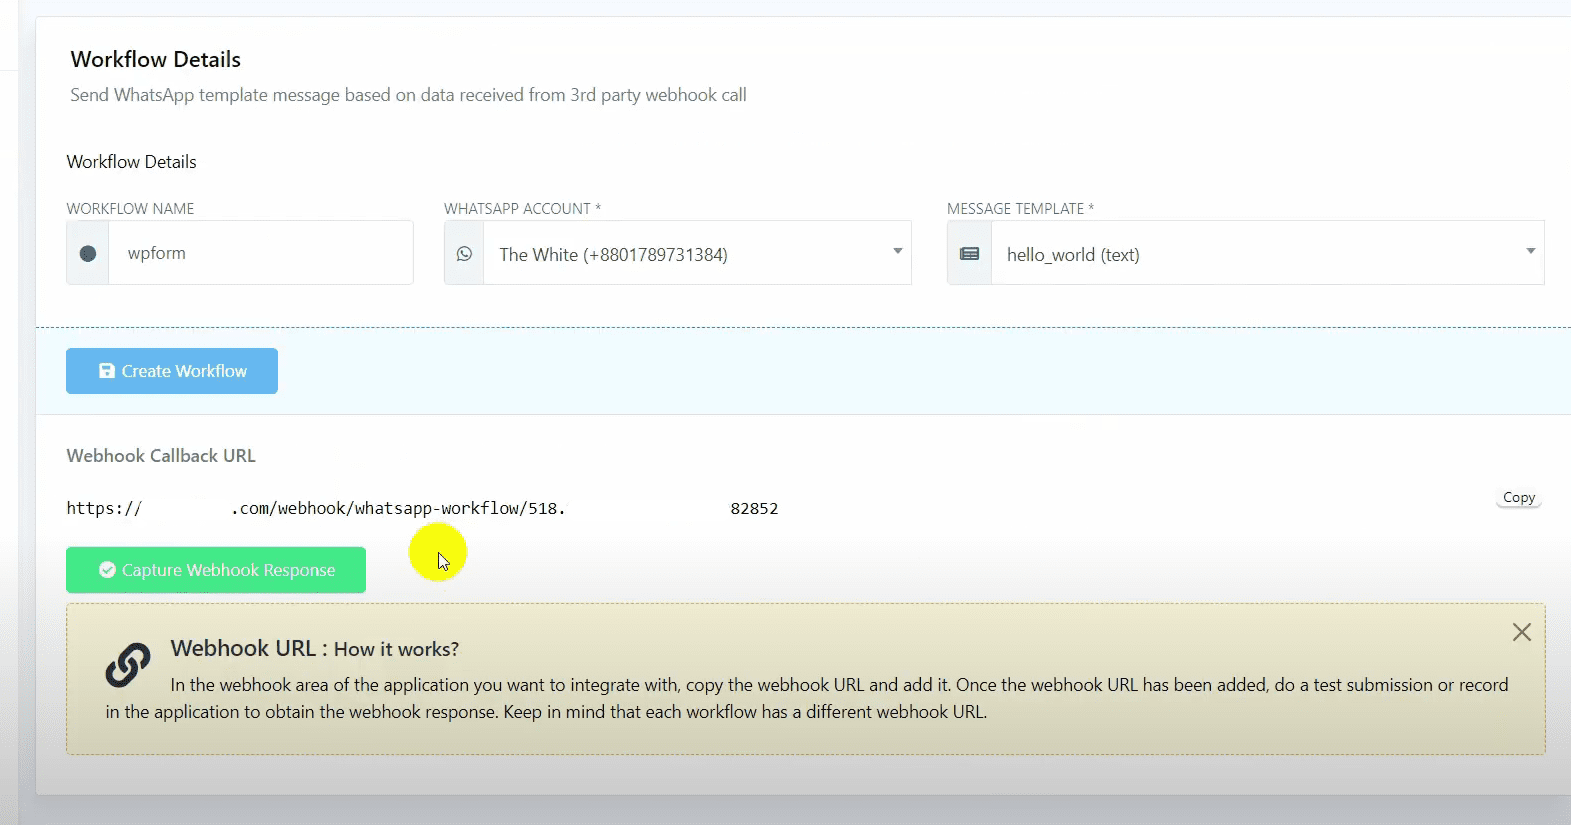
Create a new webhook workflow.
Give a name to the workflow and select the WhatsApp account and the message template.
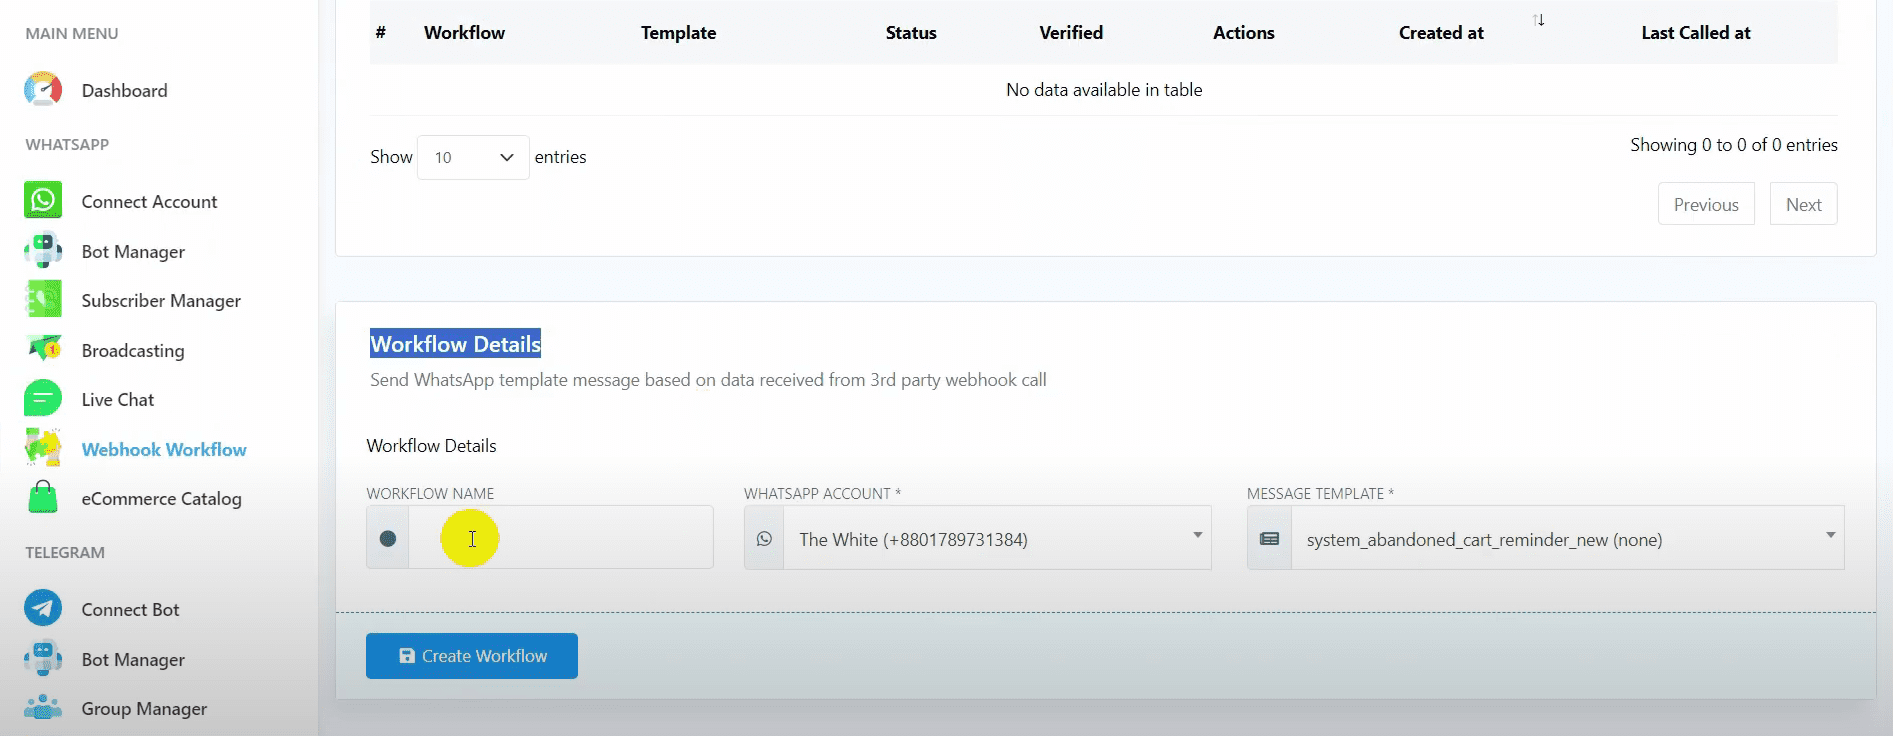
Click on the “Create Workflow” button and copy the webhook callback URL.
Create and Configure WP Form
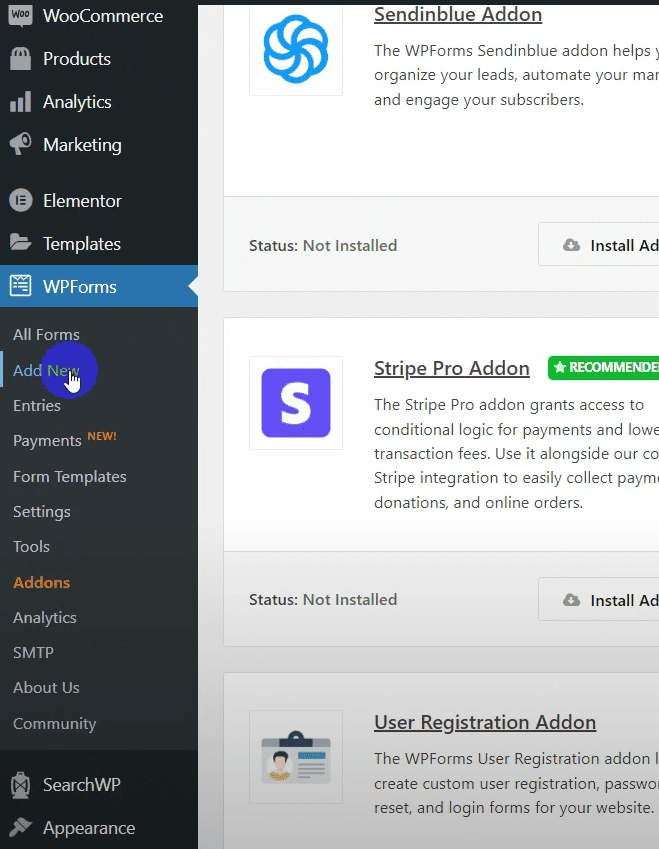
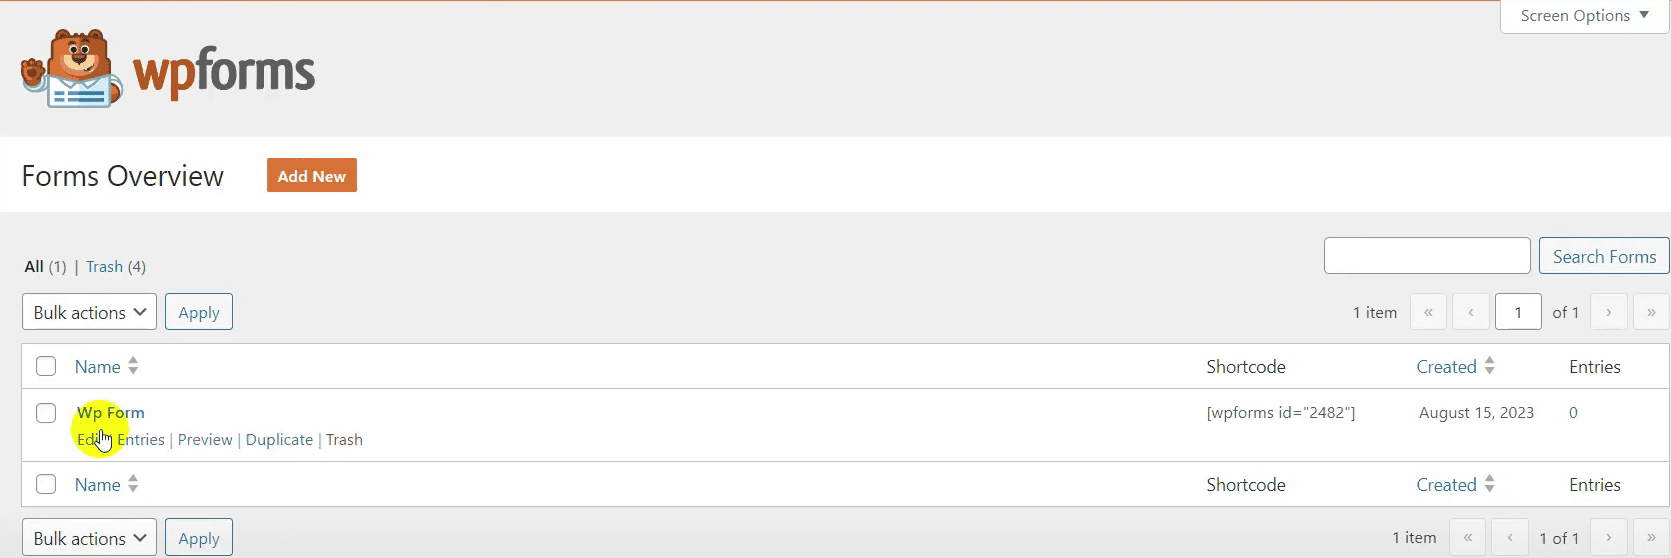
Go to WP Forms and create a new form by clicking on the “Add New” option.
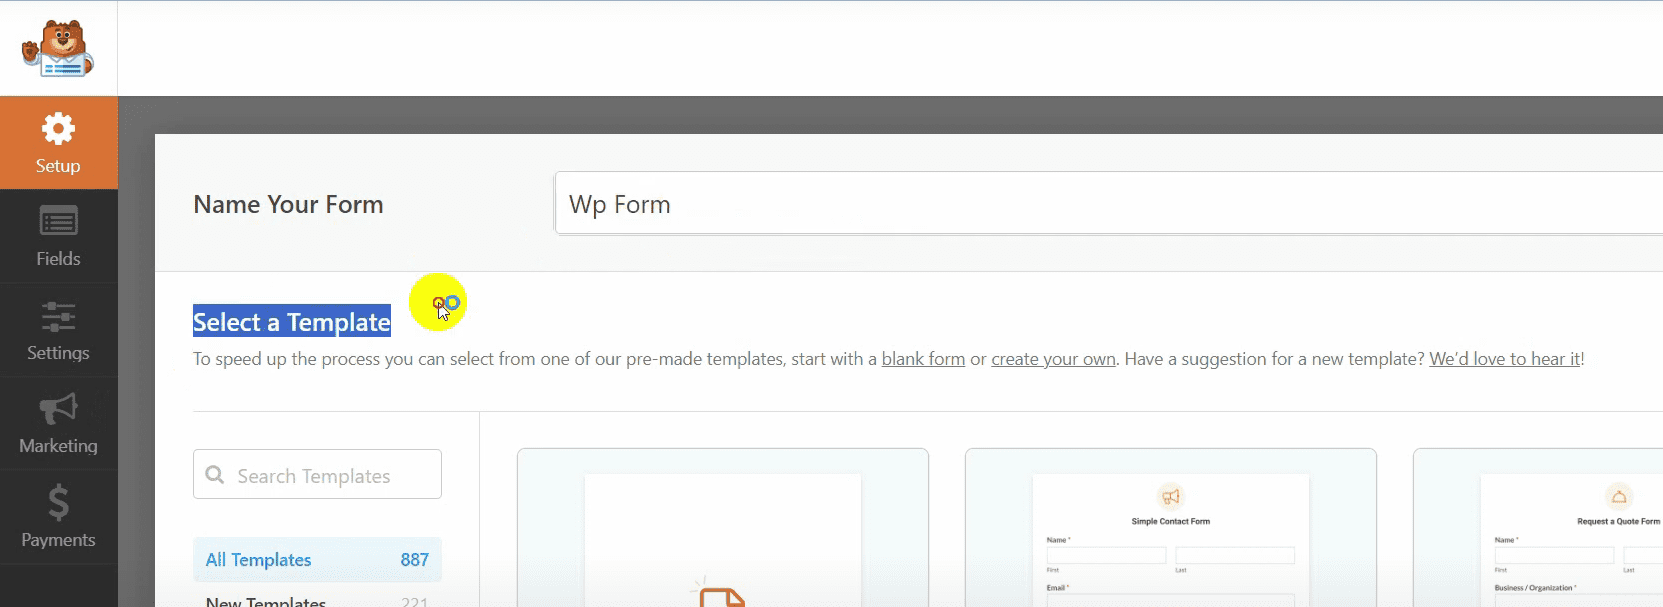
Name your form and select a template.
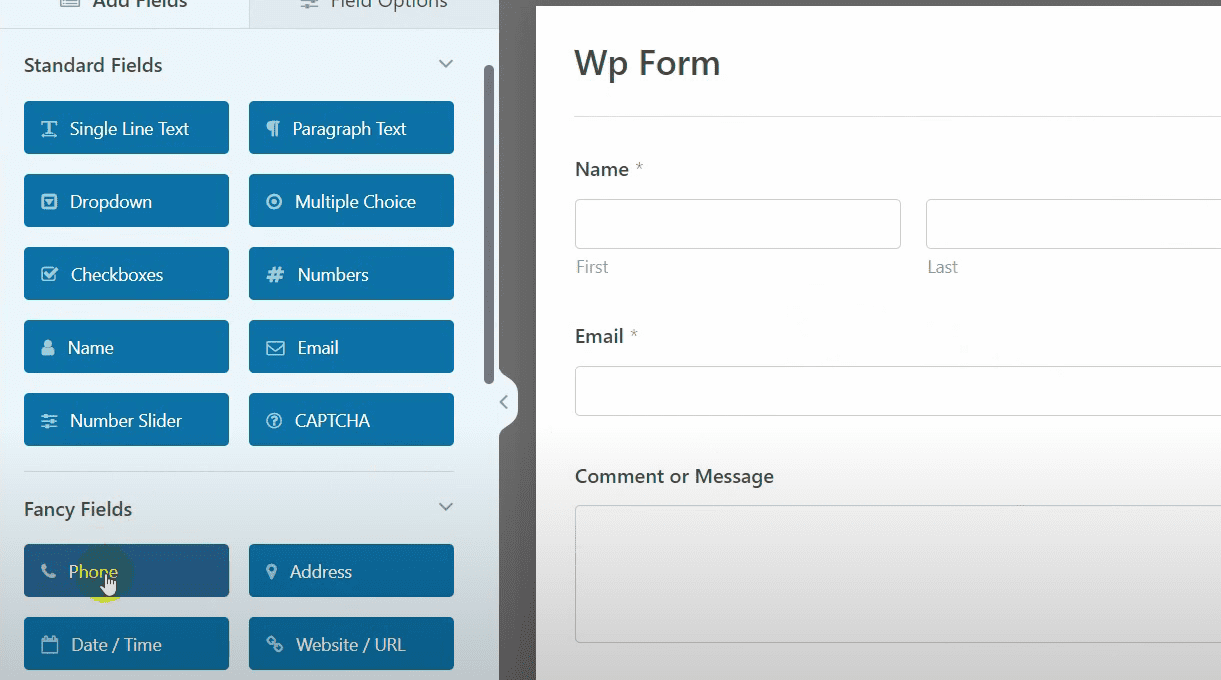
Add a phone number field to the form (necessary for sending WhatsApp messages).
Go to settings and enable the webhook.
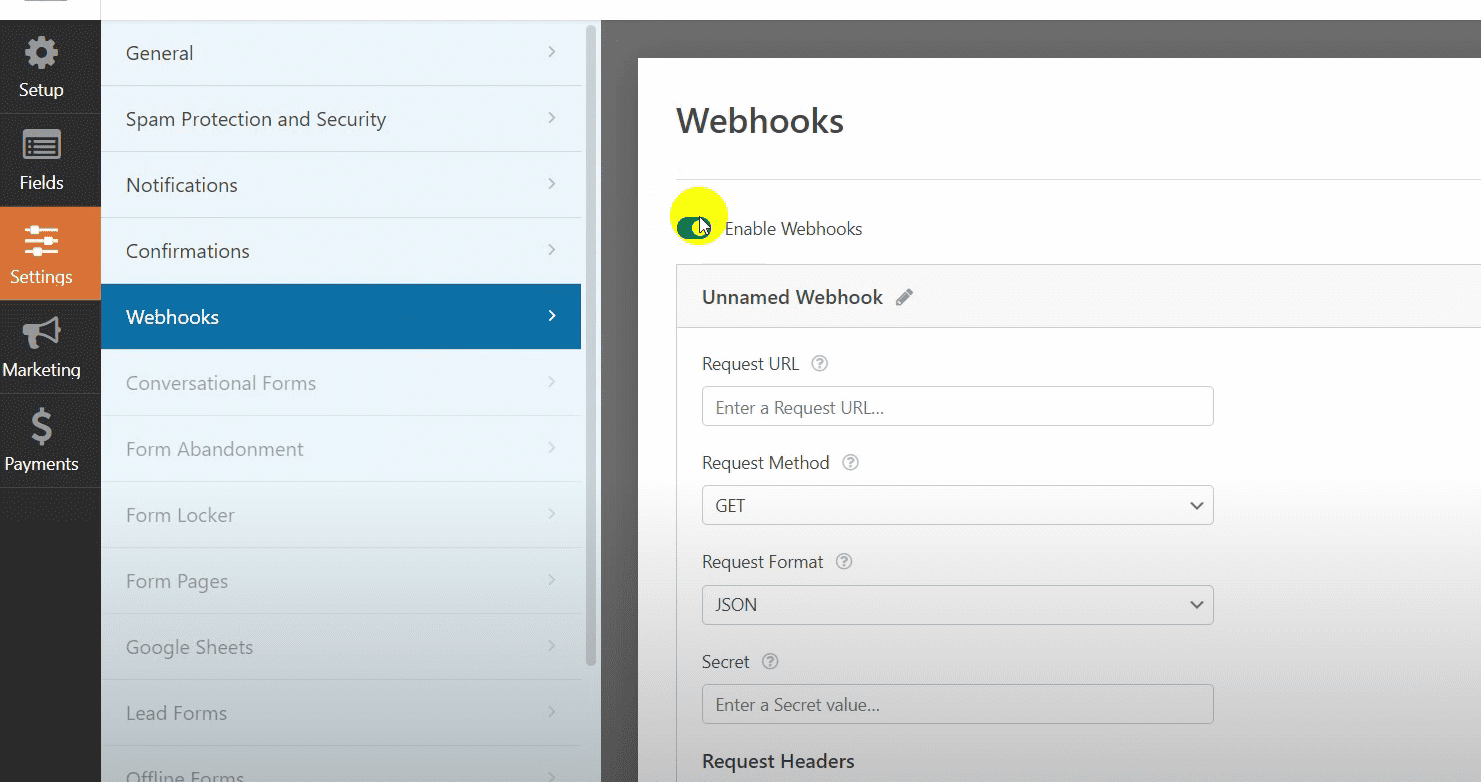
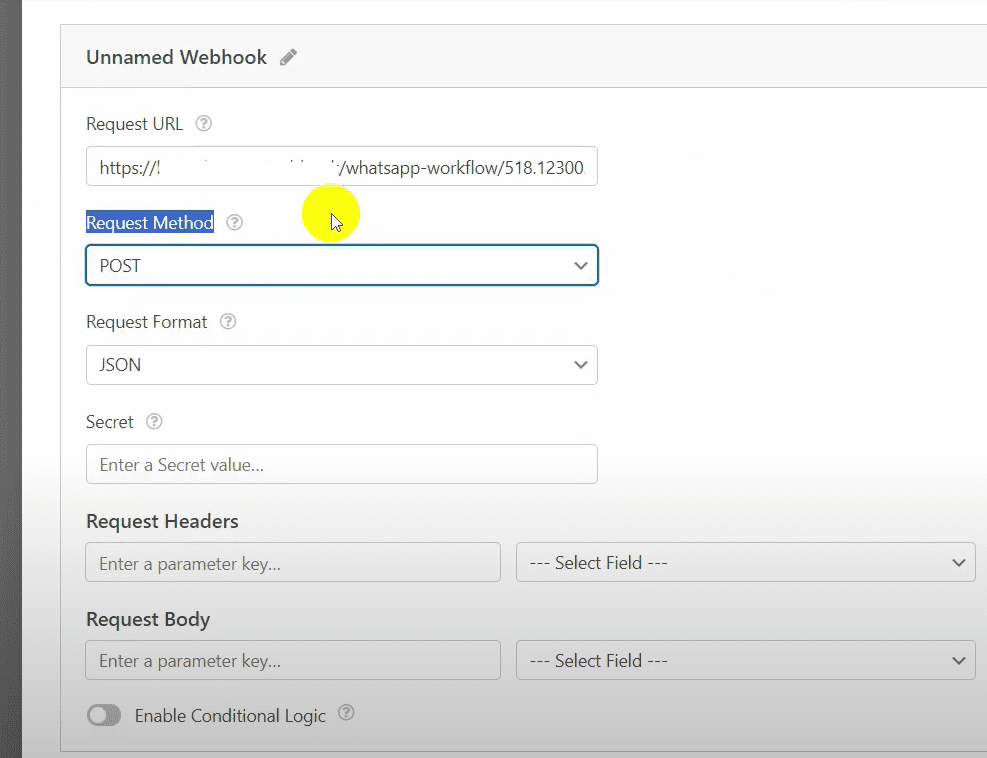
Paste the copied webhook URL in the request URL field.
Select “POST” as the request method.
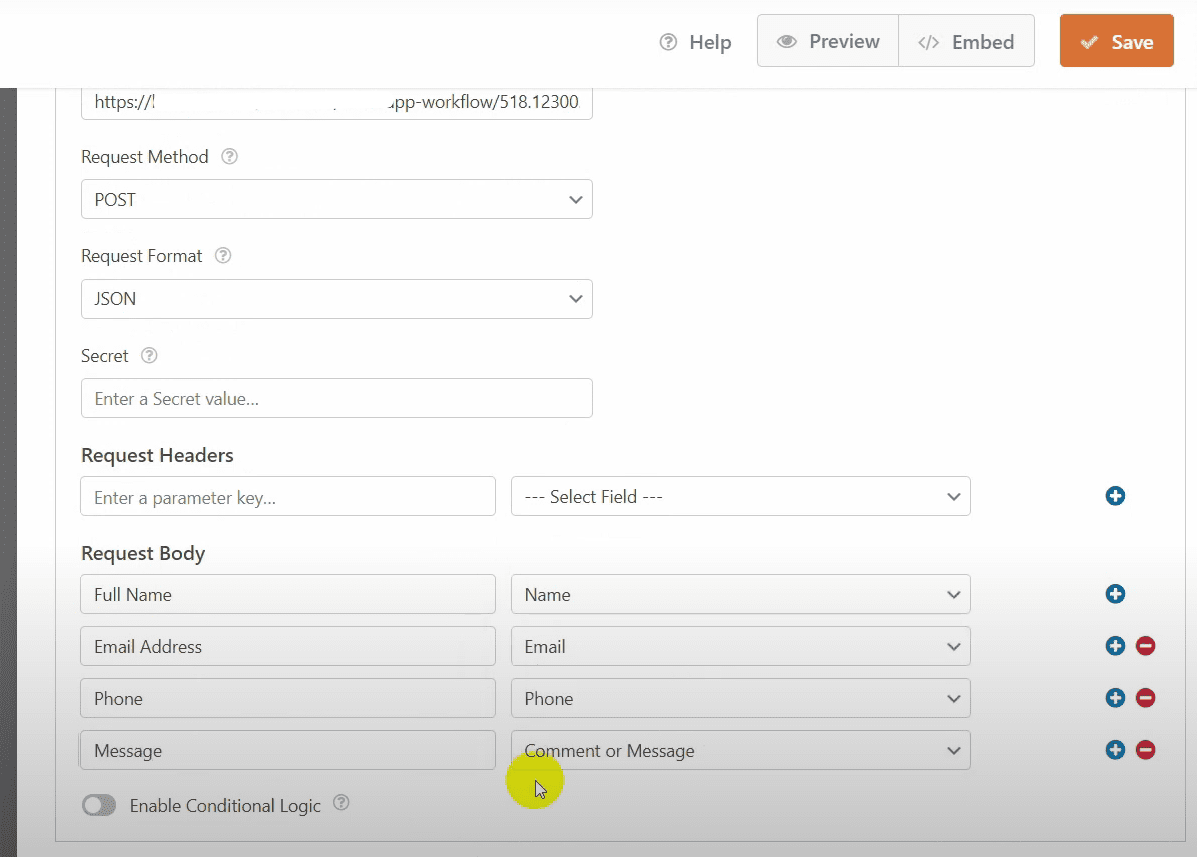
Configure the request body with the necessary fields: name, email, phone number, and comment/message.
Save the form.
Map Webhook Response
Submit example data on the WP form for mapping.
Go to BotCommerce and click on “Capture Webhook Response” to fetch the example raw data.
Map the webhook response, ensuring the phone number field is correctly mapped.
Create a formatter to trim the plus sign from the phone number (WhatsApp doesn’t accept phone numbers with a plus sign).
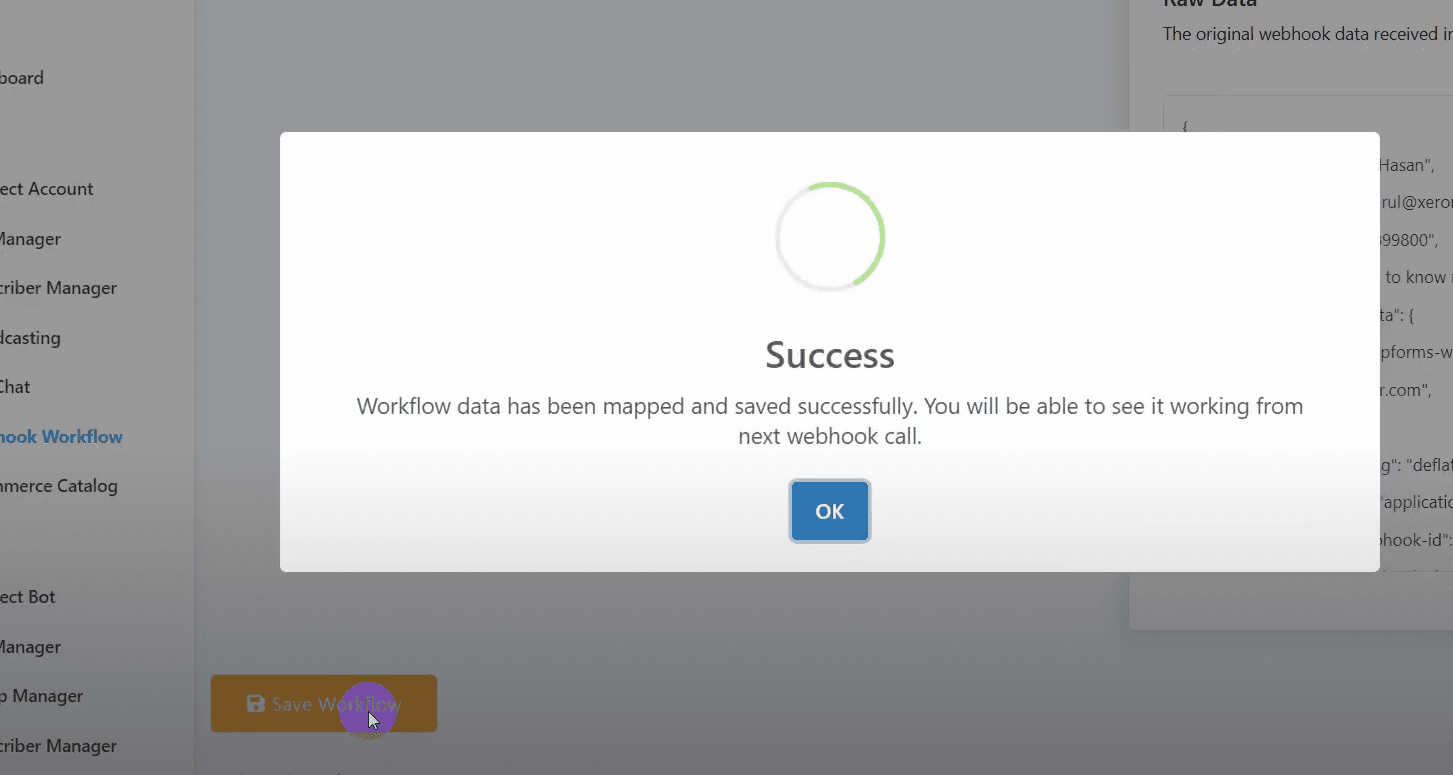
Save the workflow.
Fill out the WP form and submit it.

Check the workflow report in BotCommerce to ensure the campaign is successful.
Verify that the user receives an automated WhatsApp message.
That’s it! This is how you can send an automated WhatsApp message when you receive a WP form submission using BotCommerce.
