OmniChat is fully multilingual and provides powerful features to detect the user’s language on the fly.
Edit translations
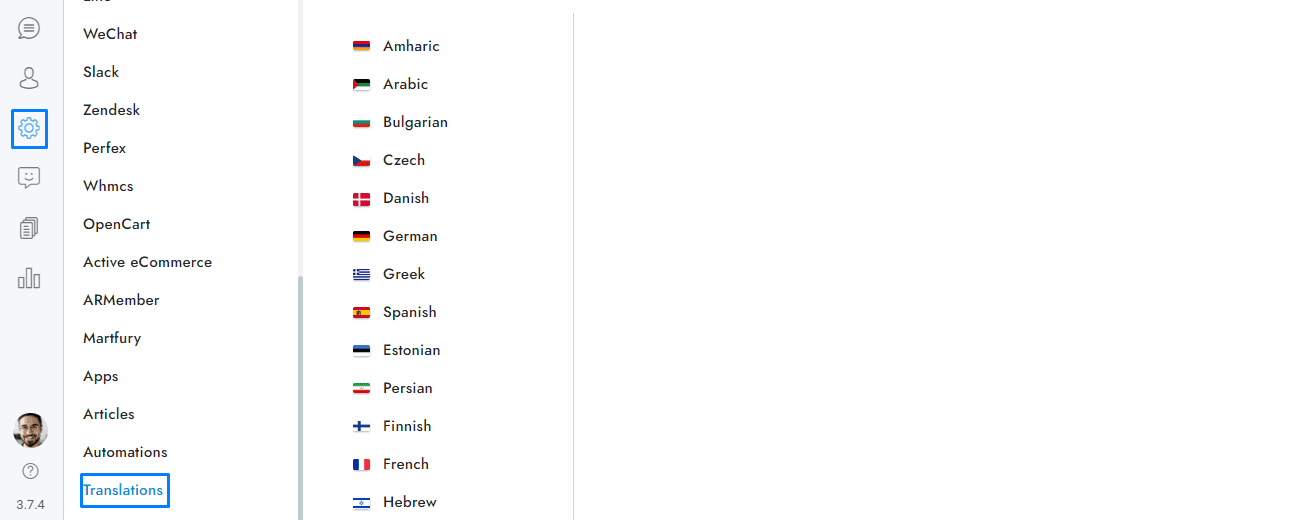
To edit the languages of both chat and admin, go to Settings > Translations. Some settings, such as e-mail contents, are directly translatable and therefore do not need to be translated here.
Chat language
OmniChat is already translated into 41 languages. There are many options available to set the language:
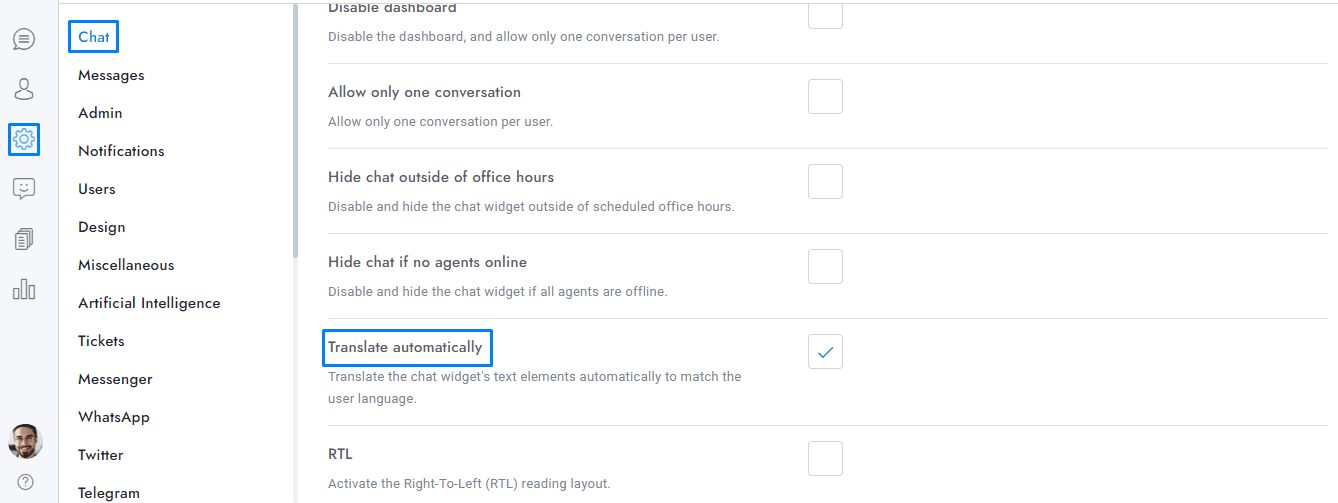
- OPTION 1 Go to Settings > Chat and check the Translate automatically option. This feature will automatically use the chat language of the user’s browser or the language saved in the user profile.
- OPTION 2 Add the URL parameter lang=LANGUAGE-CODE to the script that loads the chat, replacing “LANGUAGE-CODE” with the two-letters language code you would like to display. E.g. https://omnichat.planifyx.com/account/js/init.js?id=123456&lang=es.
This feature will force the chat to always use the same language and the option Chat > Translate automatically will be ignored. Go to wikipedia.org/wiki/List_of_ISO_639-1_codes for the complete languages code list (see column 639-1). For Traditional Chinese use zt, for Simplified Chinese use zh, for Brazilian Portuguese use pt.
Admin language
To translate the admin area follow the steps below:
- Translate the texts in your language from the Settings > Translations.
To set the admin area language:
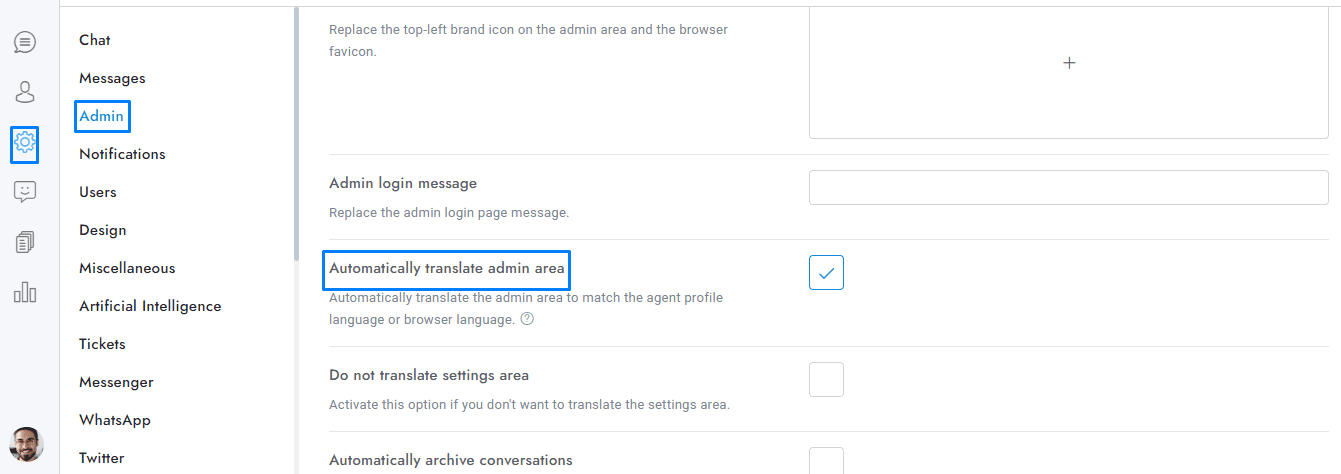
- Activate the option Settings > Admin > Automatically translate admin area. This feature automatically translate the admin area to match the agent profile language or the agent browser language.
Translate custom contents
You can translate almost any custom content like rich messages, titles, descriptions, automatic messages, chat header, and more. To include translations, visit Settings > Translations and click on the New translation button. Then, enter the English content you wish to translate in the first field and its corresponding translation in the second field. The original text must be in English. If you have the artificial intelligence app you can also translate all contents to any language automatically through the multilingual via translation feature.
Information
- If a translation string is missing, add it by clicking the button Add new translation.
- If a translation string is not working, make sure to remove all white spaces and break lines at the start and the end of the string.
- The translations edits are not saved in the database but directly in the translation files. When a translation is edited, and saved, a backup is created into the uploads folder. The backup is restored automatically on plugin update and plugin activation.
- Some special chars like & are replaced by the HTML equivalent code (see https://www.w3schools.com/html/html_entities.asp). Ex. & is replaced by &.