In this article, you will learn how to verify a Shopify cash on delivery order by WhatsApp:
Create a Message Template:
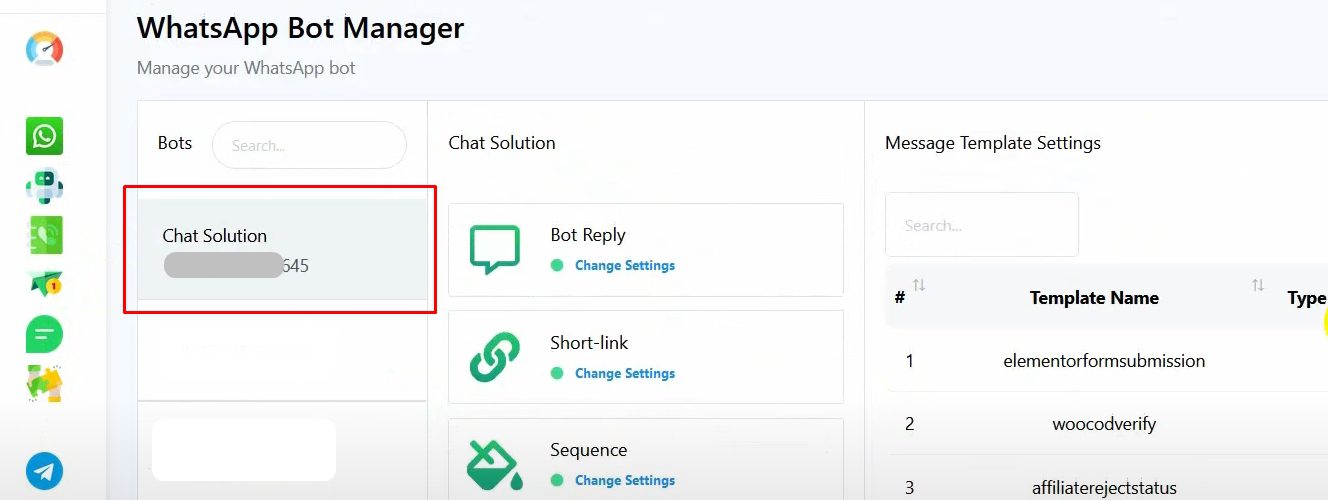
Go to “Bot Manager” from the BotCommerce dashboard.
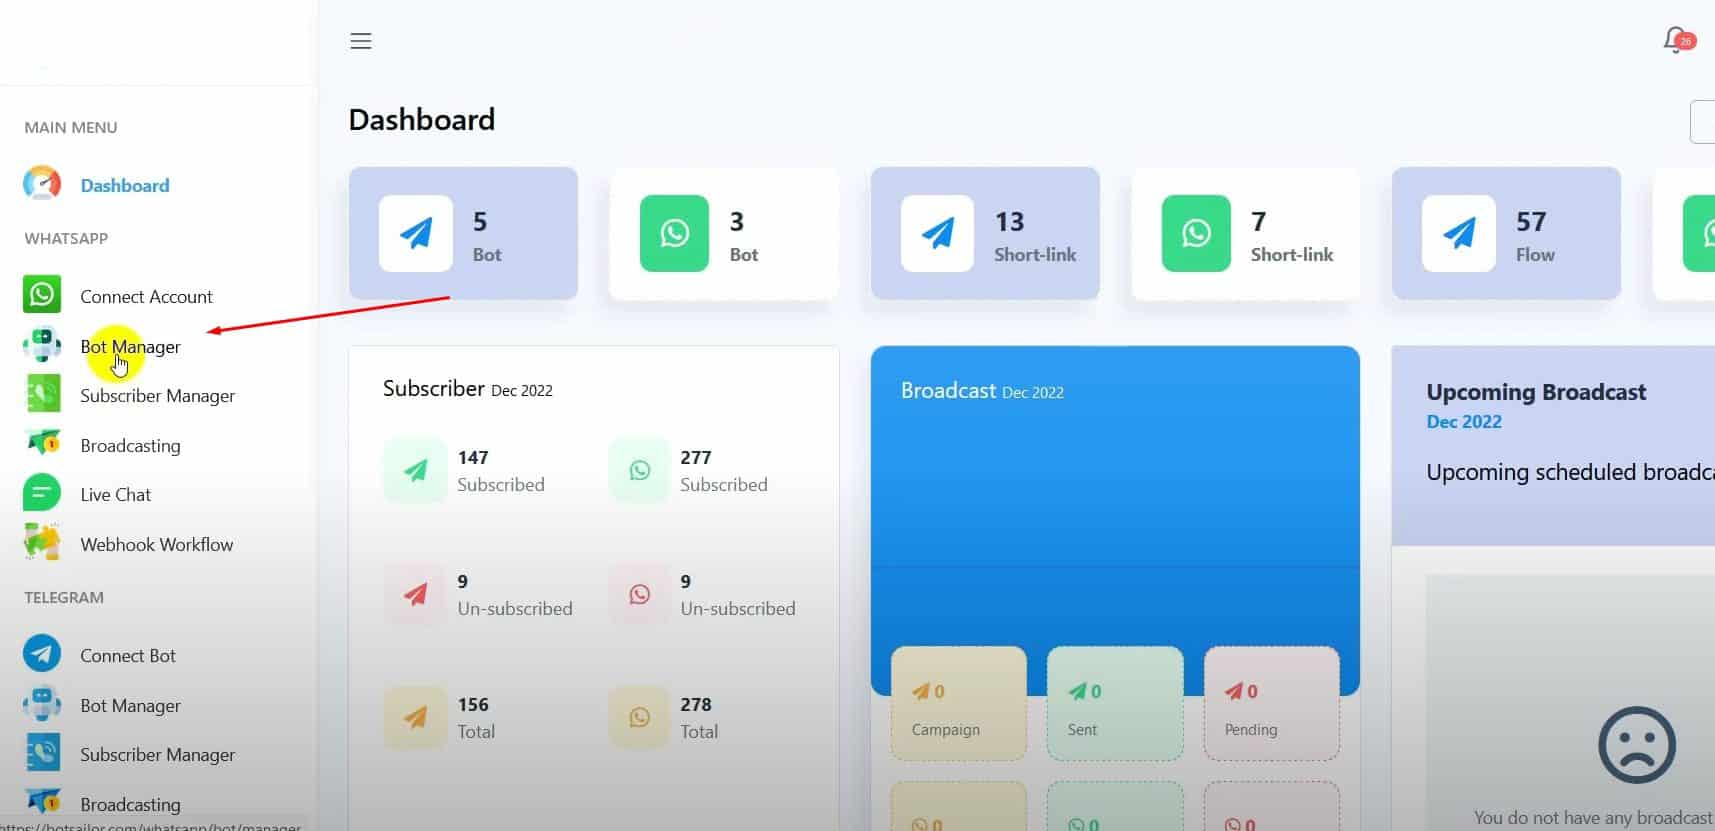
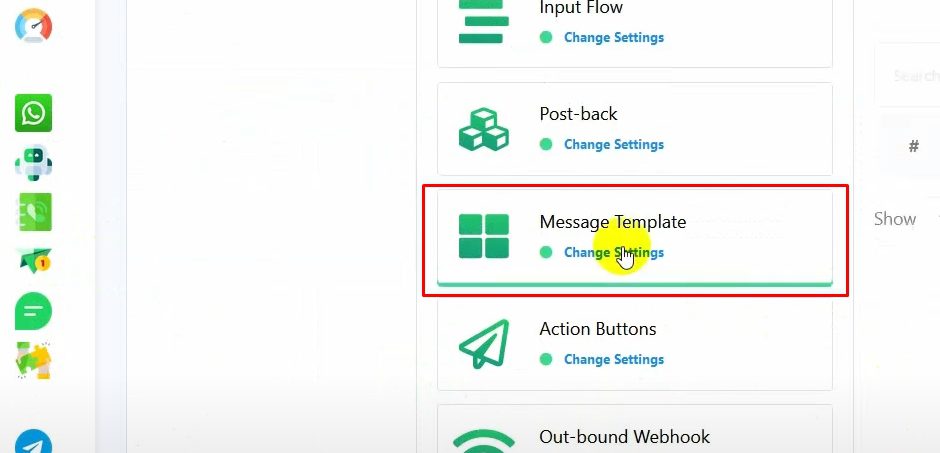
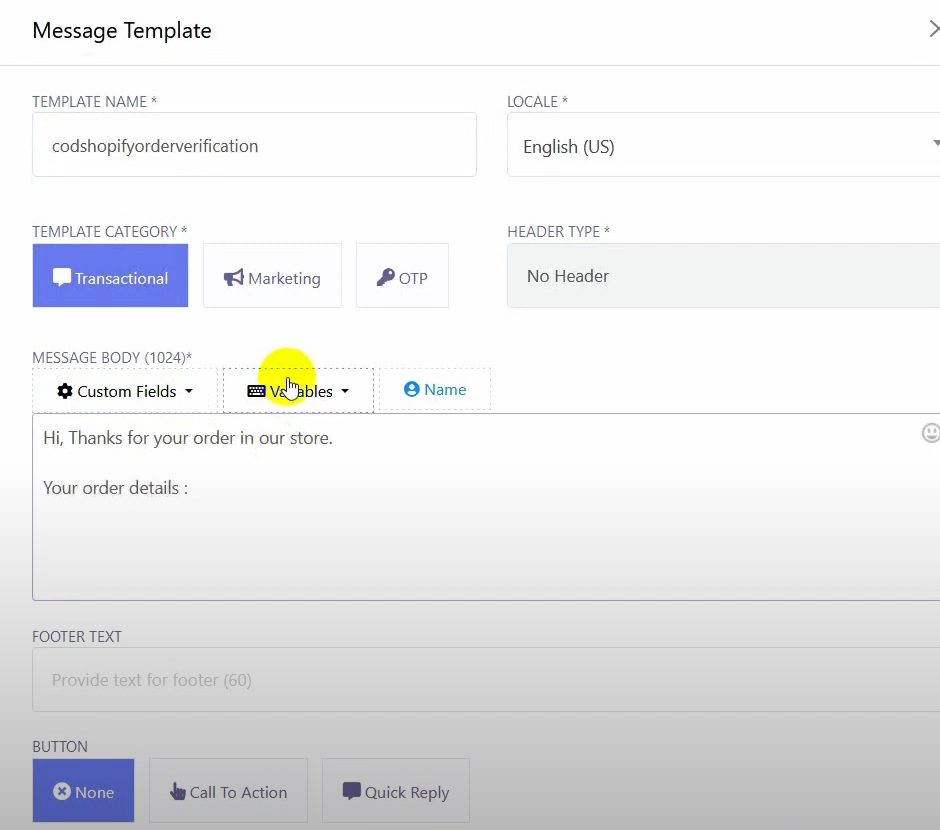
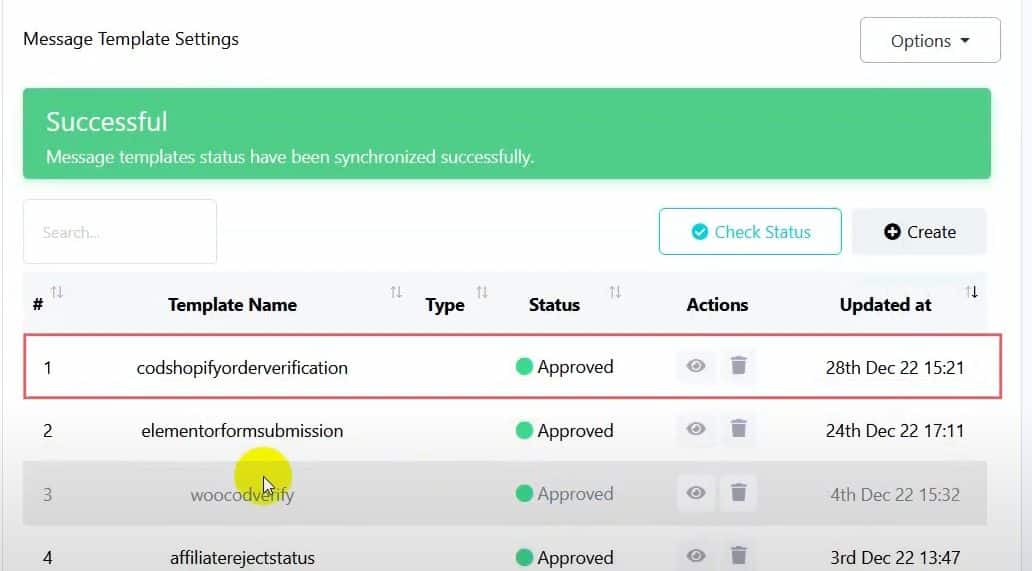
Click on “Message Template” and then “Create”.
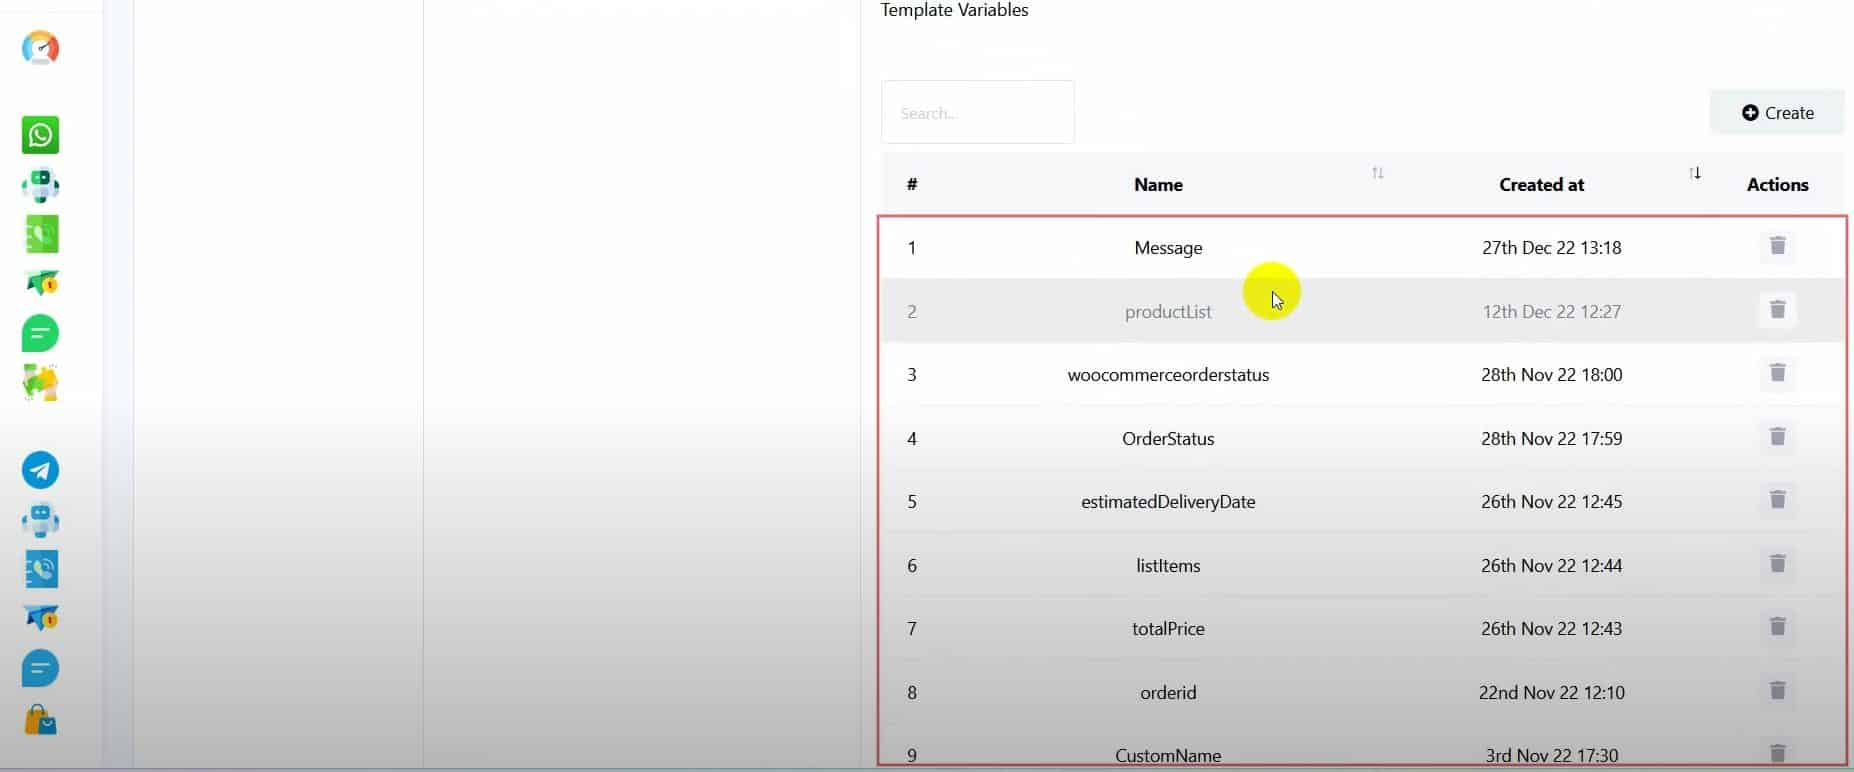
Name your template and write the message body.
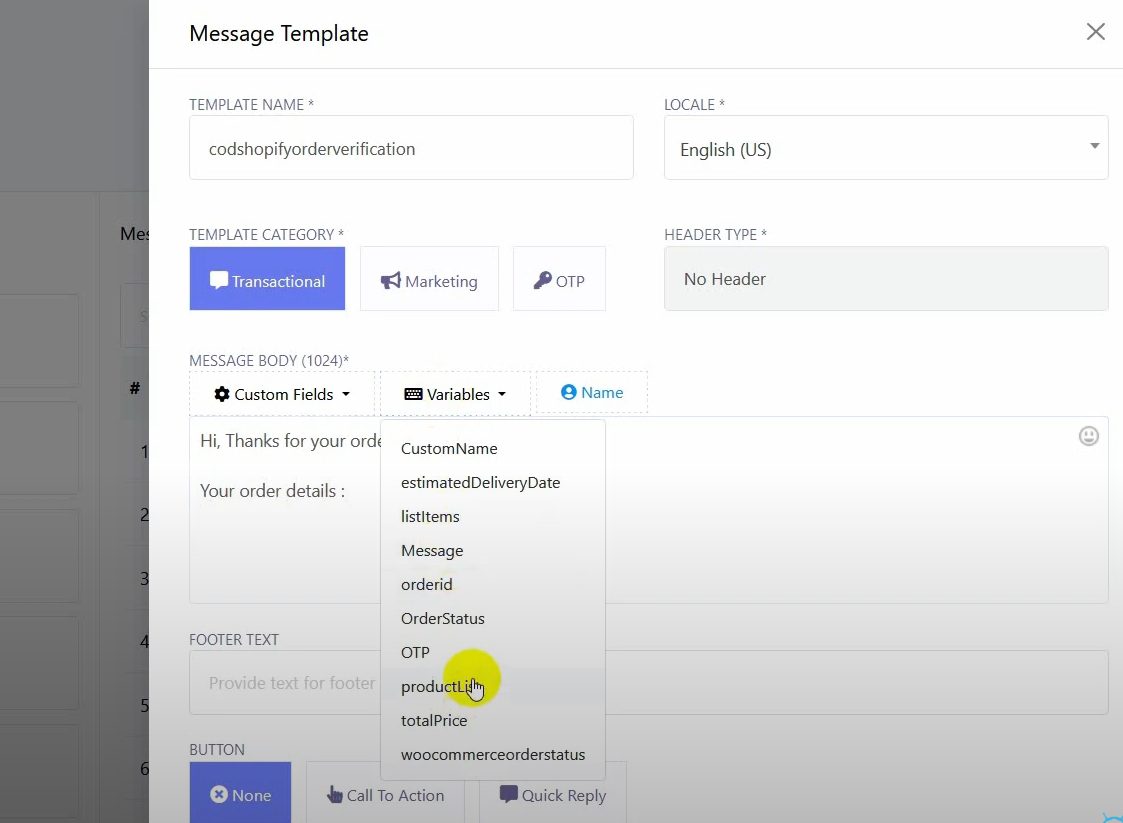
Use variables like product list and total price by selecting them from the variable list.
Add two quick reply buttons for confirming and canceling the order.
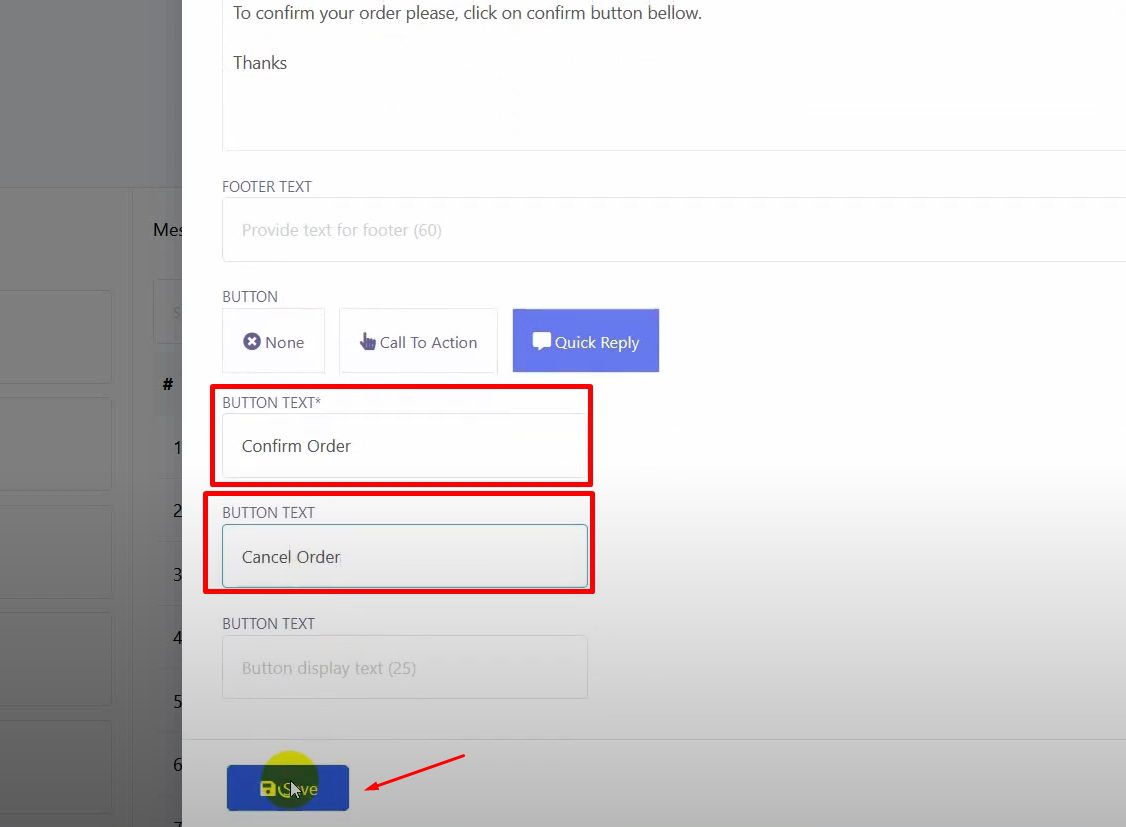
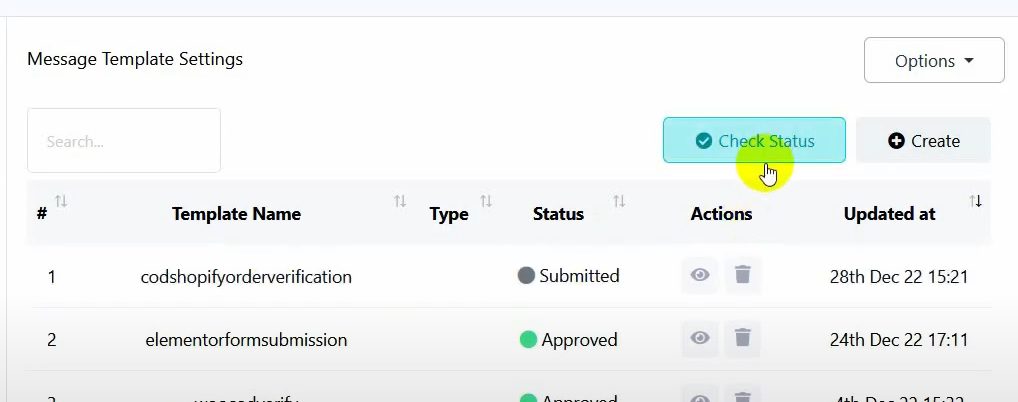
Save the template. Once saved, ensure the template is approved by WhatsApp.
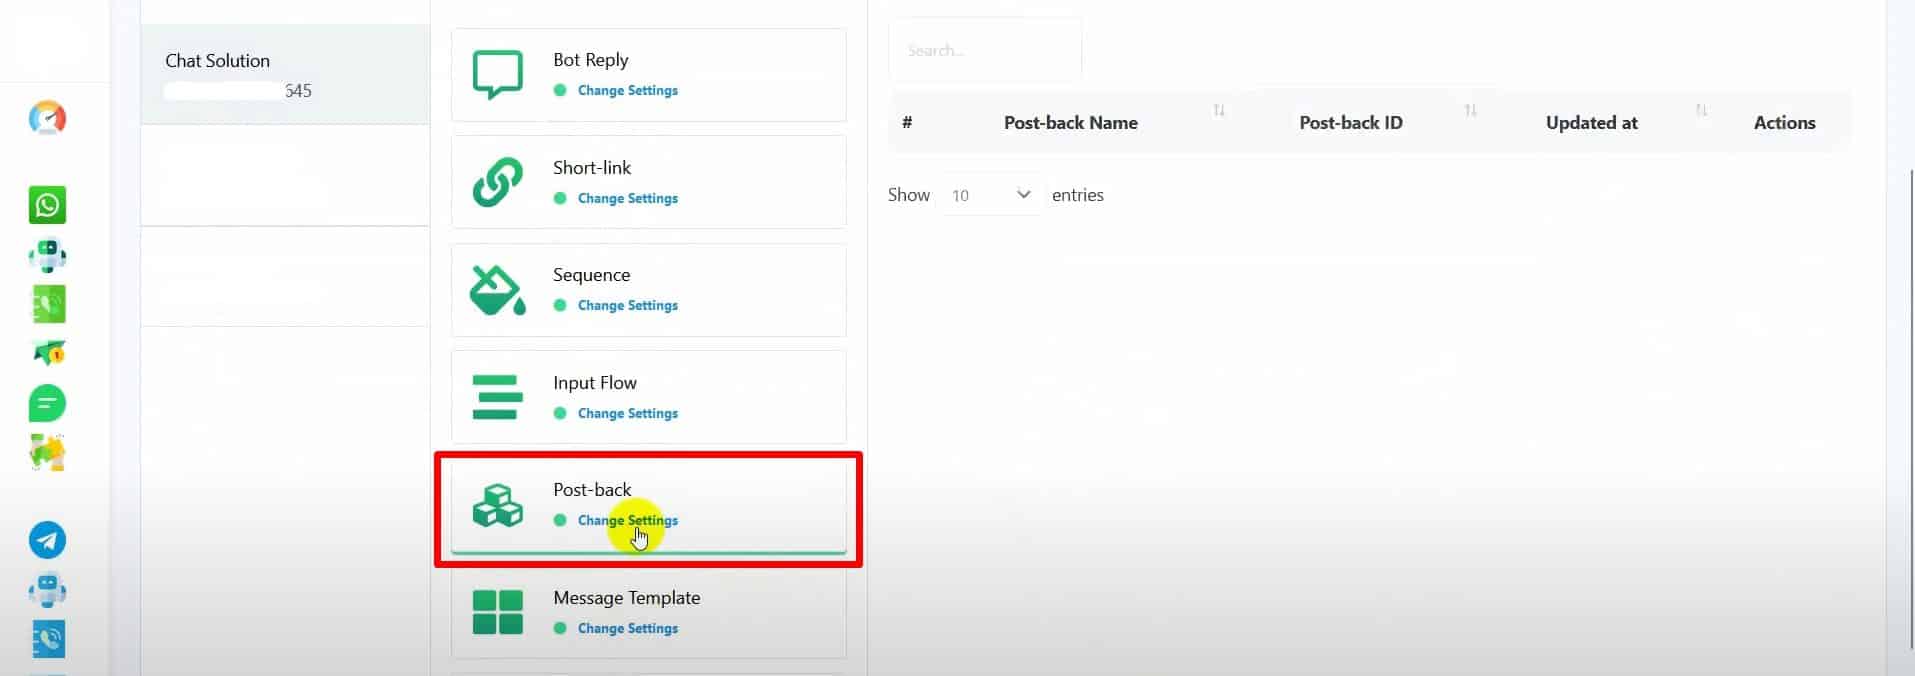
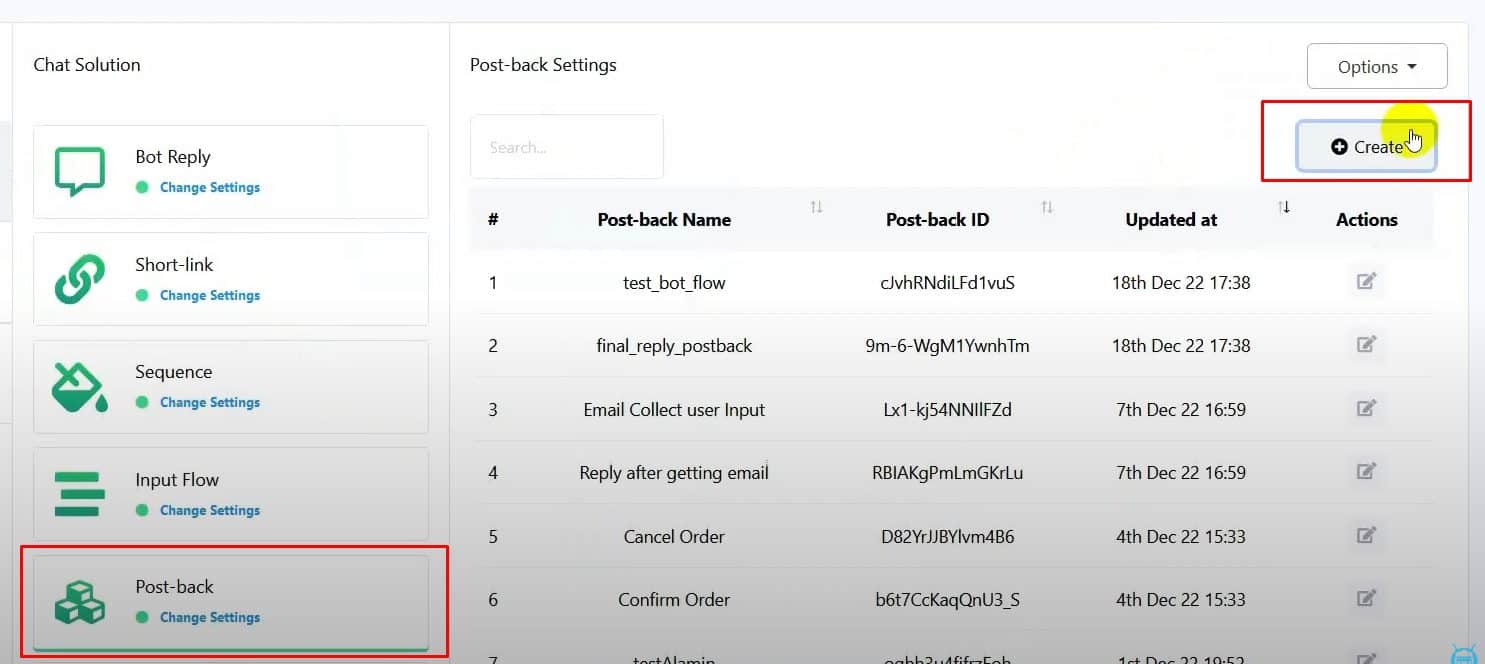
Set Up Postbacks for the Buttons:
Go to “Postback” and click “Create”.

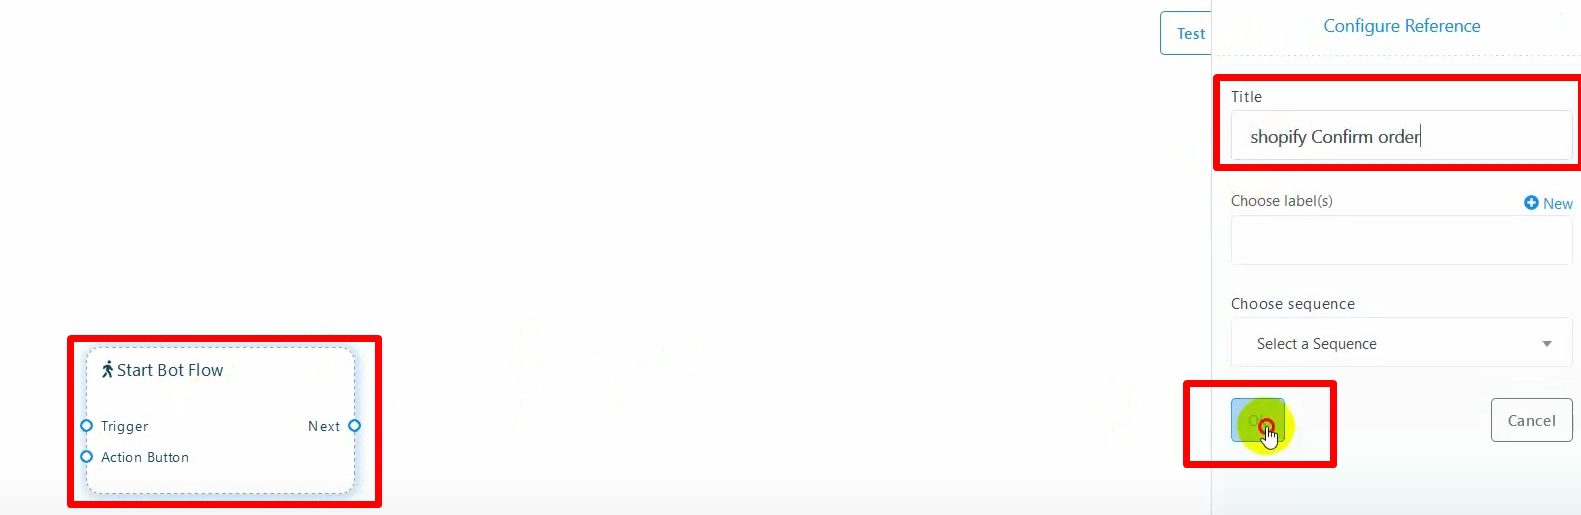
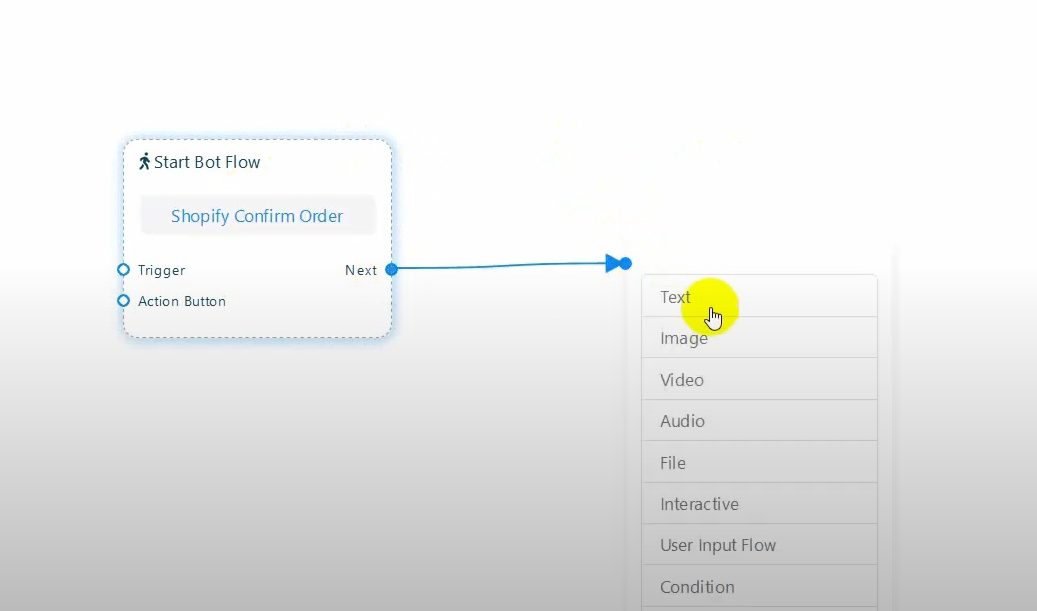
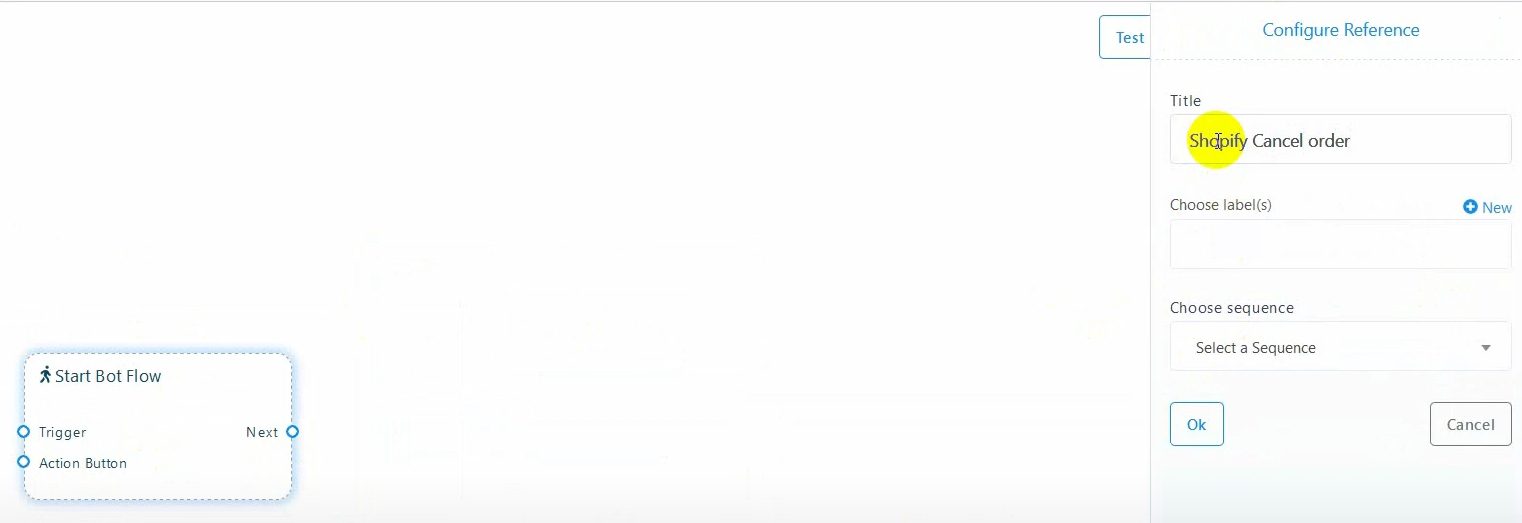
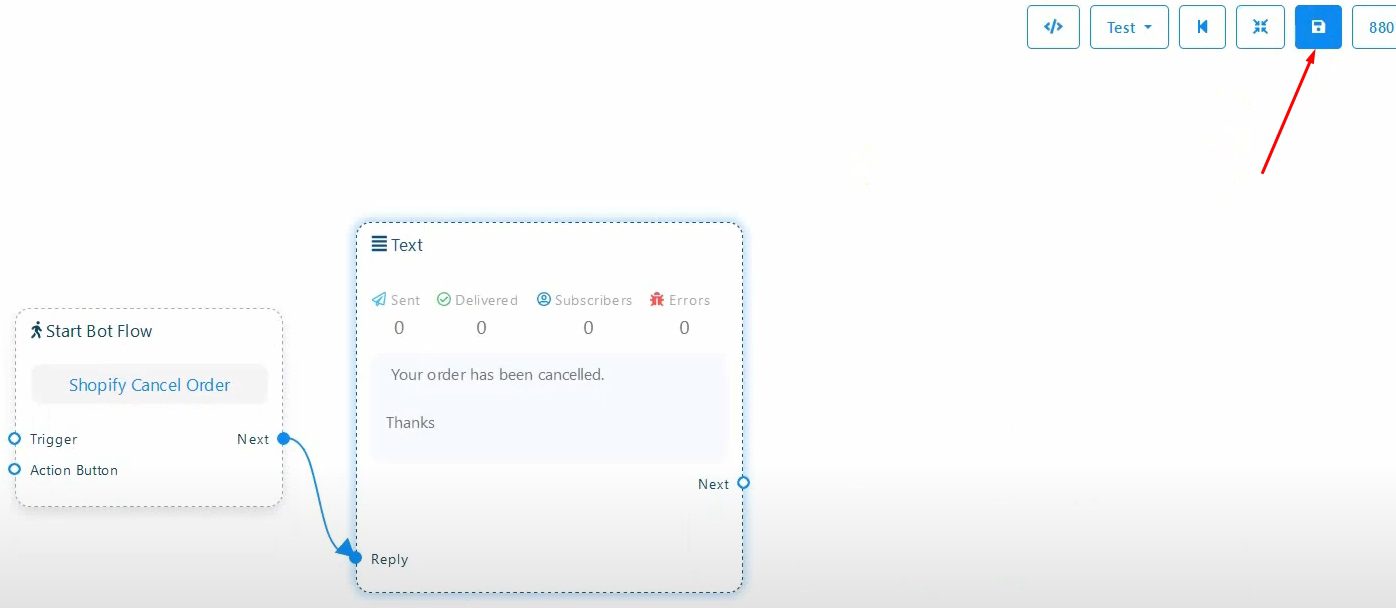
This will take you to the Visual Flow Builder. Name your start bot flow and add a text reply.
Save the flow, and repeat the process to create another postback for the second button.
Create a Webhook Workflow:
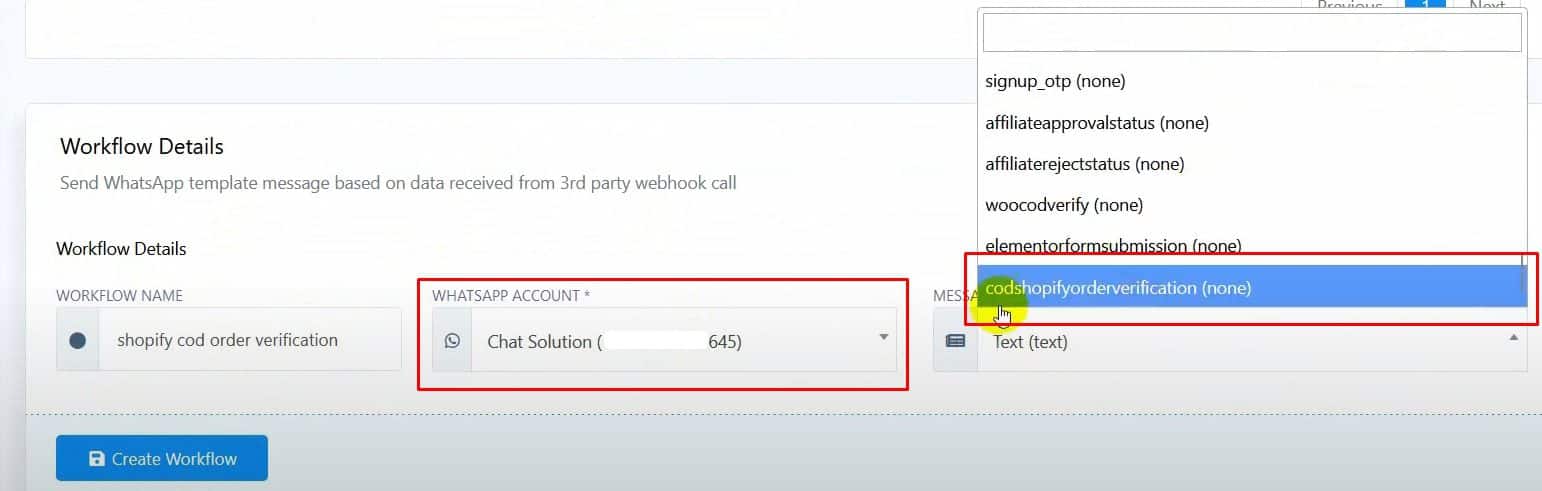
Click on “Webhook Workflow” and hit “Create”.
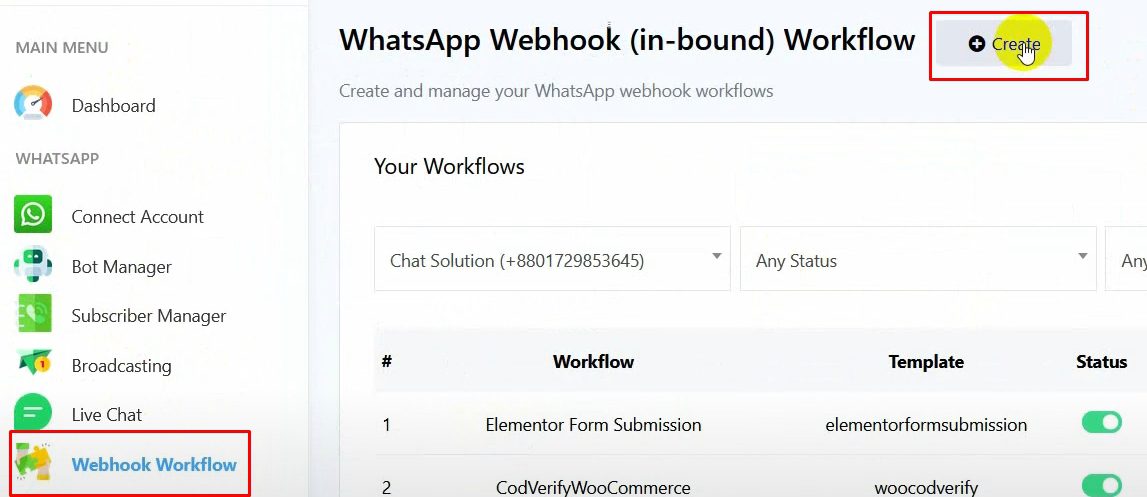
Name your workflow, select the WhatsApp account, and choose the message template you just created.
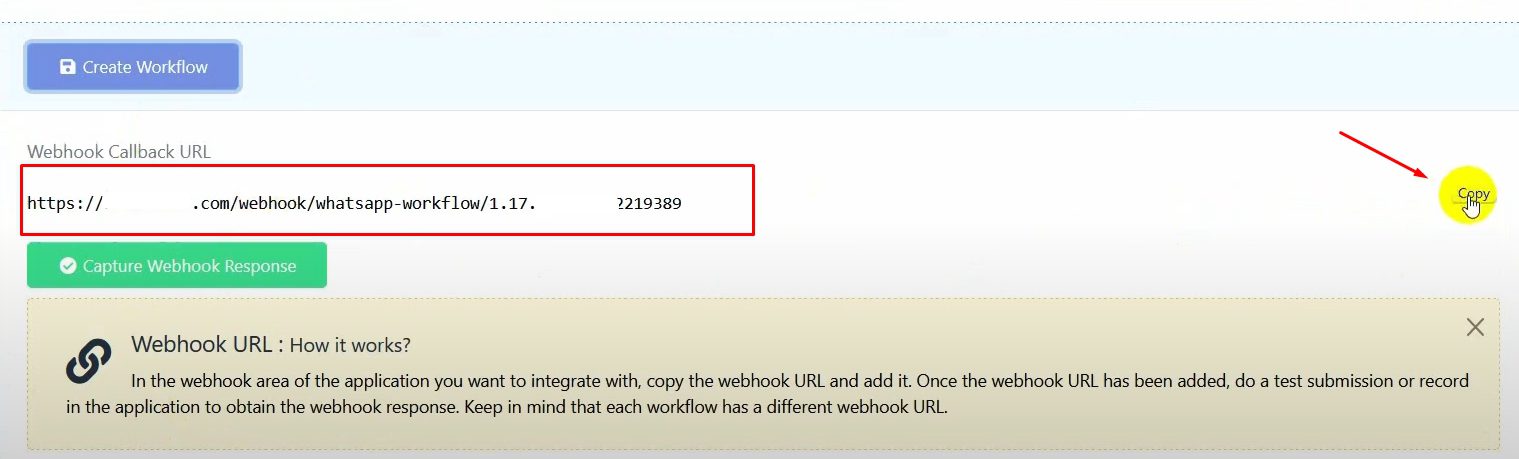
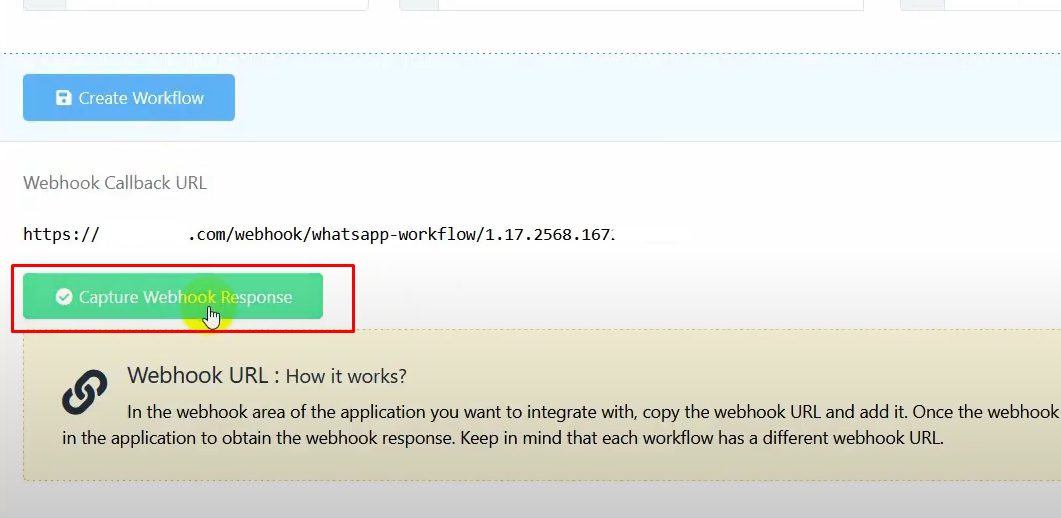
Generate the webhook callback URL and copy it.
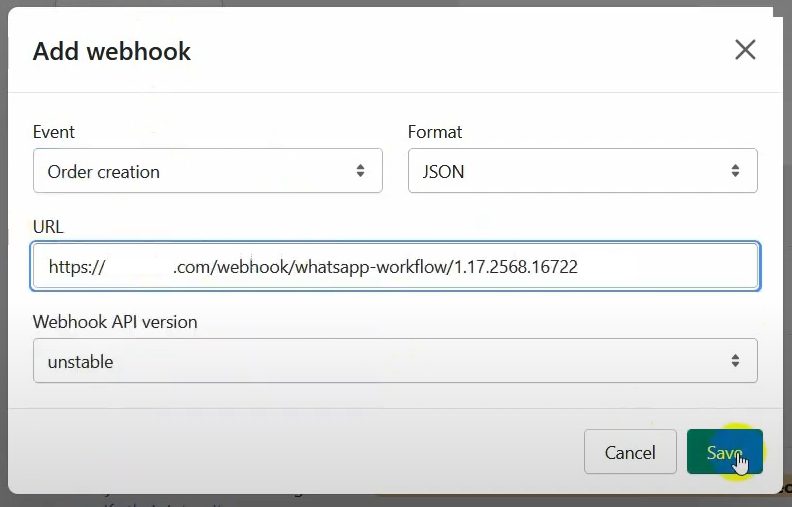
Integrate with Shopify:
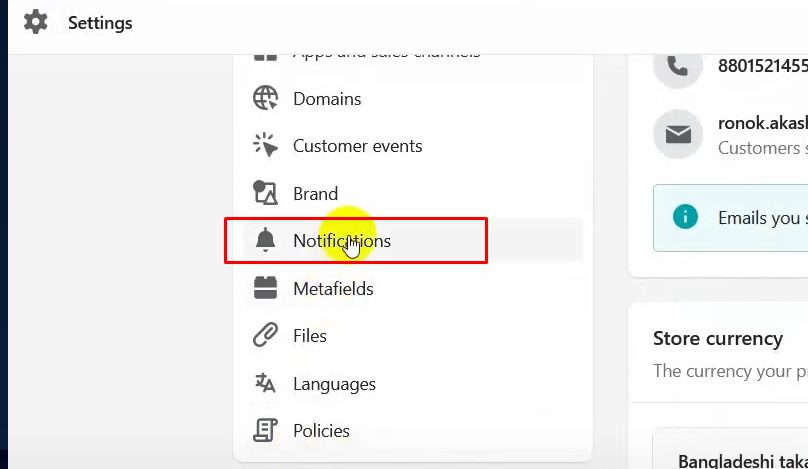
Go to the Shopify dashboard, click on “Settings”, then “Notifications”.

Scroll down and click on “Create Webhook”.
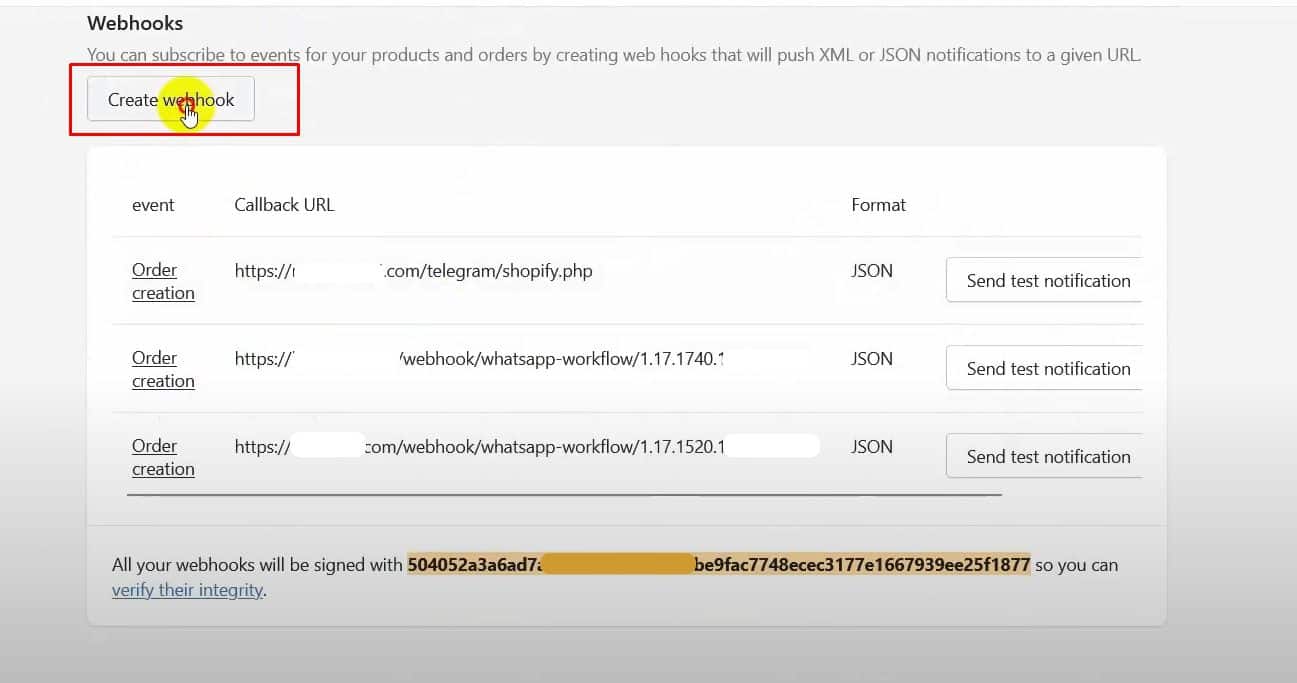
Set the event as “Order Creation” and paste the copied URL. Save the webhook.
Capture Webhook Response:
In BotCommerce, click “Capture Webhook Response”.
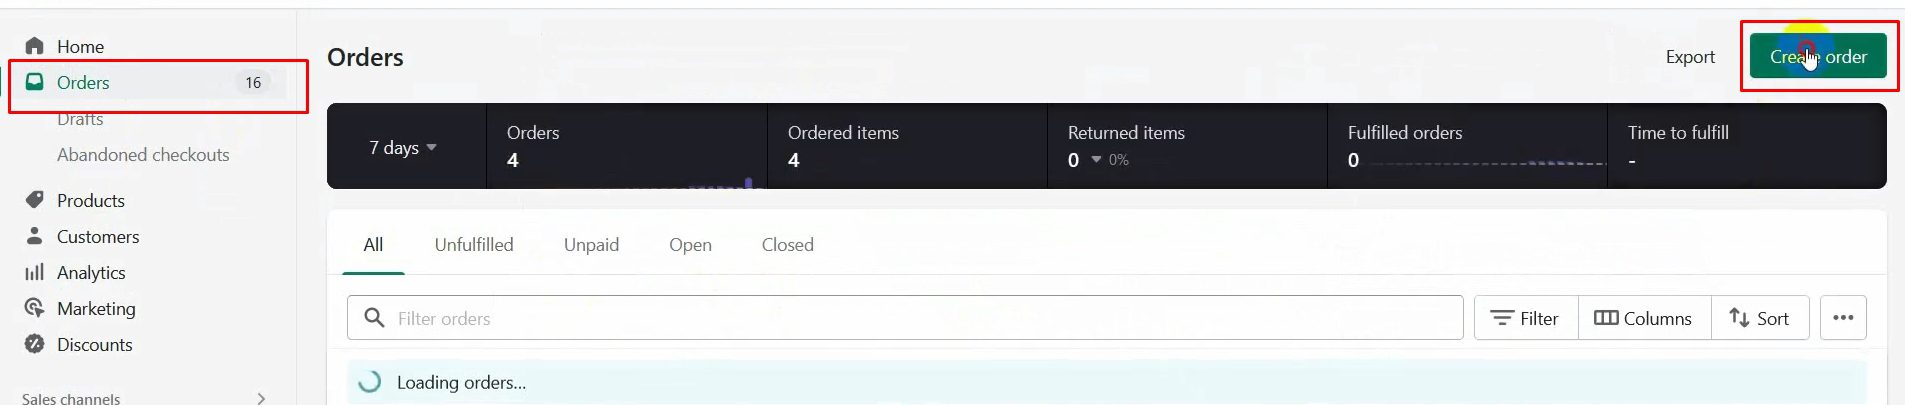
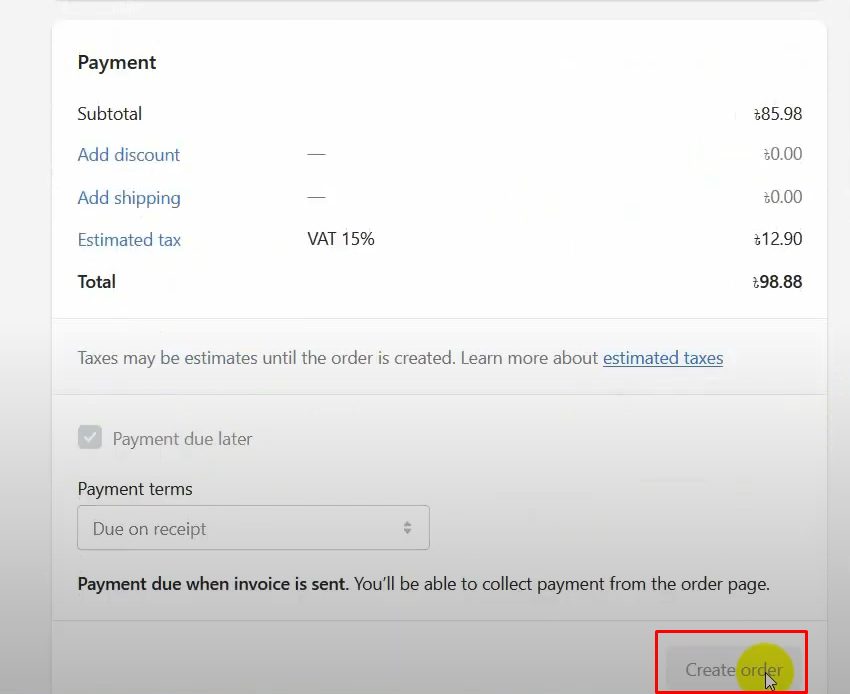
Return to Shopify, go to “Orders”, and create a test order.

Go back to BotCommerce to confirm the sample data has been received.
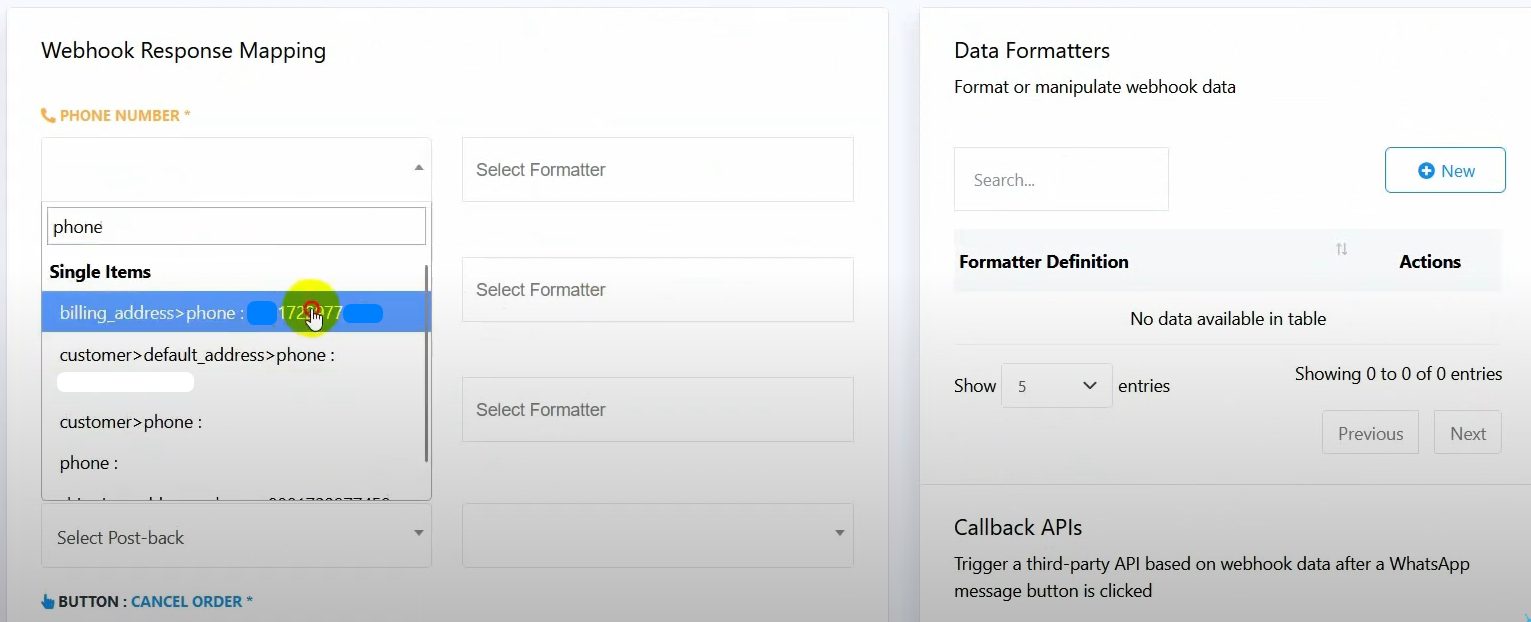
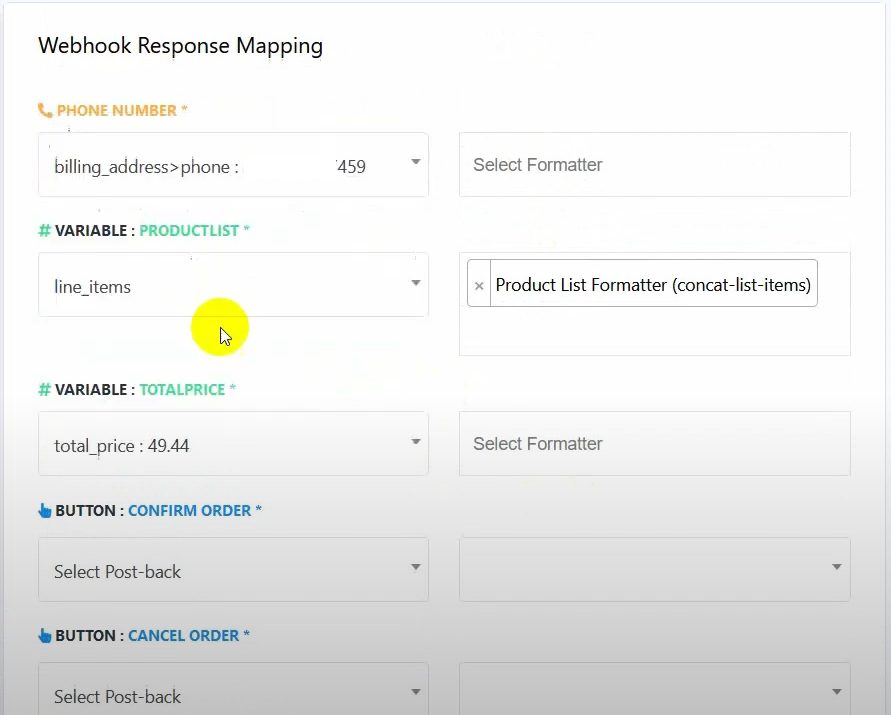
Configure Webhook Mapping:
For the phone number field, select “Billing Address Phone”.
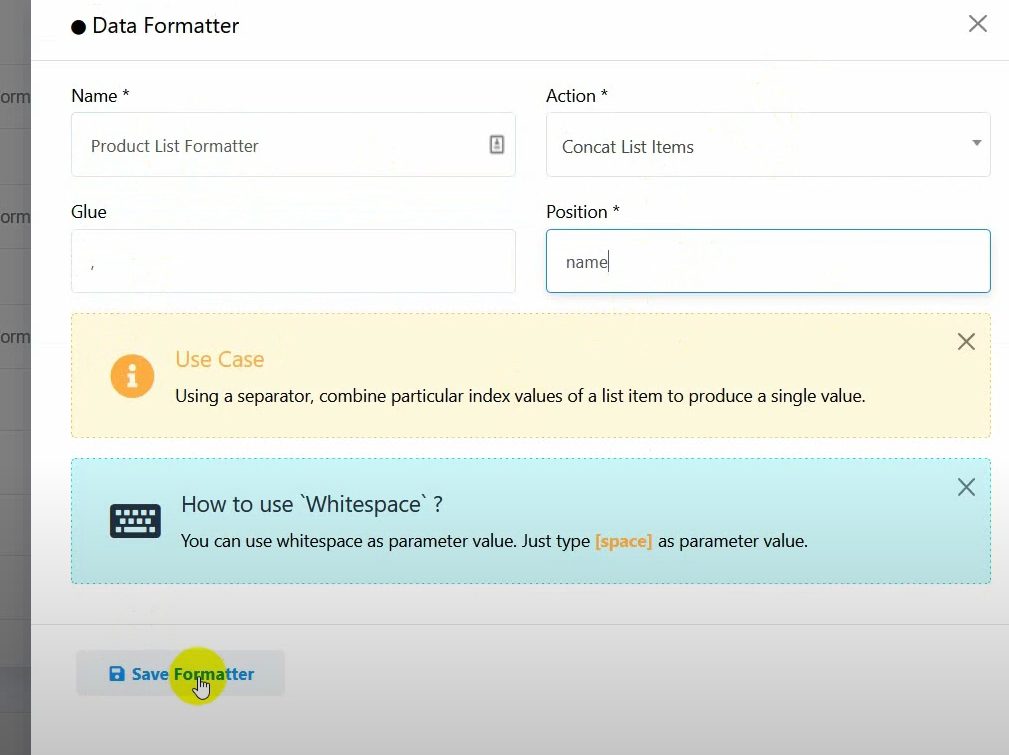
For the product list variable, use a formatter to concatenate list items. Name the formatter, select “Concat List Items” as the action, and set the glue as a comma. Save and select the formatter.
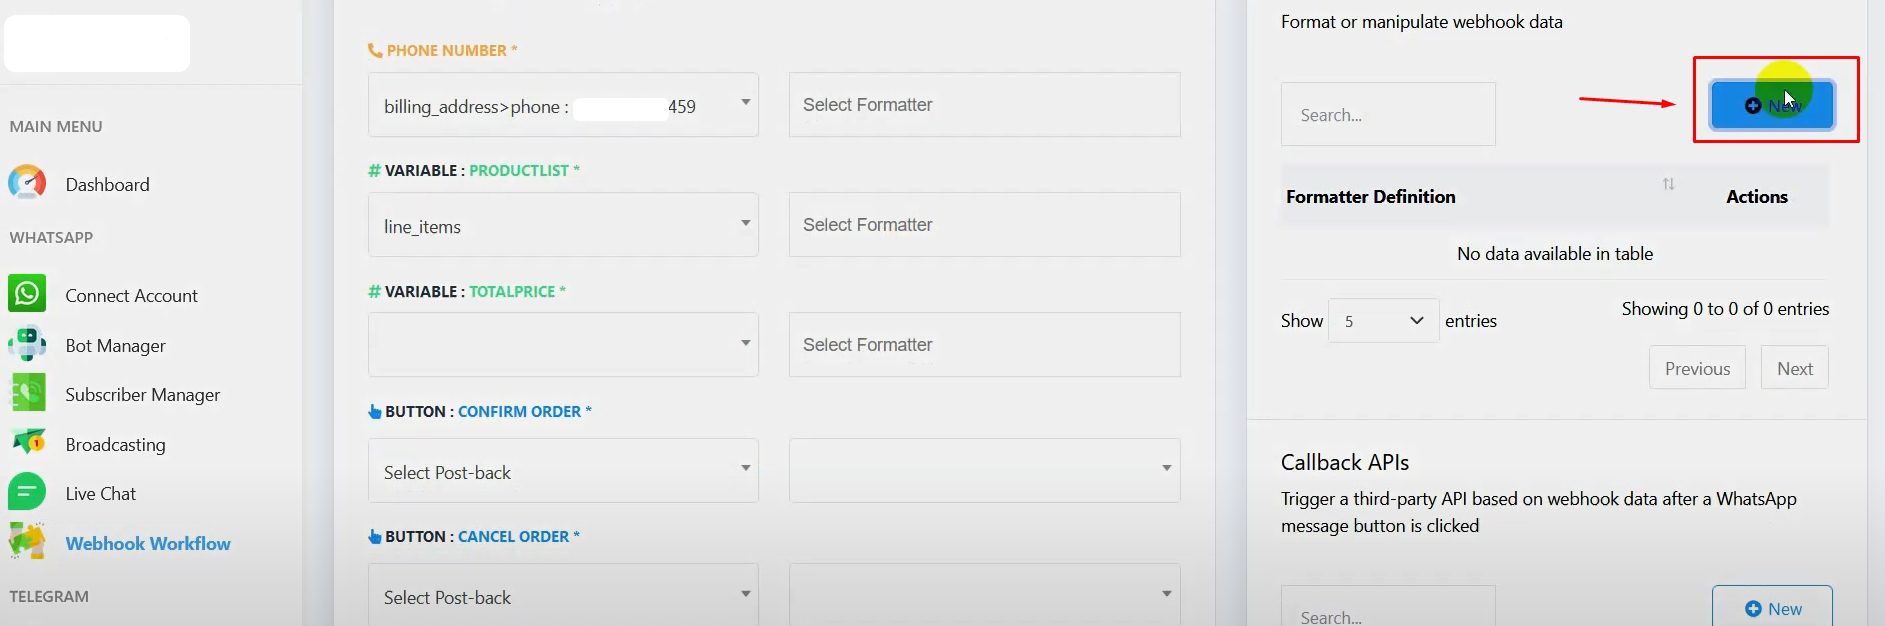
Map the total price variable.
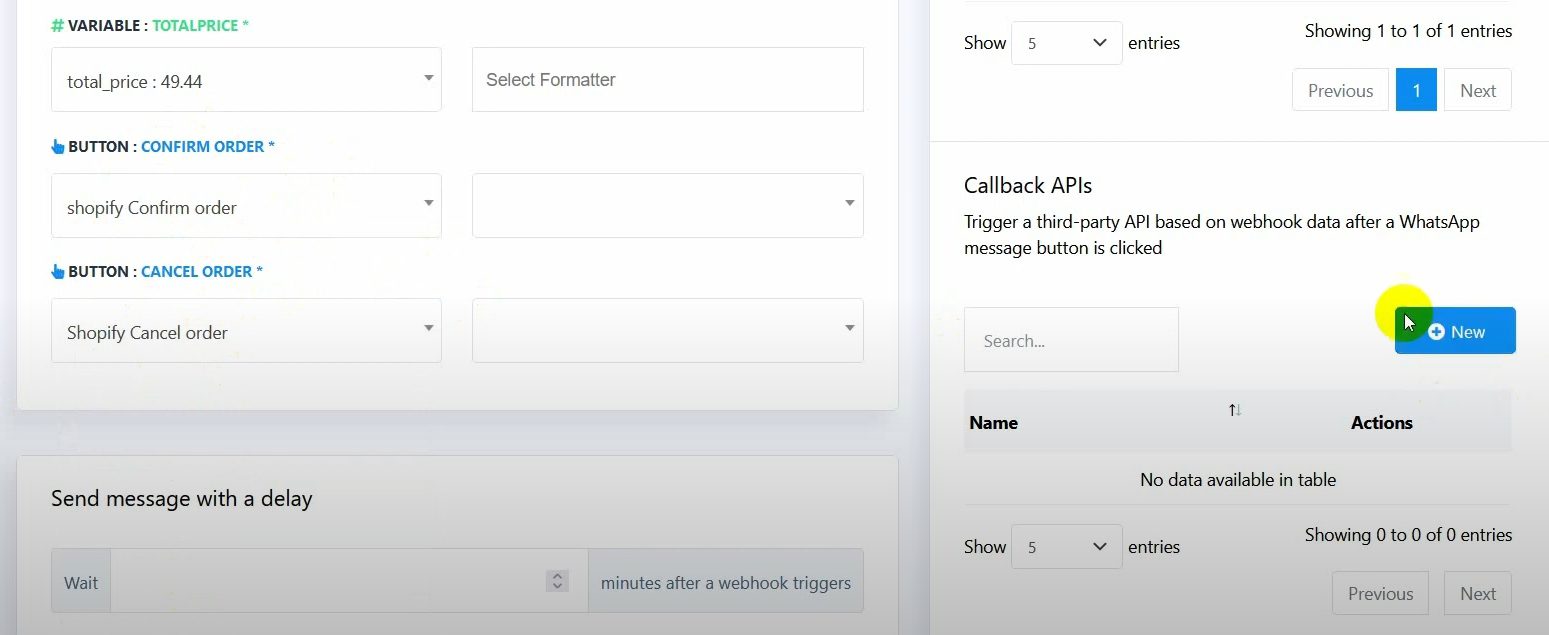
Set Up Callback APIs for Buttons:
For the “Confirm Order” button, create a callback API:
Name it and select “Shopify Order Tag Update” as the action.
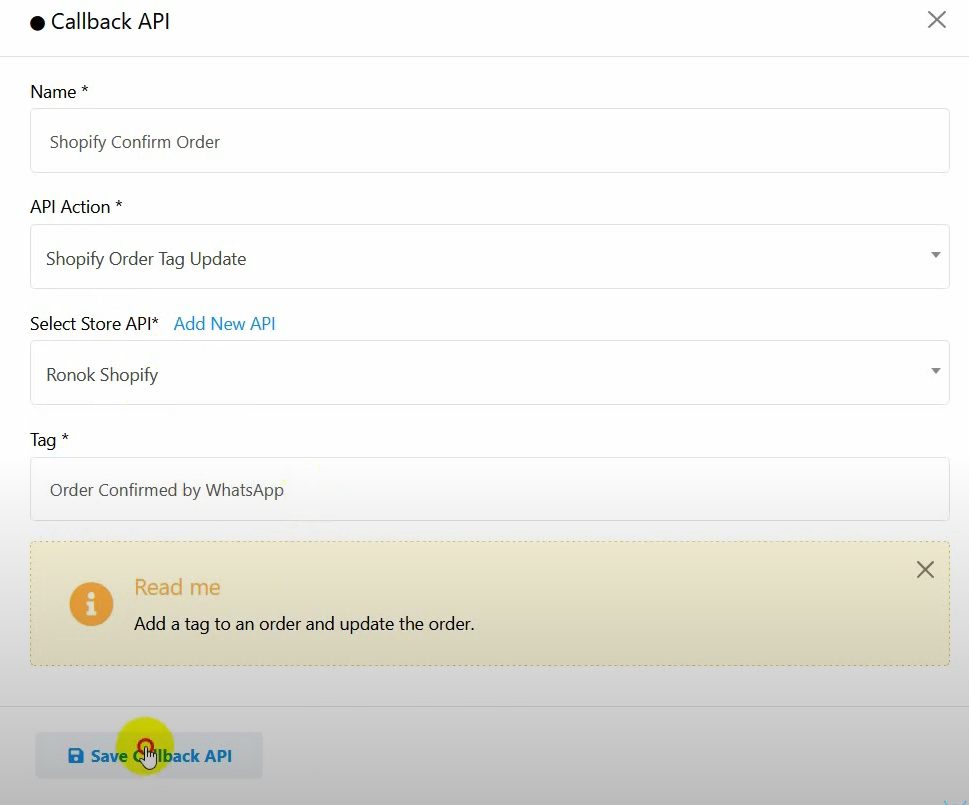
Choose the store API and write the tag. Save and select it.
For the “Cancel Order” button, create another callback API:
Name it and select “Shopify Order Cancel” as the action.


Choose the store API and save it.
Send Messages Based on Conditions:
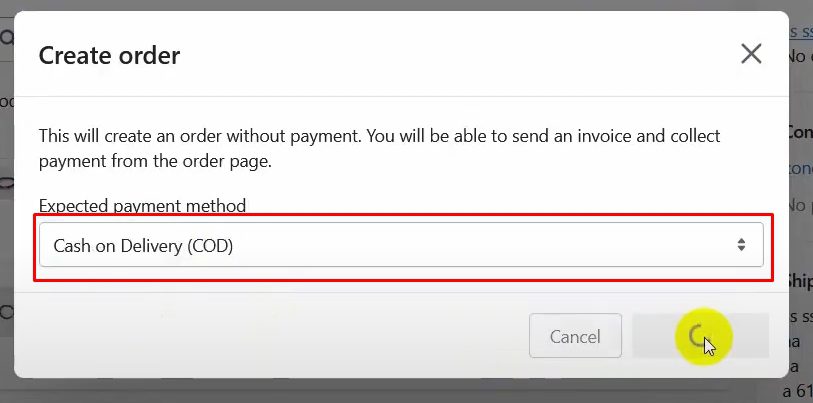
Configure the workflow to send messages only to customers who choose Cash on Delivery.


Select the payment gateway option and use the operator “equal” to match the COD condition.
Test the Workflow:
Create a Cash on Delivery order on Shopify and check the workflow report in BotCommerce.
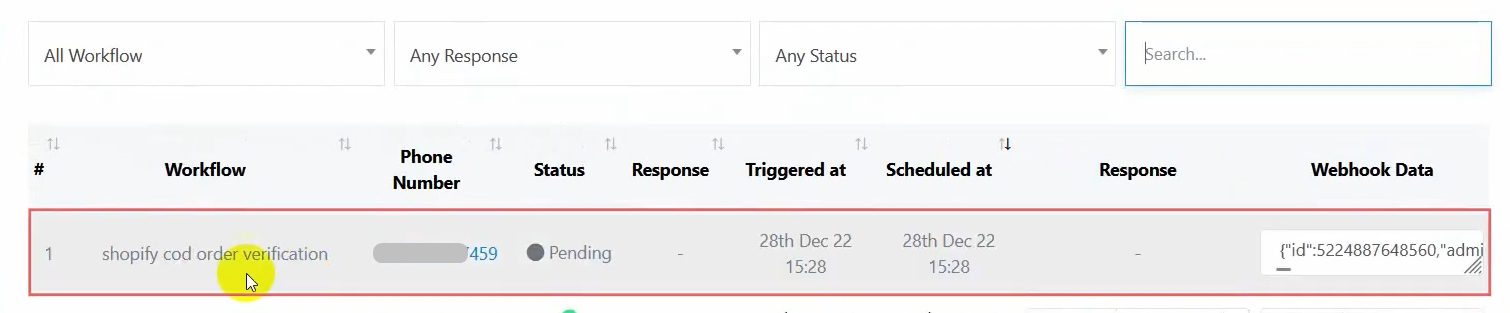
Confirm that the campaign has been completed and check your WhatsApp for the confirmation message.
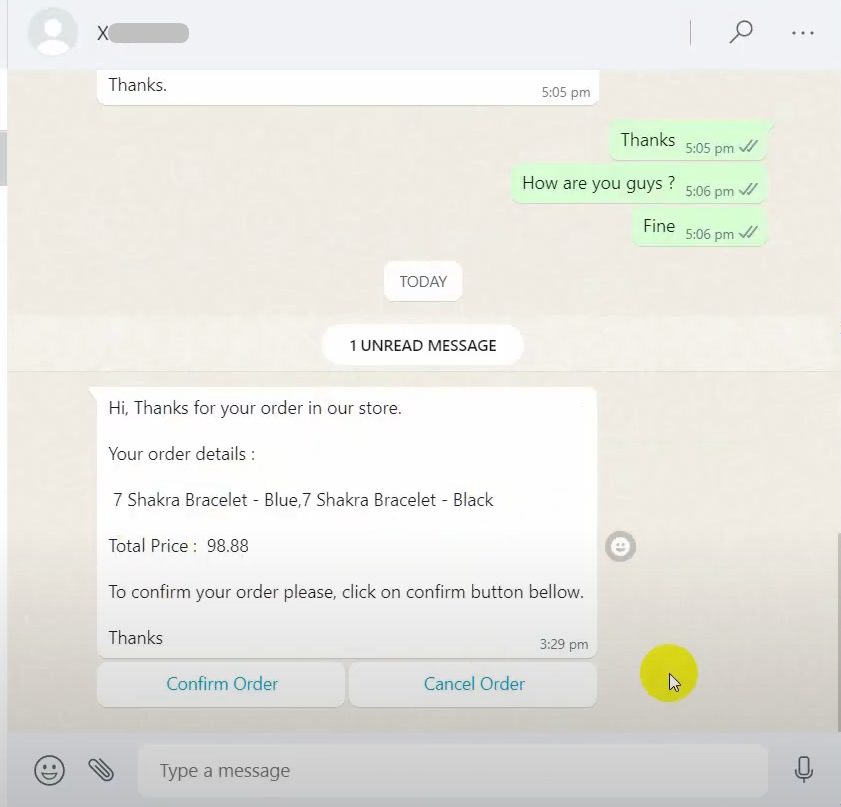
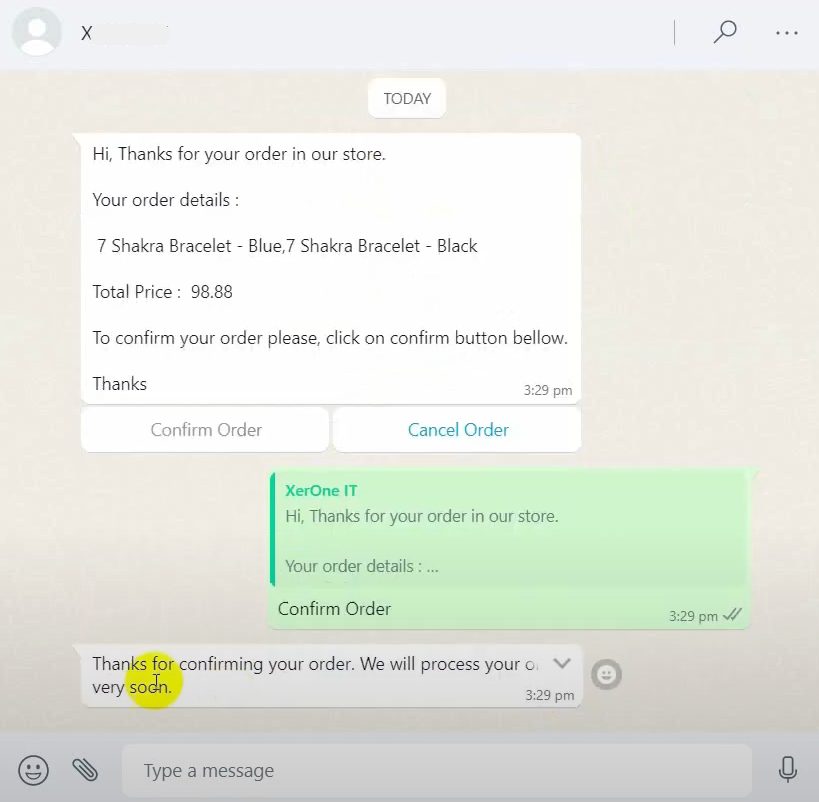
Click the “Confirm Order” button to approve the order on Shopify.
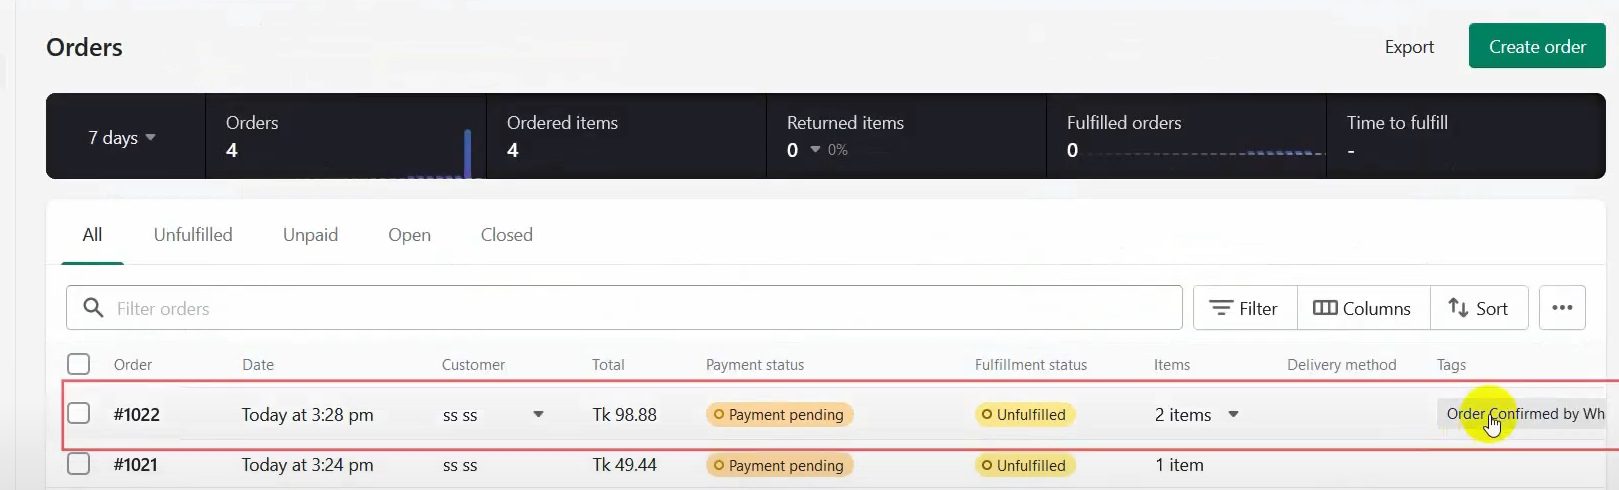
Go to the Shopify orders page and check that the order has been updated with the appropriate note.
With this, you’ve successfully automated order verification via WhatsApp using BotCommerce and Shopify!
