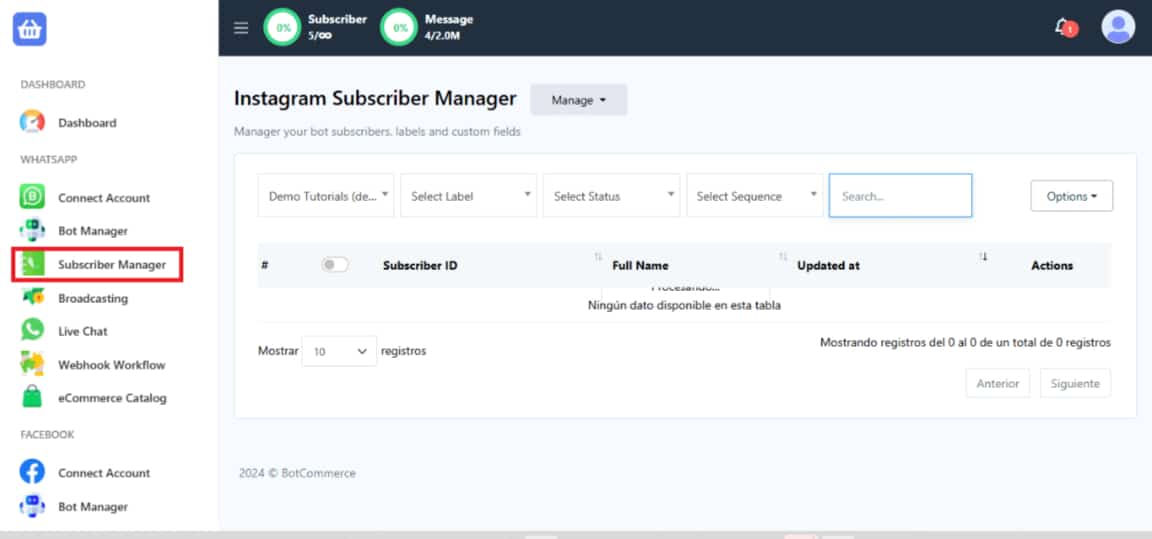
The Subscriber Manager is a powerful tool that allows you to organize, edit, and enhance your subscriber information across various social media platforms such as Instagram, Facebook, Telegram, and WhatsApp. It simplifies client management, provides quick access to live chats, and enables you to create custom fields and labels tailored to your needs. In this tutorial, we will use WhatsApp as an example, but the steps can be applied to other platforms as well.
Subscriber Manager
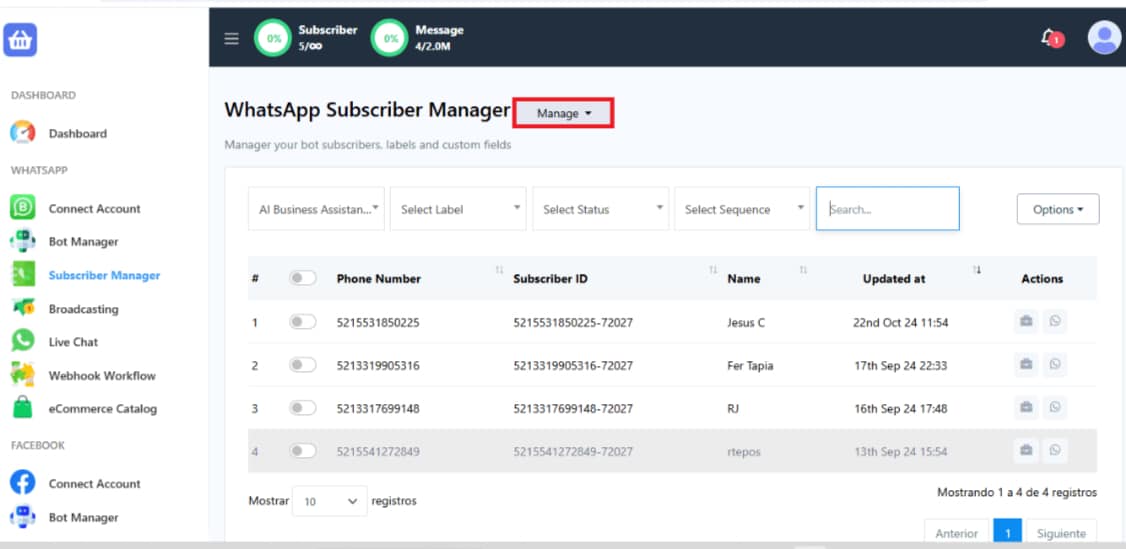
Navigate to the Subscriber Manager. In your dashboard, locate and select the “Subscriber Manager” section. Here, you’ll find all your subscriber data.
Use the Actions section to edit stored client information or access their live chat directly.
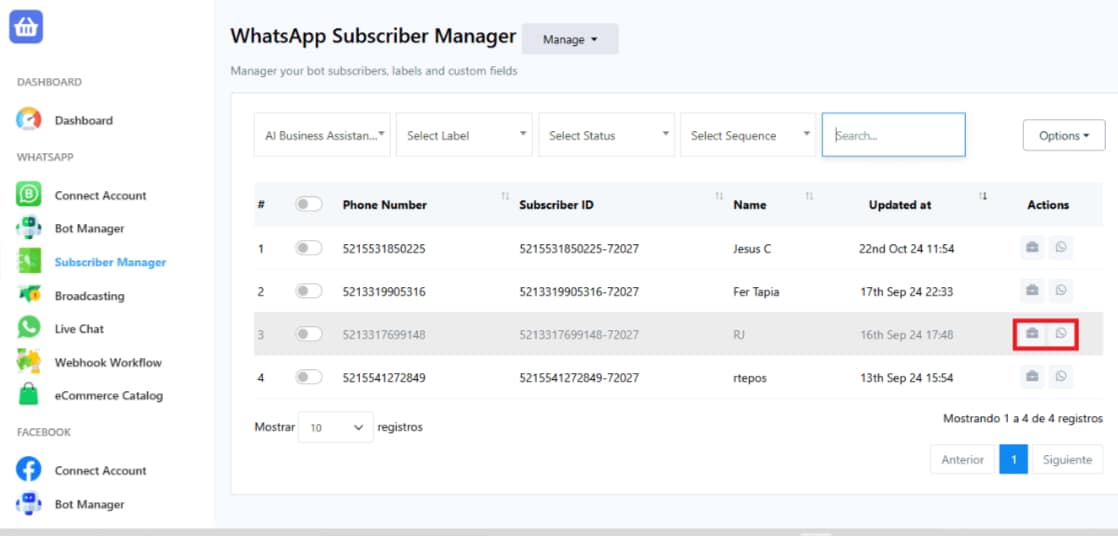
To begin, click on the Subscriber Actions icon in your panel to access this feature.
The Subscriber Actions tool provides detailed management of your saved subscribers and allows you to automate responses based on user behavior.
Configure actions triggered by specific events, such as:
-
- When a user types a keyword.
- When a user subscribes to your chatbot.
Automate responses and tasks like:
-
- Sending a message.
- Adding labels to users.
- Activating conversation flows.
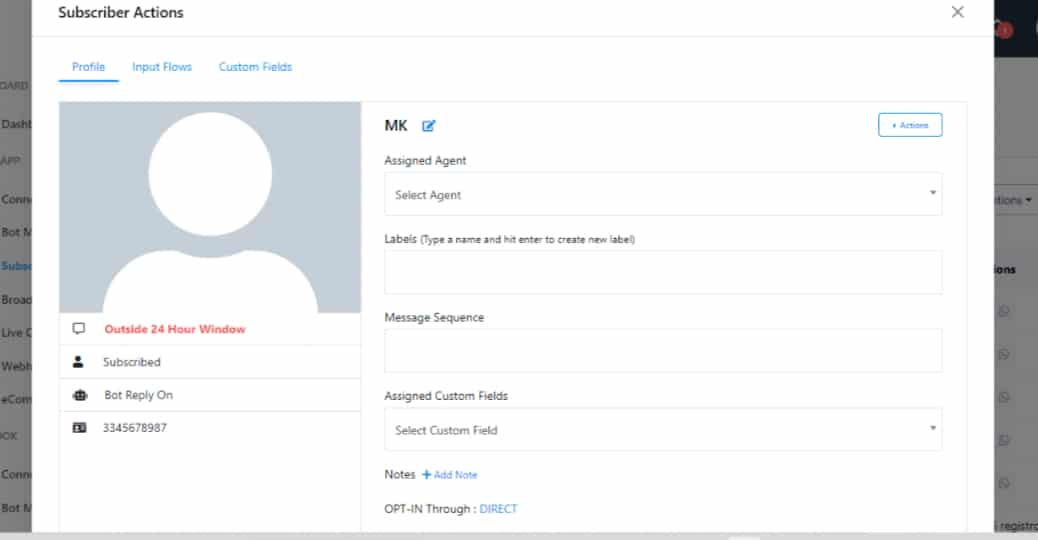
These features streamline customer interaction and improve the overall experience by enabling tailored responses and proactive actions.
The Input Flows section, found within Subscriber Actions, allows you to create and manage custom interaction flows to capture specific user information or guide them through certain actions.
- Gather user information such as preferences or contact details.
- Design flows to address user needs based on your goals.
- Program the bot to interact automatically with users to enhance engagement.
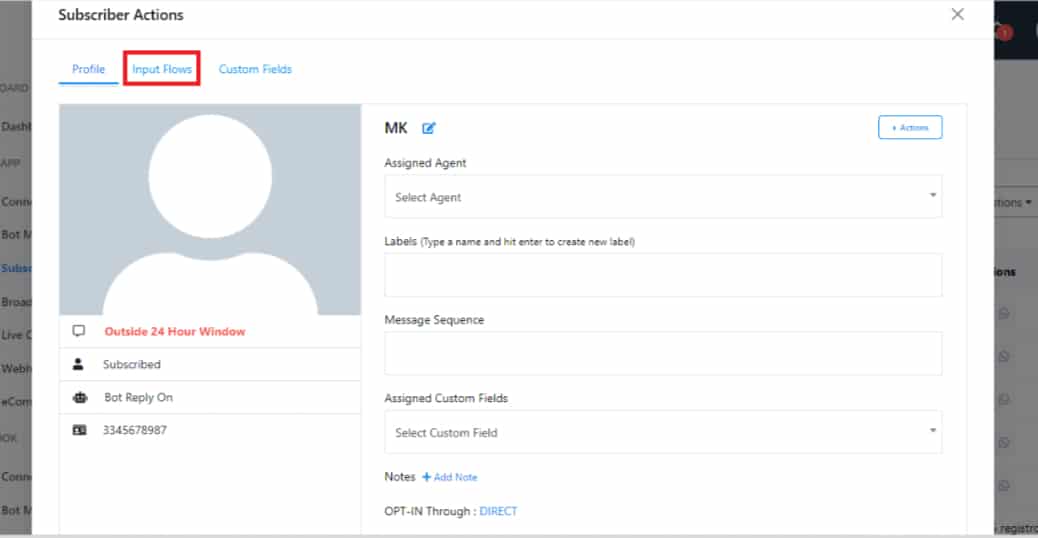
By leveraging Input Flows, you gain greater control over user interactions, ensuring a personalized and efficient approach to communication.
At the top of your panel, click the Manage icon. This will display two options:
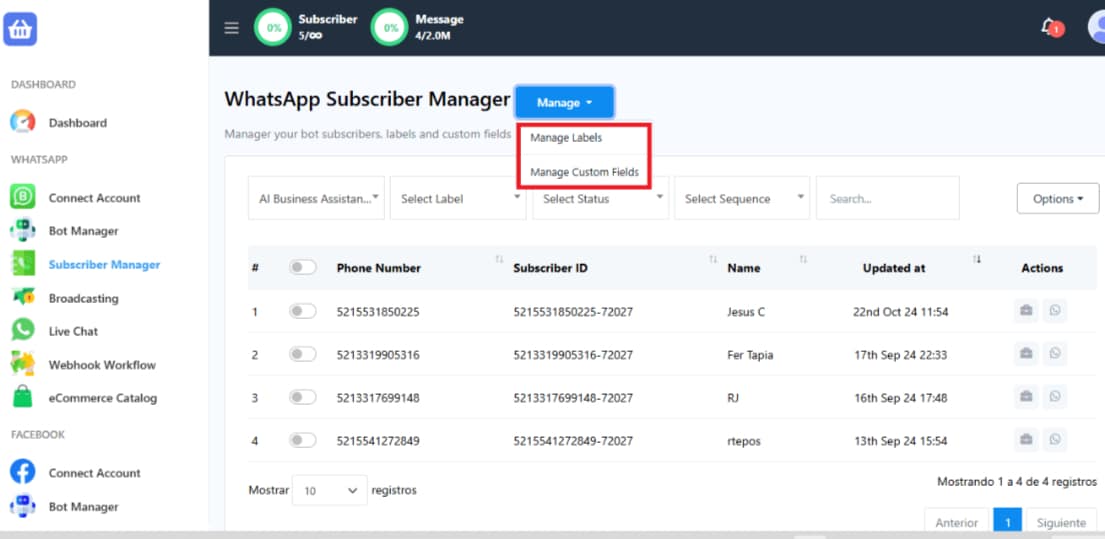
Manage Custom Fields
- Purpose: Store additional, unique subscriber data (e.g., birthdays, preferences, or purchase history).
- Benefits: Personalize automated messages for subscribers and Enhance engagement by creating tailored experiences.
- Example: Send birthday greetings with offers: “Hi [Name]! We know your birthday is on [Date]. Here’s a gift for you.”
Manage Labels
- Purpose: Organize and segment subscribers into categories based on criteria (e.g., interests or behavior).
- Benefits: Group subscribers for targeted communication (e.g., “VIP Customers”).
Improve campaign effectiveness by focusing on specific audiences. - Example: Share exclusive promotions with subscribers labeled as “VIP Promotions.”
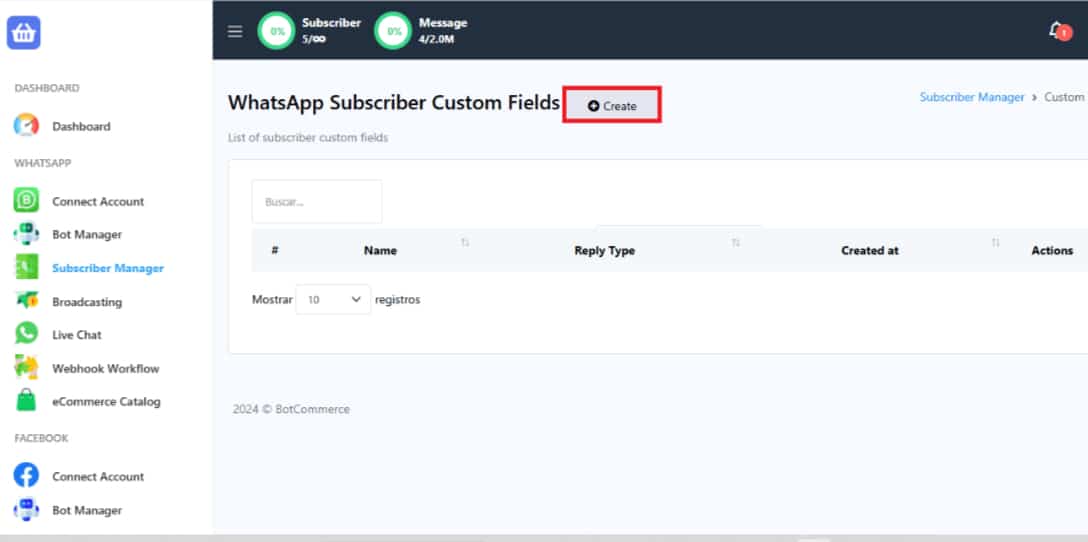
Add Custom Fields
Select Manage Custom Fields. In the new window, click Create and complete the fields, including the Field Name and Reply Type.
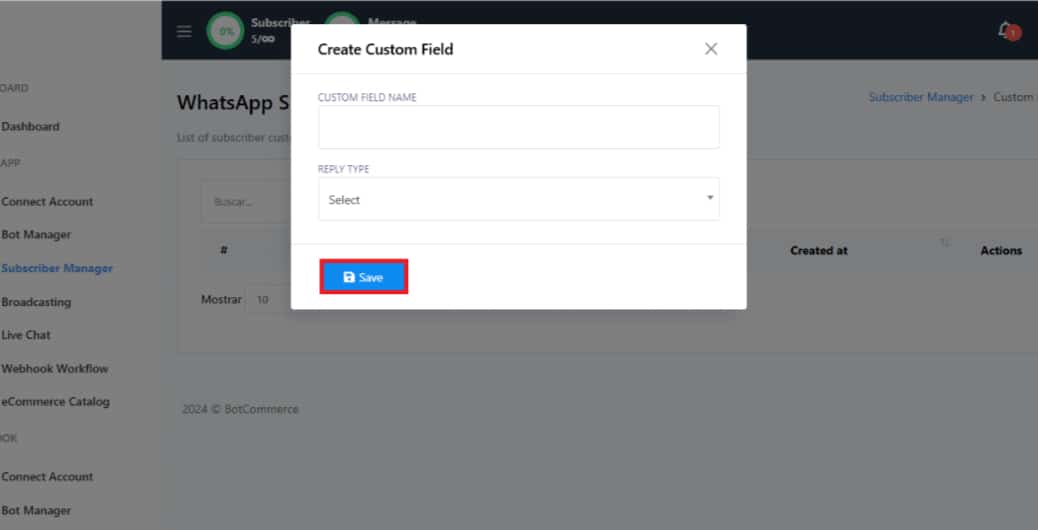
Click Save to finish adding your custom fields.
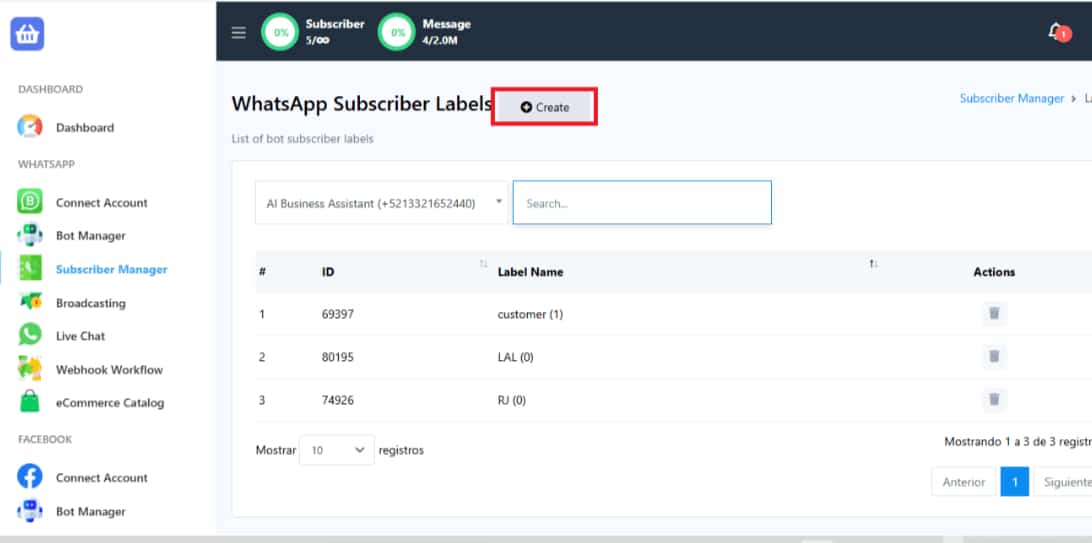
Create a New Subscriber Label
Return to the main Subscriber Manager panel and select Manage Labels. Click the Create icon.
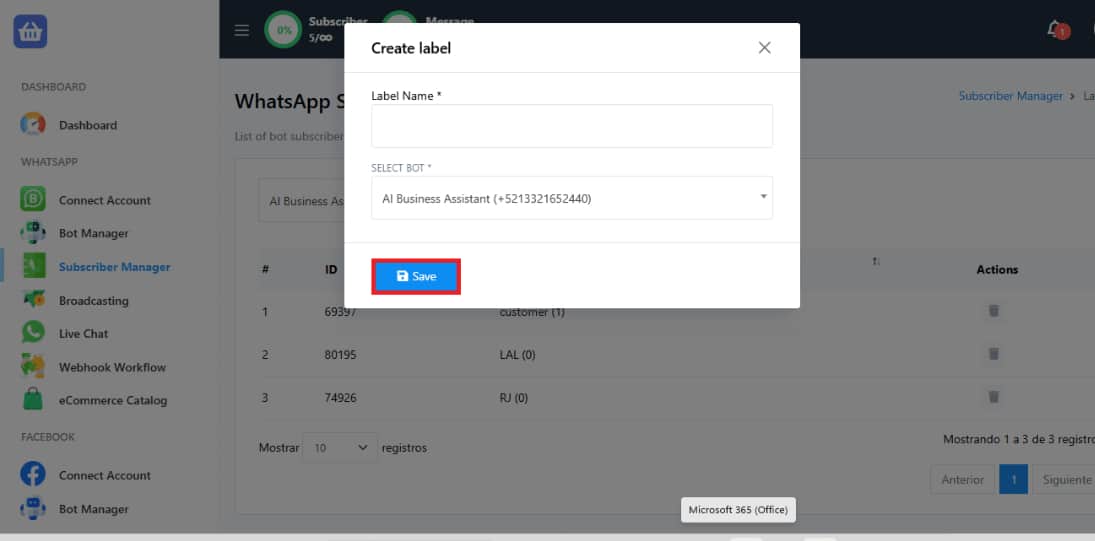
A small window will appear; input the Label Name, select the Bot, and click Save.
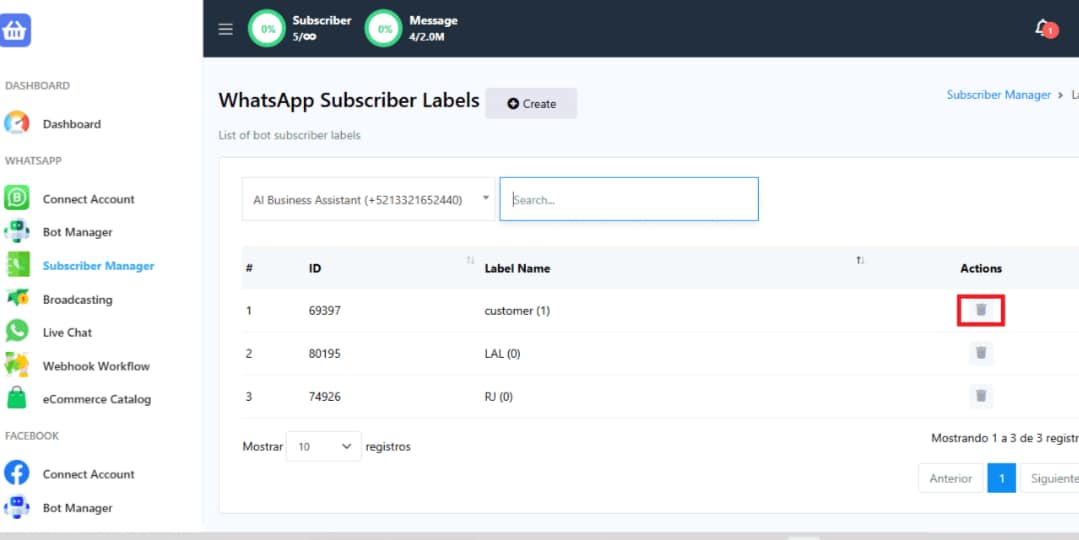
Delete a Label
Click on the Manage Labels option. In the opened window, locate your WhatsApp Subscriber Labels. Use the Actions menu to remove a label from your list if needed.
With the Subscriber Manager, you can efficiently manage your clients, streamline communication, and personalize their experience by using labels and custom fields. Mastering these steps will help you stay organized and improve your subscriber management process. Start exploring its features and elevate your subscriber management today!
