The Comment Growth Tools will automate comment replies on your Facebook and Instagram Posts. Here we will explore them one by one. Keep in mind that once these features start working, they will continue without your supervision until you stop them.
Accessing the tools
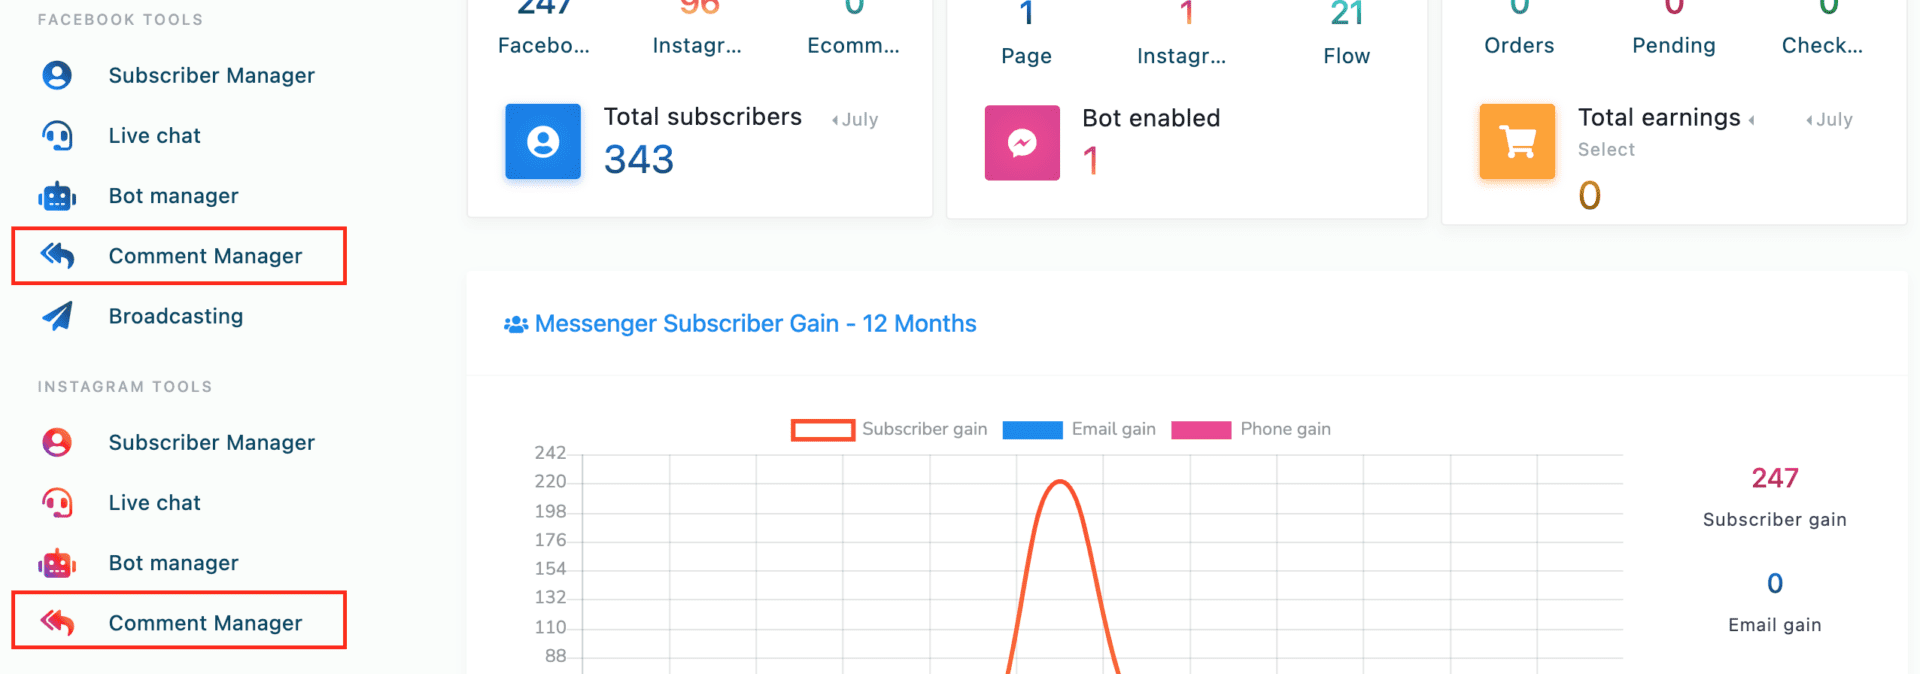
1. Open the Comment Manager. At the left panel of the dashboard, you will see an item called Comment Manager. Click on it. Remember that the blue one is for Facebook and the pink one for Instagram.
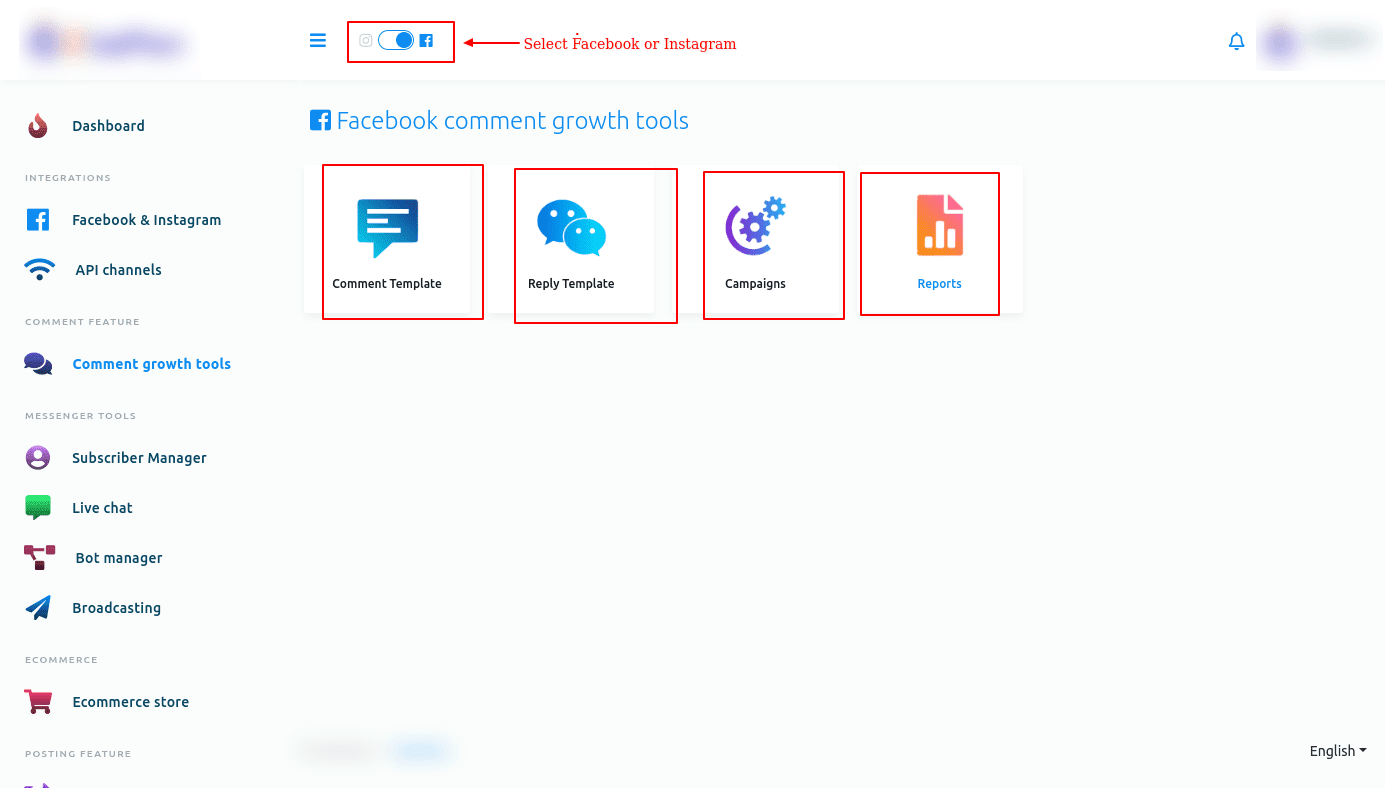
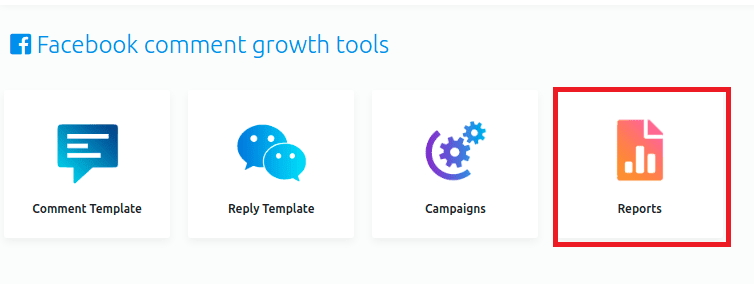
The page that will open has three options — Comment Template, Reply Template, Campaigns, and reports. Now let’s see how to create a Comment growth tools campaign for Facebook. Therefore, First, select Facebook.
Creating an auto comment template
1. Create a new template. To create a comment template, click on the Comment Template option. Instantly, the Auto comment template manager page will appear with a button called Create new template. Click on it.

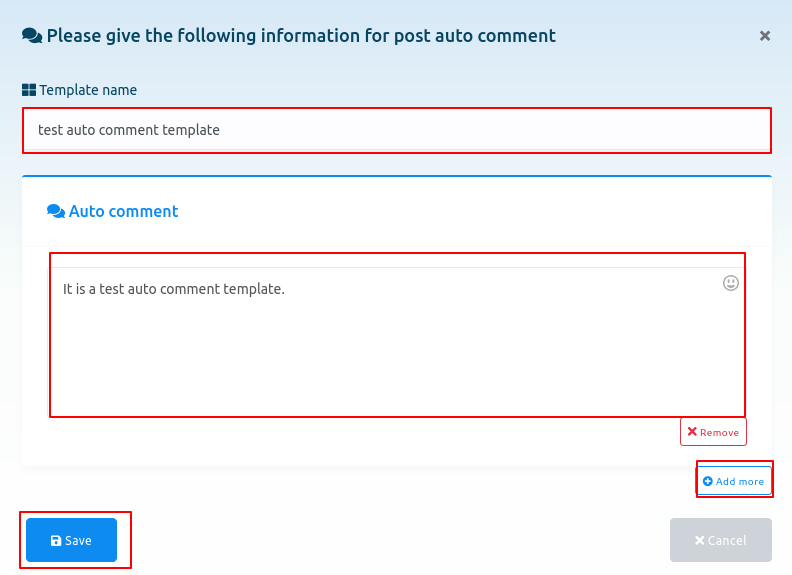
2. Configure the template. Instantly, a modal form will appear— you have to fill out the form to create an auto comment template. Write a ‘Template name’ in the ‘Template name’ box. Then write a comment in the ‘Auto comment’ box, the comment that will be made automatically under your Facebook pages’ posts. You can add as many comments as you want by clicking on the ‘Add more’ button. Then click on the ‘Save’ button. Instantly, a successful message will appear.
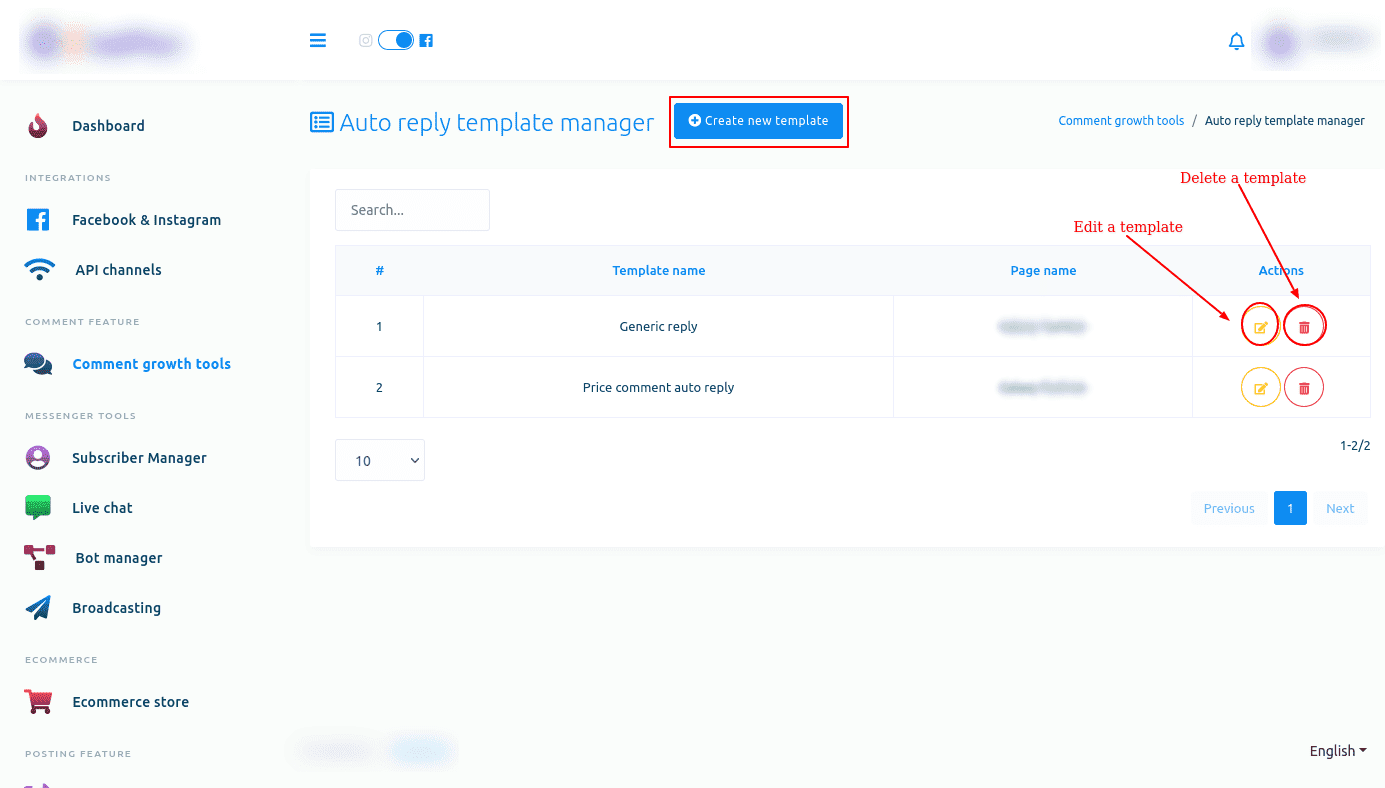
3. Manage Your Templates. Now the template is created, and you can see the template name on the page called ‘Auto comment template manager’. Next to the template name, you will see the ‘edit’ and ‘delete’ icons. By clicking on the ‘Edit’ icon, you can edit the campaign. And by clicking on the ‘Delete’ icon, you can delete the template. Of course, you can create another template by clicking on the ‘Create new template’ button— you can create as many templates as you want.
Creating an auto reply template
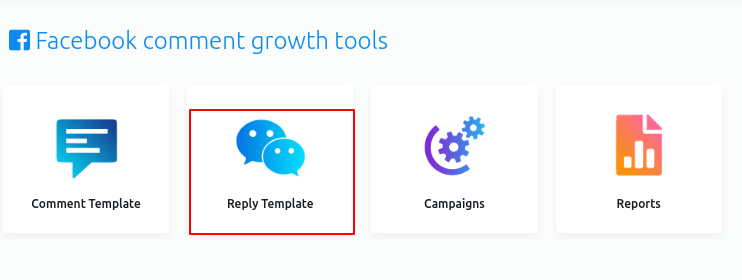
1. Create a template. To create an auto reply template, click on the Reply template option on the Comment growth tool page.
The Auto reply template manager page will appear with a button called Create new template. Click on it.
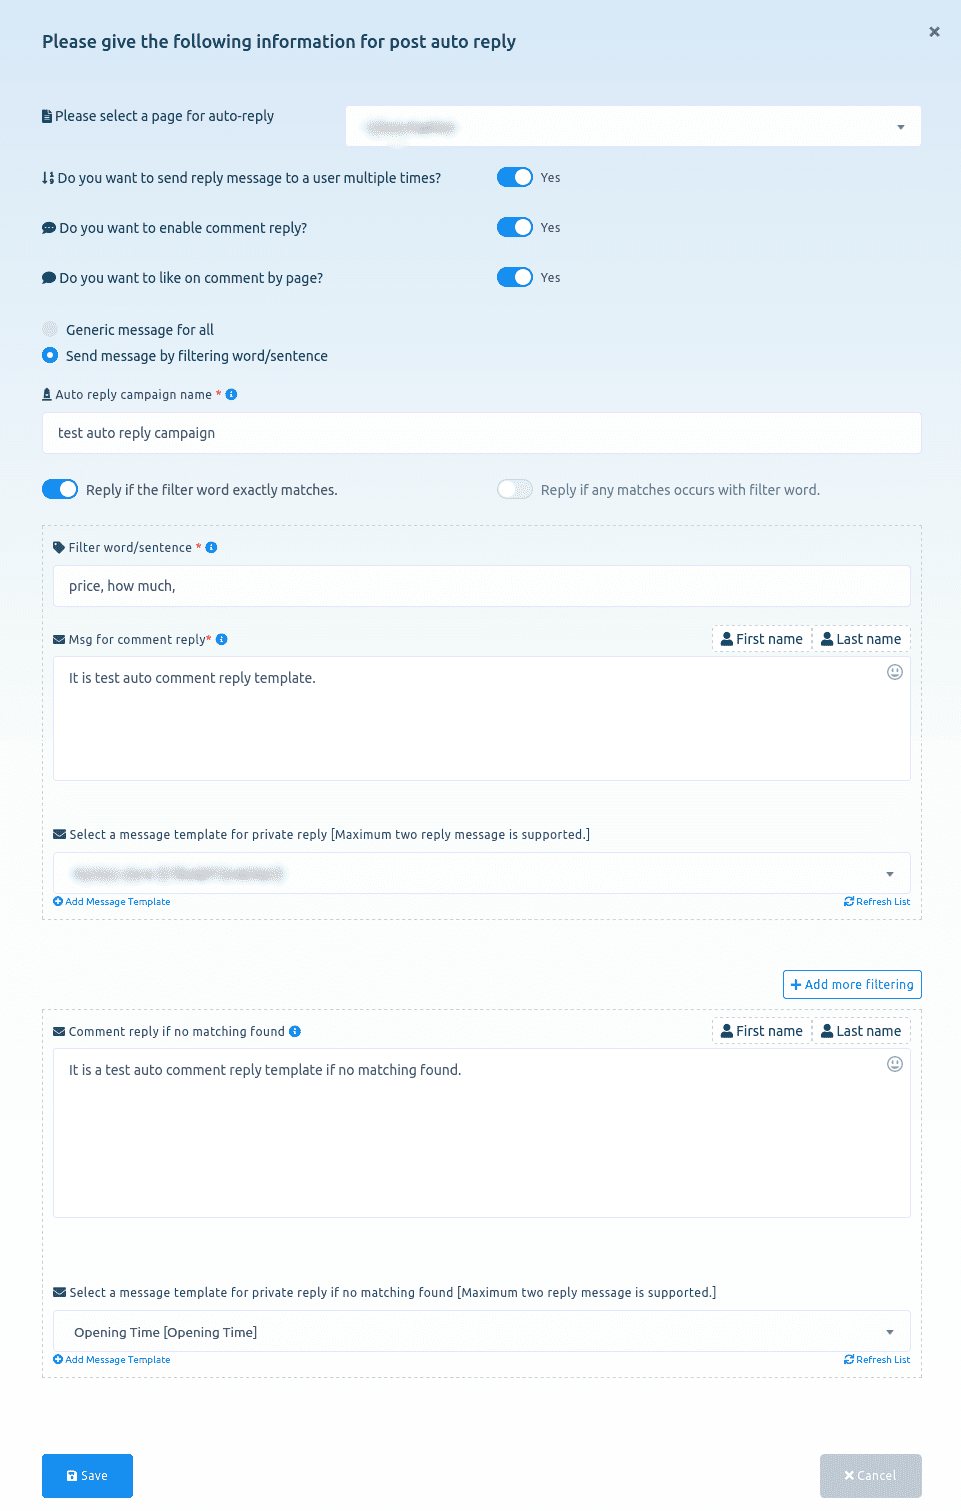
2.- Fill the form. Instantly, a modal form will appear — you have to fill out the form. First, you have to select a Facebook page from the drop-down menu. You can enable two options if you want to: Generic Message for all or Send Message by filtering.
Generic message for all
1. Select the Generic message for all option. Instantly, three fields will appear.
2. Give it a name. Write a template name in the Auto reply campaign name field.
3. Add the content. Write a message for Message for comment reply field.
4. Add a Private Reply. Optionally, select a message template for private reply.
5. Save. Finally, click on the Save button.

Send message by filtering
1. Name the Campaign. If you select Send message by filtering word/sentence, some more fields will appear. First, write a campaign name in the Auto reply campaign name field.
2. Indicate when to Reply. Enable Reply if the filter word exactly matches or Reply if any matches occurs with filter word. Write a filter word or sentence in appropriate field.
3. Add the content. Write the comment on the Comment reply box.
4. Add a private message. Optionally, select a message template for private reply.
5. Configure the no match template. Write a comment to reply if no matching keywords are found. You can also select a private message template for this cases.
6. Save. Finally, click on the Save button.
Managing your campaigns
1. Open the Automation page. To create campaigns, click on the Campaigns option on the Comment growth tools page. Instantly, a Facebook comment automation campaign page will appear.
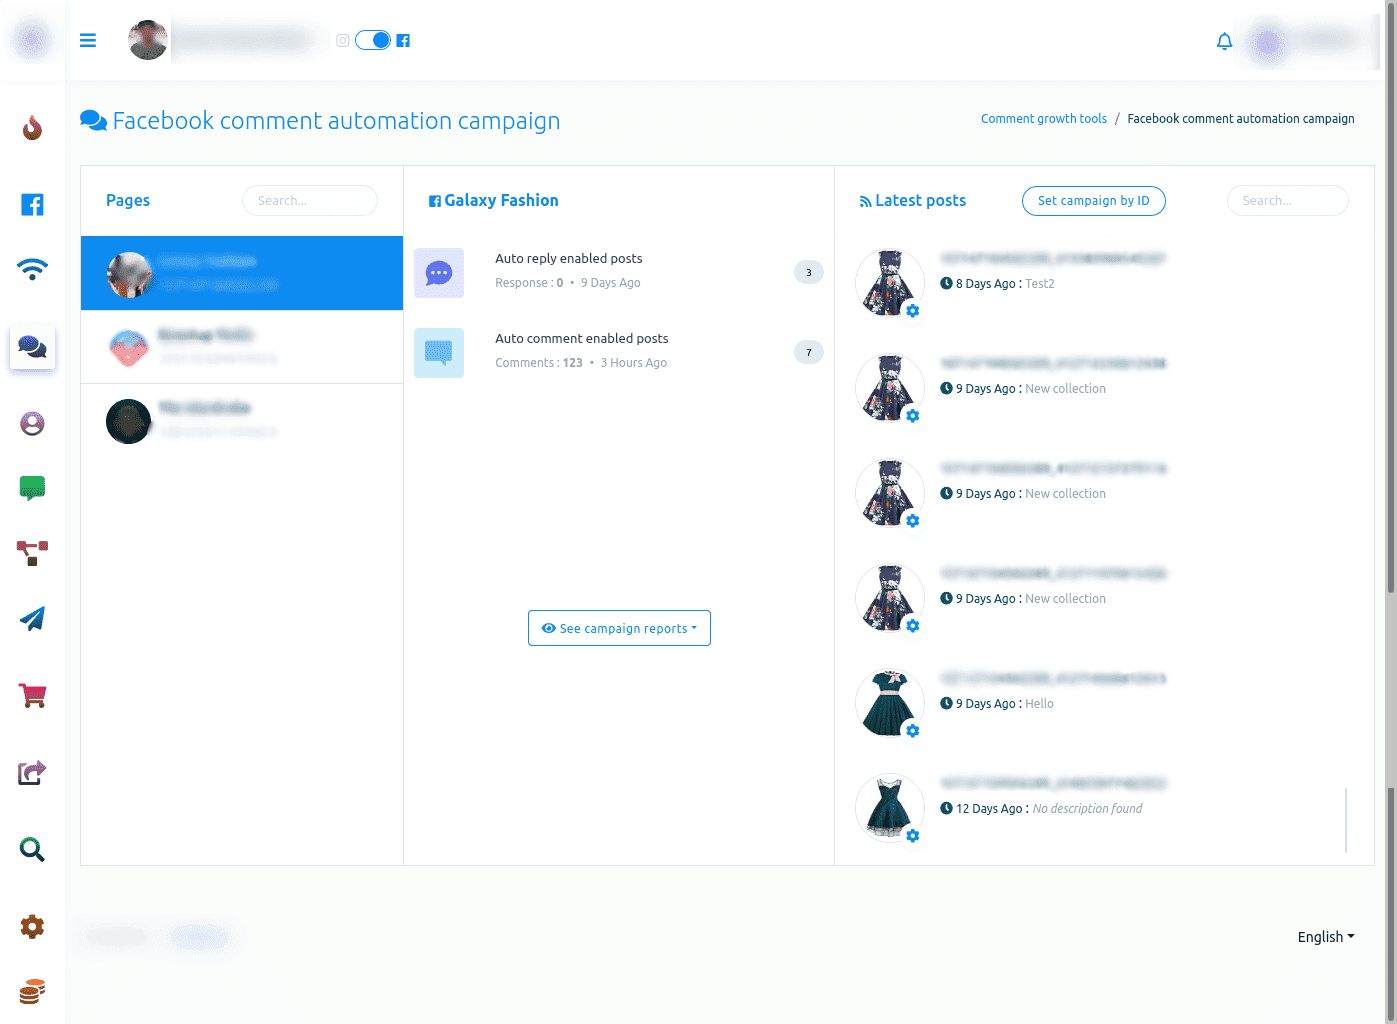
This page is divided into several sections:
On the Pages section, you have to select a Facebook page.
On the Latest Post Sections, you can see the list of latest posts.
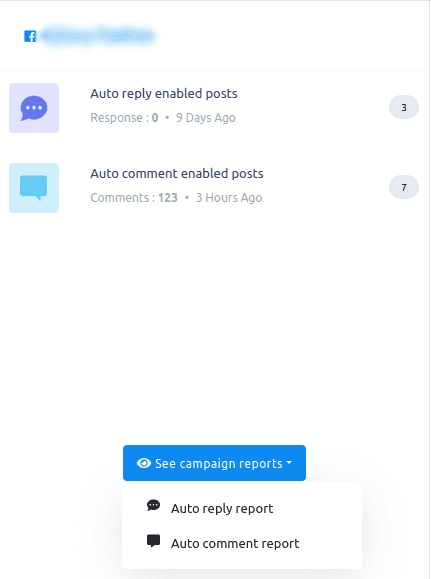
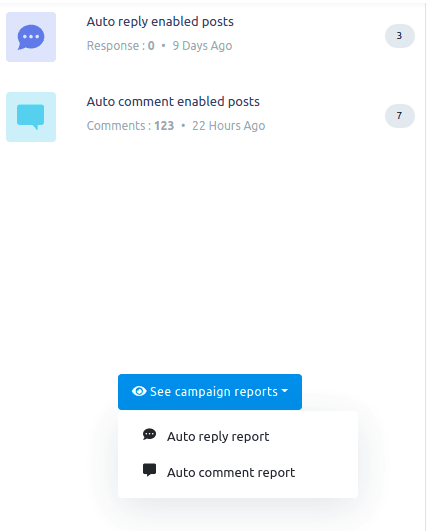
In the Middle Section, you can see reports. Initially, you can see the number of auto reply enabled posts and auto comment enabled posts. If you want to see campaign reports in detail, click on the see campaign reports button. Instantly, a drop-down menu of two options — auto reply report and auto comment report will appear.
Auto reply report
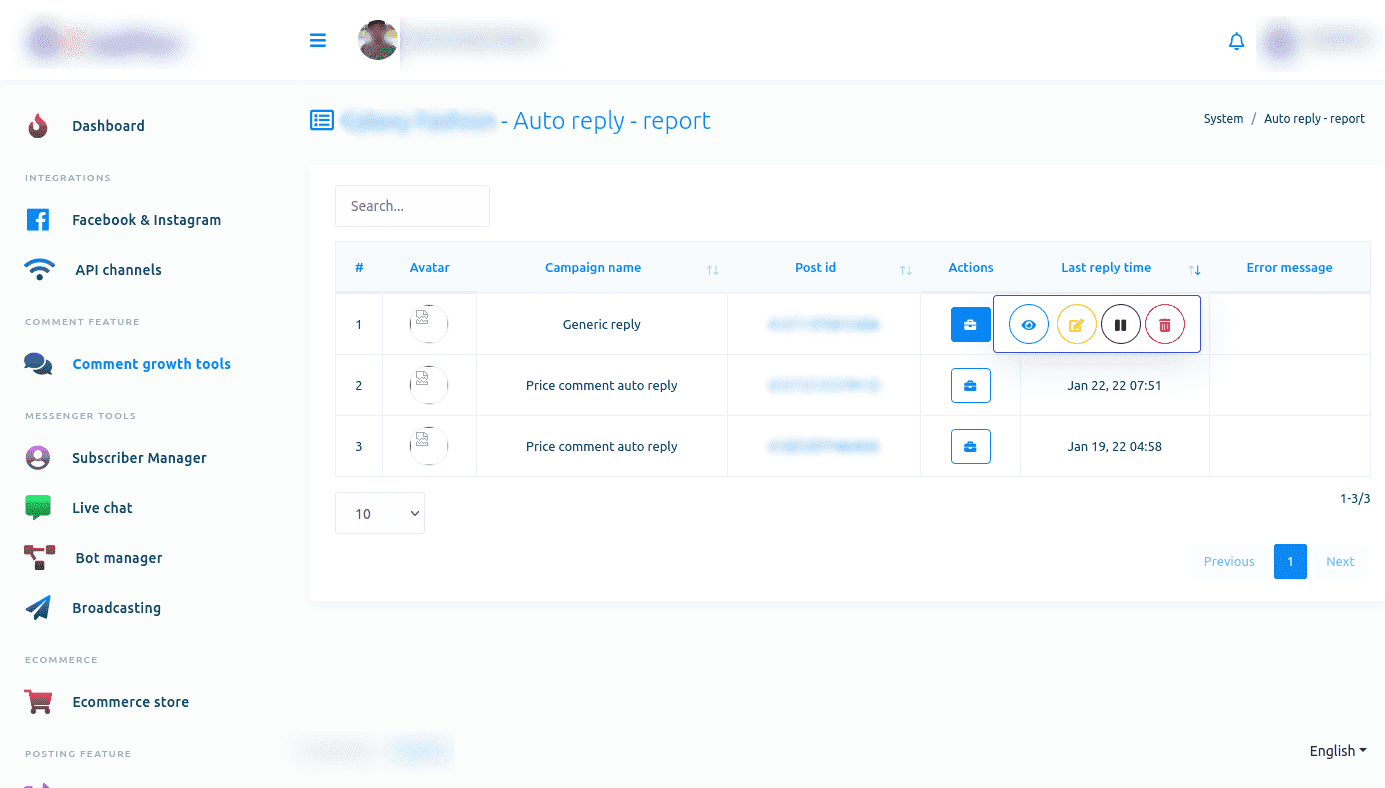
1. Open the Auto Reply Page. To see the auto reply report, click on the auto reply report option. Instantly, the report of the selected page will appear. On this page, you can see the details of each campaign. And you can edit, pause and delete any of them.
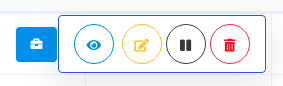
2. Click on the action button of a campaign. A pop-up menu of four buttons will appear— eye icon button, edit button, pause button, and delete button.
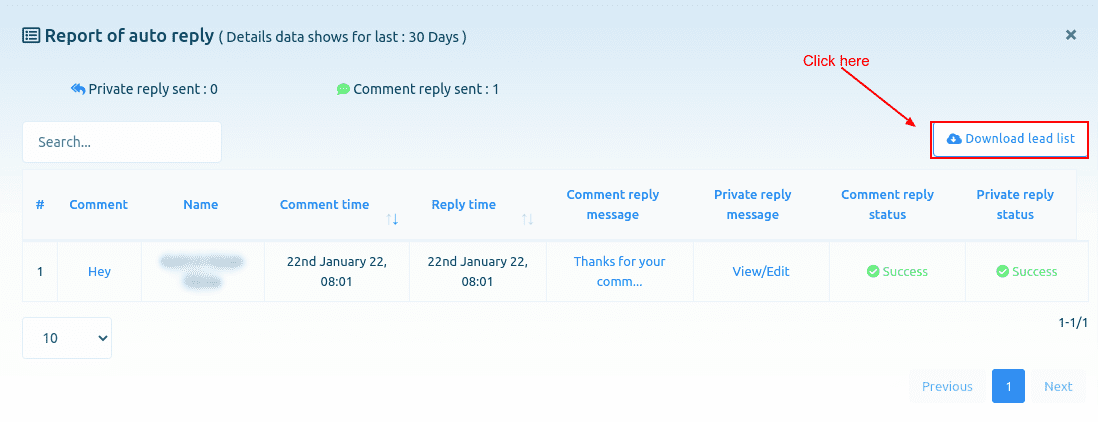
3. Open a report. To see the report of a campaign, click on the eye icon button. Instantly, a modal called Report of auto reply will appear. On the modal, you can see the report of the auto reply.
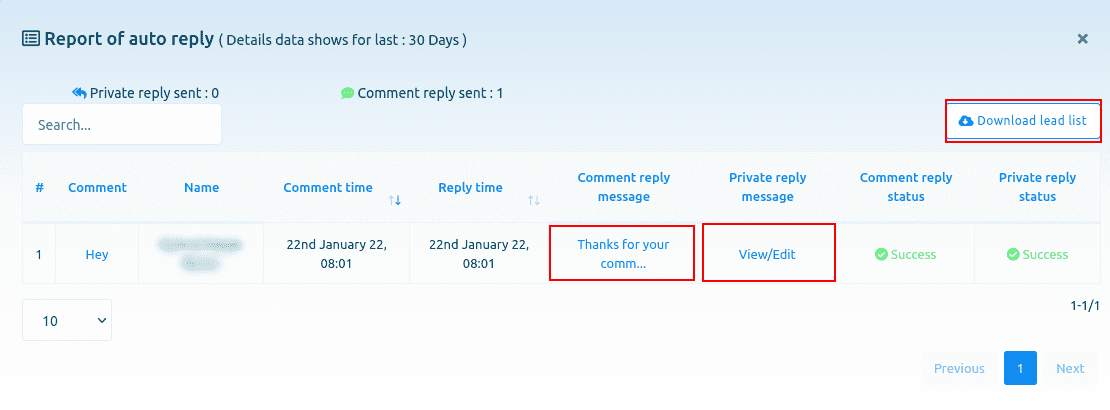
4. Edit the Private Reply template. By clicking on the view/edit button under the private reply message option, you can view and edit the private reply message template.
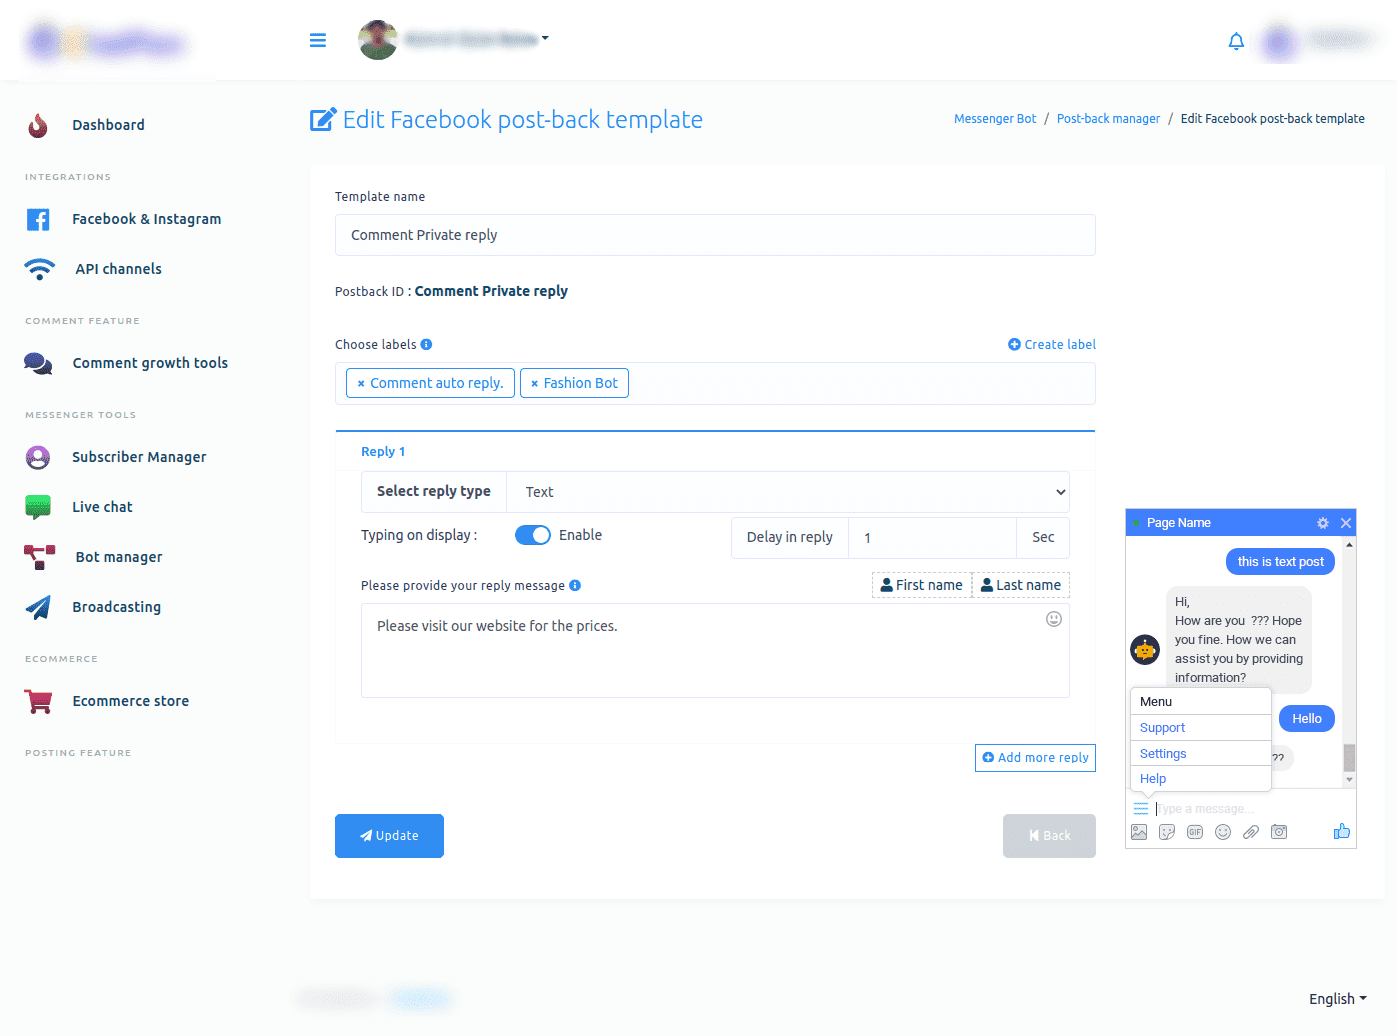
5. Edit the Postback template. The view/edit button will take you to a page called edit Facebook post-back template. There, you can edit the postback template easily.
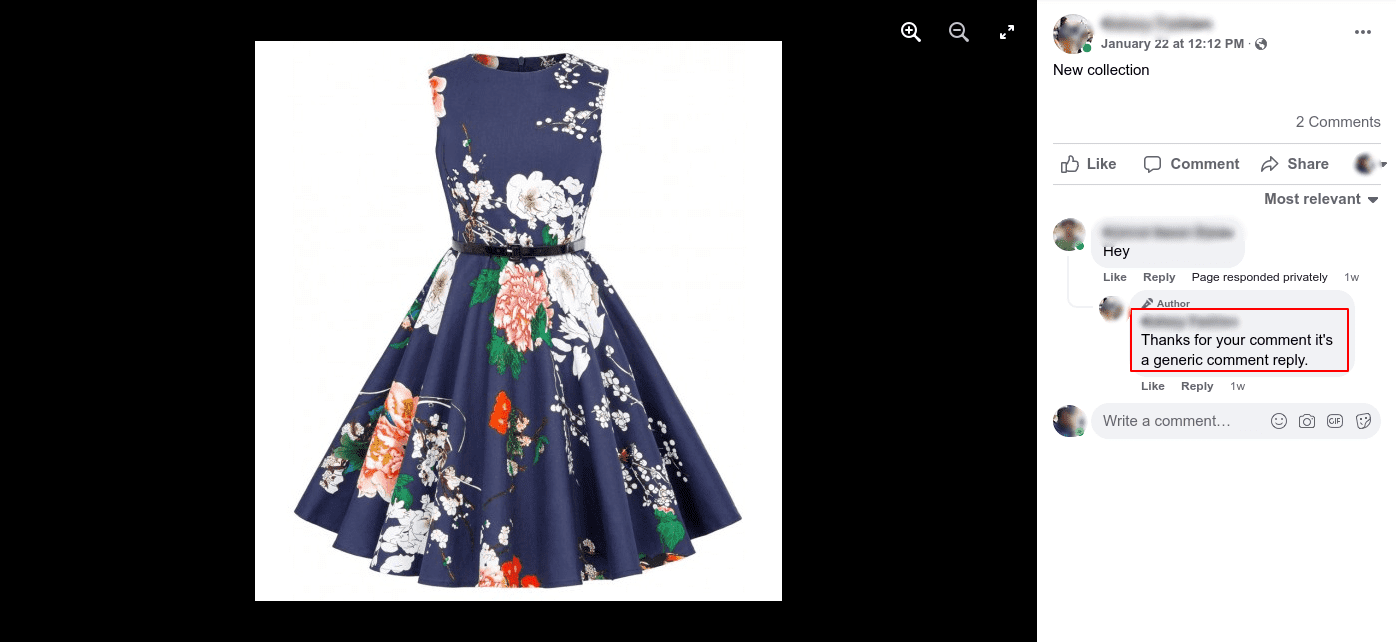
6. Manage the Comment Replies. Under the comment reply message option, you can see the comment reply message. If you click on it, you will see the post under which this comment is posted.
7. Download your leads. By clicking on the download lead list button, you can download a list of the leads generated by the campaign as a CSV file.
8. Manage the campaign. Likewise, by clicking on the edit, pause and delete button, you can edit, pause and delete the campaign.
Auto comment report
1. Open the Auto Comment report. To see the auto comment report, click on the Auto comment report option of the drop-down menu.
On the page that will open, click on the Action button of any Auto comment campaign and a pop-up menu of different buttons — eye icon button, edit button, pause button, force processing button and delete button — will appear.
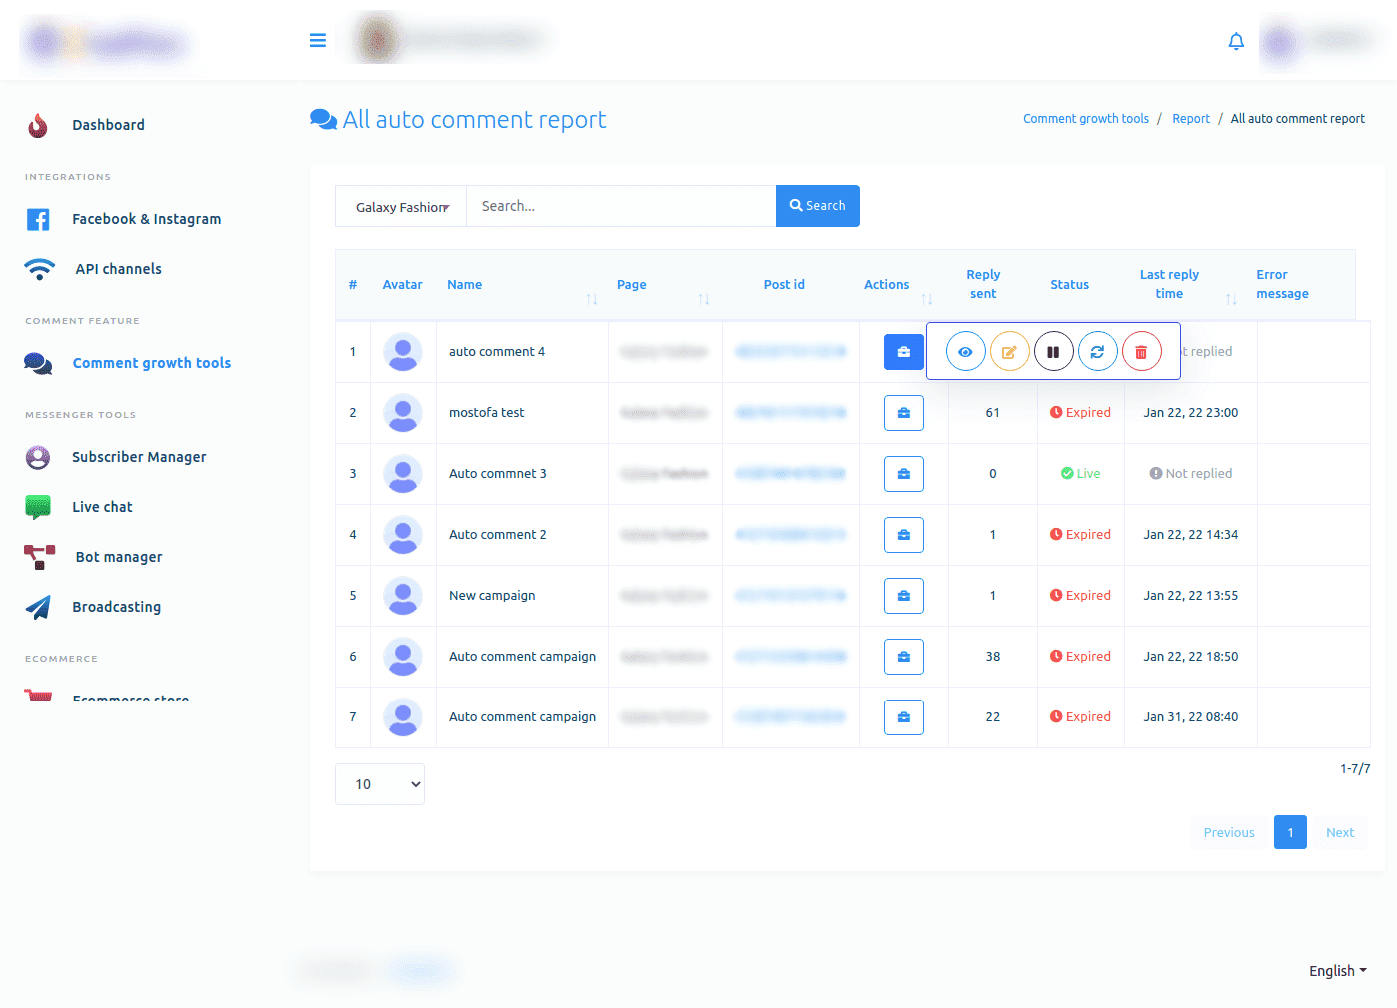
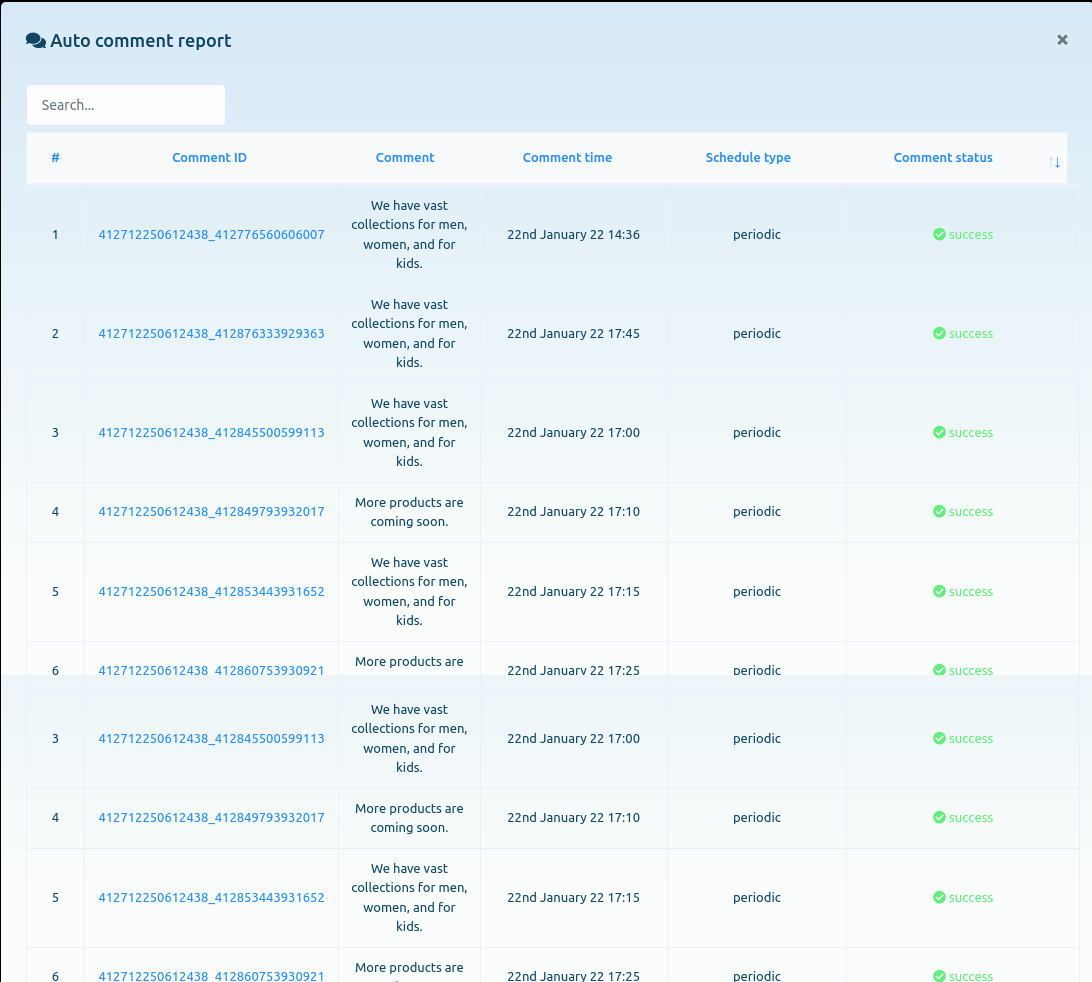
2. Manage the campaign. Click on the eye icon button and instantly, a modal form called Auto comment report will appear. Here you can edit, pause, force processing and delete the campaign.
Adding Comments and replies
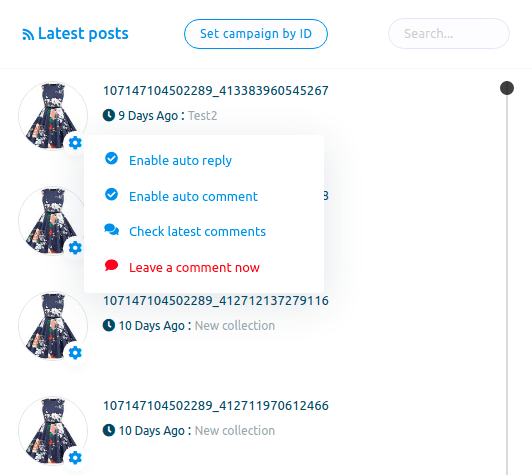
On the Latest Posts section, click on the gear icon of any post to open a drop-down menu of different options: Enable auto reply, Enable auto comment, Check latest comments and Leave a comment now.
Enable auto reply
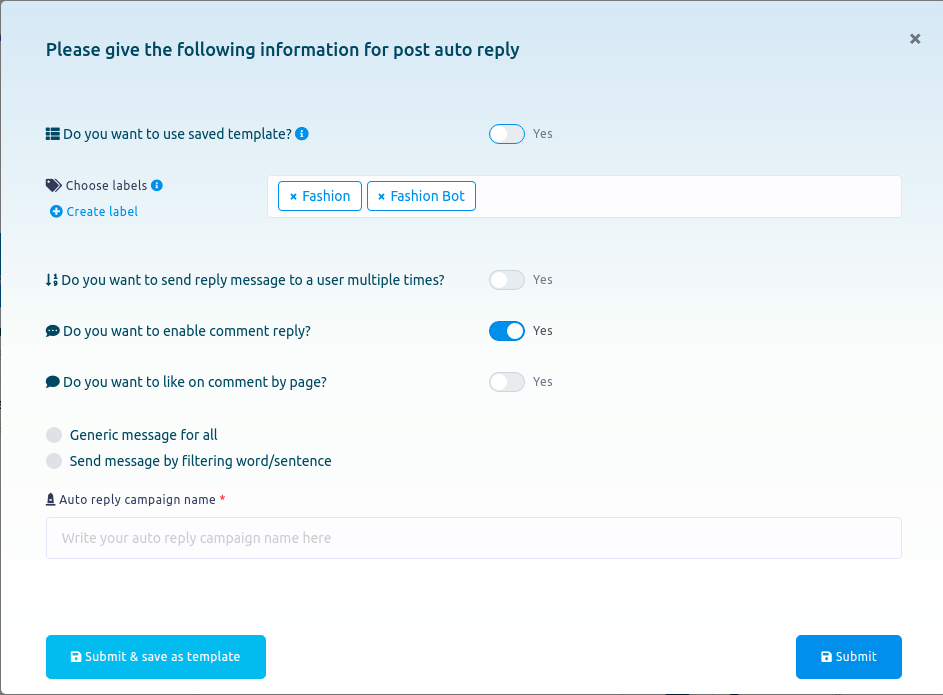
1. Open the Form. To enable auto reply for the post, click on the Enable auto reply option. Instantly a modal form will appear. You have to fill it out.
2. Add a Template. If you want to use a saved template, keep the radio button turned on.
3. Add Labels. Now select labels from the choose labels fields. You can select several.
4. Select a Template. Then you have to select an auto reply template. Finally, click on the submit button.
Enable auto comment
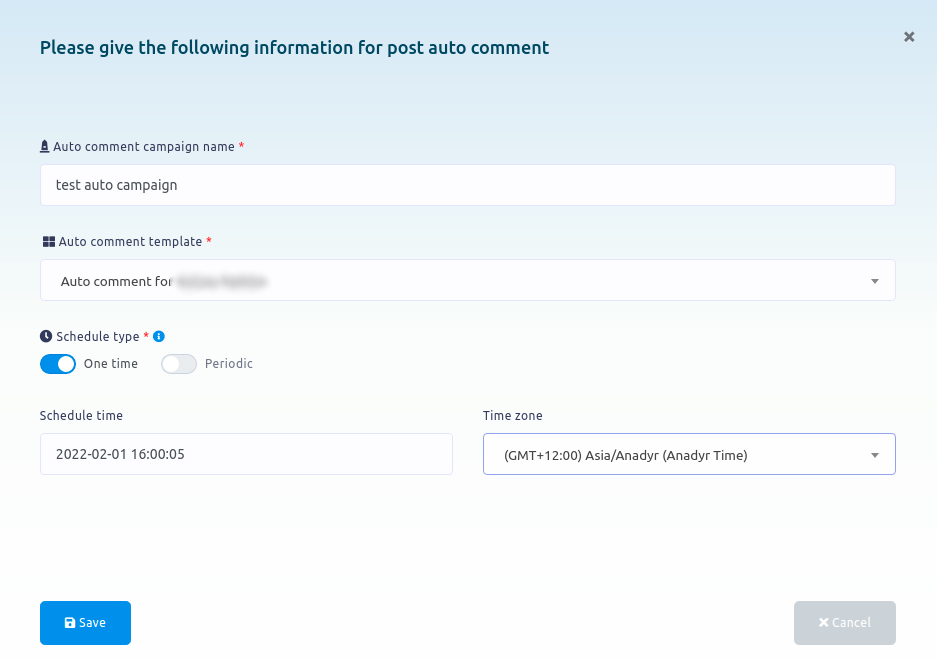
1. Turn the comments on. To enable an auto comment, click on the Enable auto comment option. Instantly, a modal form will appear. You have to fill it out.
2. Select a Template. Write a name to identify the campaign. Then, select a comment template of the ones you created before.
3. Indicate the Schedule Type. Specify if you want to comment the post once, or on several periodical times. Then, add a date and time (or the dates and times in the case of a Periodic schedule) to publish your template.
Check the latest comments
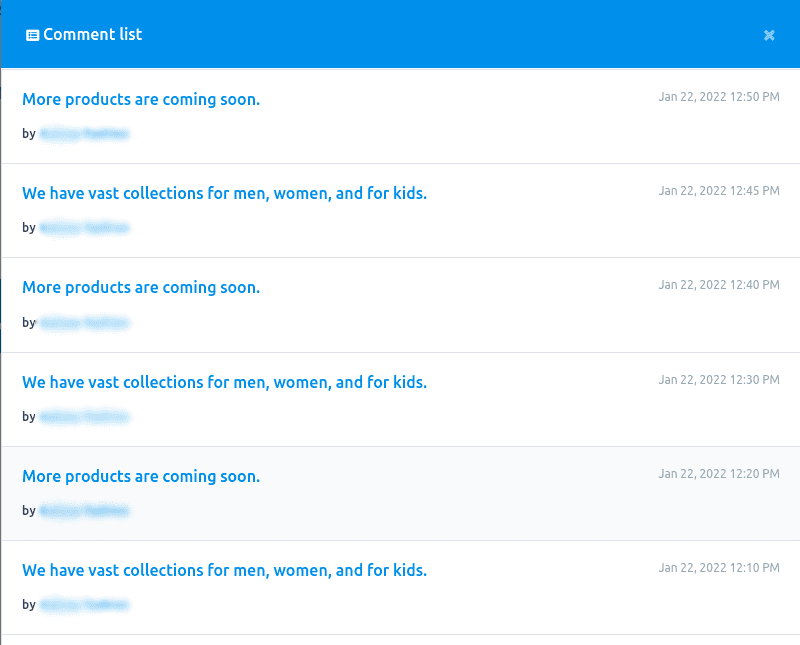
1. Open the comments form. To check the latest comments, click on the Check latest comments option.
2. Review the comments. All the latest comments on the post will appear on a modal form.
Leave an instant comment
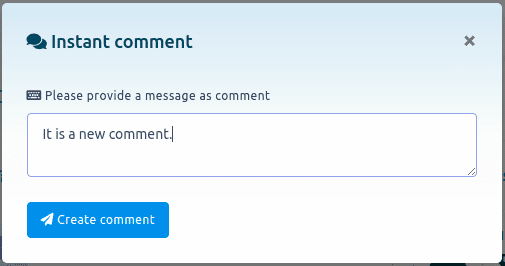
1. Open the instant comment form. To leave a comment under a post now, click on the Leave a comment option. Instantly, a modal form will appear.
2. Write your comment. Type your comment in the field and click on the Create comment button.
Generate a Report
1. Open the Reports Option. You can see all the reports by clicking on the Reports option.
If you have any additional doubts, don’t hesitate to contact us.
