The AI Article Wizard is an advanced tool that will allow you to generate AI texts without the need of complicated prompting or extensive editing. Here’s how to use it correctly.
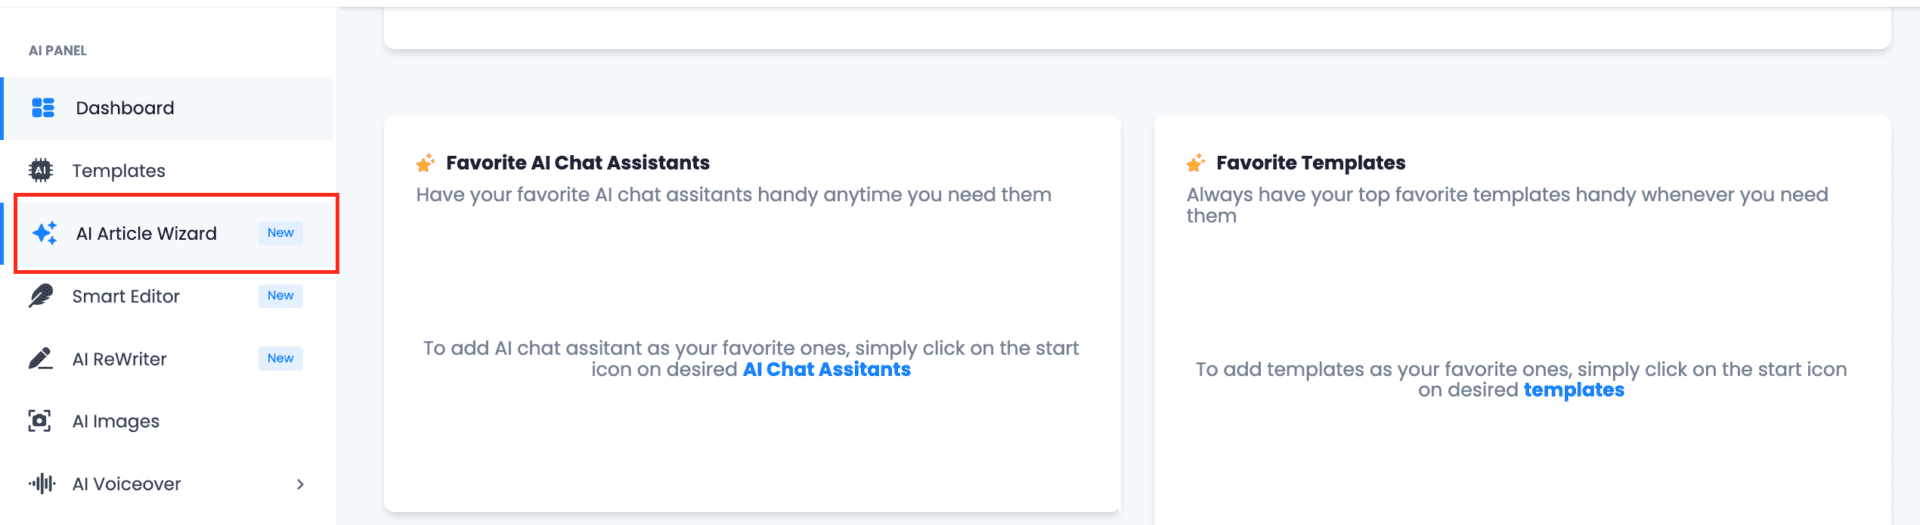
1. Access the Article Wizard.
Log into the app. On the left sidebar, select “AI Article Wizard”.
2. Find the right angle for your text.
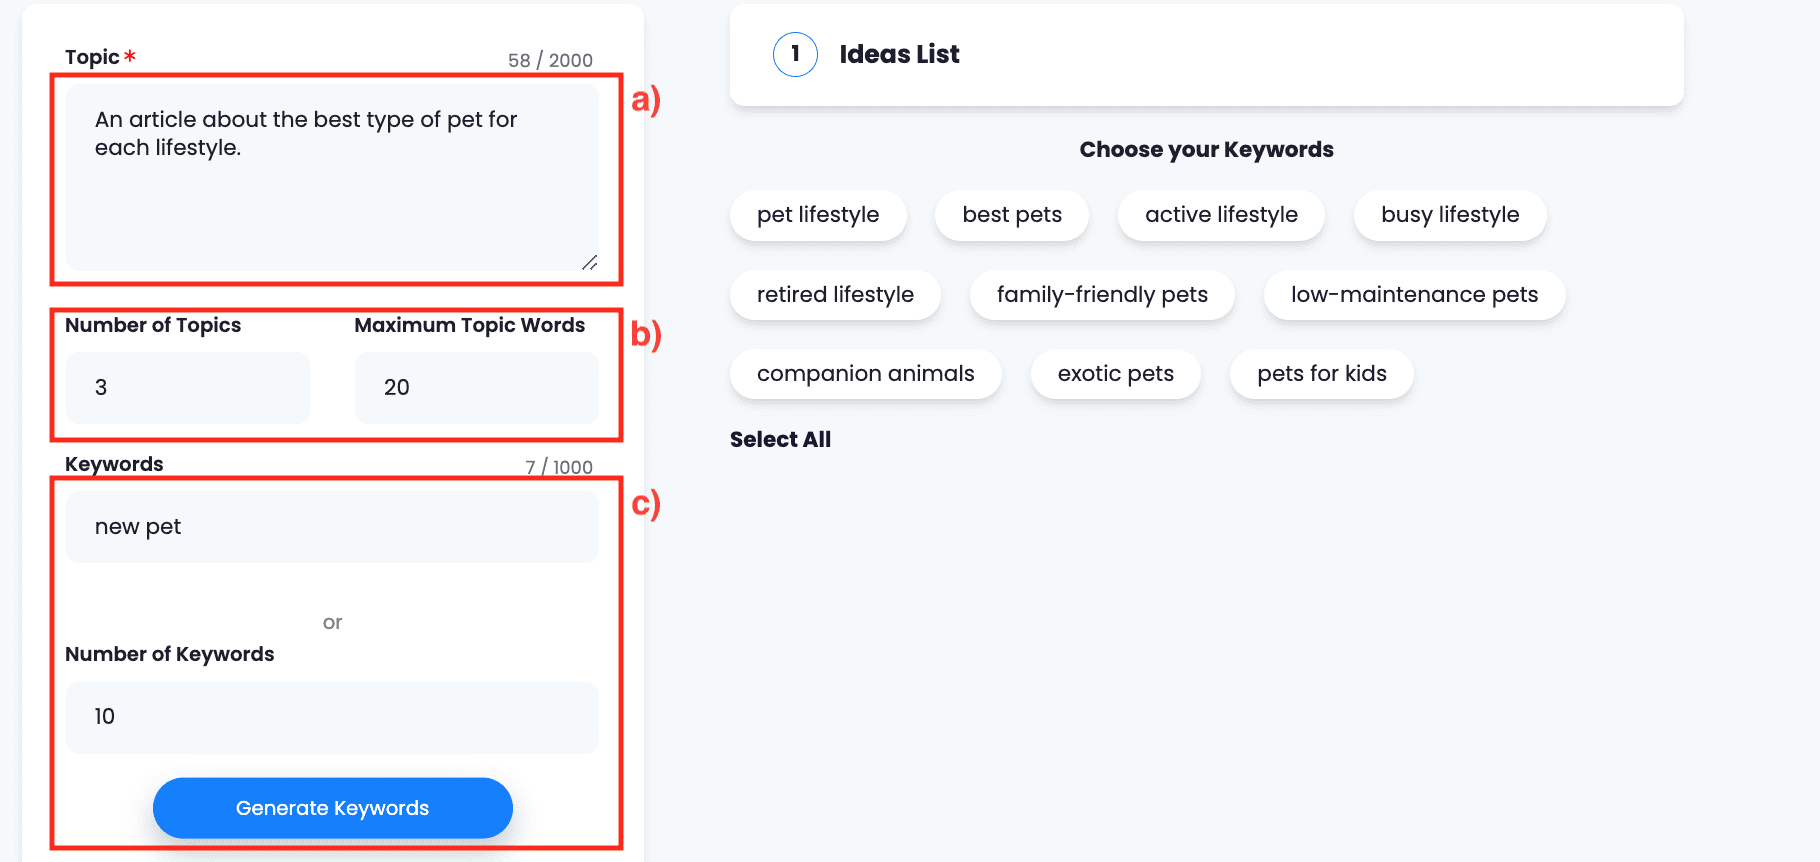
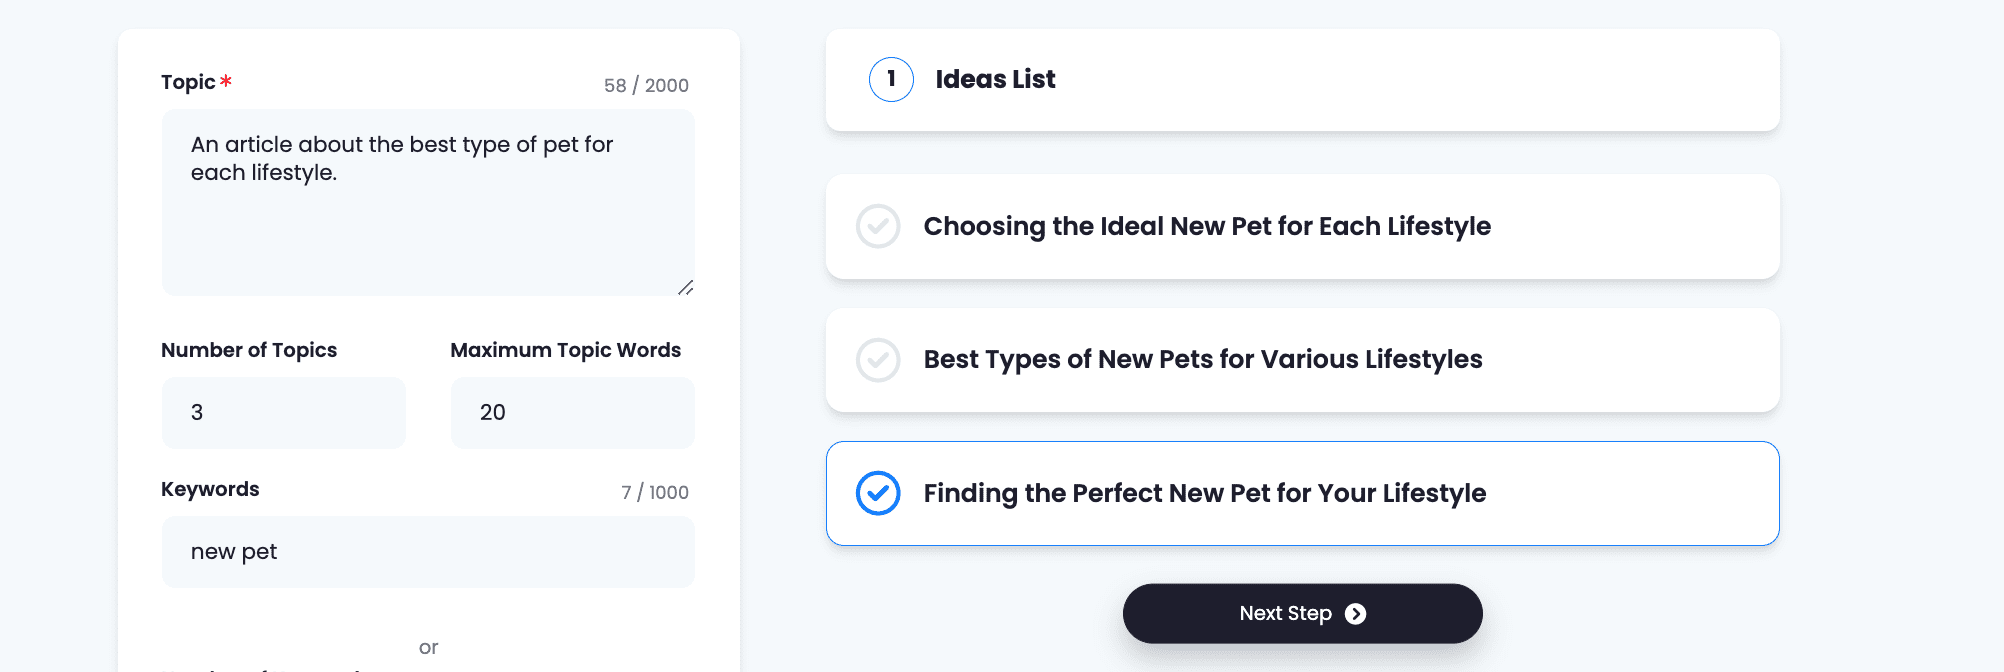
On the corresponding box, describe your idea. You do not have to be very explicit, the AI will do the hard brainstorming work.
Add the number of topic ideas you wish to generate and the length of each title. Finally, input the keywords you need to use for SEO purposes. If you do not have them, the AI can provide them for you. Just indicate how many you need and click on ‘Generate Keywords’. Then, just copy them in the corresponding box.
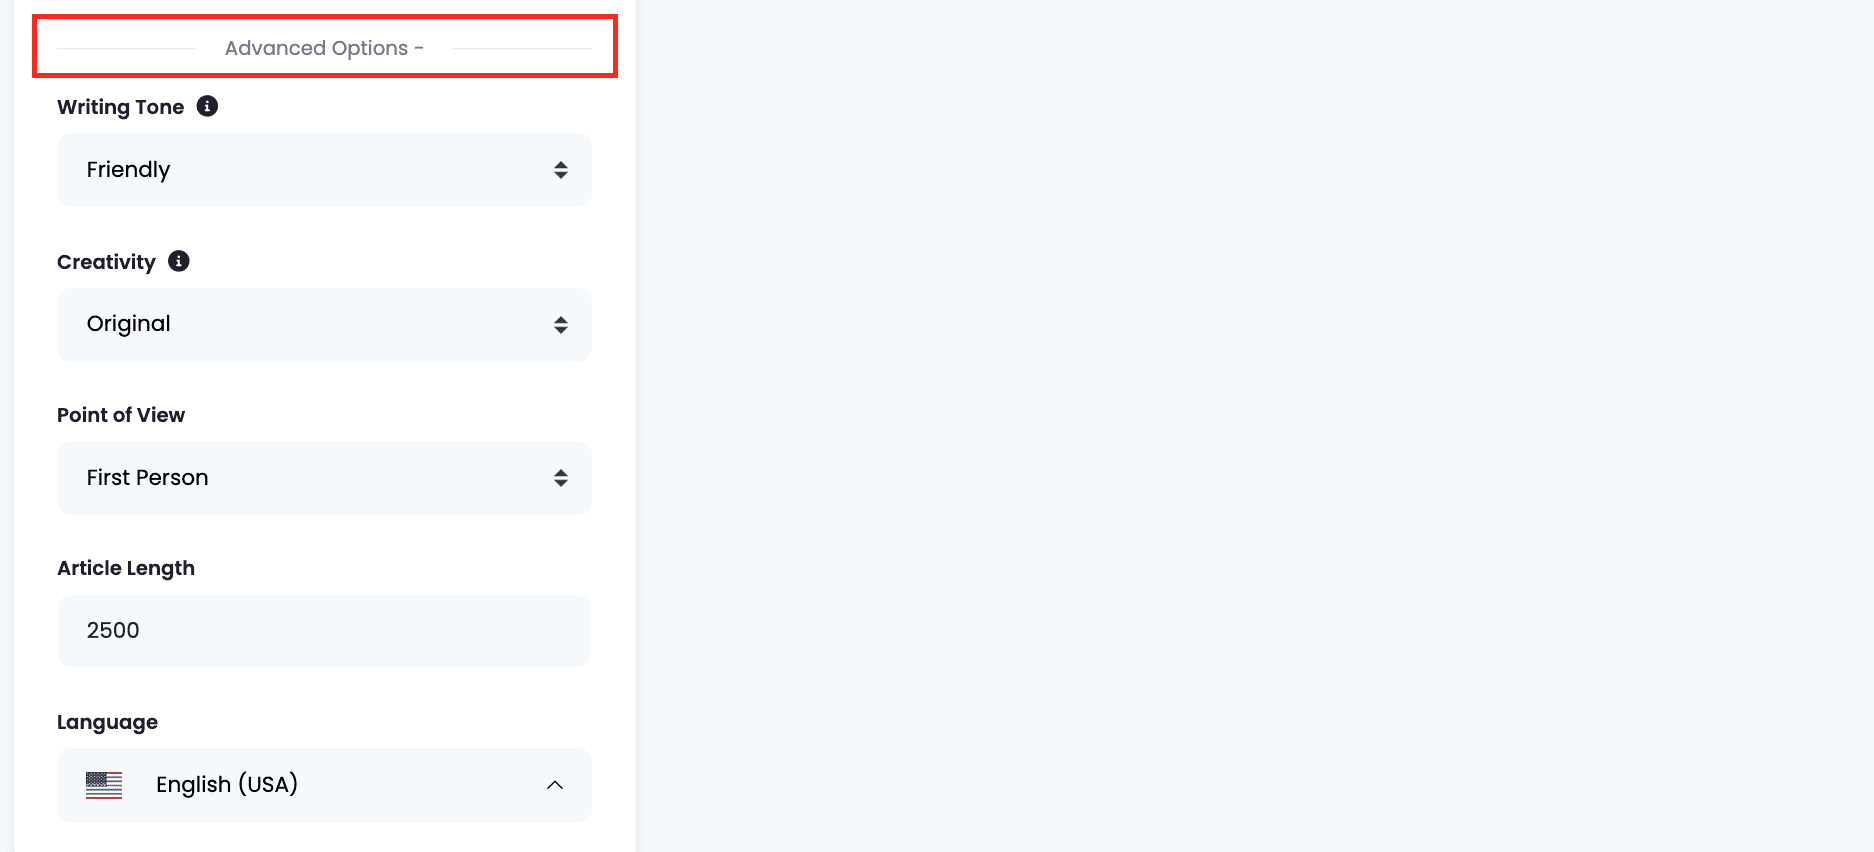
On Advanced Options, you can add additional details, like the language of the text, writing tone, the level of creativity (meaning how imaginative or repetitive can the AI get), point of view and length (in words).
When you are done providing the details, click on ‘Generate Ideas’. The AI will provide the number of topics asked on the right panel.
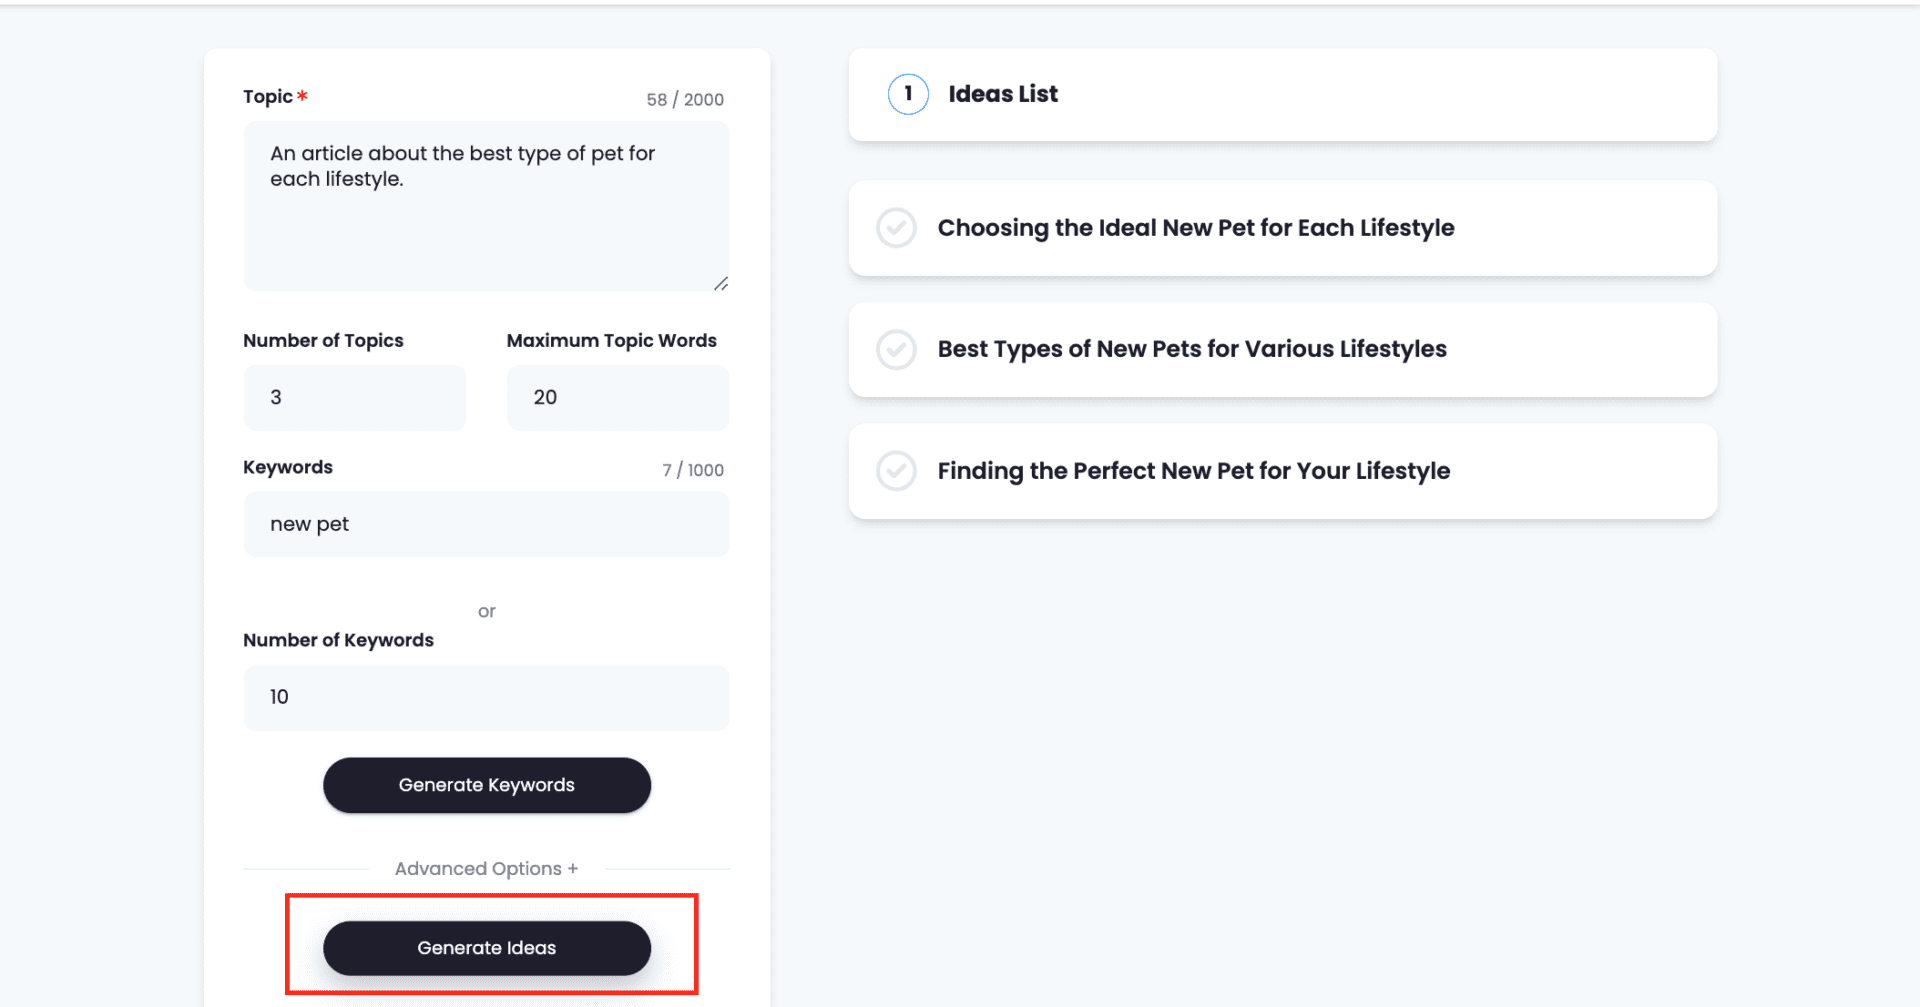
Select the title you like the best and click on ‘Next Step’.
3.- Create the outline of your article.
In this step, the AI will generate an outline for the text, including the sections and subtitles.
The title you previously chose will appear on the Topic box automatically. Modify it if you need to. Provide the keywords for the subtitles. You can recycle the ones you generated before. Indicate how many outline options you wish to generate and how many subtitles must each outline include.
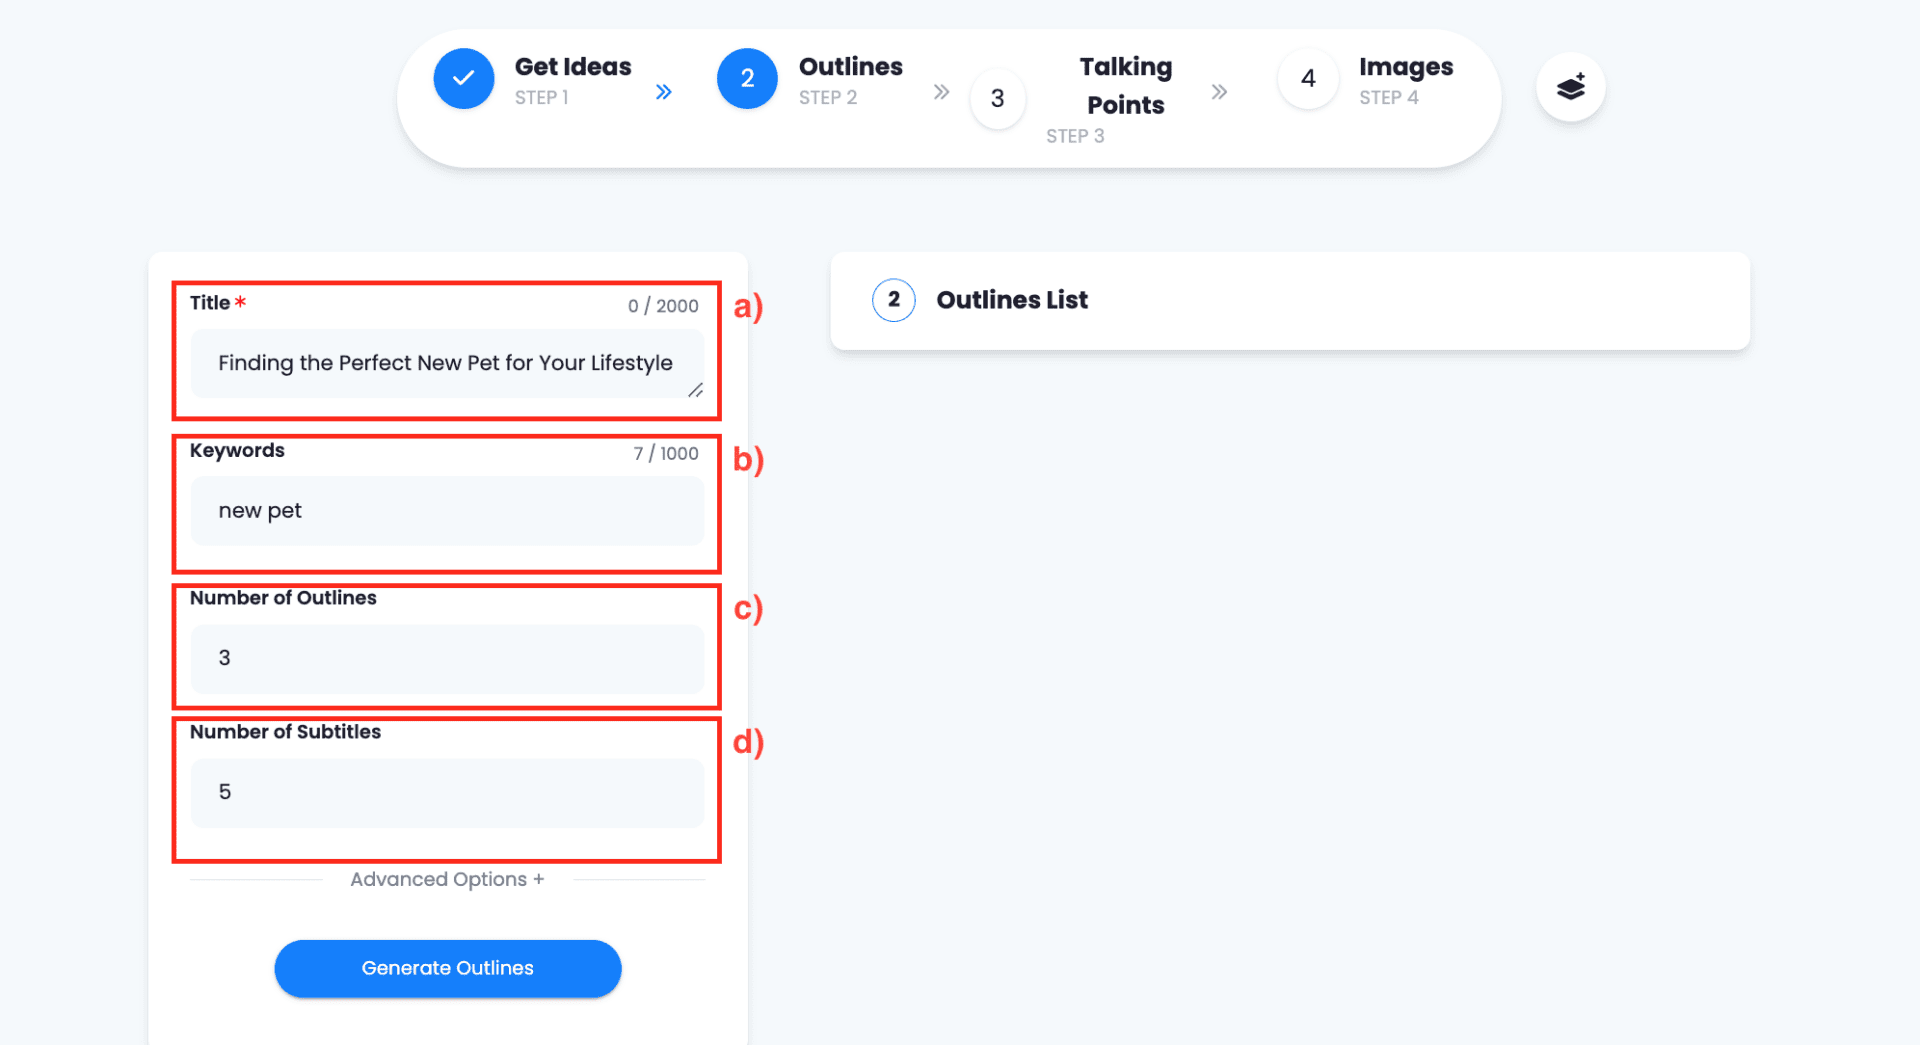
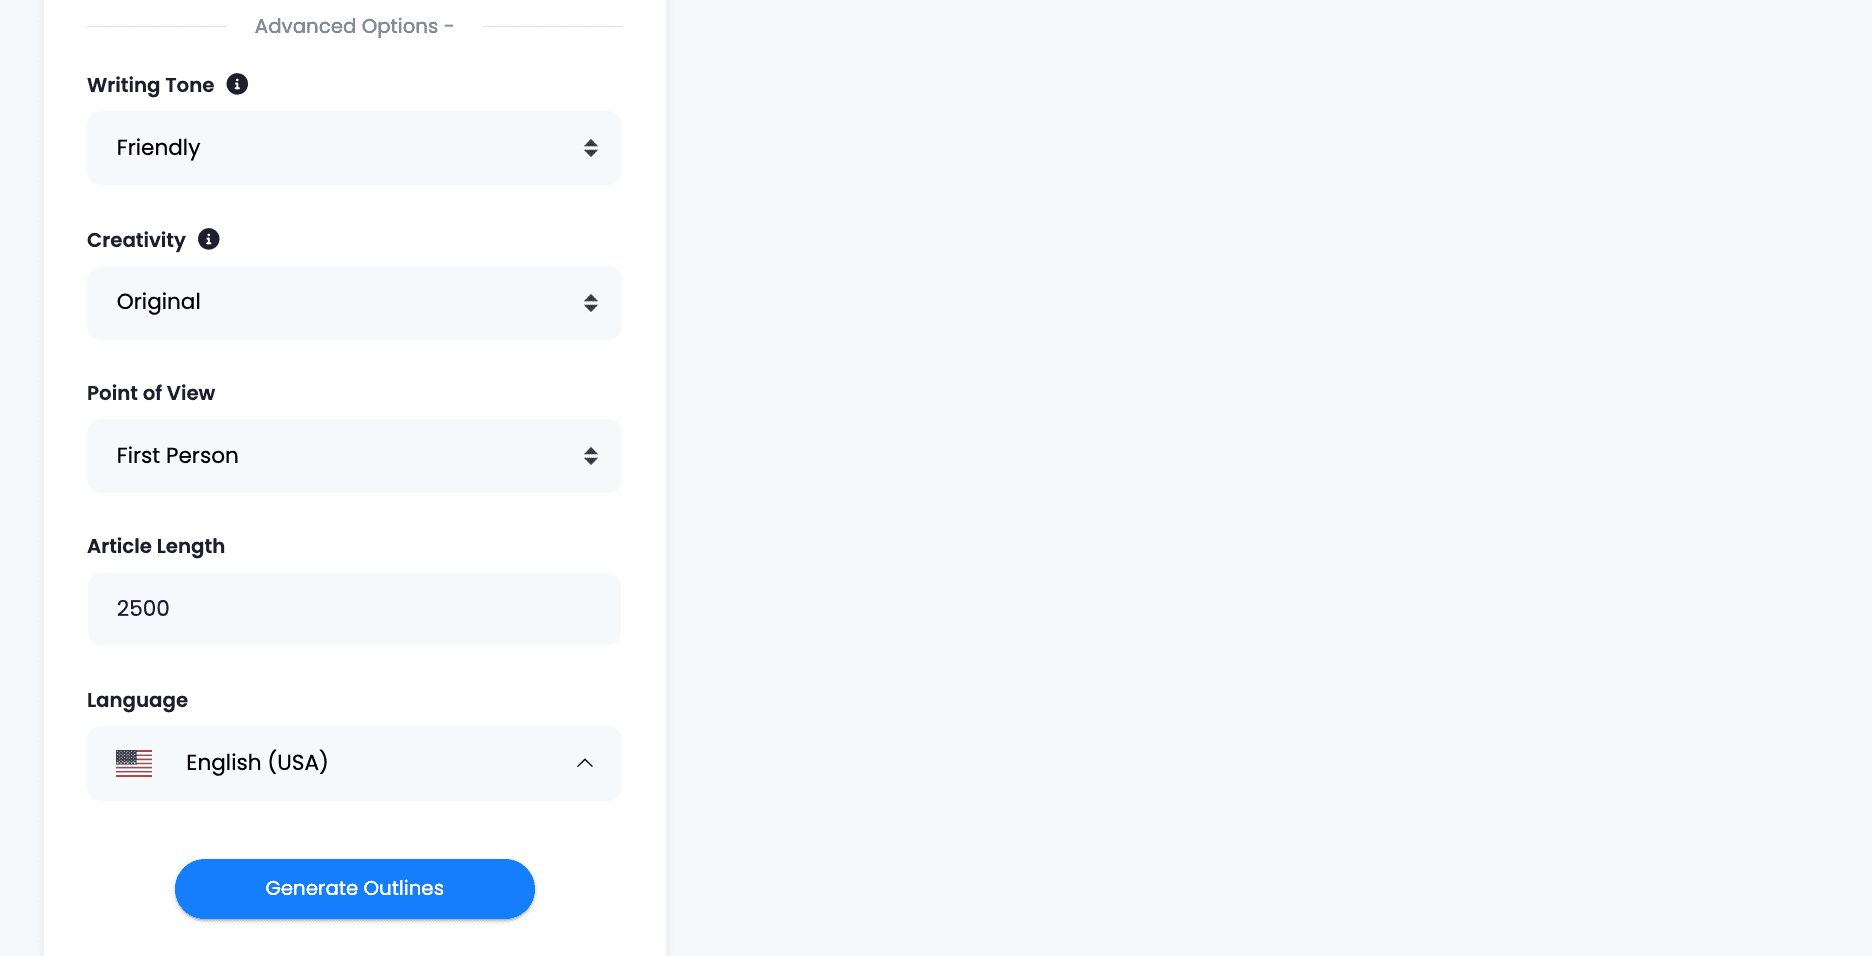
Once again, on ‘Advanced Options’ you can provide details as the language of the text, the writing tone, the level of creativity (meaning how imaginative or repetitive can the AI get), the point of view and the length (in words). When you are ready, click on ‘Generate Outlines’.
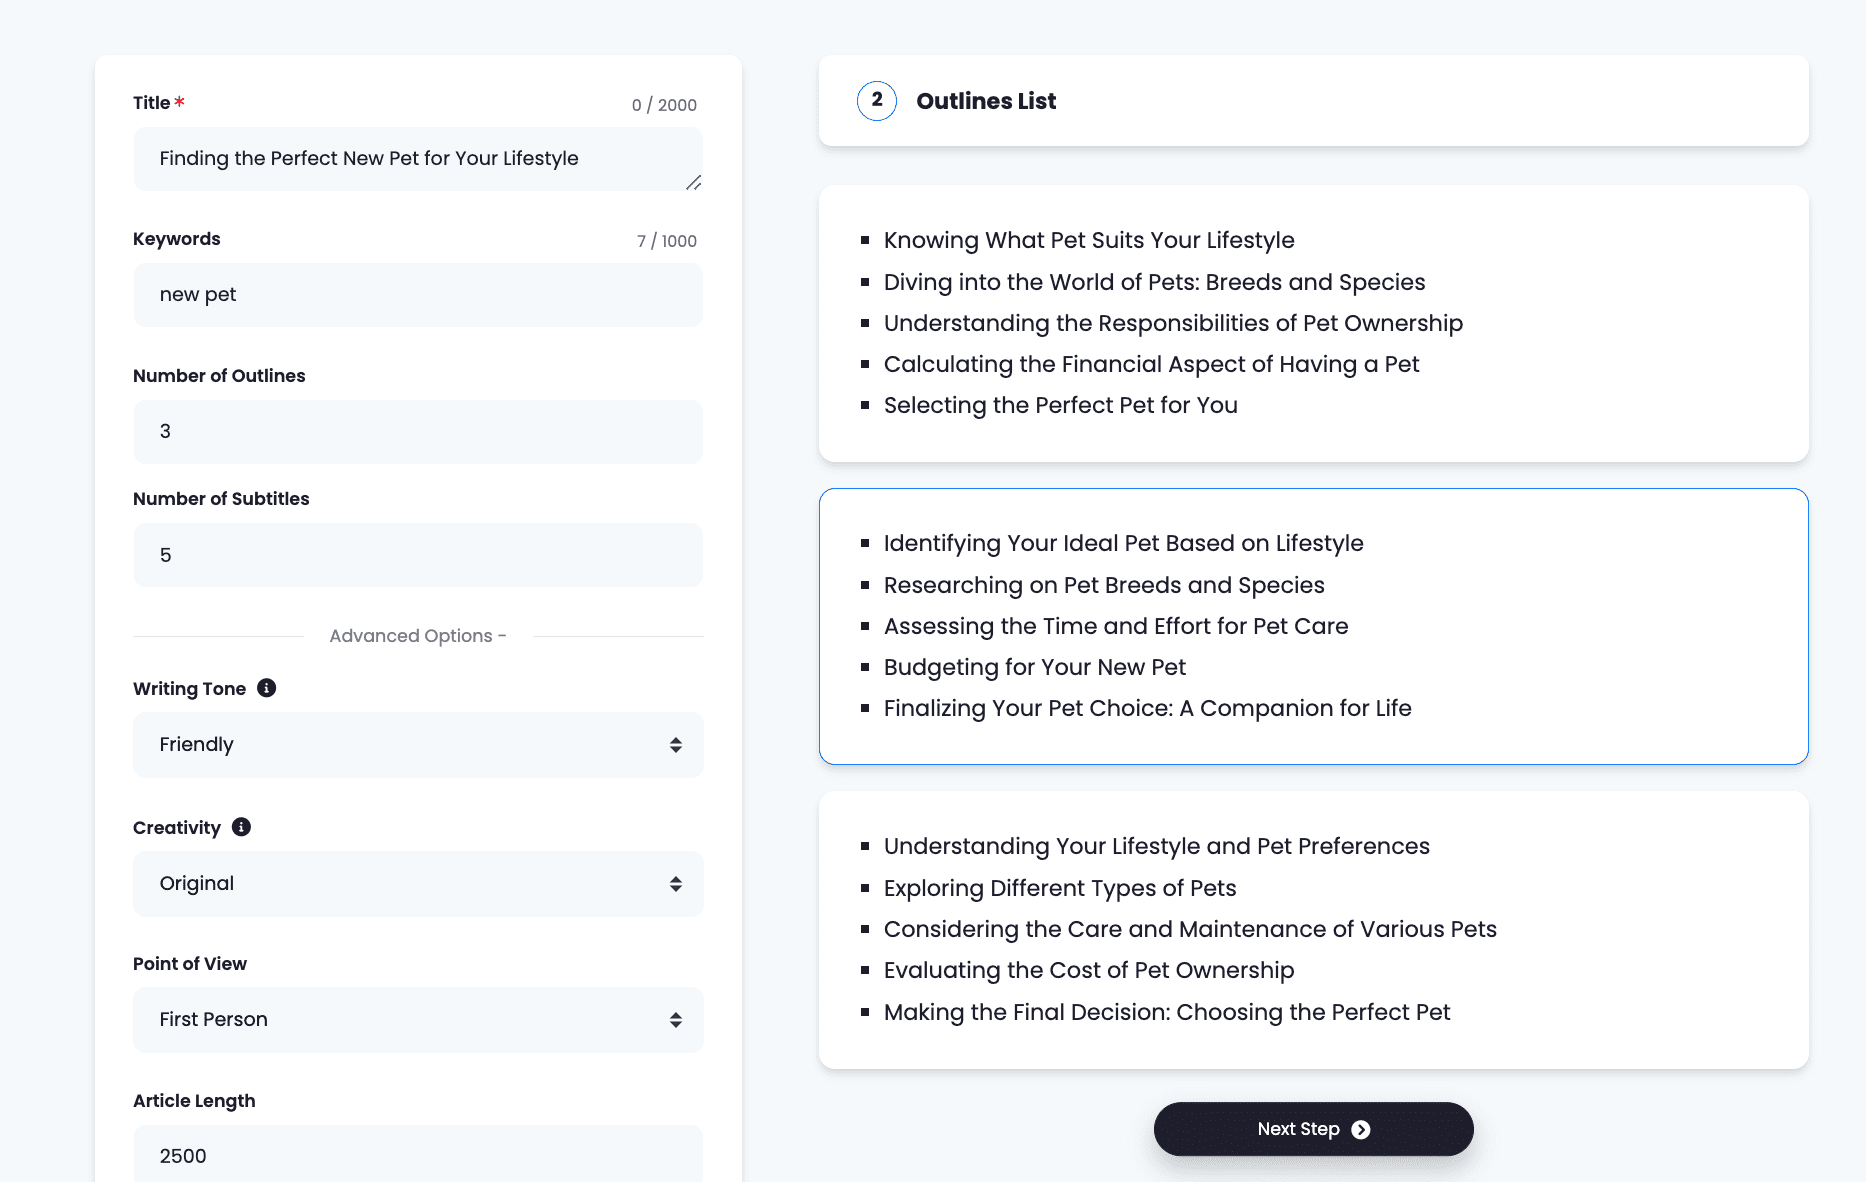
The AI will provide several outline options. Select the one you prefer and click on ‘Next Step’.
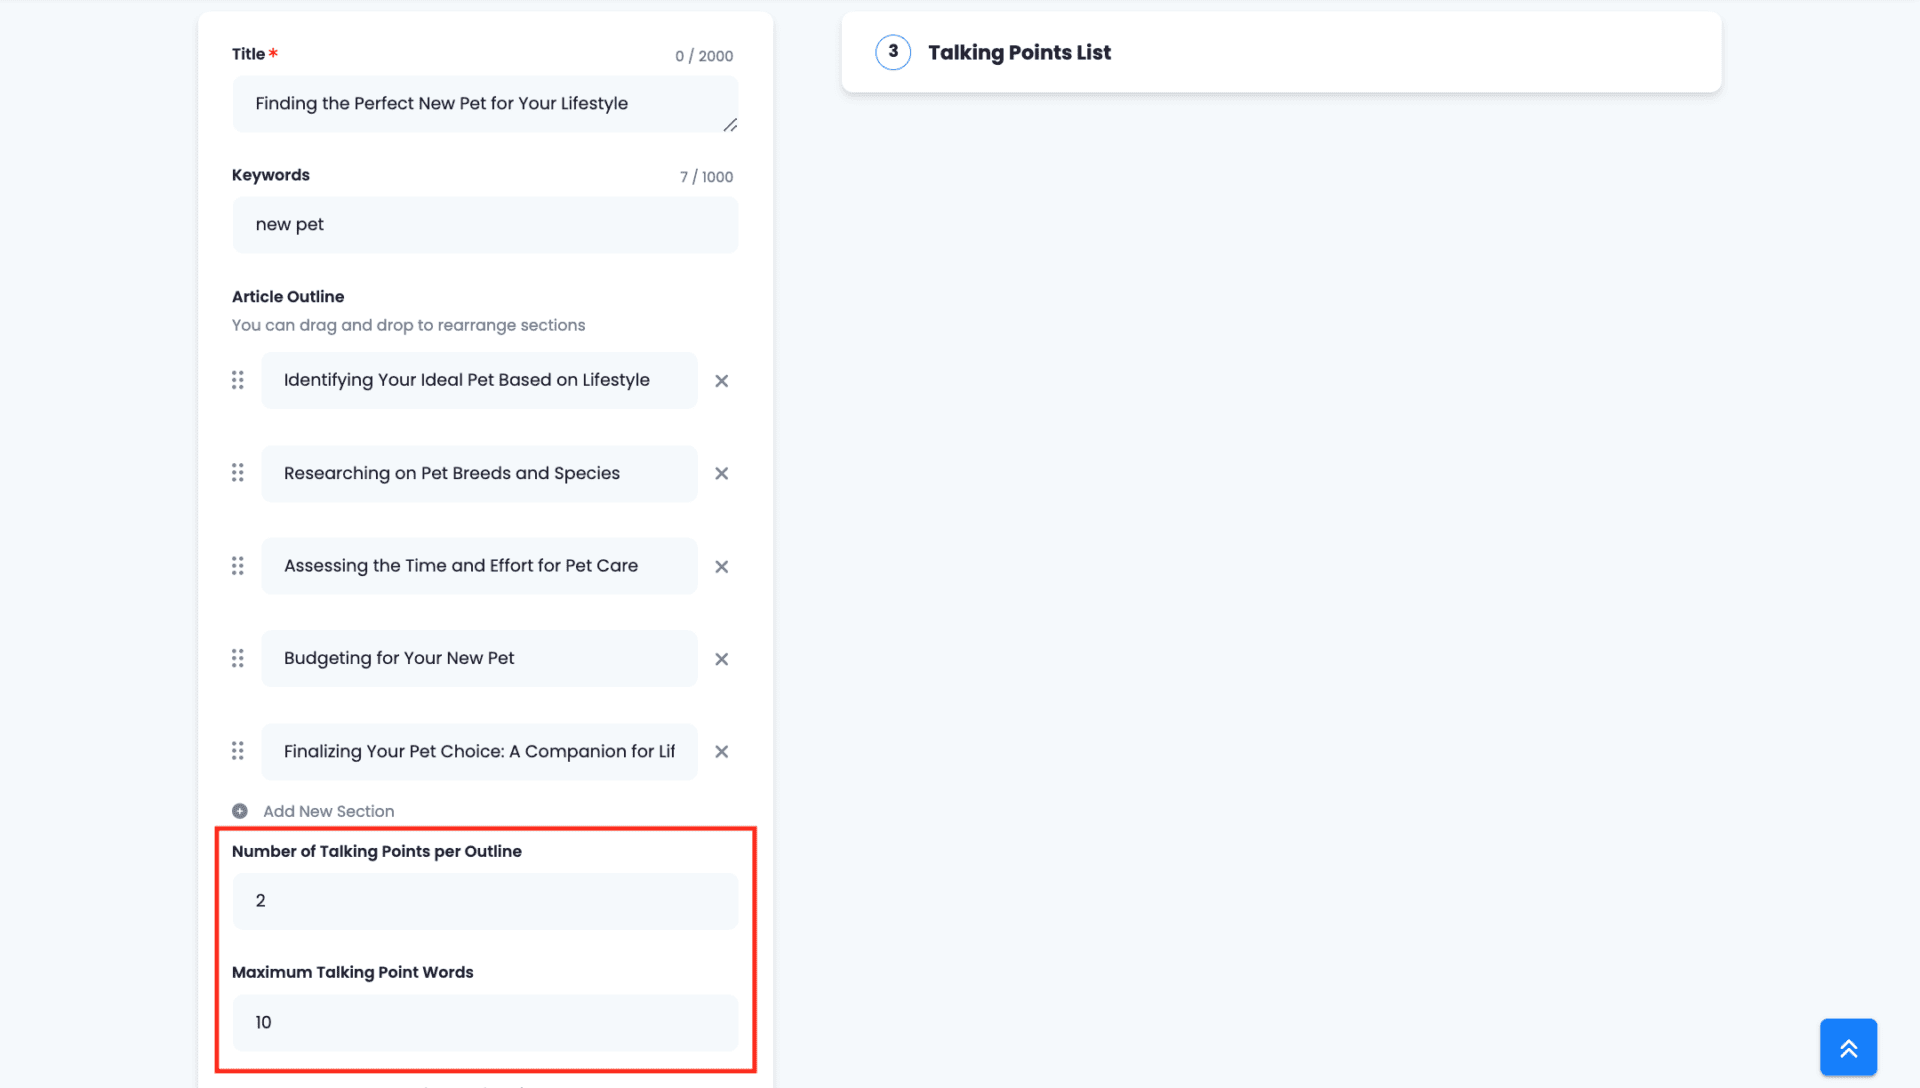
4. Edit the talking points of your piece.
Now, it’s time to generate the actual content of each section. Revisit the outline you selected in the previous step and make any changes you need. You can rewrite the subtitles, delete them and add new sections.
Indicate how many talking points or main ideas do you wish to include on each section, as well the max number of words on each.
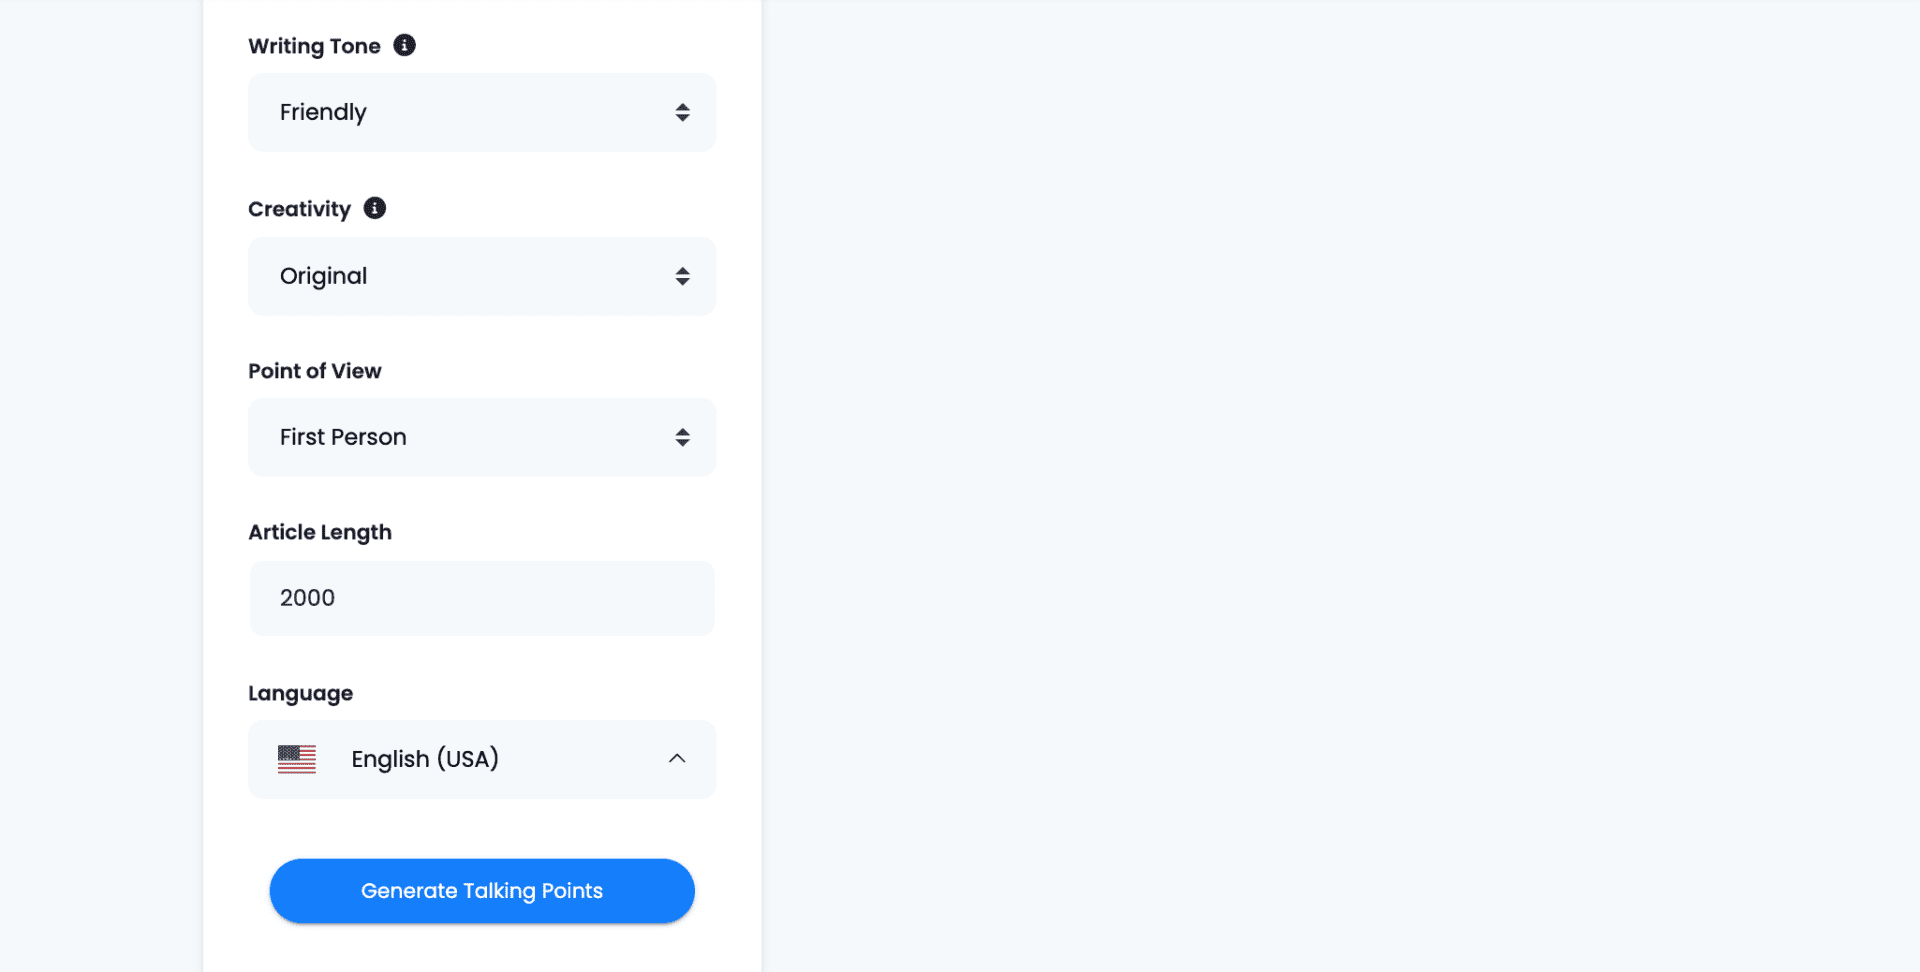
Once again, on ‘Advanced Options’ you can indicate the language of the texts, the writing tone, the level of creativity (meaning how imaginative or repetitive can the AI get), the point of view and the length (in words). When you are done, click on ‘Generate Talking Points’.
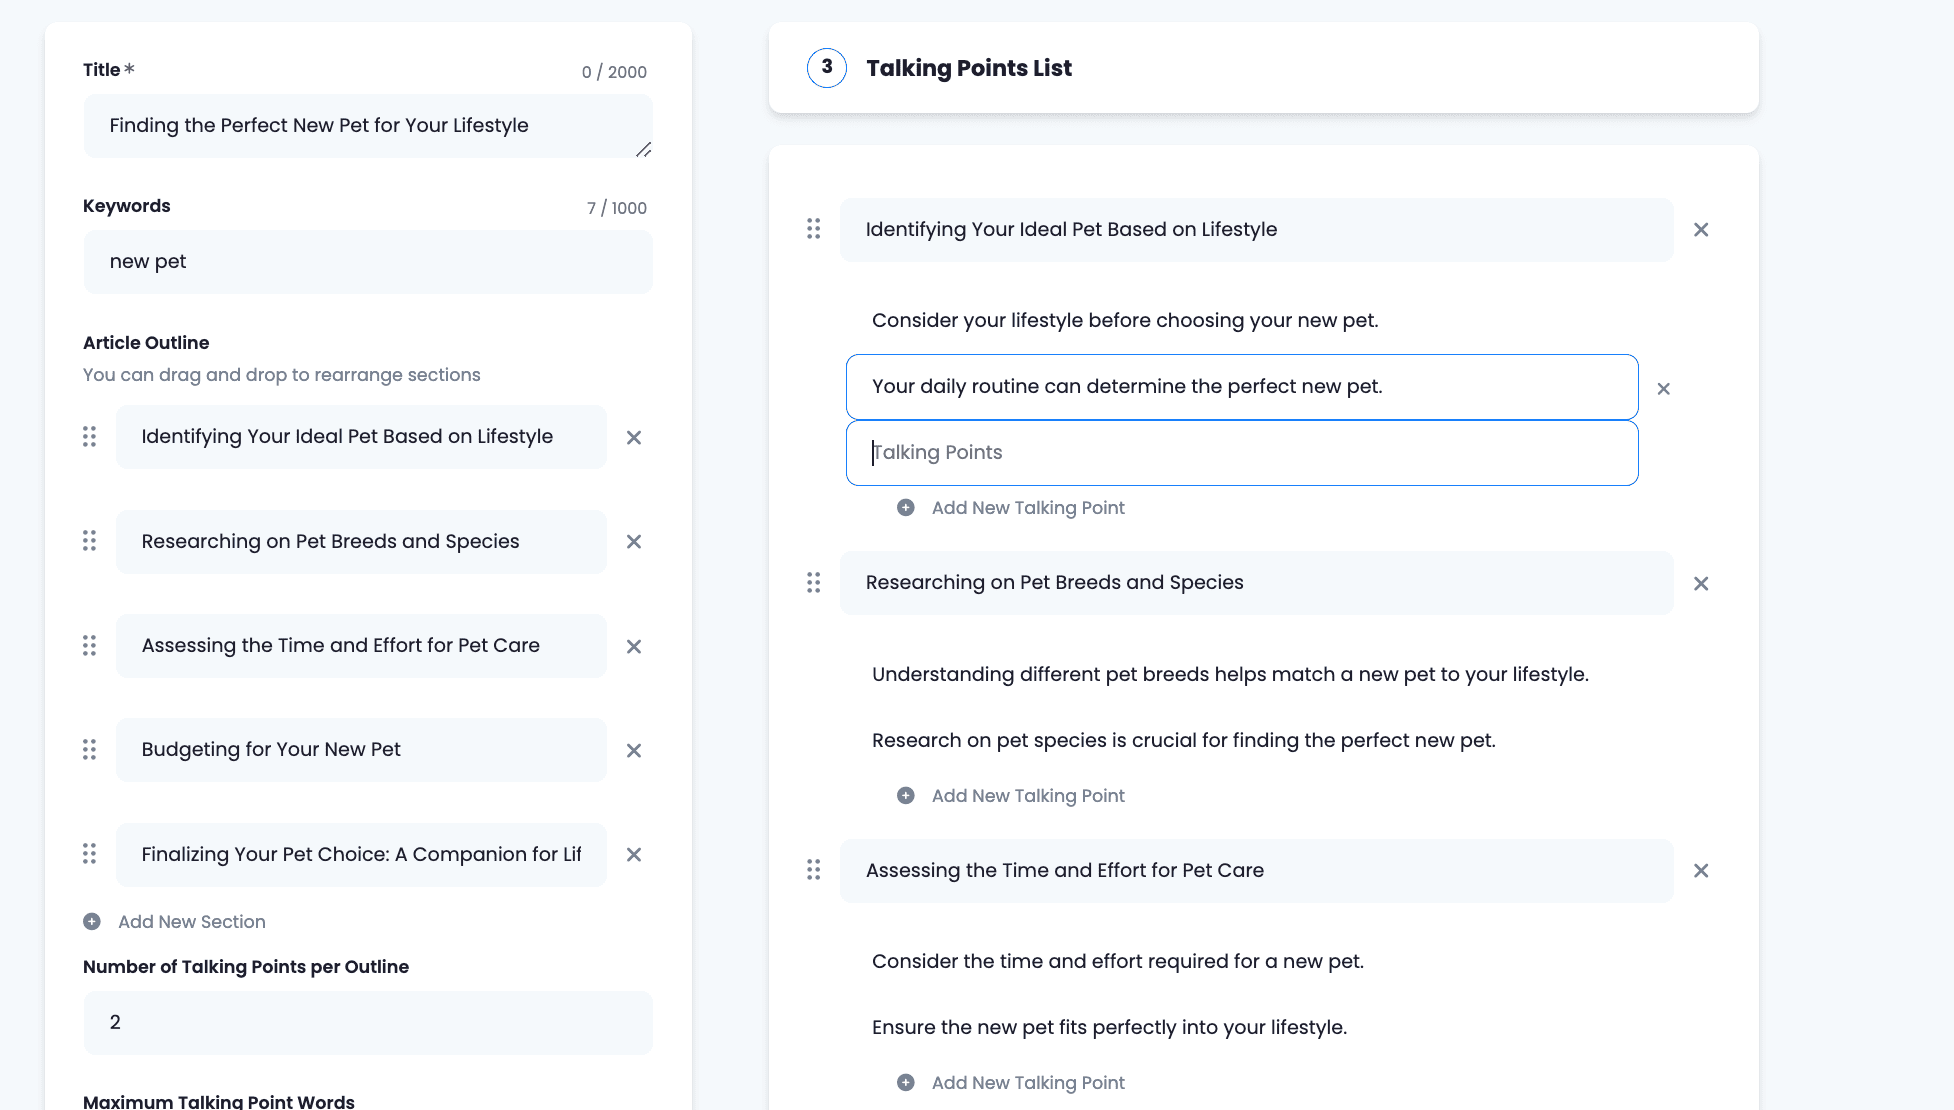
The AI will provide a list of key ideas inside each section of your outline that will later on be developed as individual paragraphs. Edit them as necessary; you can rewrite them, delete them or add new talking points. When you are done editing, click on ‘Next Step’.
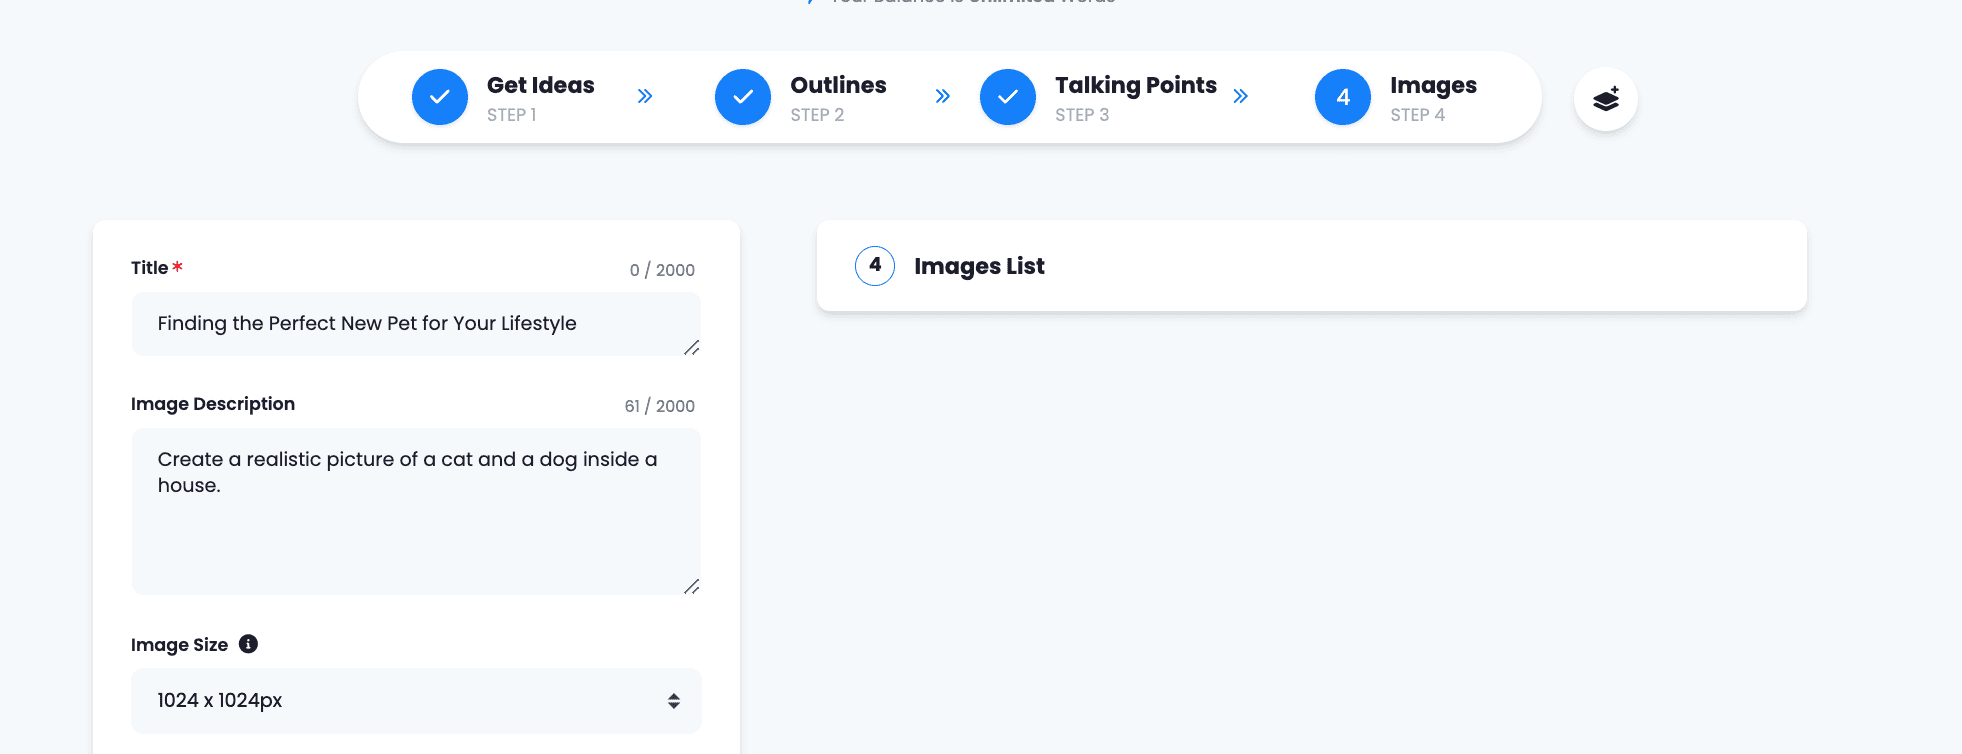
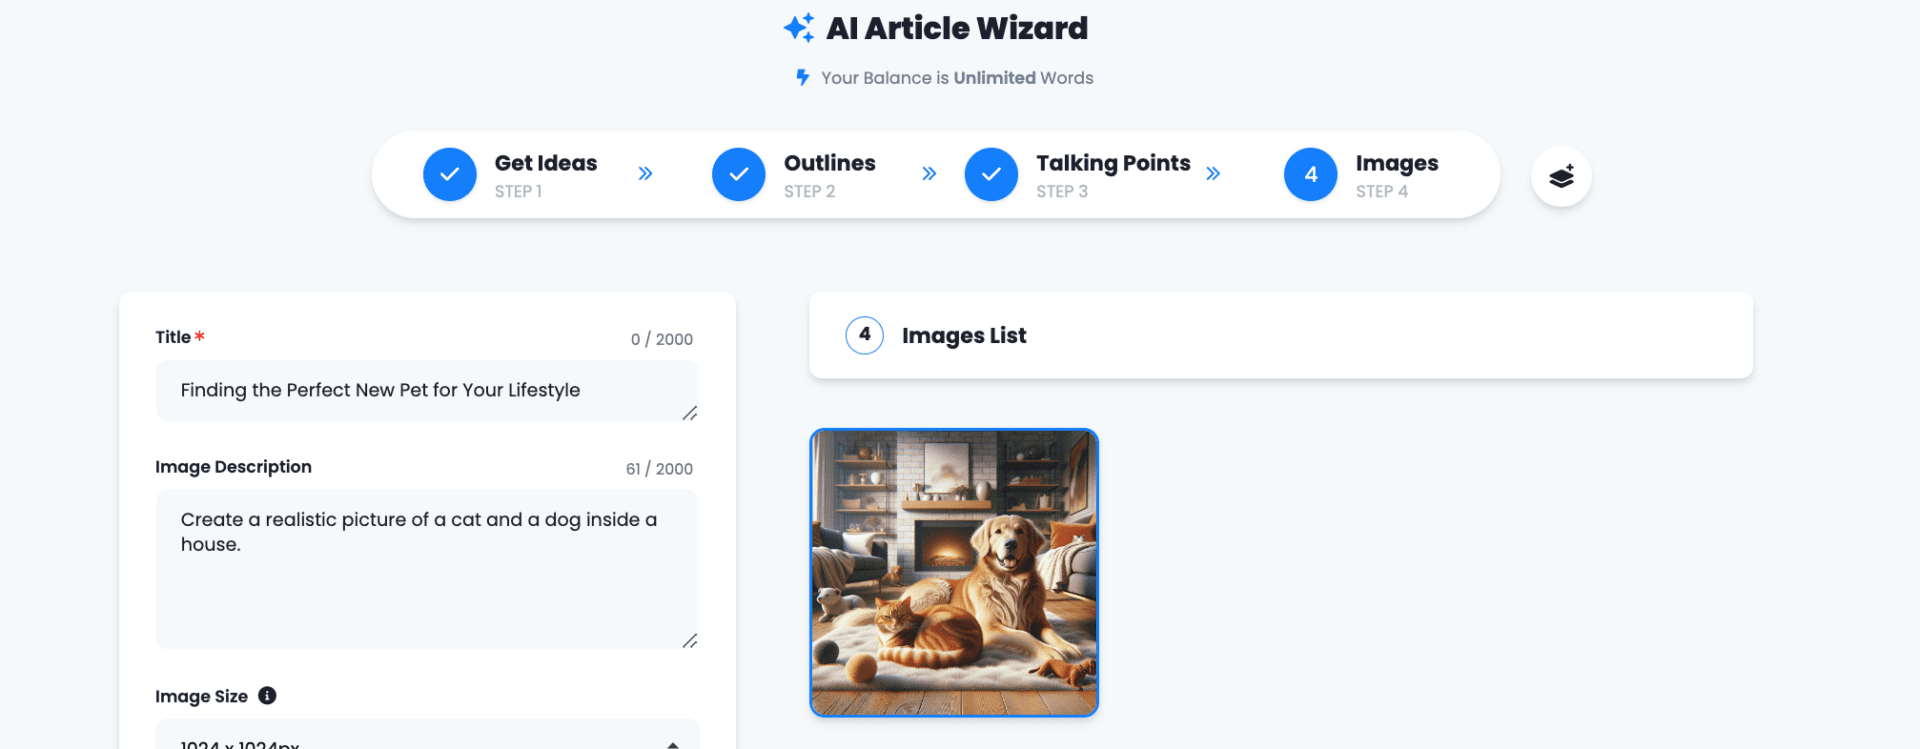
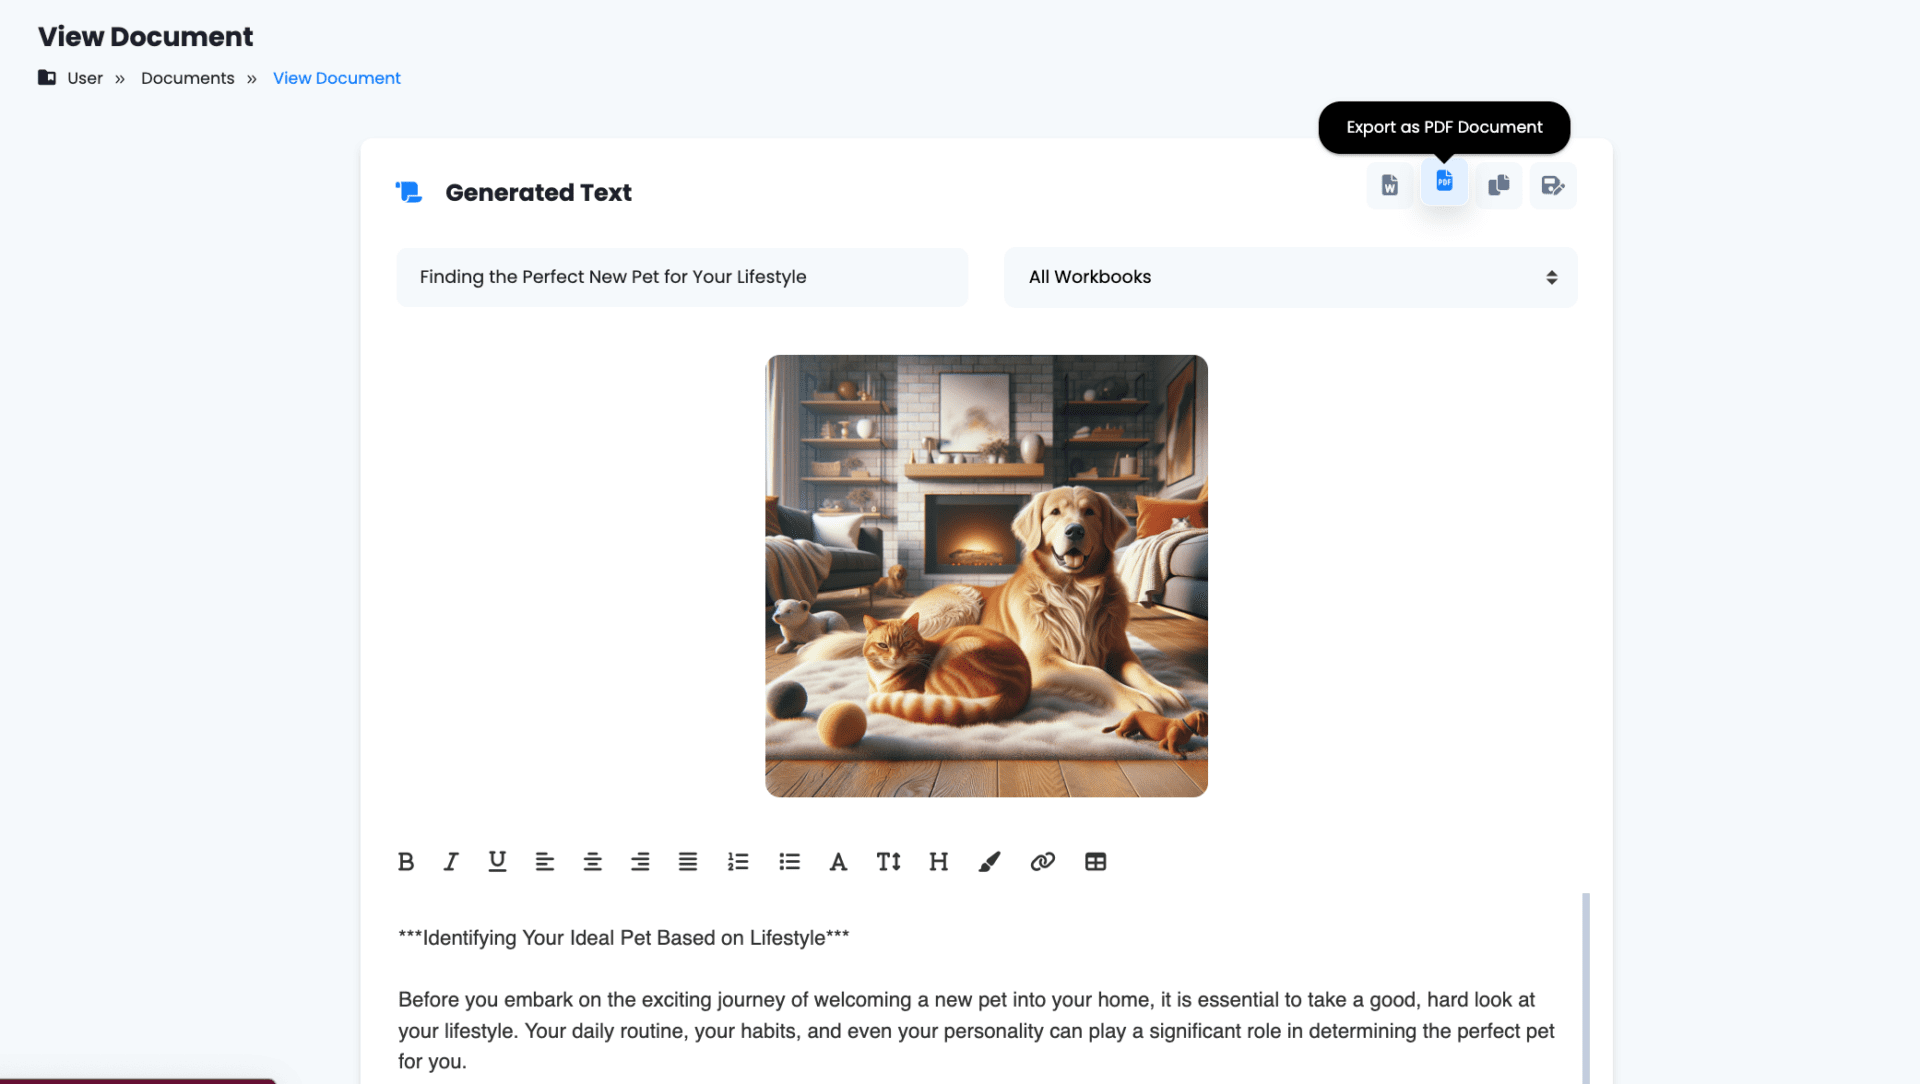
5. Generate an image to illustrate your text.
This step is optional. If you wish to skip it, just scroll down and click on ‘Skip this step’. Otherwise, you can follow the points below to create an image that will fit with your text.

The title of your article will be placed automatically. You just need to add the description of the image you need. Provide as many details as you can to generate an accurate result. Add the size of the image you need and click on Generate image.
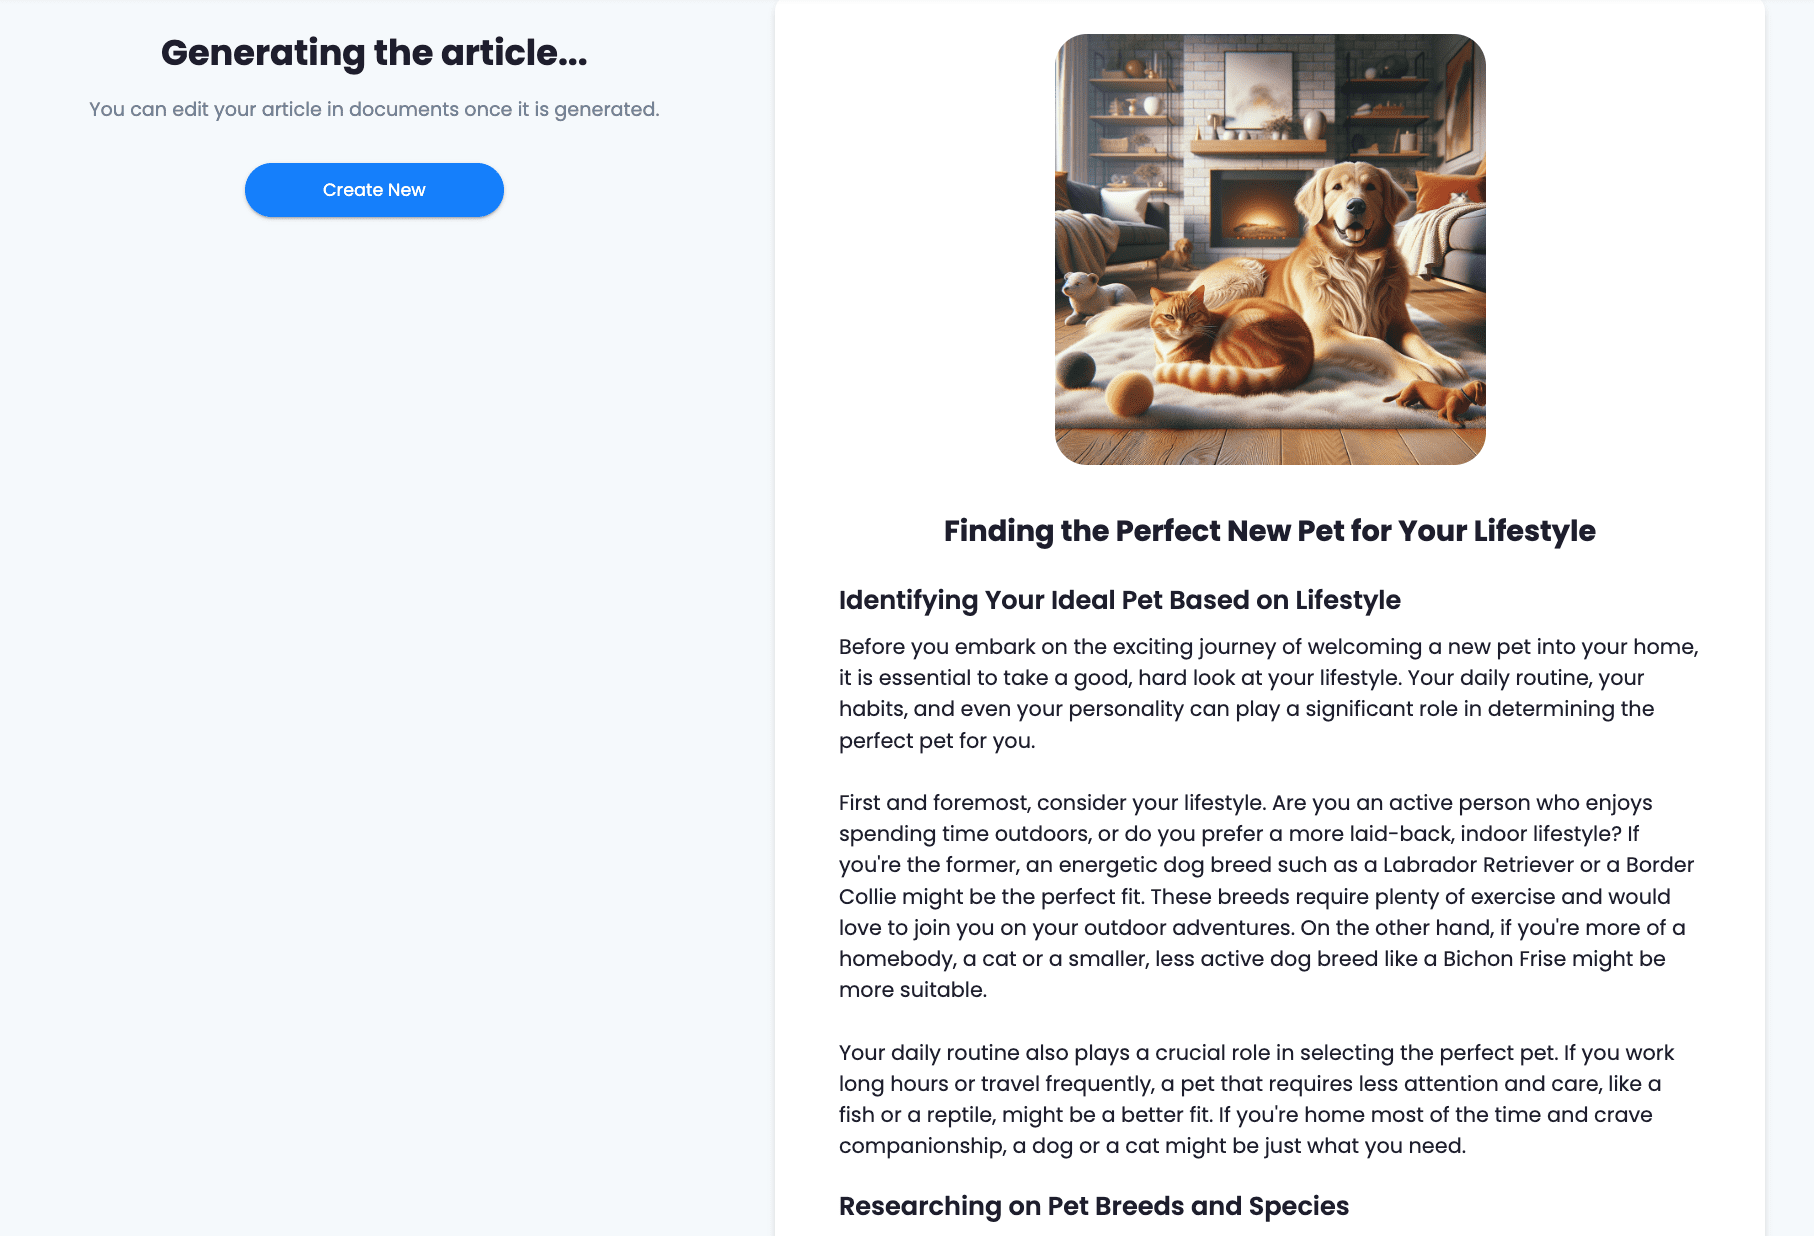
The AI will show you a preview of the image. If you do not like it, repeat the steps on this section until you get the desired result. Otherwise, click on ‘Generate article’.
The AI will generate the final version of your article based on all the information you provided before. Wait a few minutes until it is complete.
6. Make a final revision.
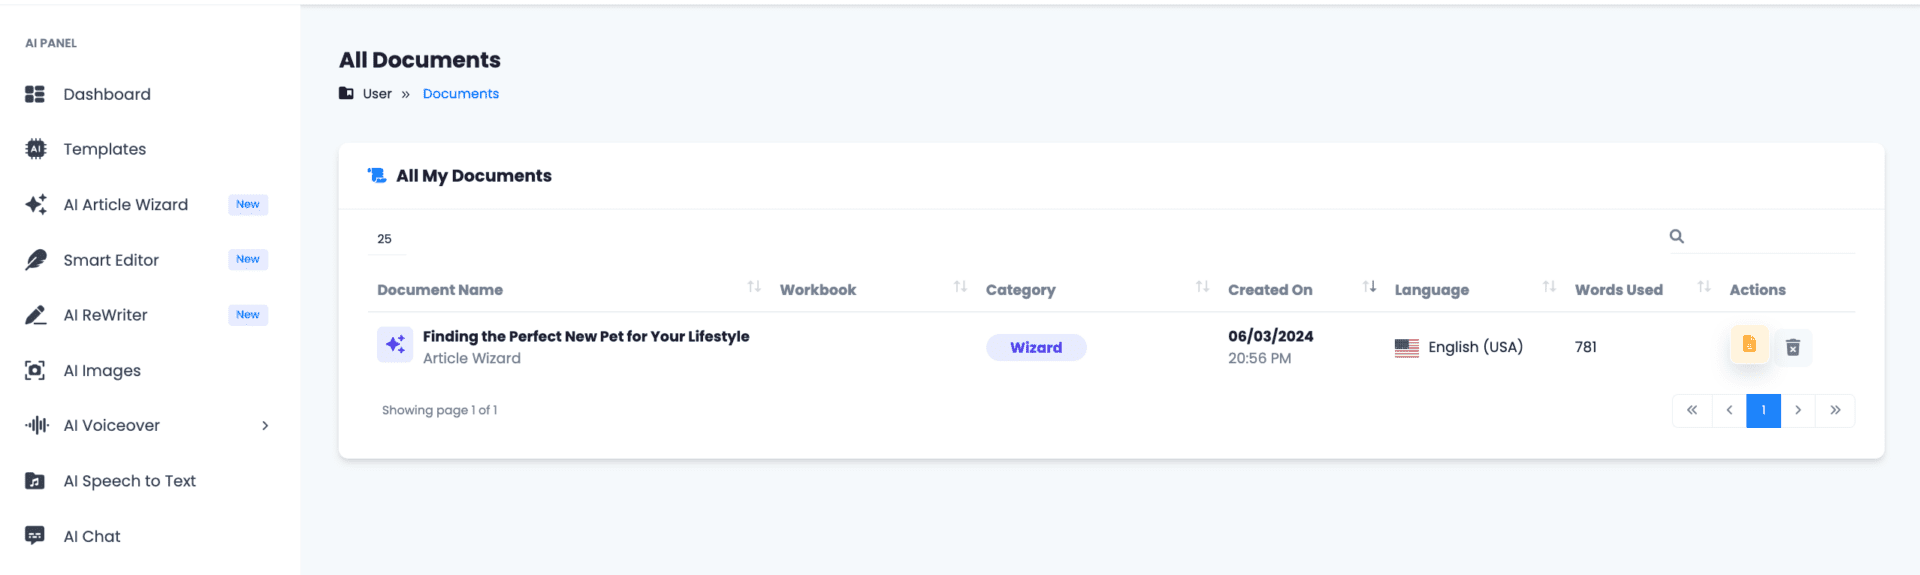
Your article is almost ready! Now you just have to give it a final revision and add format. Look the ‘Documents’ section on the left sidebar of the app. Click on it and then select ‘All Documents’.
Look for your article by name and click on the ‘Document’ icon at the right to open it.
Make the final edit to the text and give it format, including changing the typography and alignment, adding headers and links.
Congrats! You have successfully generated an AI article with a human touch.
7. Export your document.
You have several options to export your document:
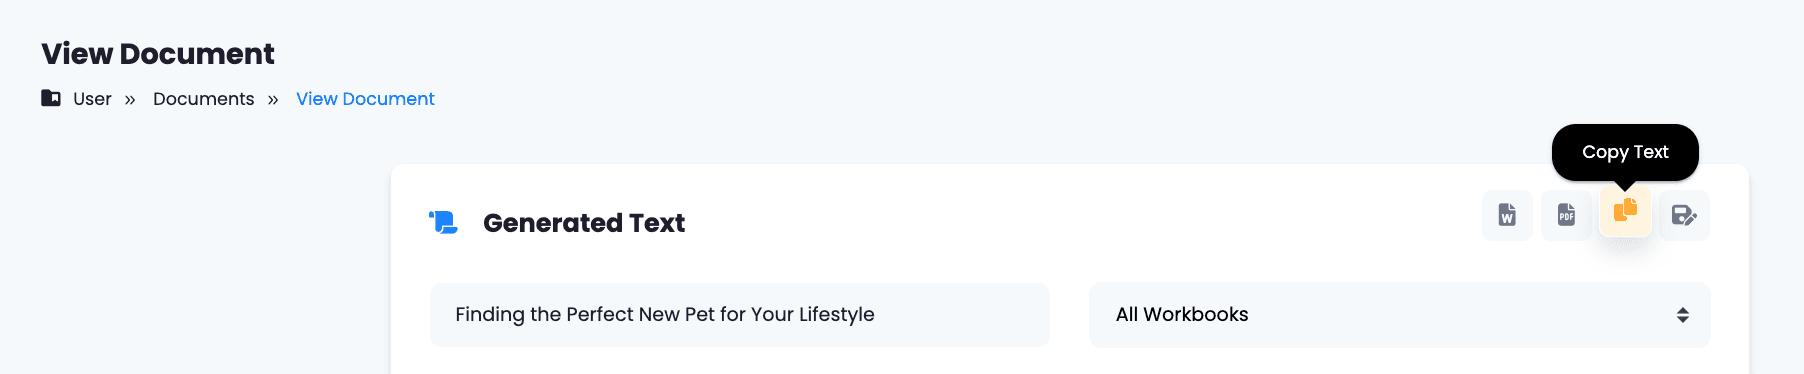
a) Click on the ‘Copy’ button at the top to easily copy your piece and paste it on another app.
b) Right-click on the image to either copy it or save it to your computer.
c) Click on the icon shown below to download your document and its image as a PDF file.
d) Click on the ‘W’ icon to download the piece and its image as a .doc file.
