Getting Started
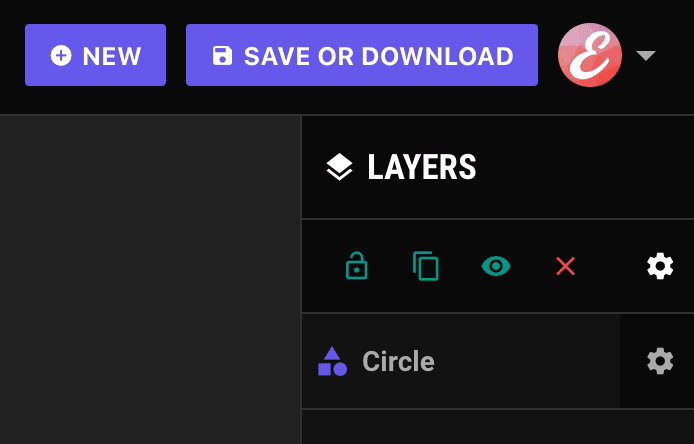
To open a new image on the photo editor, click New button. A modal box will appear;
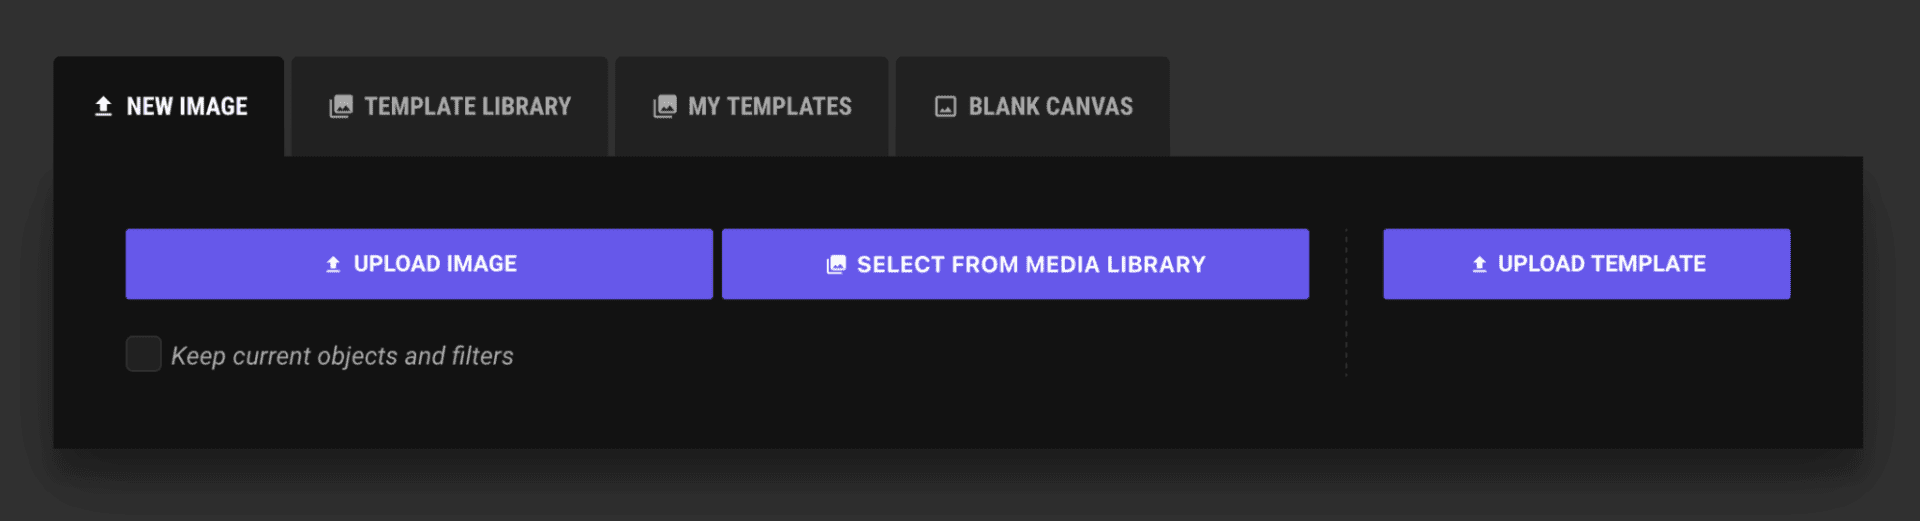
- Click this upload image button to select an image from your computer.
- Click select from media library button to select an image from WordPress media library.
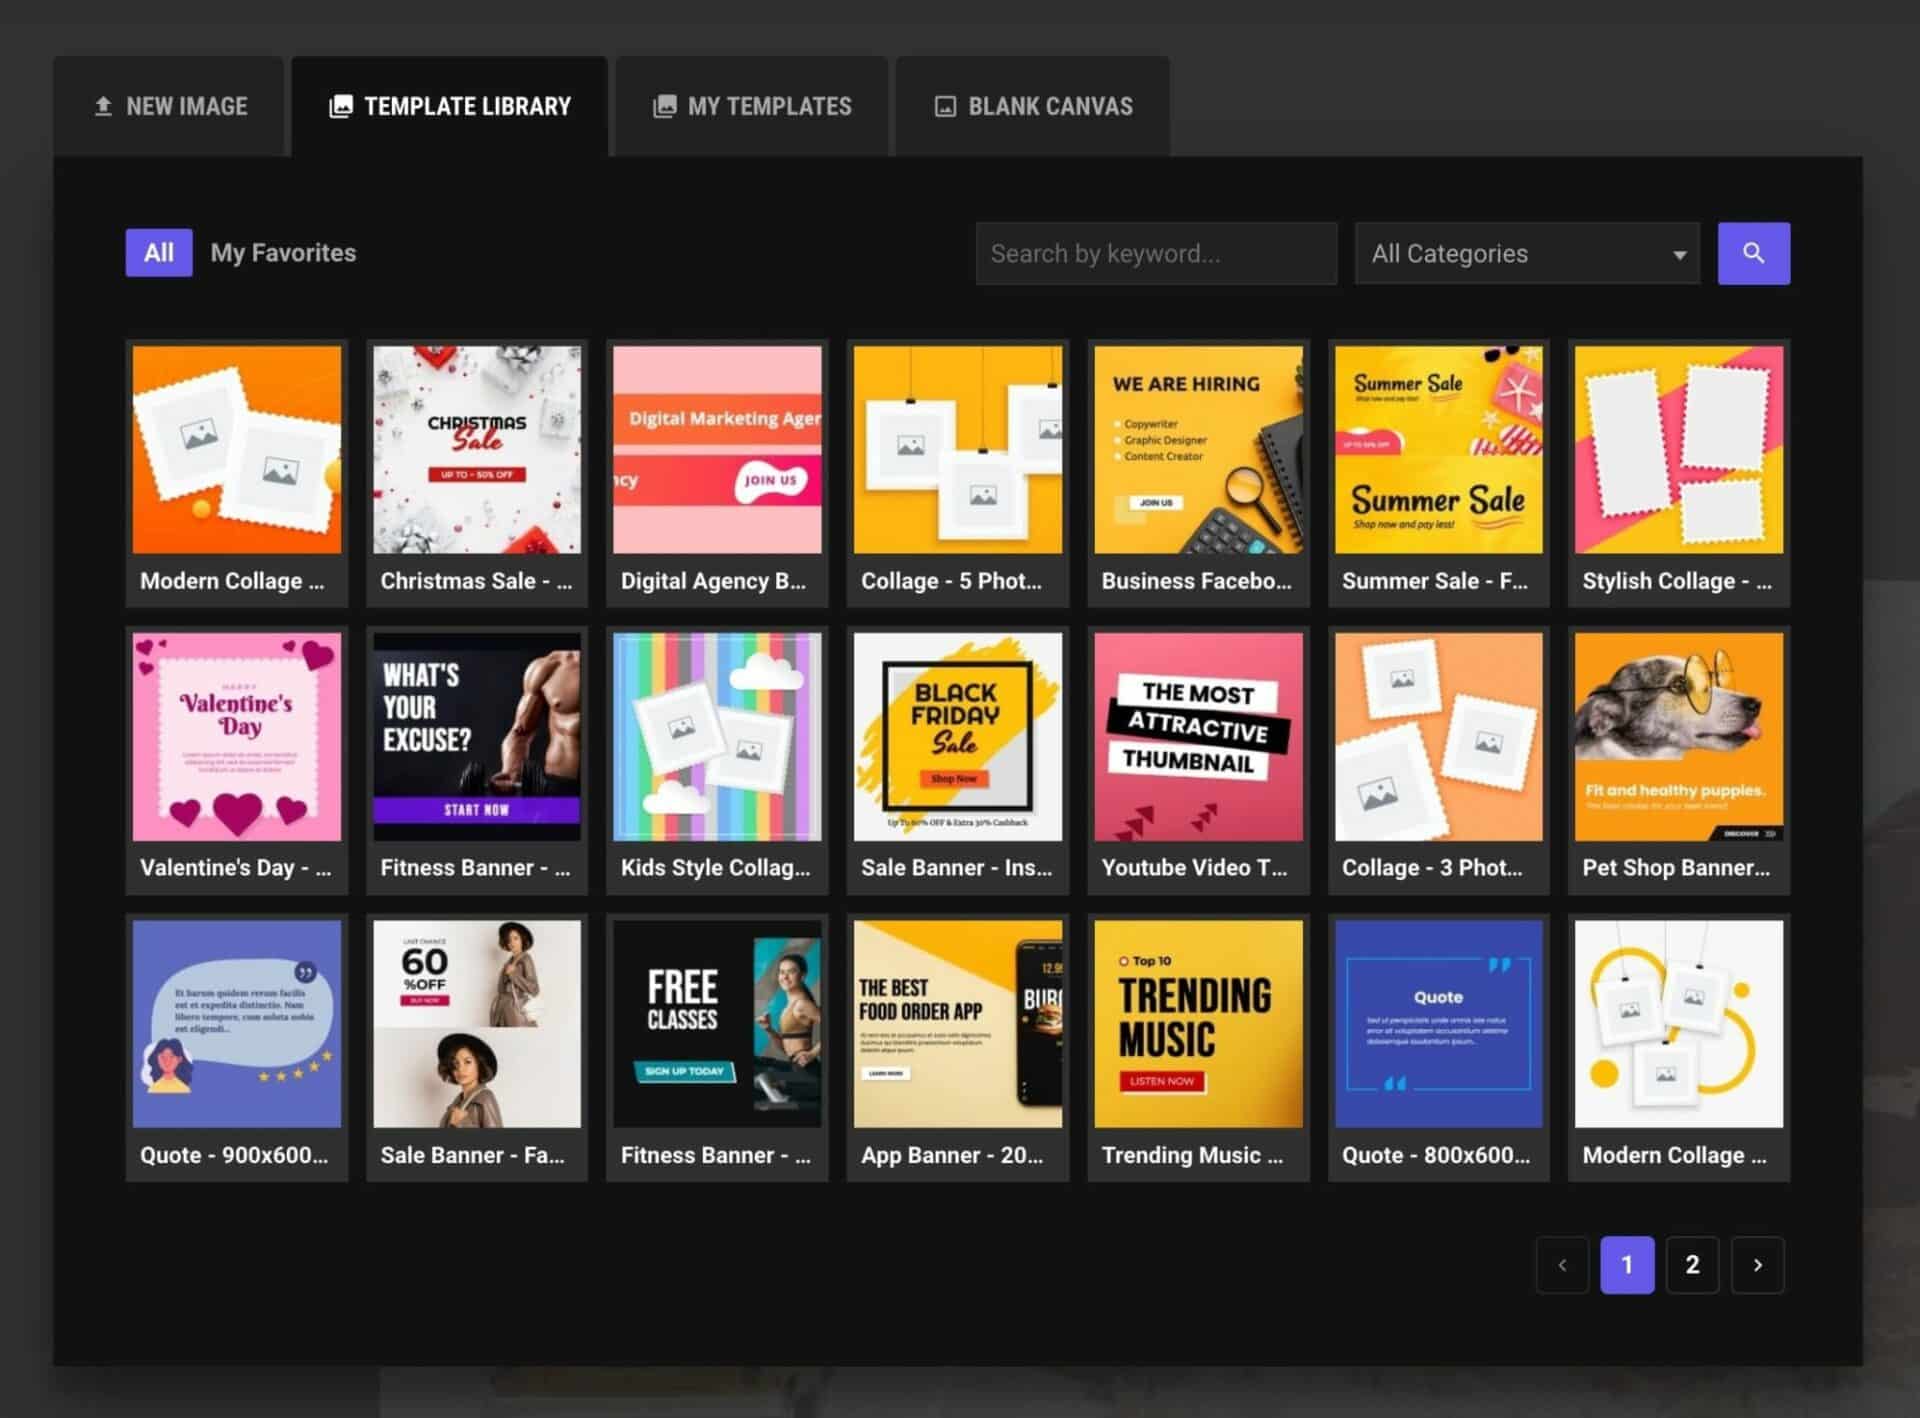
Template Library
Template library tab: You can find our template collection on this tab. Just click on the template to add it to the canvas.
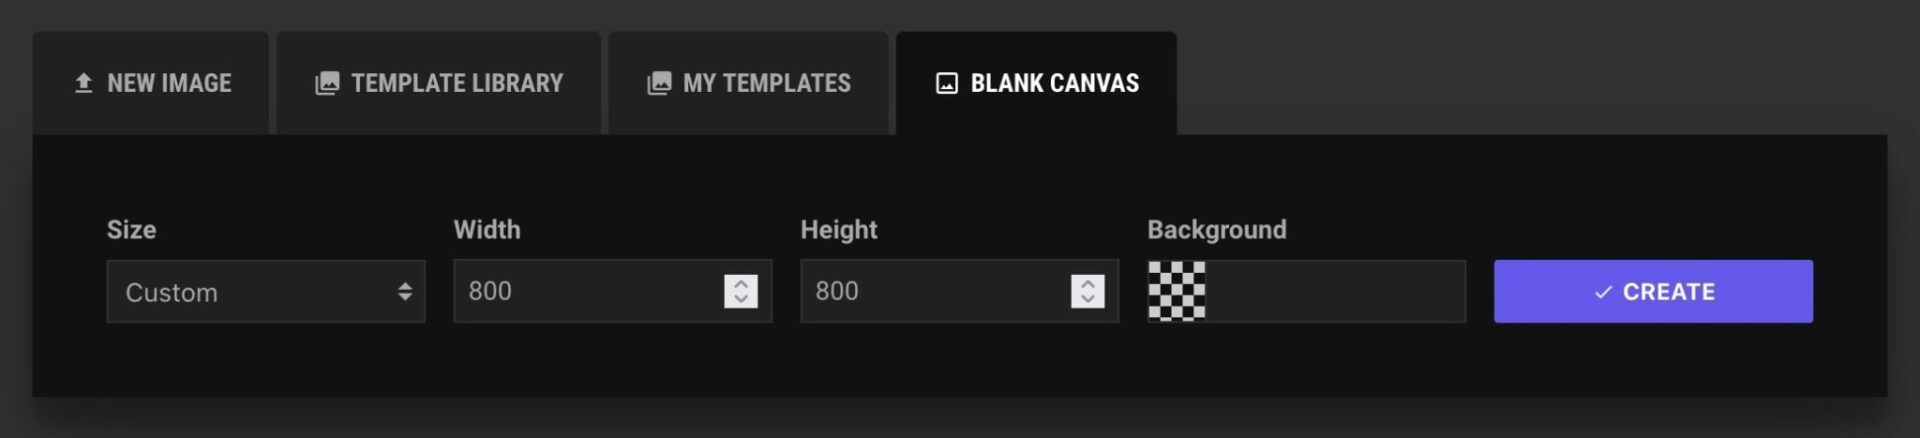
Blank Canvas
Click “Blank Canvas” tab. Set the dimention, select a background color and click create button.
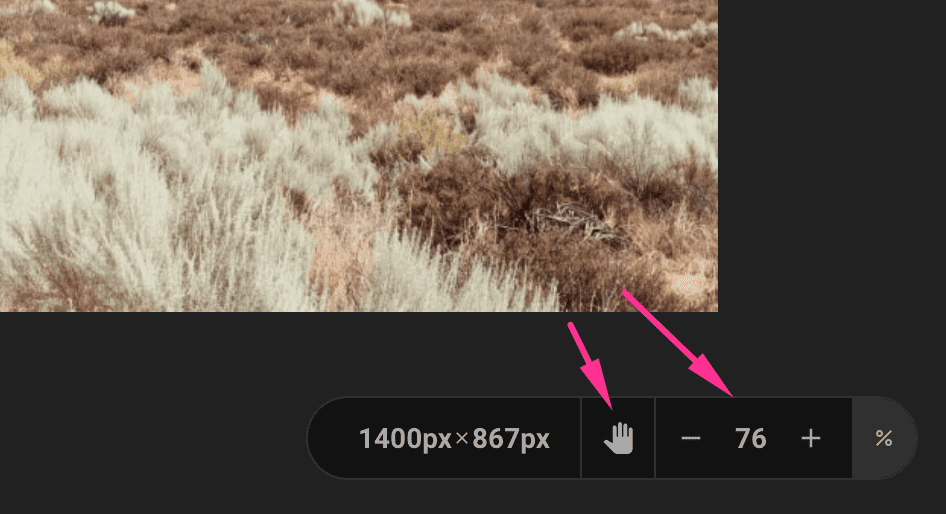
Panning and Zooming
To zoom in/out use the plus/minus icons which is at the bottom right corner of the screen. Please keep in mind that maximum supported zoom in/out levels may change on different browsers and systems.
To pan the image, click “hand” icon and drag&drop the image as you want. When you are done, don’t forget to click “hand” icon again to make the layers selectable again.