Streamlining your e-commerce operations can save time and boost efficiency. By automating tasks in WooCommerce and Shopify, you can focus on growing your business instead of managing repetitive tasks. In this guide, we’ll show you how to set up powerful automations for WooCommerce and Shopify using this app, making your online store operations smoother and more efficient.
Navigate to the WooCommerce and Shopify Automation section in the app.
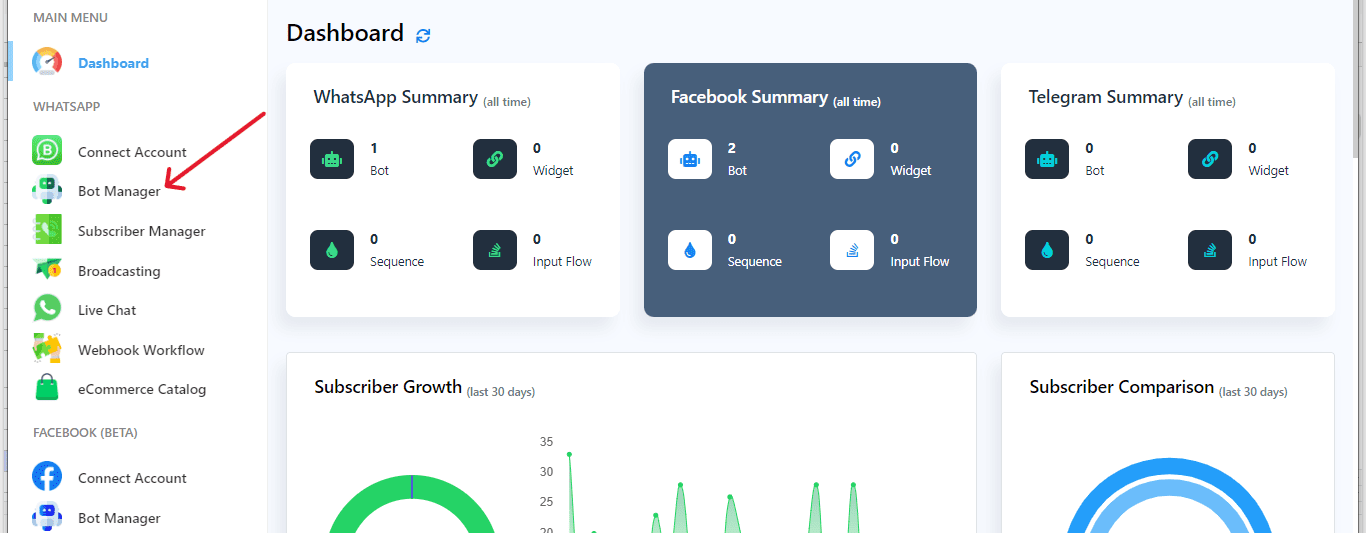
In your main panel, click on WhatsApp Bot Manager.
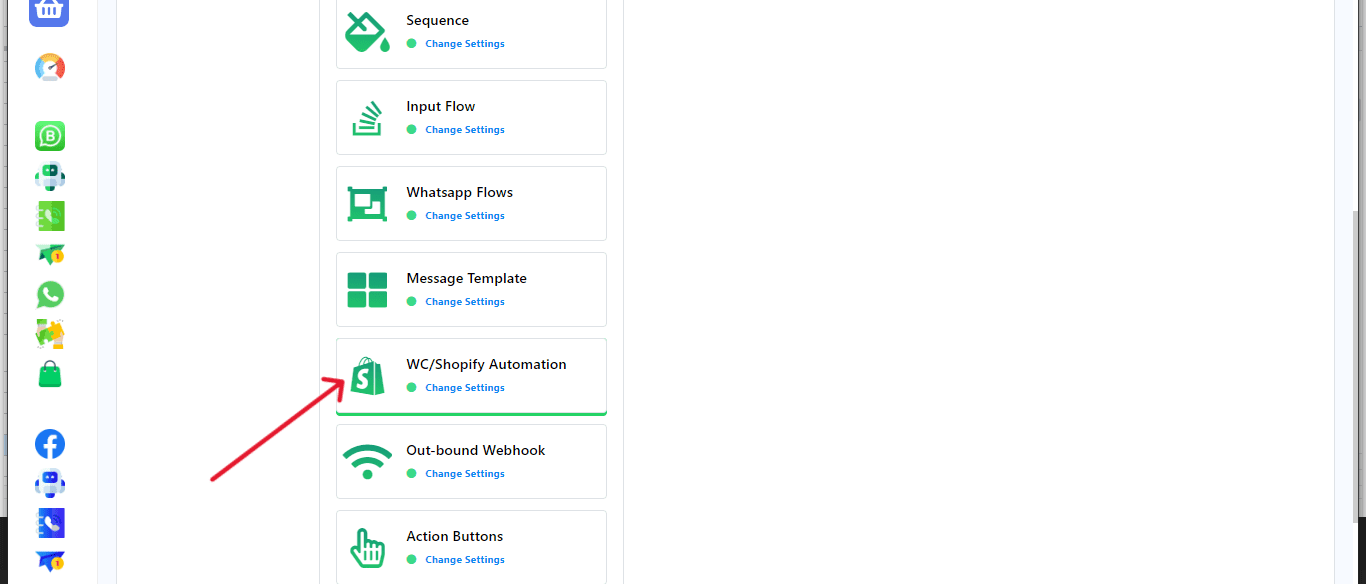
In the menu, go to WC Shopify Automation.
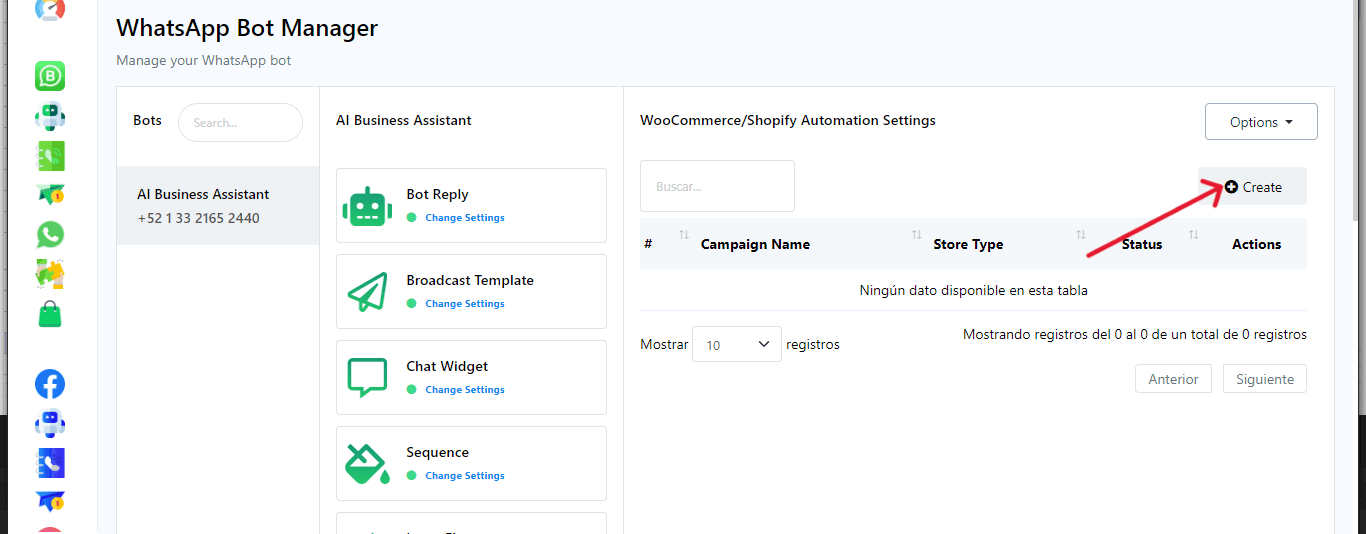
Then, click on Create.
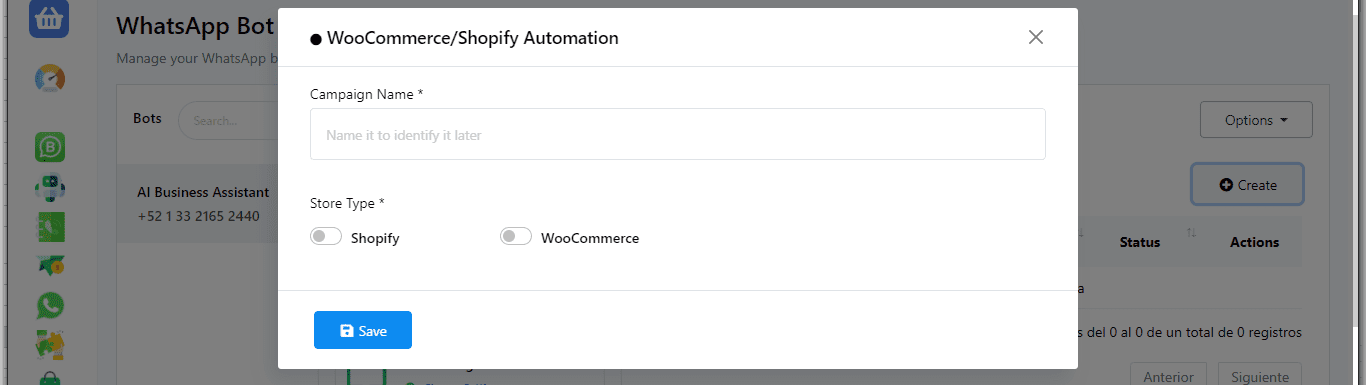
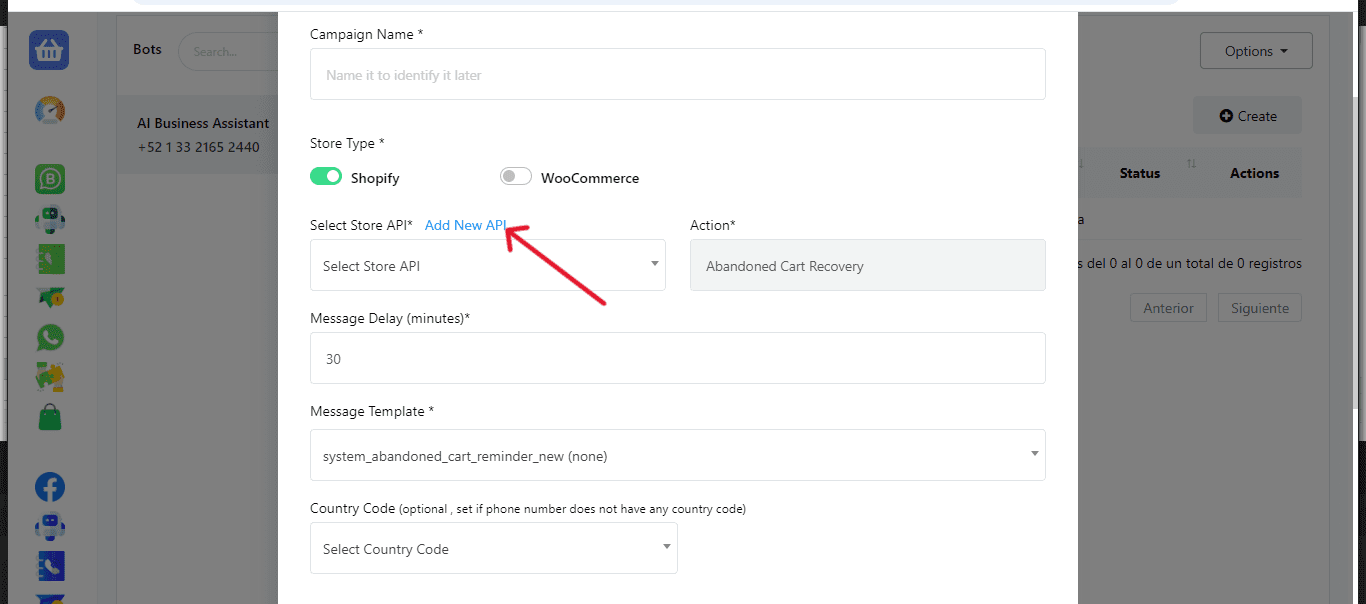
Provide a name for the campaign.
Select the store type (e.g., Shopify).
Choose the Store API from the dropdown list.
Fill out the required fields for E-commerce Profile, including profile name, store sub-domain, and admin access token.
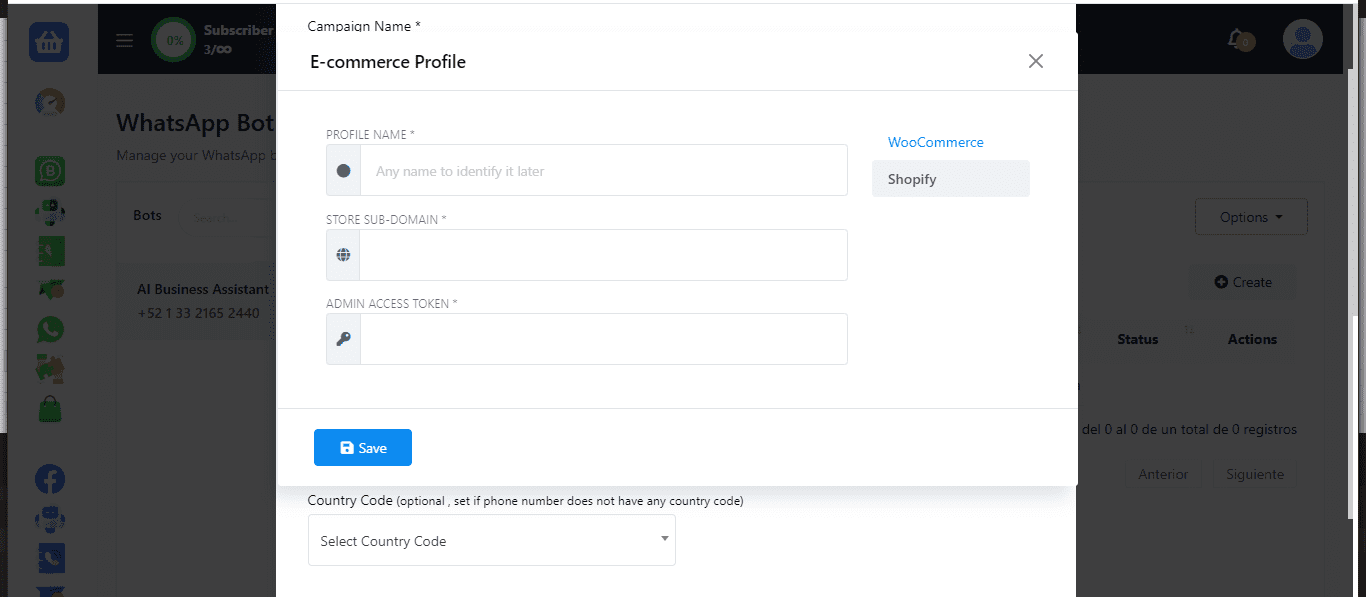
Click Save.
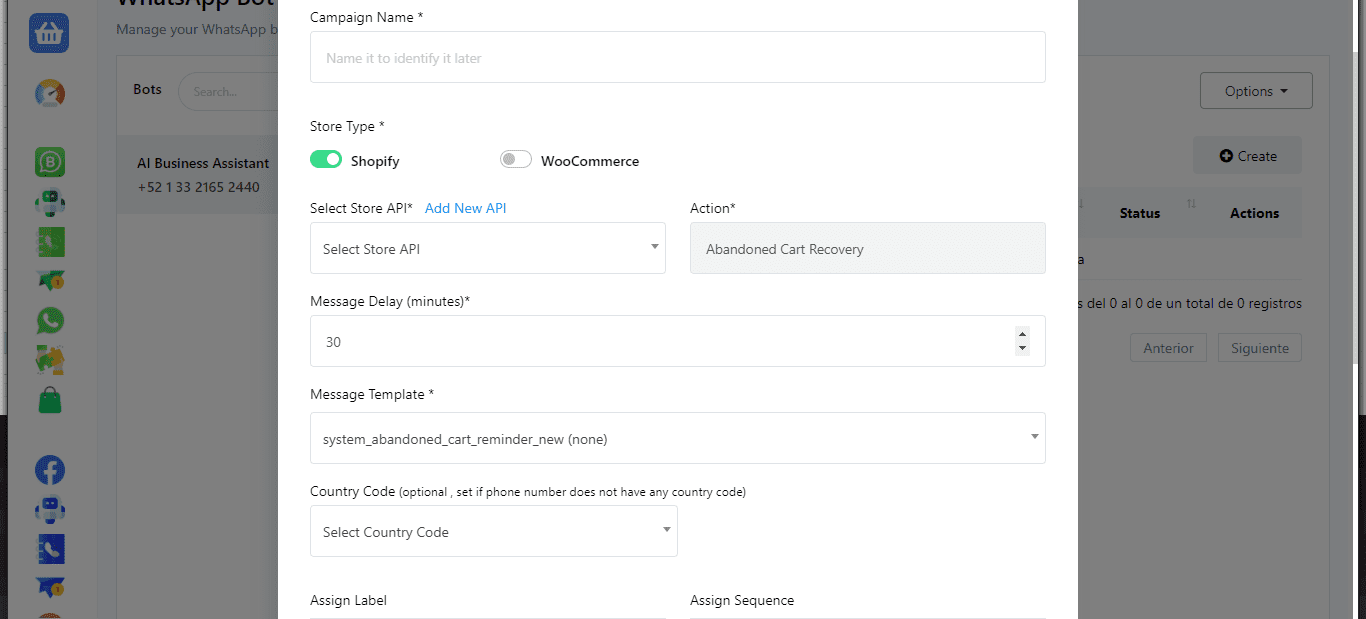
Fill in the requested information in the form to set up the automation.
Adjust the message delay if needed.
Choose the message template you’ve created.
Input the number of days your store will take for delivery.
Assign labels and sequences for the user as needed.
After that, click Save to store your data.
That’s it!
The app should automatically send an order notification to the user’s WhatsApp account.
By following these steps, you’ll be able to seamlessly set up and send Shopify order notifications to WhatsApp using this app.
