In the world of web development and application integration, outbound webhooks play a crucial role in facilitating seamless data transmission and action initiation between different systems.
Access Outbound Webhook Settings
In the menu, click on Bot Manager to access the management panel for your bots.
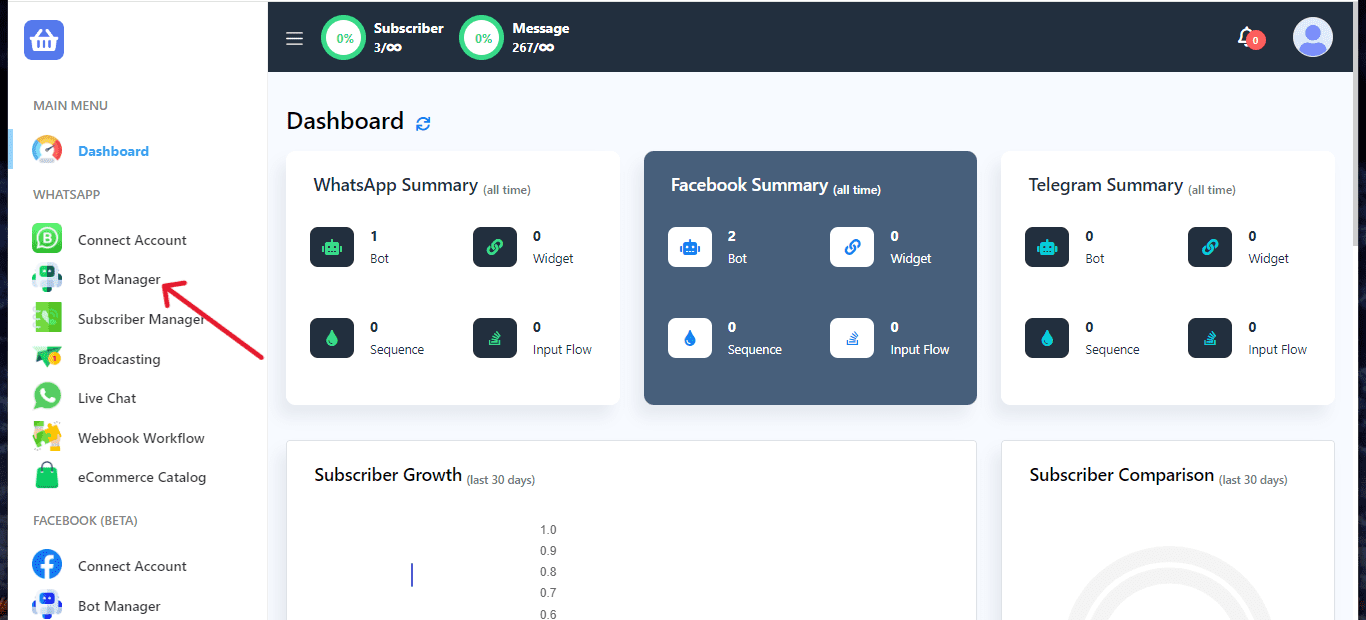
Navigate to the Outbound Webhook Settings section in your application or service.
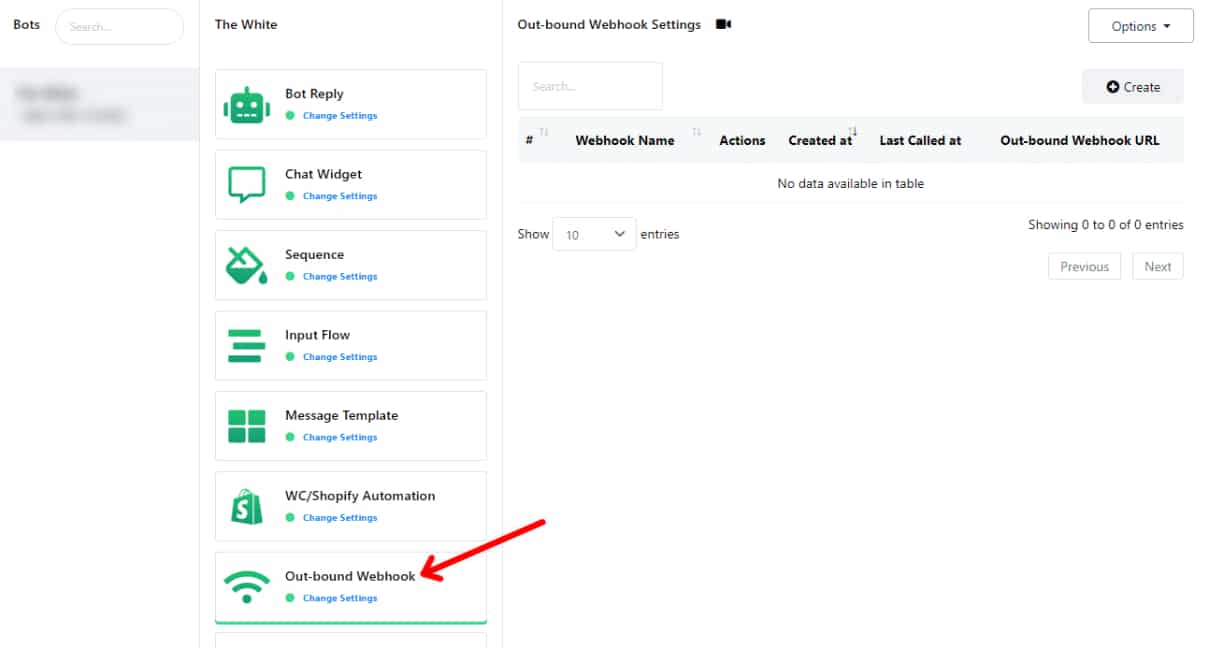
Create a New Webhook
Click the Create button to begin setting up a new outbound webhook.

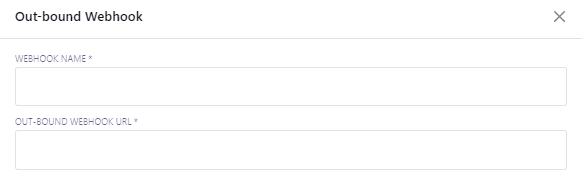
Provide Webhook Details
Give your webhook a descriptive name.
Specify the webhook URL of the target website where you want to send your data.
Select Trigger Actions
Choose the specific actions within your system that will trigger the webhook to send data.
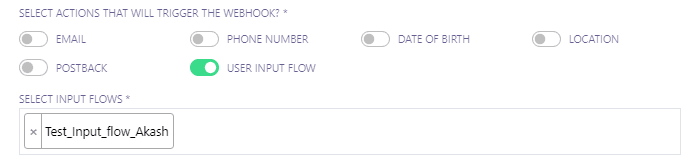
Define Data Fields
Select the data fields that you want to include in the payload sent to the target website.

Save the webhook configuration to finalize the setup process.

Once configured, your outbound webhook is ready to deliver data and initiate actions as needed.
By following these steps, you can seamlessly set up an outbound webhook to facilitate automation, data synchronization, and event notifications between your systems.
