Install the AutomateWoo Plugin
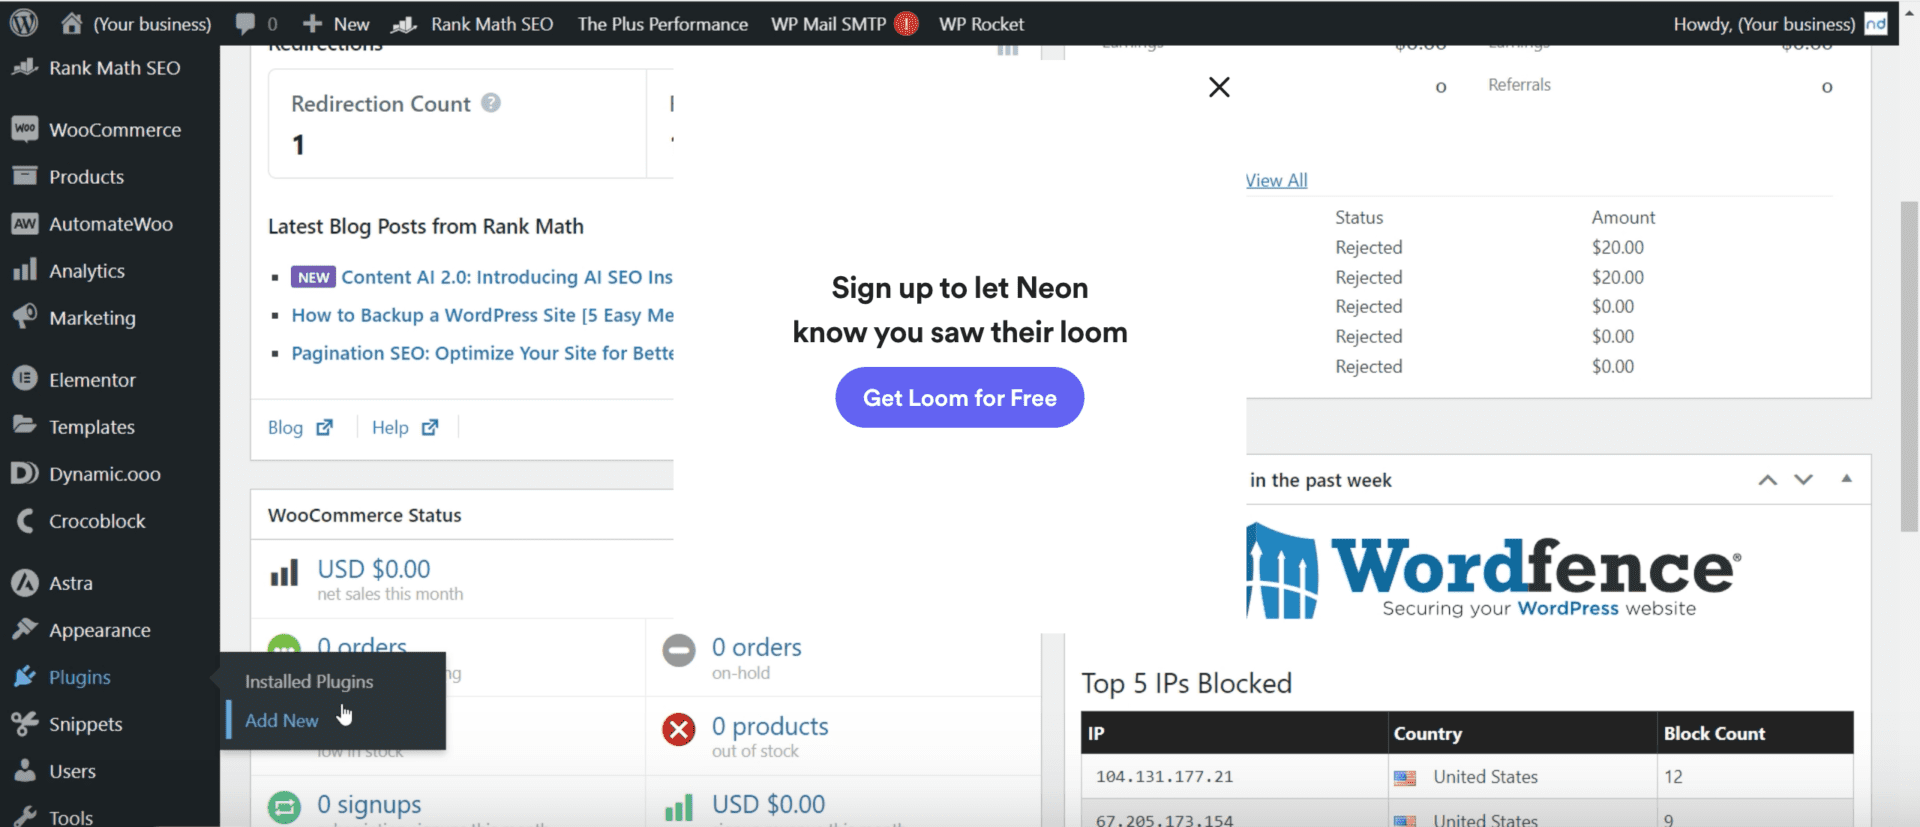
First you need to install the AutomateWoo Plugin. Download it from this page: planifyx.com/my-downloads. Then, login to your Wordpress account. In the admin’s sidebar, click on Plugins > Add New.
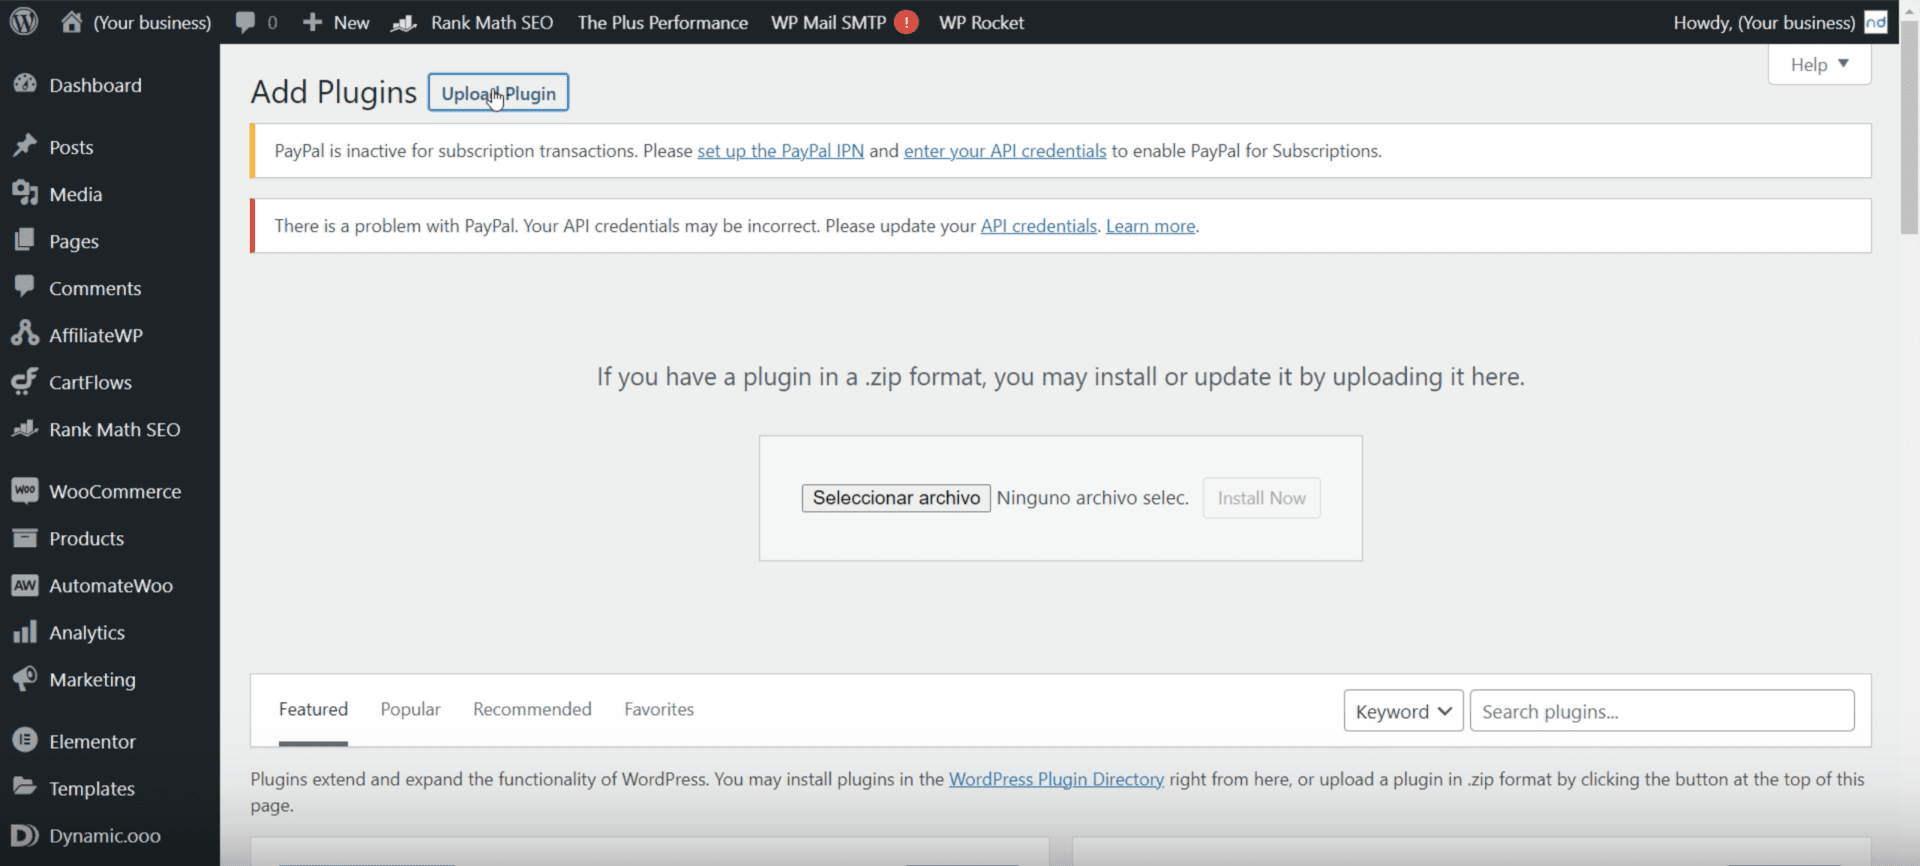
On the next page, tap on Upload Plugin. Select the AutomateWoo plugin you just downloaded and follow the installer’s instructions.
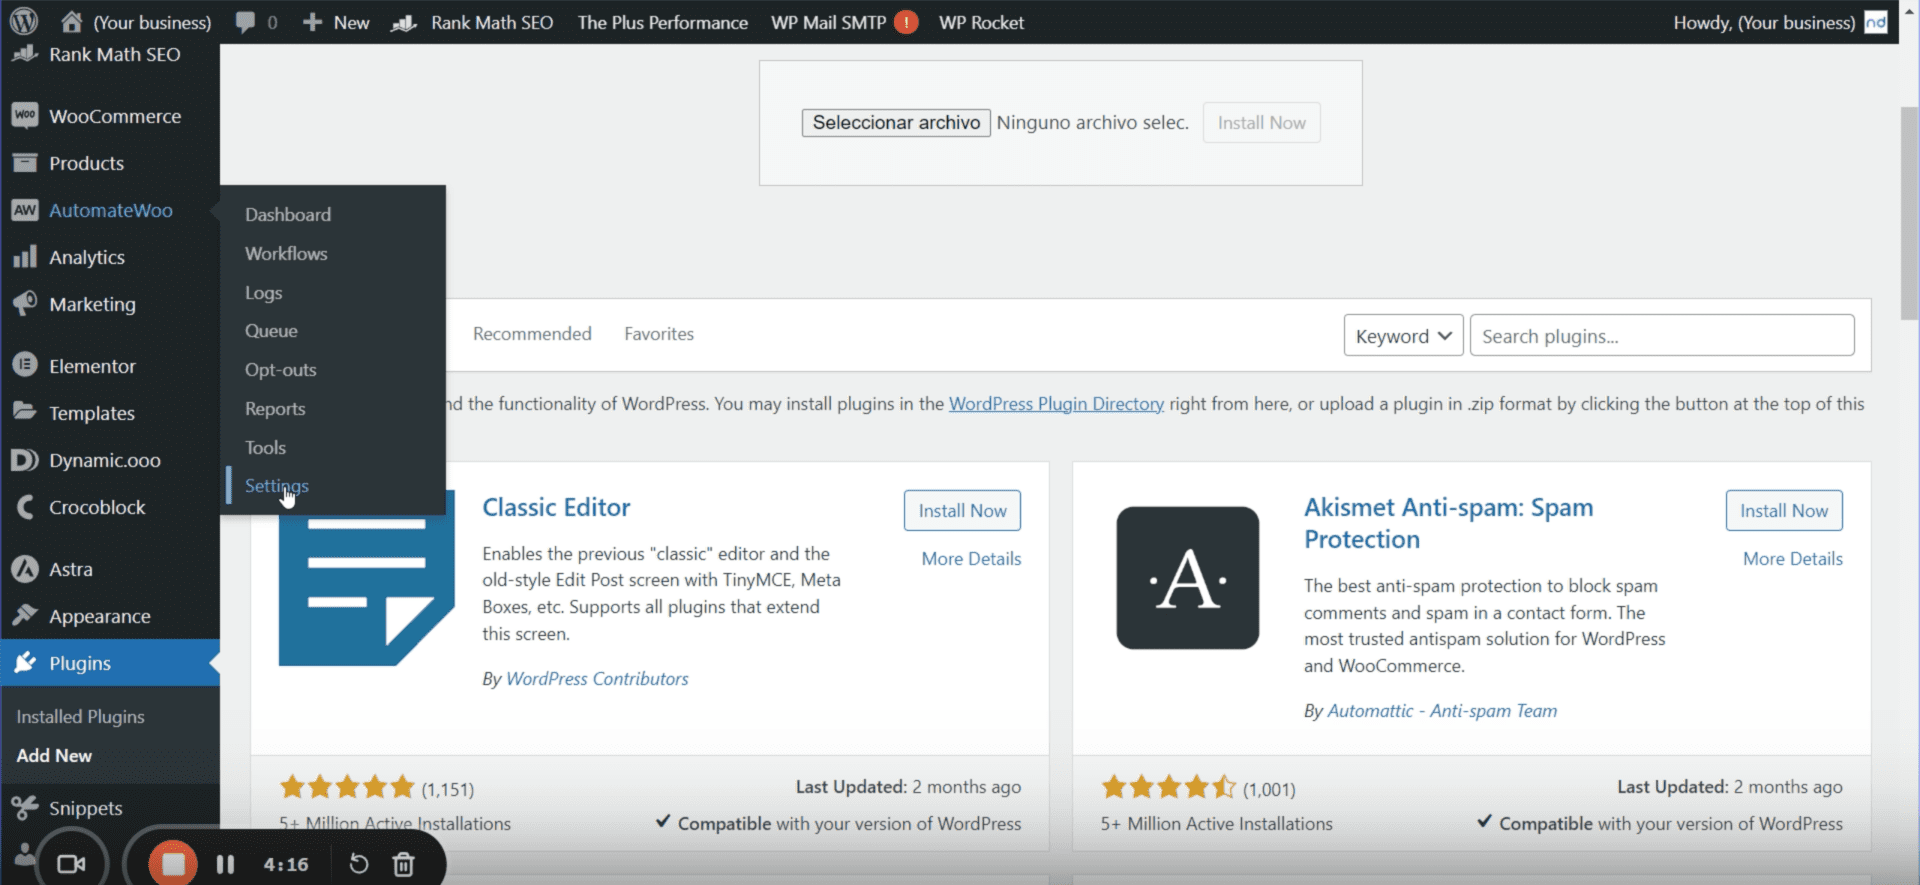
Once the installation is complete, you must link it to your account. Look for the AutomateWoo section at the sidebar. Scroll over and on the menu, click on «Settings».
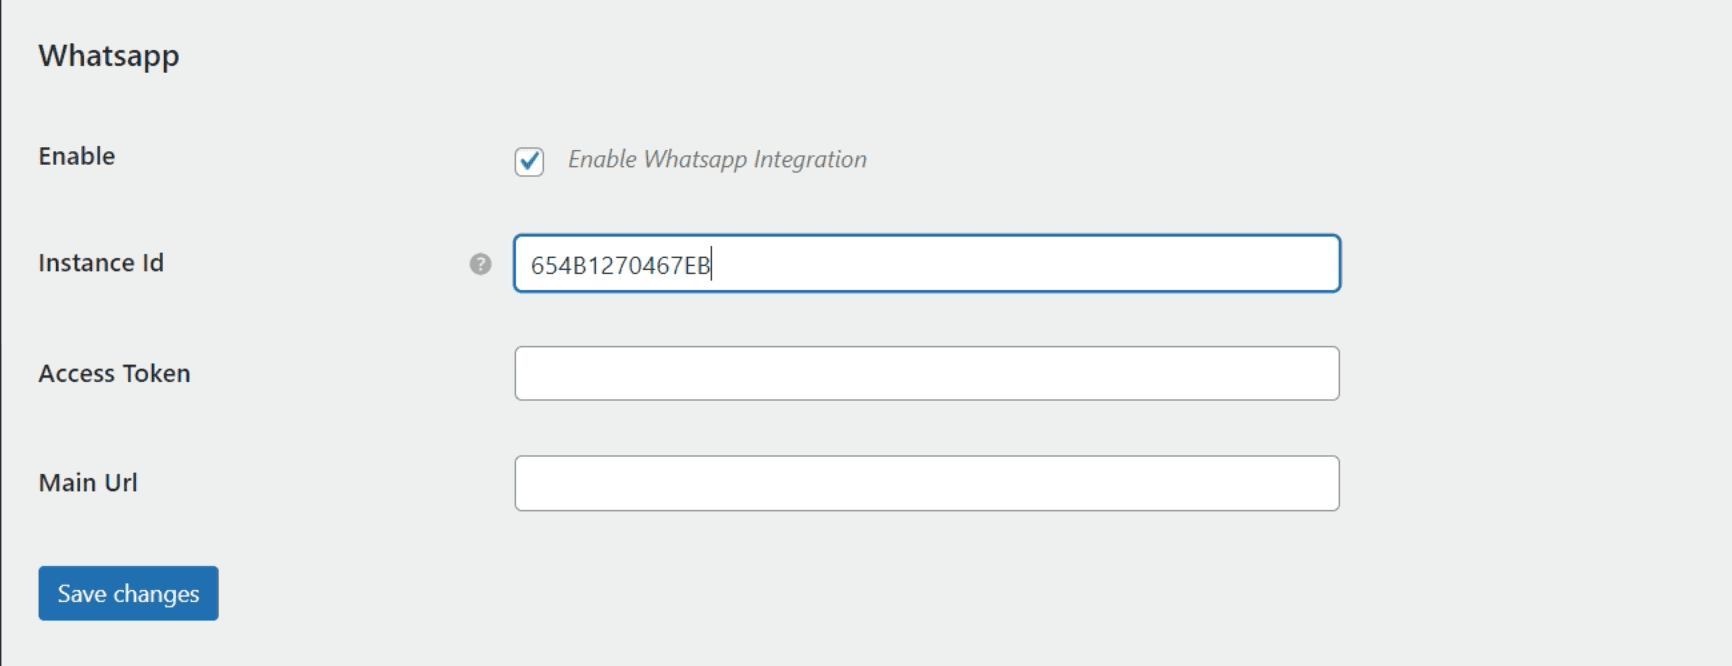
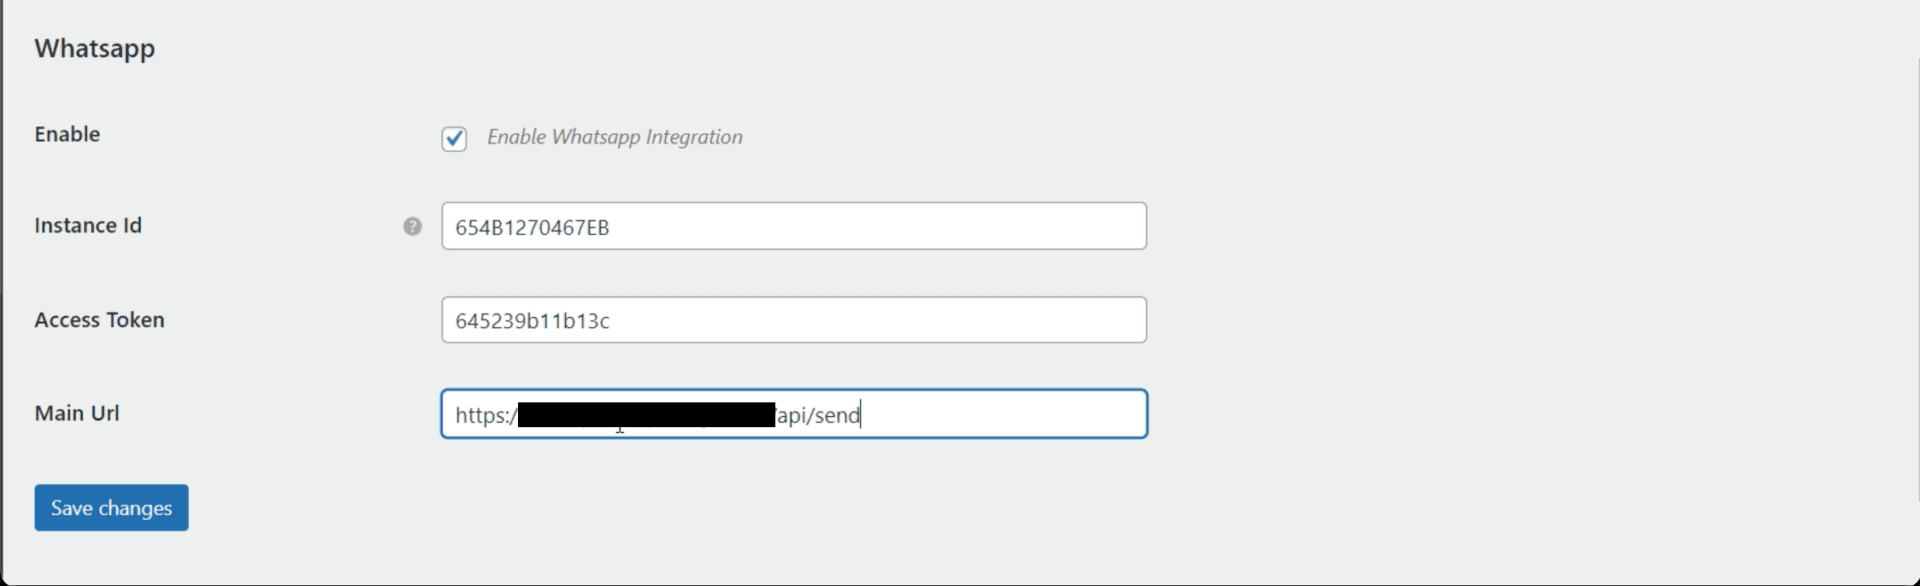
On the next page, go to the WhatsApp tab. Check the «Enable WhatsApp Integration» option.

Link via API to our chatbots app
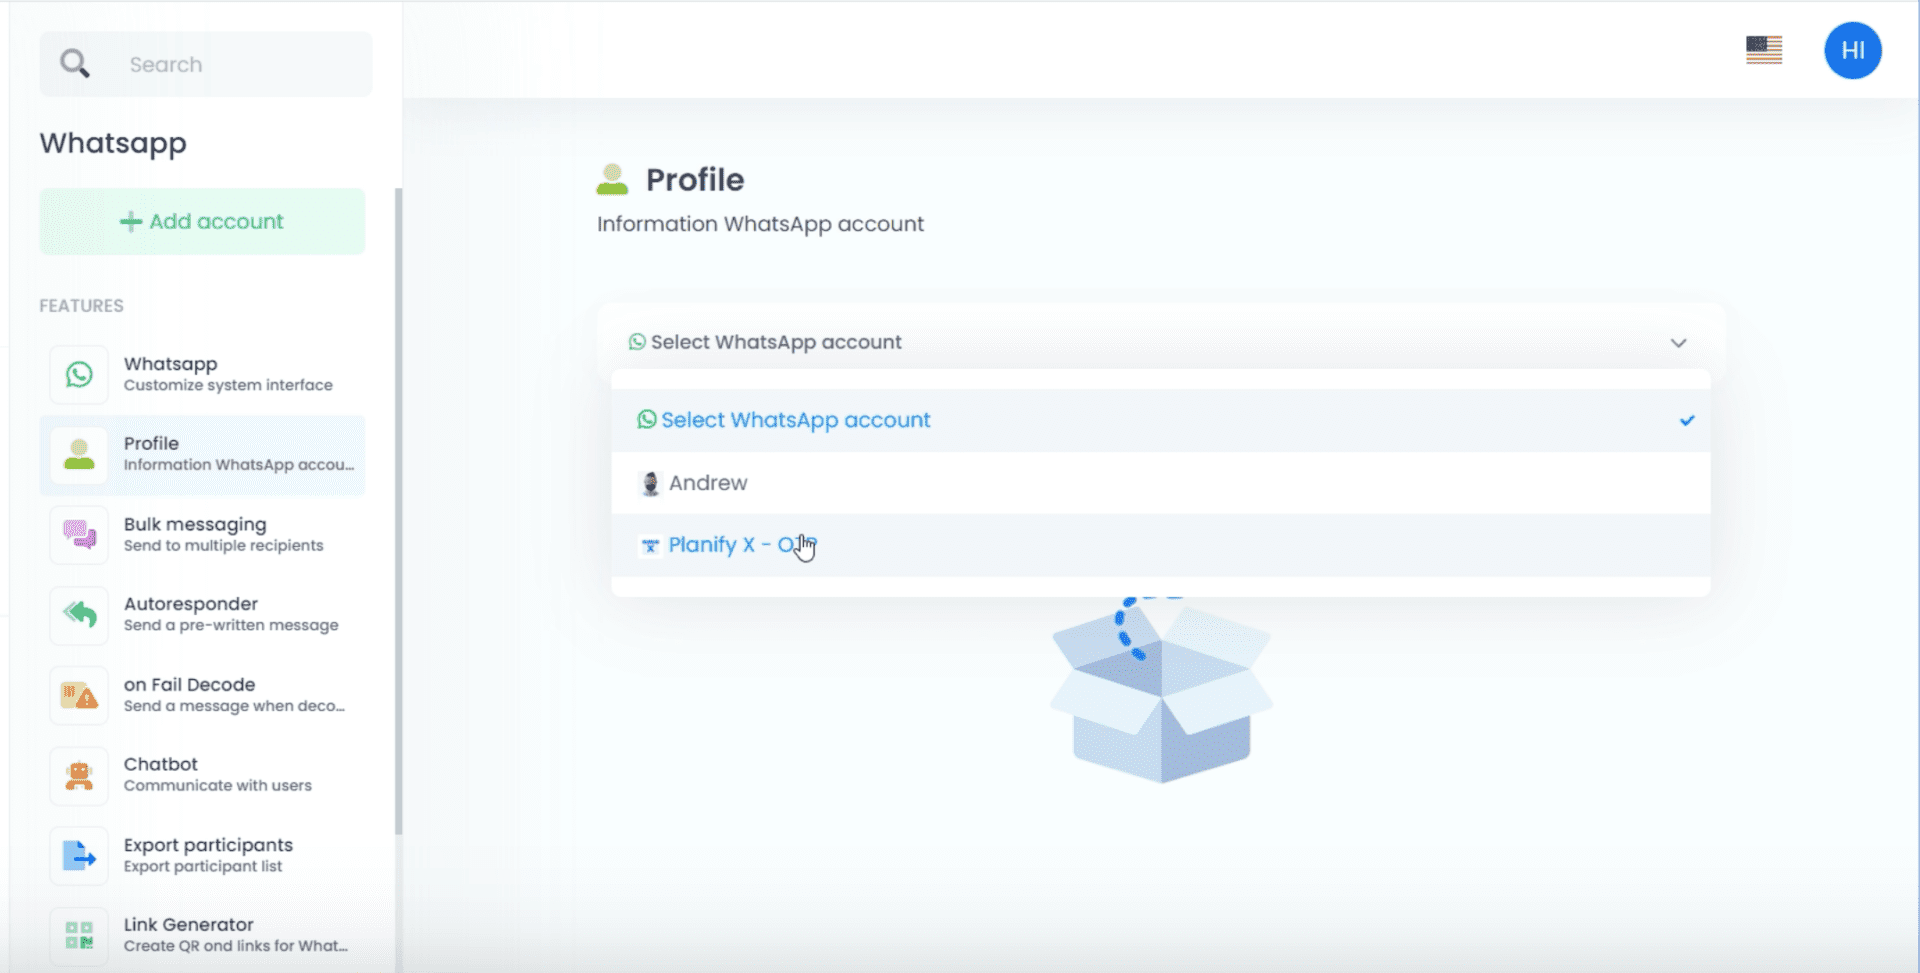
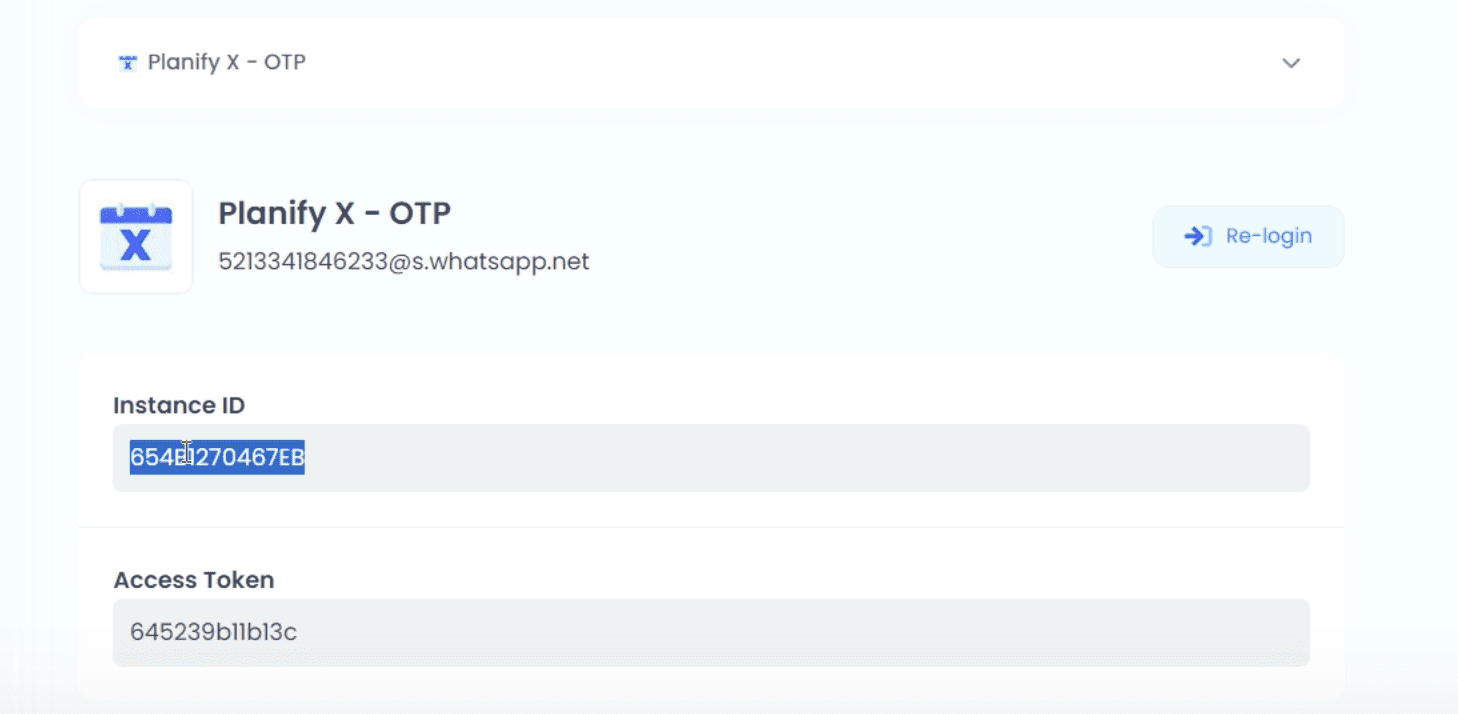
Now, it is time to upload your app’s values. Log into your account in another tab. Go to the WhatsApp Module and click on «Profile». Select your WhatsApp account.
Copy the Instance ID.
Go back to Wordpress and paste in the corresponding field.
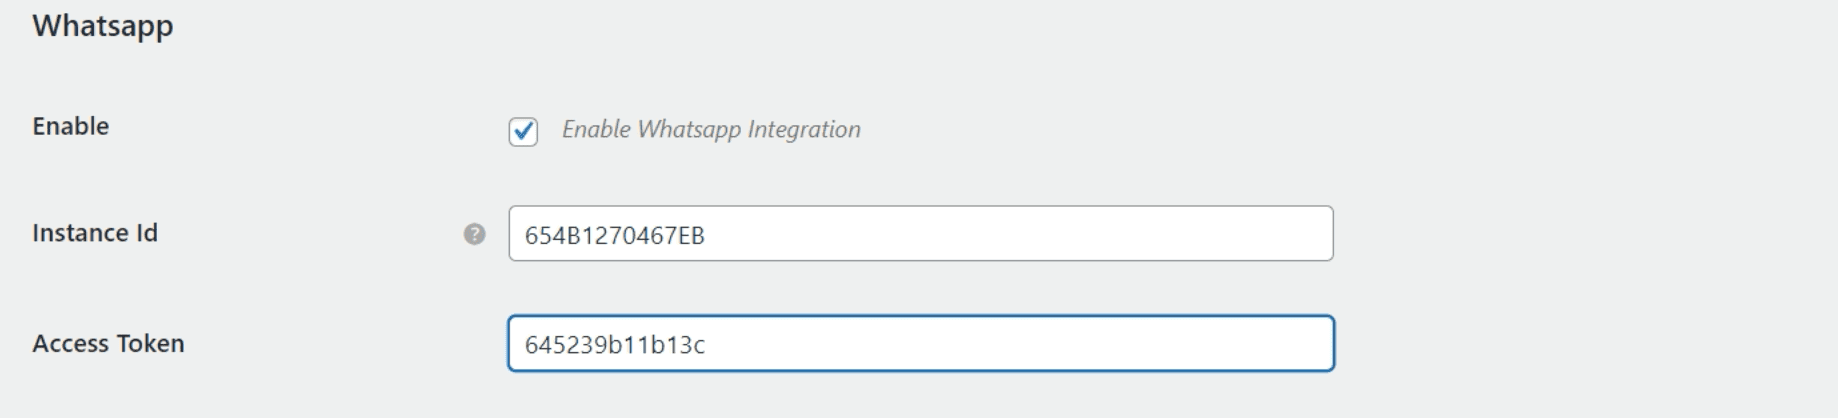
Then, copy the Access Token from your account, and once again, paste it in the right field.
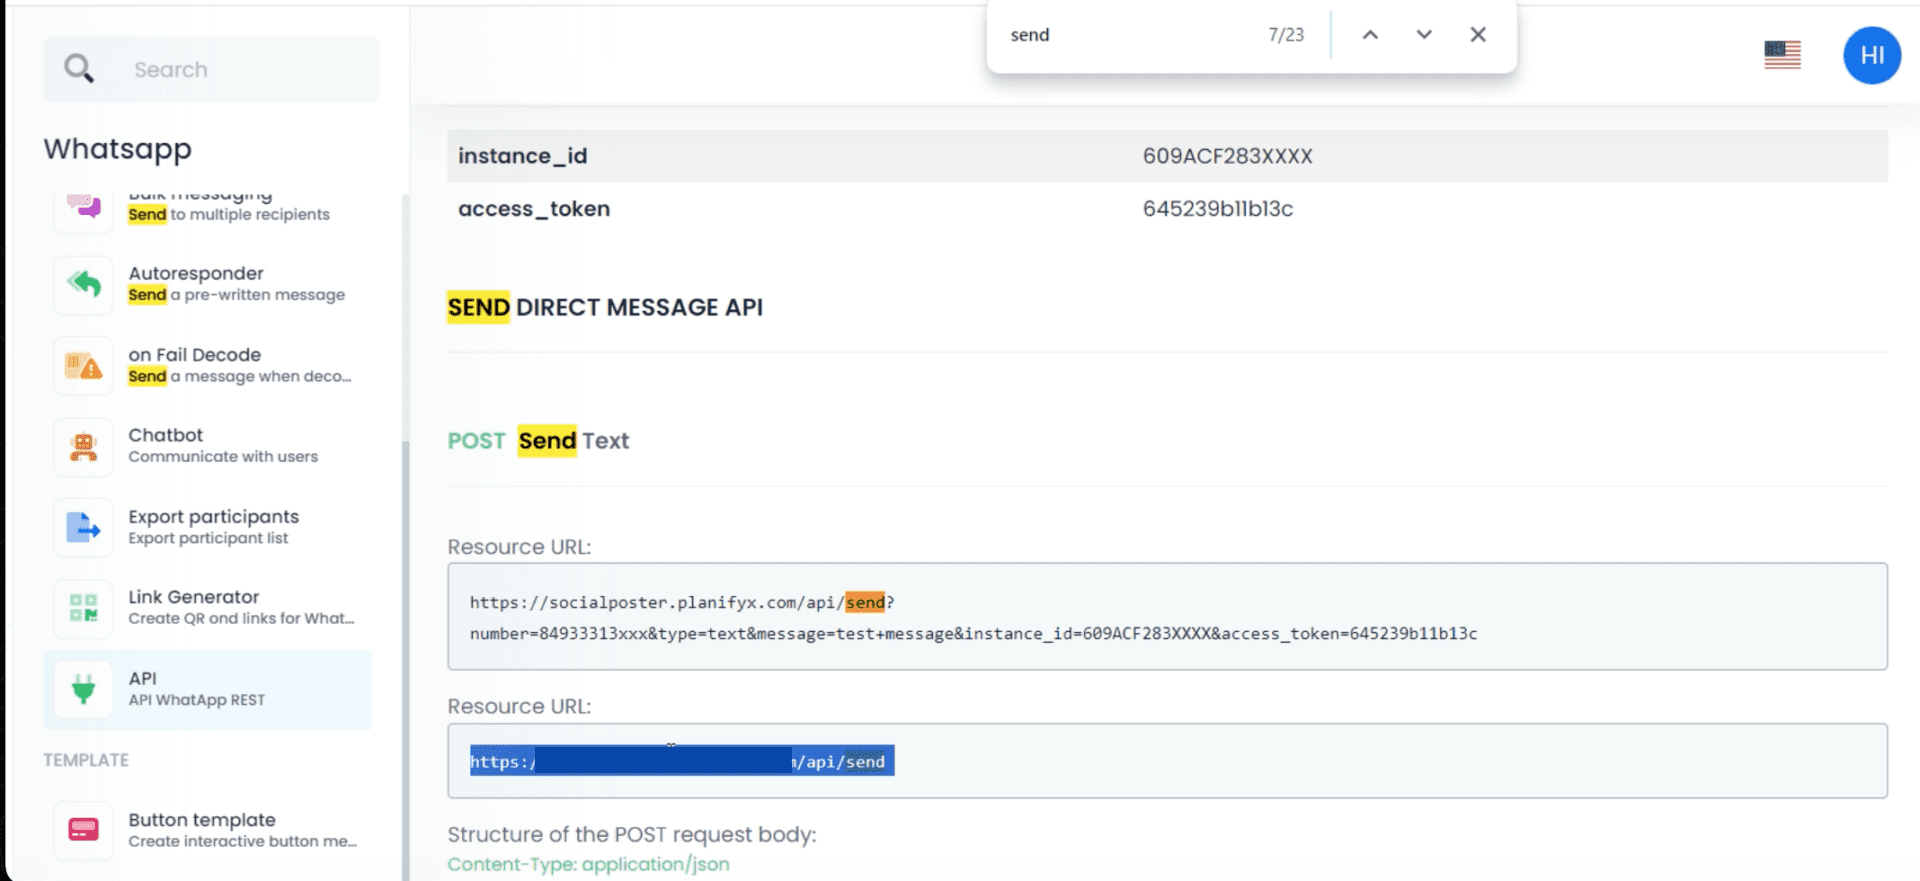
Finally, you need to add the main URL. To find it, scroll down to the WhatsApp API section in your account. Scroll down to the «Send Direct Message API» section, and copy the resource URL under «POST Send Text».
💡 PRO TIP: To find it easily, use the command Ctrl+F on Windows or Cmd+F on Mac to use the Search feature, and look for the word “send”.
Paste it in Wordpress and click on Save changes.
Test it!
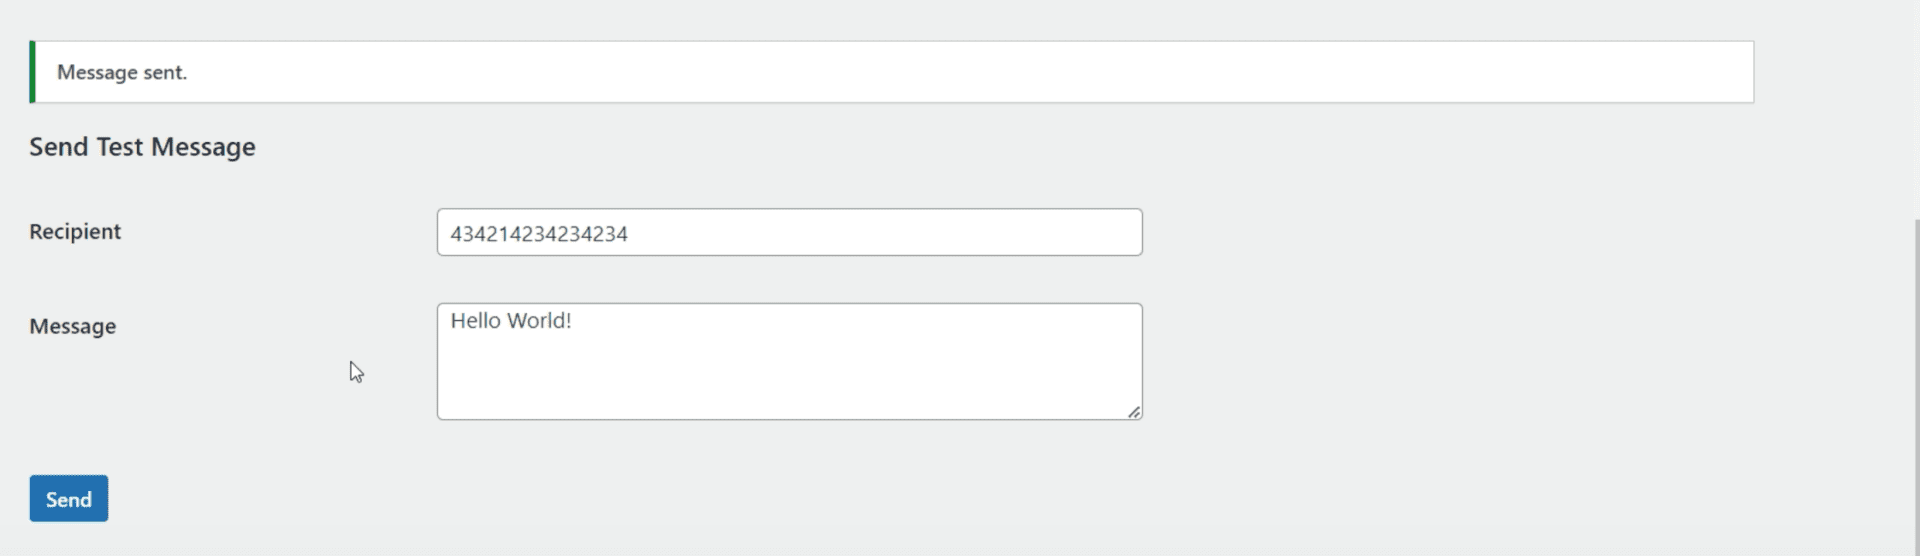
Scroll down to the «Send Test Message» section of the page. In the recipient field, write a WhatsApp phone number, add a Message and click on Send. If the process was done correctly, a confirmation message will appear.
Create a WhatsApp Workflow
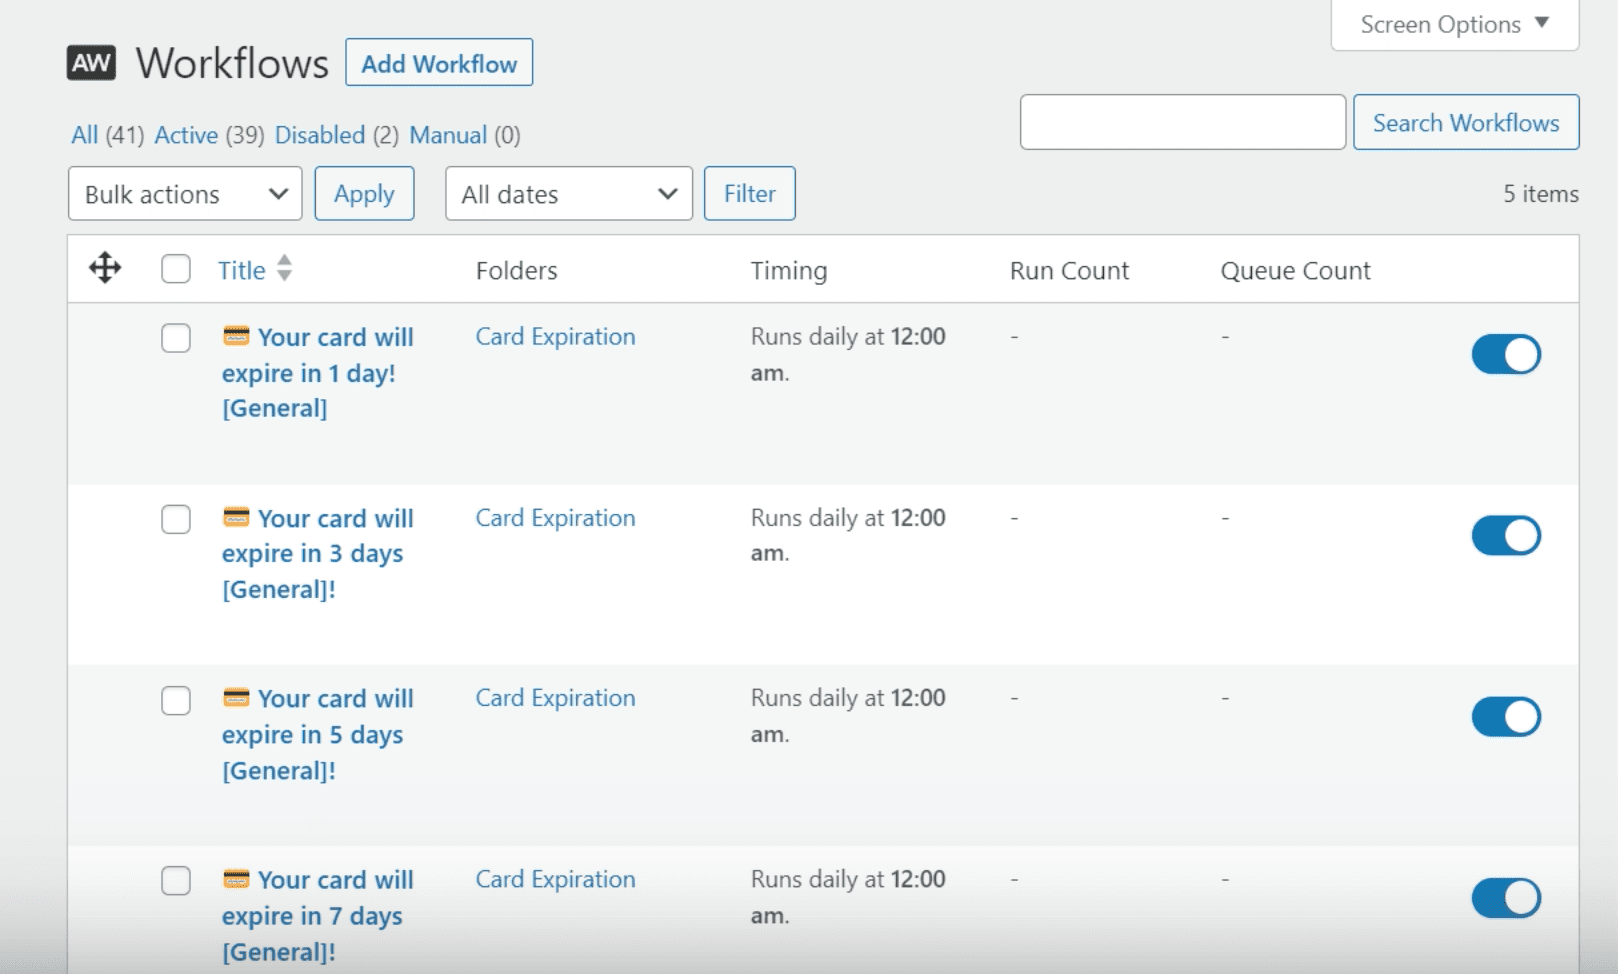
In the AutomateWoo section in Wordpress, click on Workflows and then on Add Workflow.
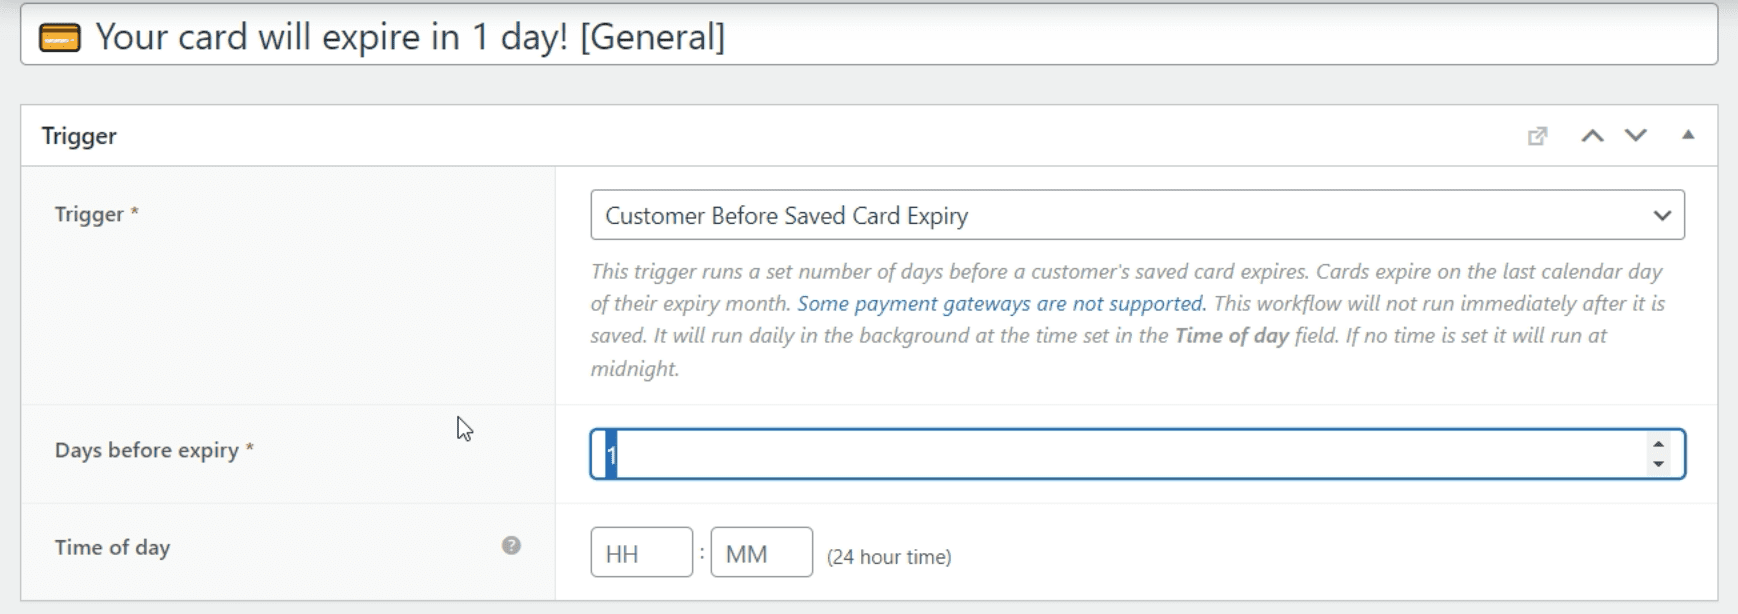
Give it a name, and choose a trigger, for example, here we are using «Customer Before Saved Card Expiry» to send a WhatsApp notification when a card is about to expire.
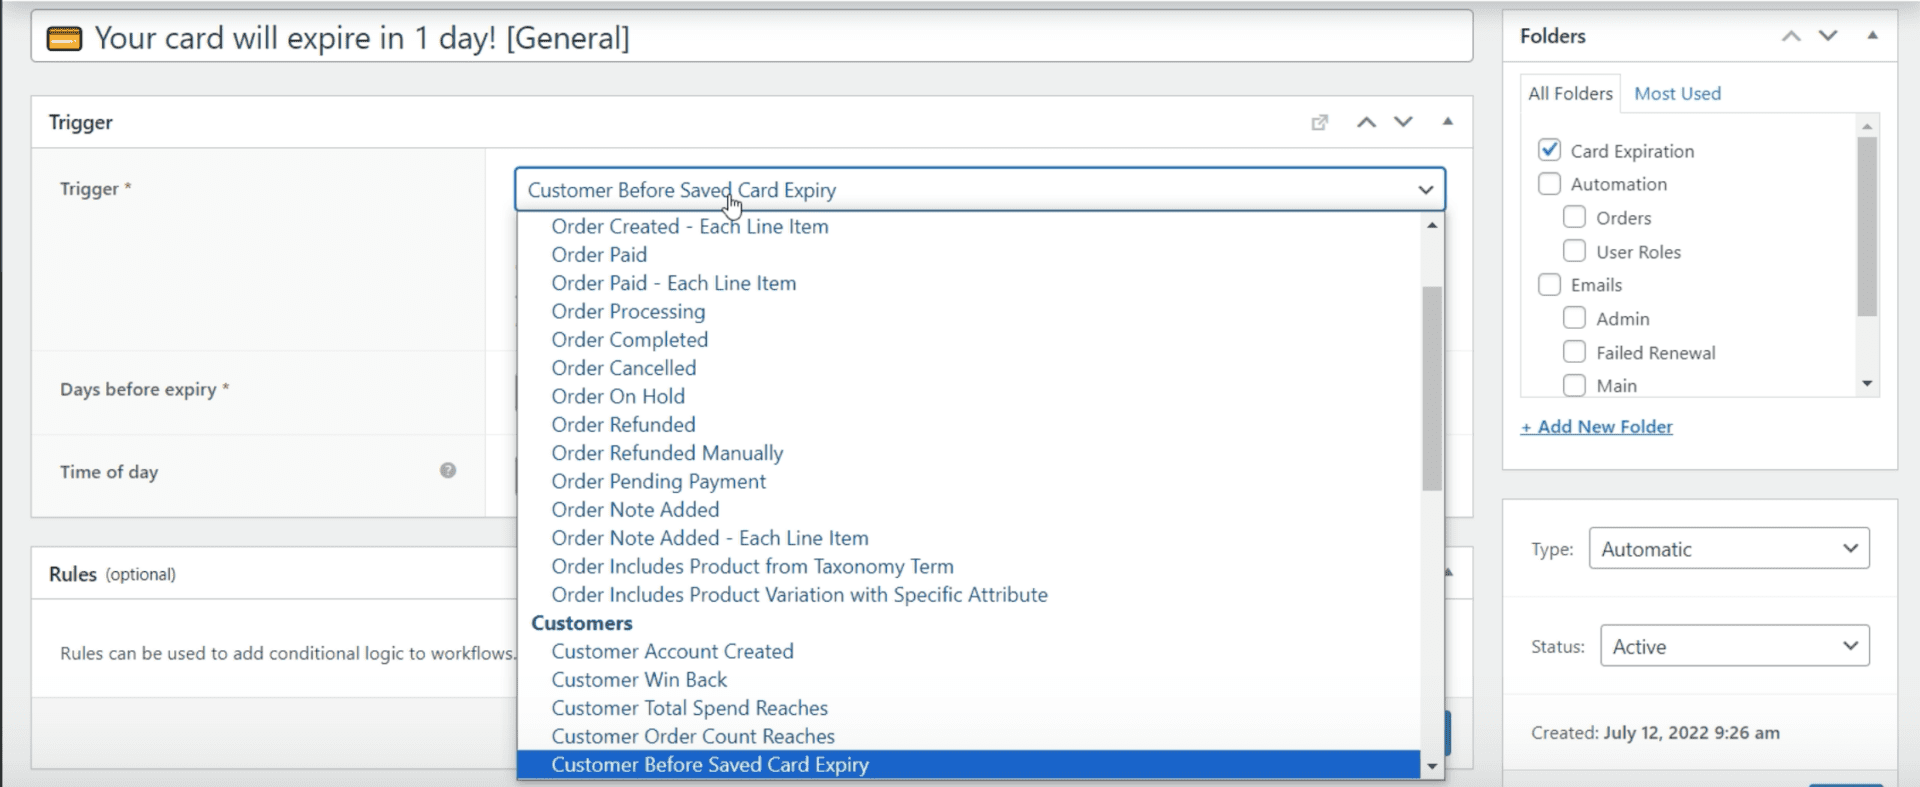
Add the necessary details for when to send the message. For example, here we have to indicate how many days before expiry must the reminder be sent. Optionally, you can also add a time of the day.
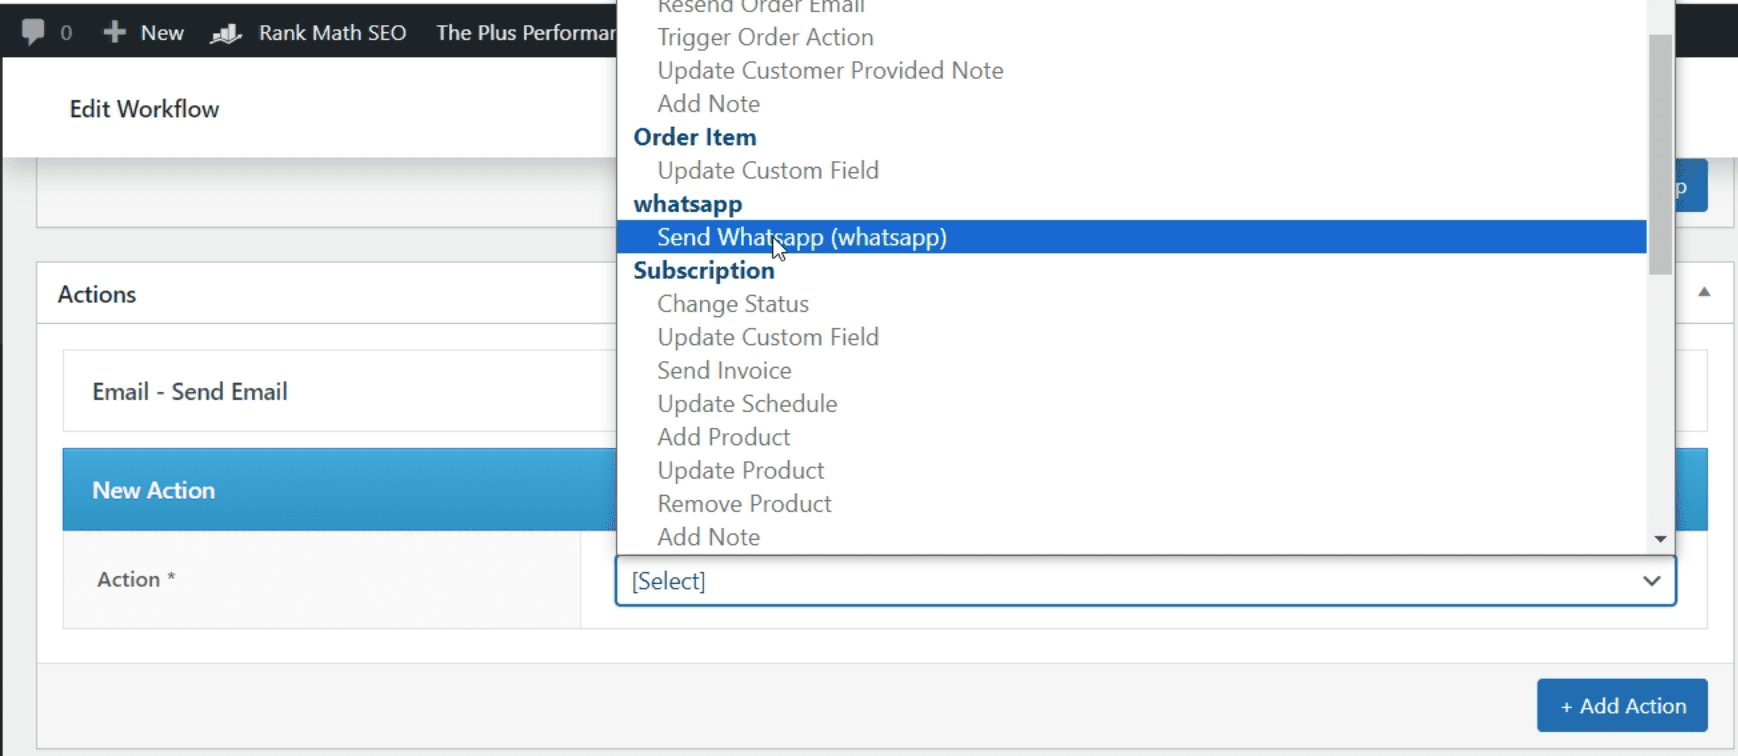
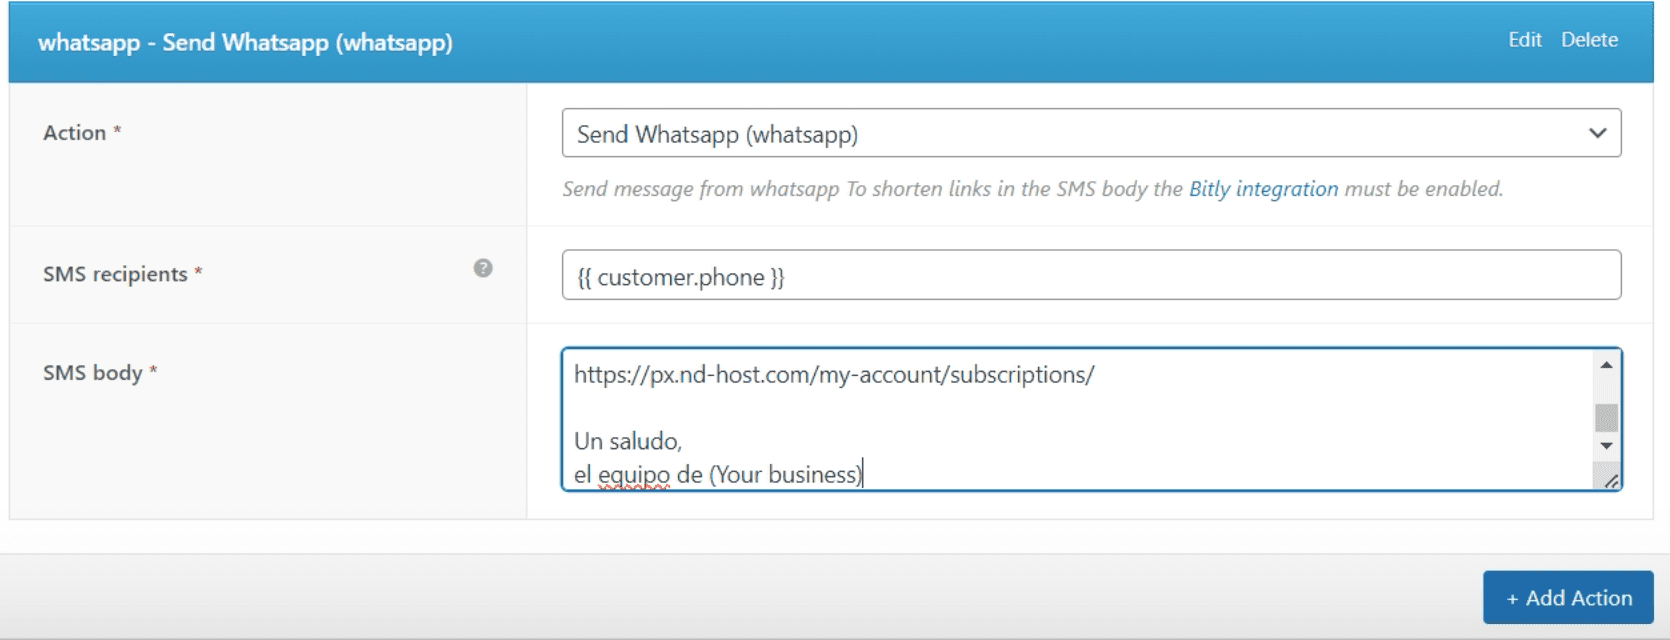
Now, click on add an Action and select «Send WhatsApp».
On «SMS Recipients» you can either add the phone number of a specific user, or add the customer.phone variable to automatically use the one your customer has registered on its WooCommerce account during checkout. To do it, select it from the variables list at the right of the page.
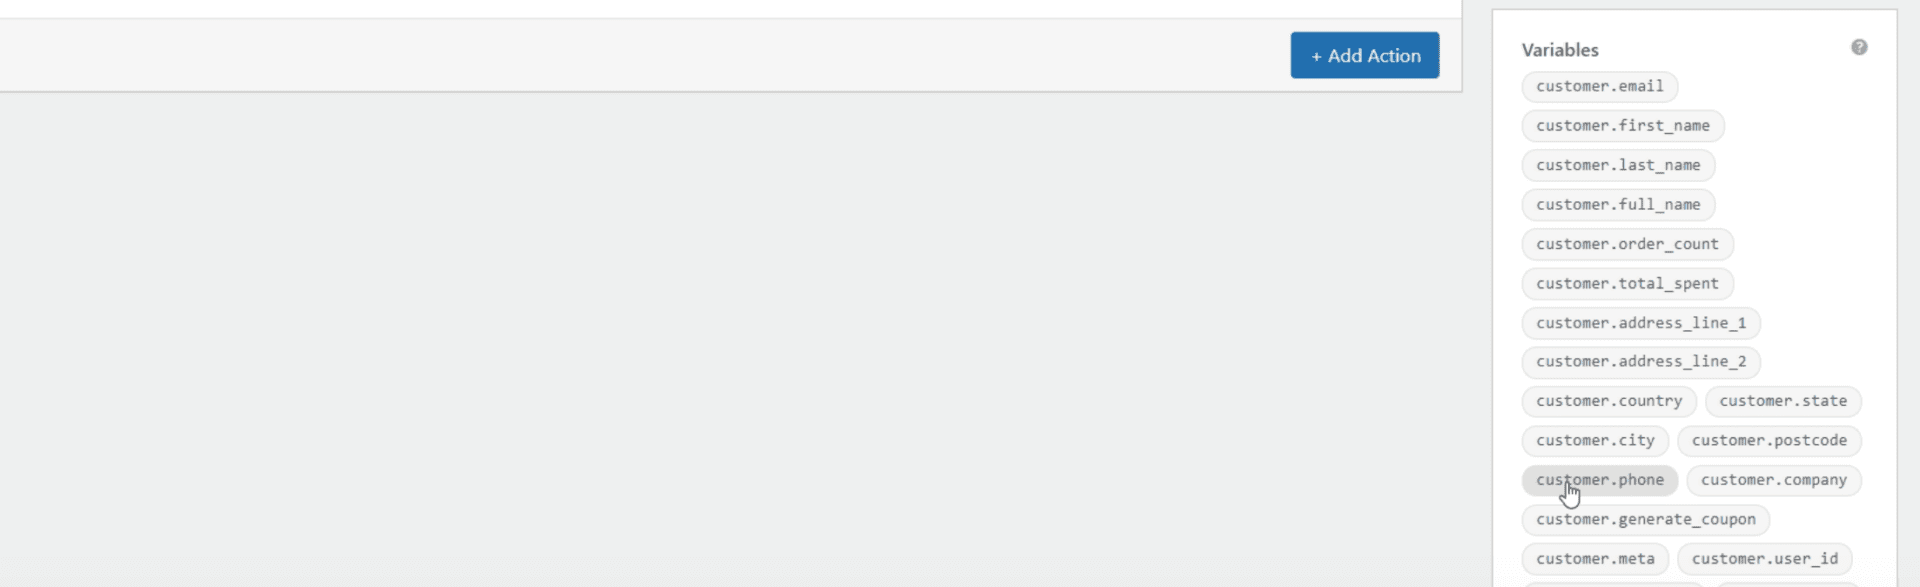
Copy it and paste it on the corresponding field.
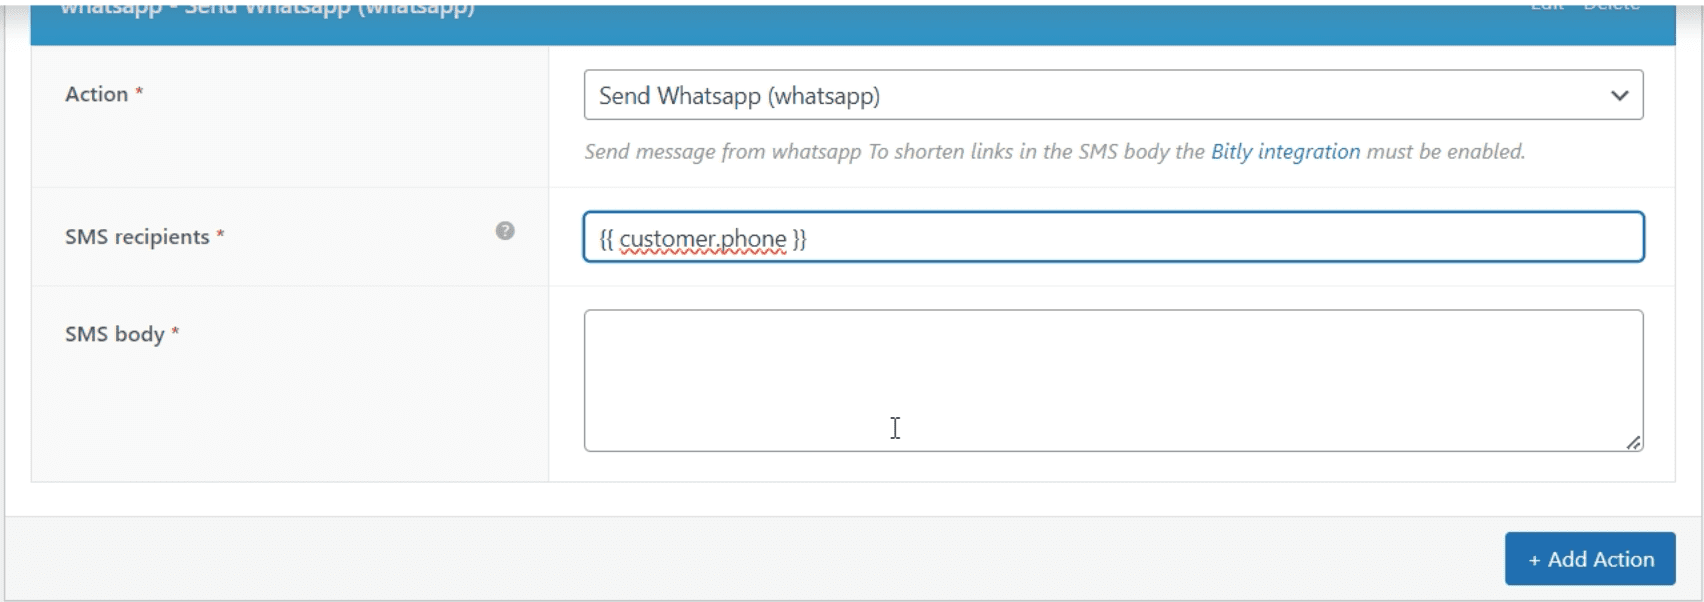
In «SMS body», add the message and Save.
Check the AutomateWoo documentation for more information on how to create different kinds of Workflows. Have you got any additional doubts, feel free to contact our dedicated Support Team. We will be glad to help you.
