This guide will walk you through every step—from syncing your Google account with BotCommerce to importing subscriber data, setting up message templates, and sending targeted broadcasts automatically. Perfect for eCommerce, agencies, and businesses looking to scale personalized messaging.
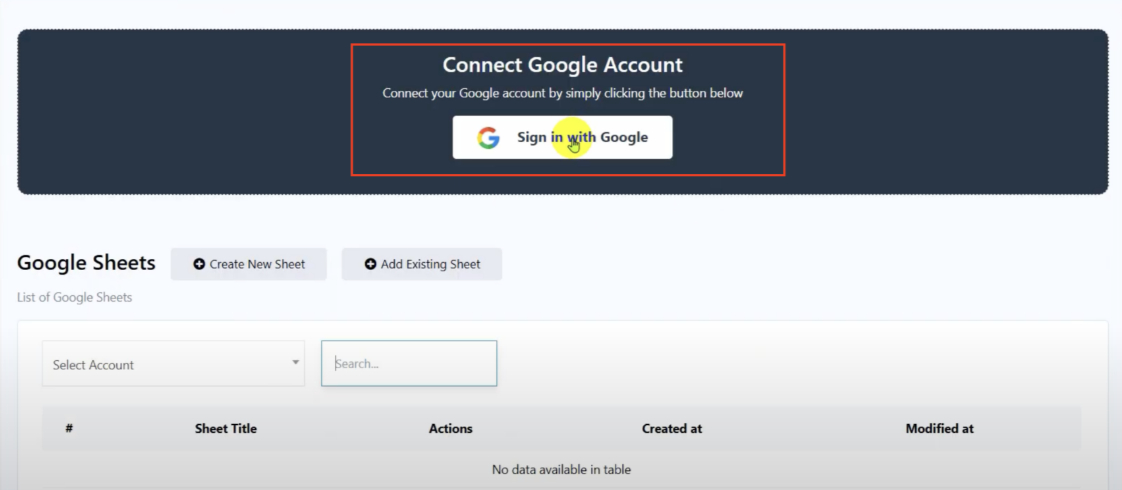
Connect your Google Account to BotCommerce. From your dashboard, click on Settings, then select Google Sheet. Click on Sign in with Google to link your account.
Grant permissions to complete the connection. If you’re already logged in, simply choose your account and click Continue. Allow the requested permissions, then click Continue again to complete the setup.

Create a new Google Sheet from inside BotCommerce. Click on Create New Sheet, choose your connected Google account, and give the sheet a name.

Add headers to your Google Sheet. Click the Header button to define the column titles for your data. These headers must be alphanumeric (no spaces or special characters). For WhatsApp broadcasts, you’ll need at least “Phone_Number” and “Name”. You can also add extra headers for personalized fields—like “Interest”—to segment your audience by things like product category.

Save and view the sheet. Once your headers are in place, click Save. Your new sheet will now appear in the list. Click View to open it in Google Sheets.

Input your subscriber data into the sheet. Enter the phone numbers (with the full country code and no spaces) along with the corresponding subscriber details in each column.

Go to WhatsApp Subscriber Manager to import your data. Return to the dashboard and open WhatsApp Subscriber Manager. This is where you’ll bring your spreadsheet data into BotCommerce.
Create a Custom Field to store extra subscriber info. Click Manage, then Manage Custom Fields.

Click Create, name the field (e.g., “Interest”), and choose the Reply Type based on the kind of data it holds (in this case, Text). You don’t need to create fields for Name or Phone Number, as they’re already system defaults.

Create a label to tag your imported subscribers. Head back to Subscriber Manager, click Manage, then Manage Labels, and hit Create.

Name your label (e.g., “ecommerce”). Select the relevant account, and click Save.

Import your Google Sheet contacts into BotCommerce. Still in Subscriber Manager, go to Options and choose Import Subscribers.

Select the Google Sheet you created. It will show the first two rows for your data.

Map each column to a system or custom field. Click Map to match each spreadsheet header with the corresponding BotCommerce field (e.g., Phone_Number → Phone Number, Interest → Interest). Complete this for all columns.

Apply your label to organize your new contacts. Choose the label you just created (e.g., “ecommerce”) to identify this imported group.

Click Confirm to finalize the import. Once mapped and labeled, click Confirm. All subscriber data from your Google Sheet will be added to your BotCommerce database.

Now, you need to create a message template for your broadcast. Go to Bot Manager, choose the correct WhatsApp account, and scroll to Message Template. Click Create and select Mixed Template to include text and media.

Configure your template details. Give your template a name, select a language under Locale, and choose Marketing as the template category. For Header Type, select an image if you’d like to include a visual.
Write your personalized message. Use the message box to draft your text. Click Custom Fields to insert fields like {{Name}} or {{Interest}} to personalize the message for each user. Avoid starting or ending the message with a custom field, and make sure to include other text around it.

Optionally, add a call-to-action button. You can enhance your message with a clickable button—like a URL button. Just paste in the link you want subscribers to visit.

Click Save and wait for Meta approval. Your message must be approved by Meta before sending. This usually takes a few minutes. If the status doesn’t update, click Sync to refresh.

Go to WhatsApp Broadcast to start your campaign. From your main dashboard, go to Broadcasting, then click on WhatsApp Broadcast. Select the bot account you want to use, then hit Create Campaign in the top-right corner.

Name your campaign for internal use. This is just for tracking purposes. A simple name like “July Promo Blast” works well.
Choose between 24-hour or Anytime delivery. Select 24-hour if you only want to message users who interacted in the last 24 hours. Choose Anytime to reach everyone in your list. For this example, go with Anytime.
Select your message template. Choose the approved template you just created. If you used an image in the header, make sure to upload that now as well.
Target your audience using labels. Pick the label you applied earlier (e.g., “ecommerce”) to send the message only to that group of imported subscribers.
Exclude any groups you don’t want to message. You can exclude certain labels by selecting them. You also have the option to filter by country—great for region-specific offers.
Use custom fields for advanced targeting. If you want to reach a specific segment—like users interested in “Men’s” products—filter by the “Interest” custom field and set the value to “Men’s.” This gives you laser-focused targeting using the data in your sheet.
Schedule your campaign or send it instantly. To schedule, toggle Send Later and pick the date and time. This helps you plan ahead and send during optimal times.
Set the Bot Flow name to match your campaign. Click on the Start Bot Flow component and name it the same as your campaign. This keeps your automation flow organized.

Click Save to launch your broadcast. Once everything’s set up, click Save. Your broadcast will send based on your delivery settings.
Track your results in the Broadcasting dashboard. Head back to the Broadcasting section to view delivery and engagement stats, including total sends, deliveries, opens, failures, and subscriber-level activity.

