Push notifications are a powerful way to engage your audience in real time. Whether you want to share updates, promotions, or reminders, sending a well-crafted push notification ensures your message reaches your subscribers instantly. In this guide, you’ll learn how to create, customize, and schedule push notifications step by step.
Turn on the Web Push Notification Mode. Then, go to the Composer on the left sidebar.

Configure your notification. Enter a title and a message.
Enter the URL of the page where you want the notification to appear. Note that it must be a page from the website domain you added earlier.
Select a campaign. This will allow you to keep your notifications organized.
Check the notification preview. You will see in real time how your changes will look on different browsers at the left of the page.

You can modify the custom icon if you want by selecting an image from the File Manager. You can also upload it from your computer, or import it from image databases like Pexels by clicking on the Advanced options icon. If you do not select one, the notification will be sent with the default icon you set when you connected the website.

Optionally, include UTM Parameters. You can specify the campaign source, medium and name.

If you’d like to add an extra image, check the Add Large Image option under Additional Customizations. Use an image of 720×360 pixels. As shown in the image, some browsers may automatically crop it to 720×300 pixels, so ensure it looks good in both sizes.

Add buttons by ticking the “Add Action Button” field. You can add up to two buttons per notification. Give them a name and provide the URL they will link to.

Optionally, set a notification expiry date. After the time you set, it will stop showing.

If you want to send the notification to all visitors on your website, leave the Advanced Targeting options empty. However, if you wish to segment it, you have two options:
- Select an Audience from those you’ve saved. Audiences enable detailed segmentation based on criteria like first visit, last visit, subscription date, and number of visits.
- Use the Advanced options to create a custom segmentation for this notification. You can choose a saved audience as the segment and further refine it by country, device, OS, and browser.

Finally, specify when your notification will be sent. You have two options:
- Schedule: Send it once on the date and time you choose.
- Specific Days & Times: Send it on multiple specified dates and times.
If you’d like to save the notification to send later, select Draft.

Once your configuration is ready, click on Schedule. You will see a Success message confirming that the notification was created.

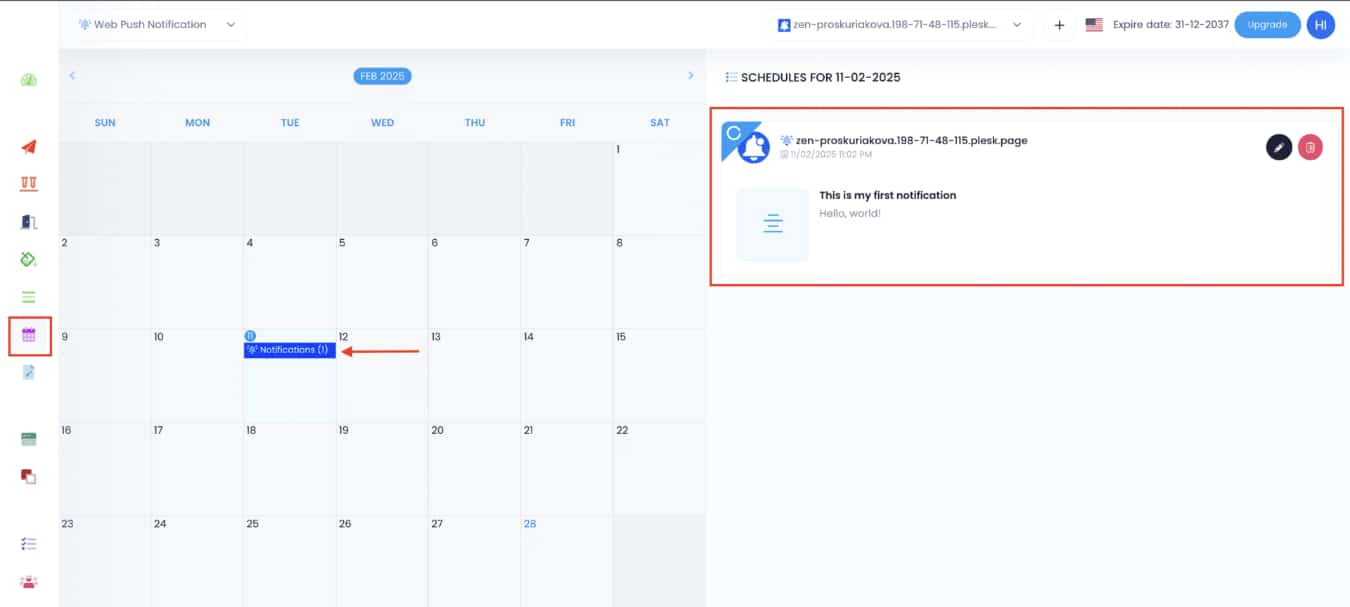
To view all your scheduled notifications, go to Schedules in the left sidebar. A calendar with all your scheduled notifications will appear.
Click on any scheduled notification to view its details. You can also edit it by clicking the pencil icon that will appear.
Push notifications help you stay connected with your audience, driving engagement and conversions. By customizing and segmenting your messages, you can reach the right users at the right time. Start sending impactful push notifications today! If you need extra help, hire an expert to guide you here.
