Manage Booking
In the reservations section, you can make and manage your reservations in a similar manner to creating appointments. Here are the steps to create and manage your reservations:
Create a New Bookings
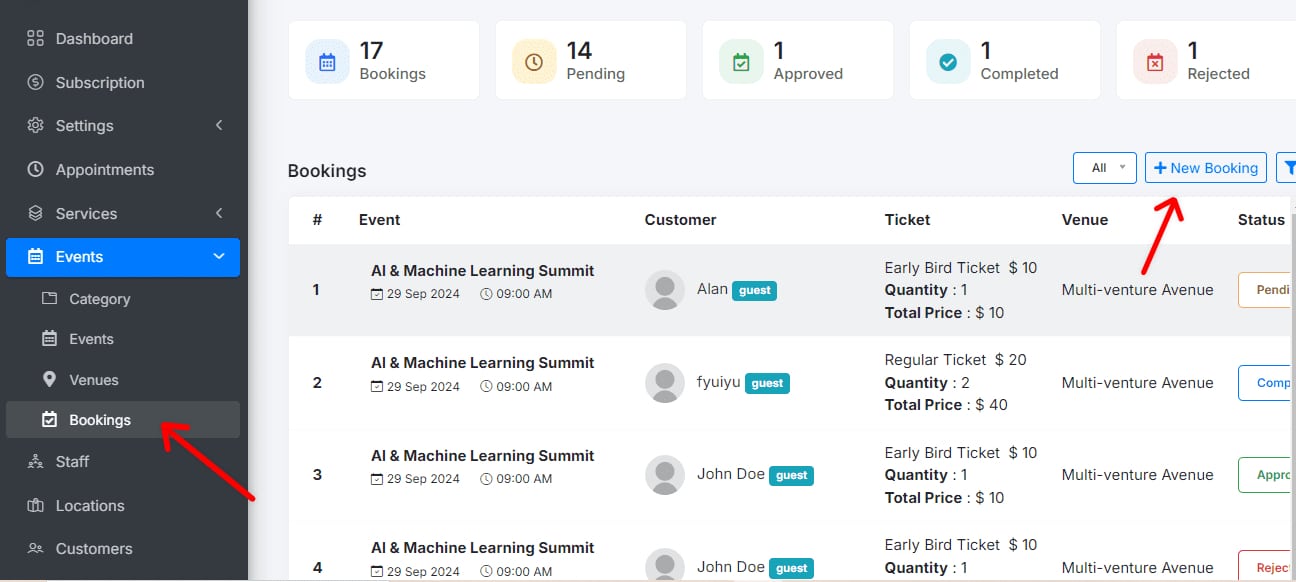
Access bookings: Go to the booking section.
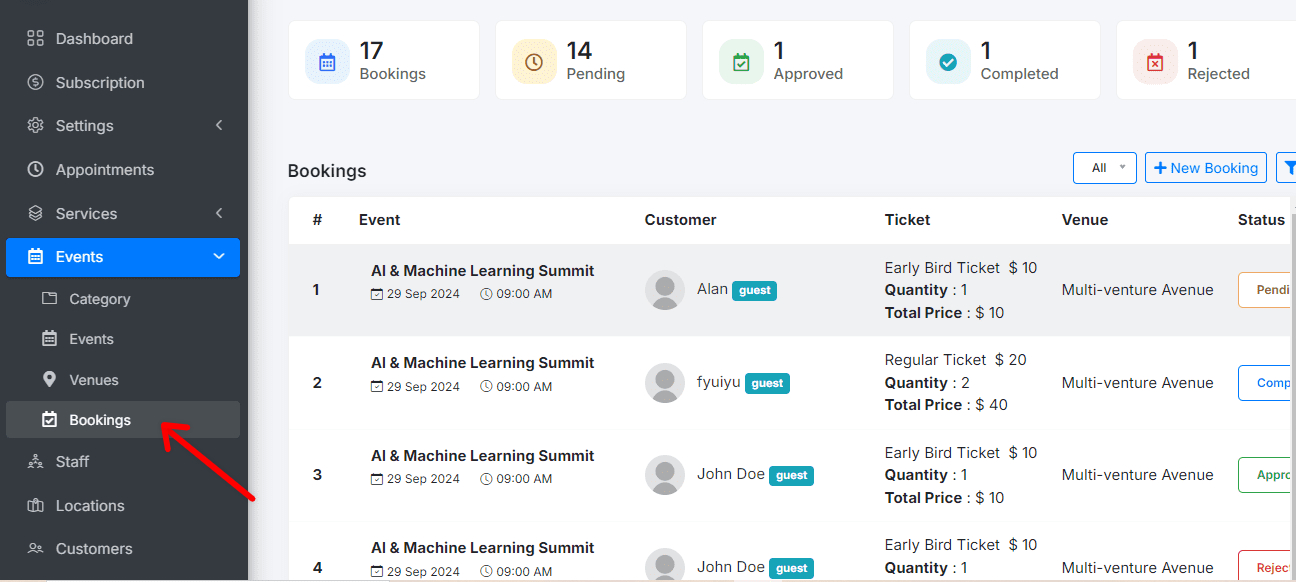
Add New booking: Click on Add New bookings.
Fill in the Required Information:
- Event Type: Select the type of event that will take place.
- Clients: Add the clients who will attend the event.
- Event Status: Specify the current status of your event (pending, approved, or rejected).
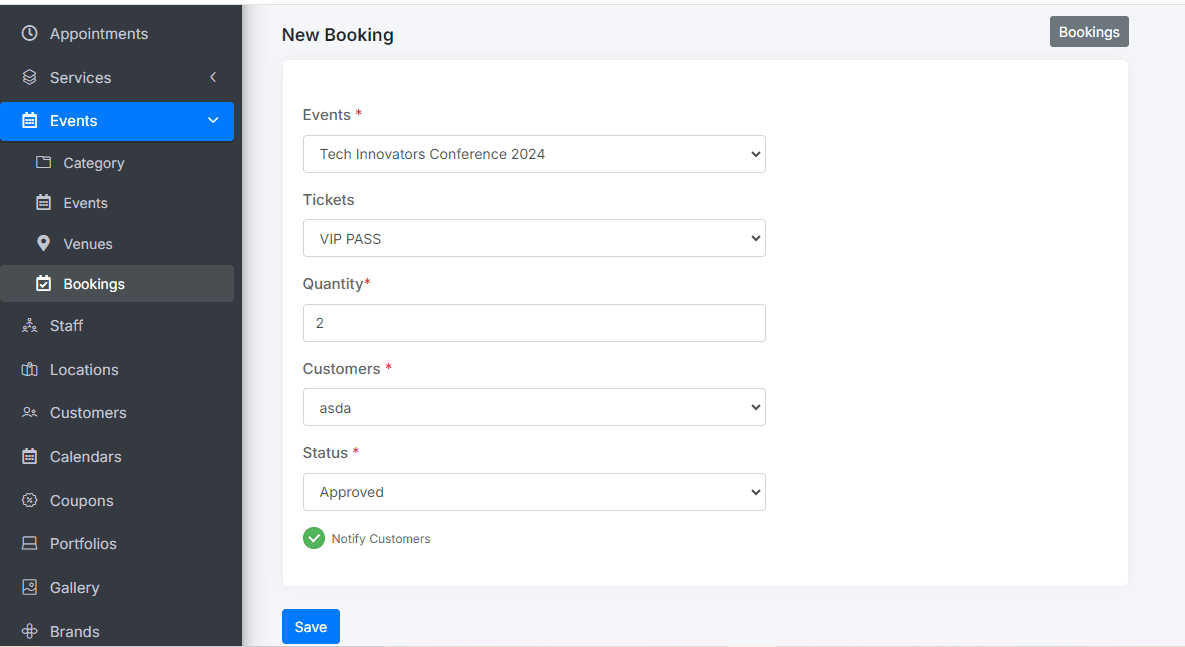
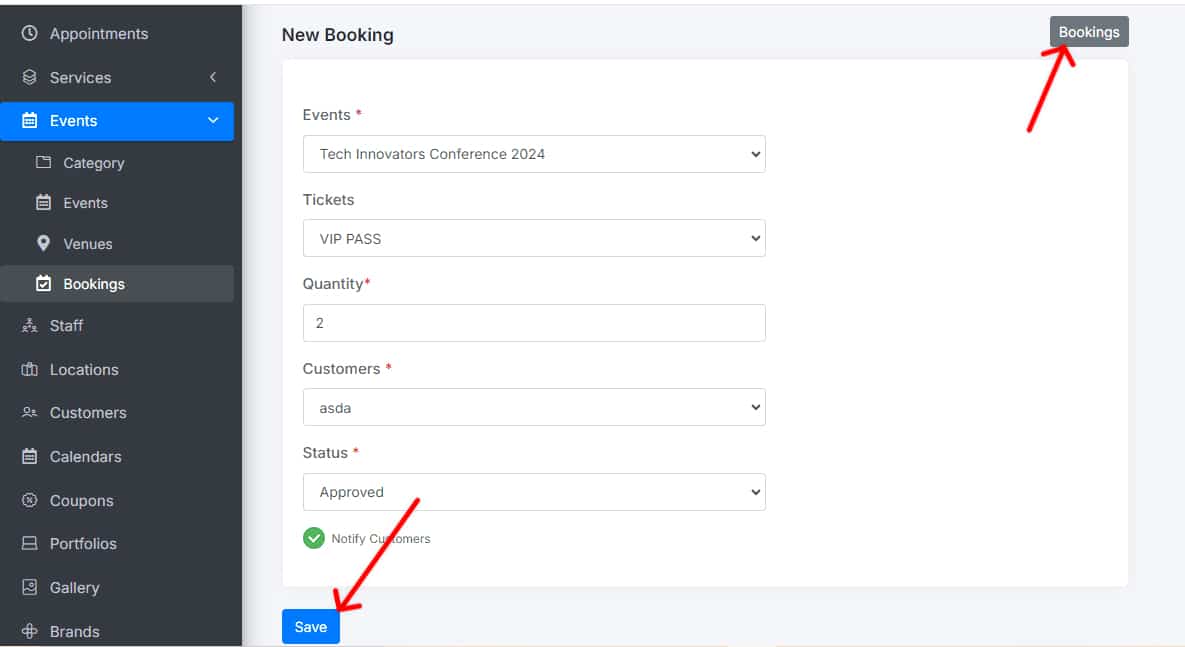
Save booking: Click Save to confirm the reservation.

View and Edit Booking History
Access History: Once the reservation is saved, you can view the complete history of your past and upcoming reservations.
Edit bookings: Select any reservation from the history to edit it at any time, if needed.
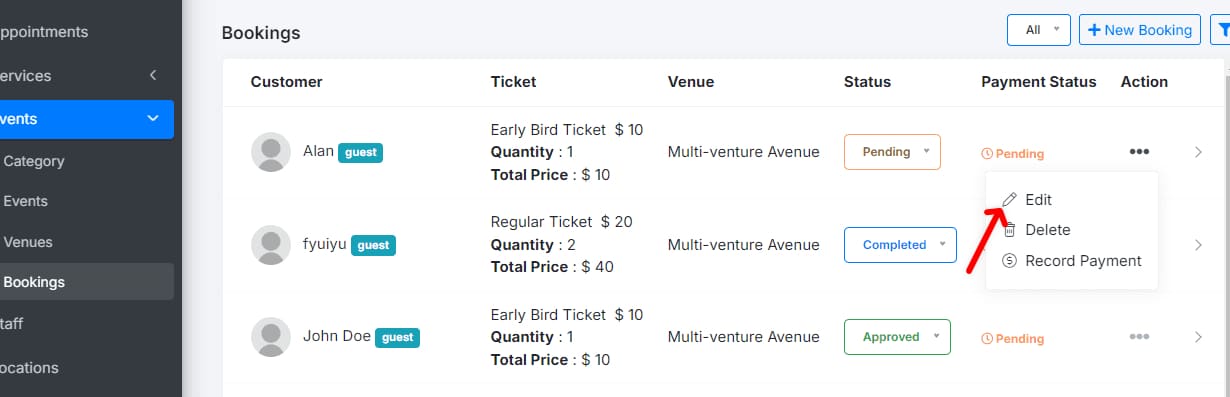
You’re all set to manage your bookings efficiently!
