Manage Appointments
In this section of our site, you can easily create and manage your appointments. Below are the detailed steps to create and manage your appointments:
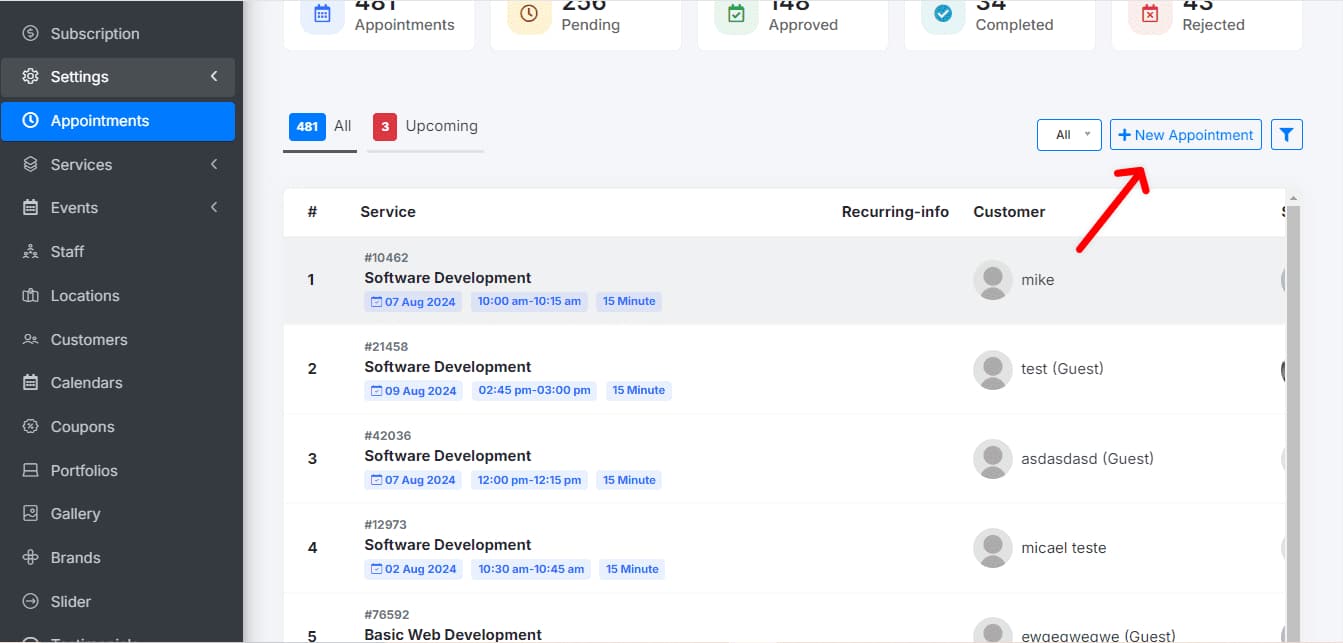
Create a New Appointment
Access New Appointment: Click on the top left where it says New Appointment.
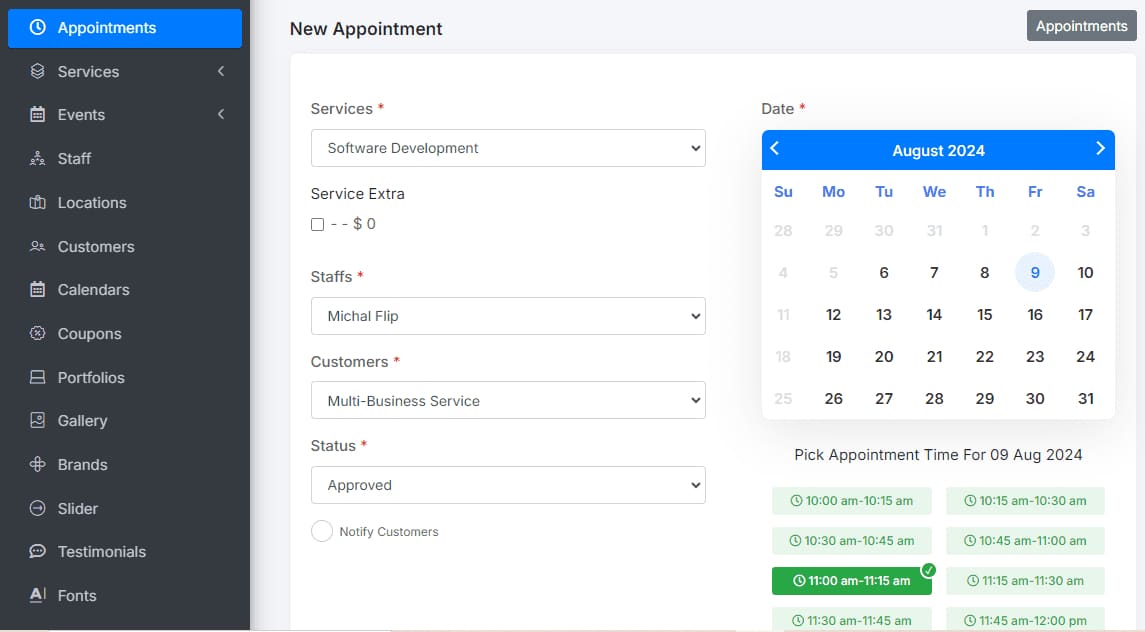
Fill in Required Information:
- Service: Select the service to be provided.
- Date: Specify the date when the appointment will take place.
- Staff: Choose the team member who will attend this meeting.
- Client Name: Select the client’s name registered in the database.
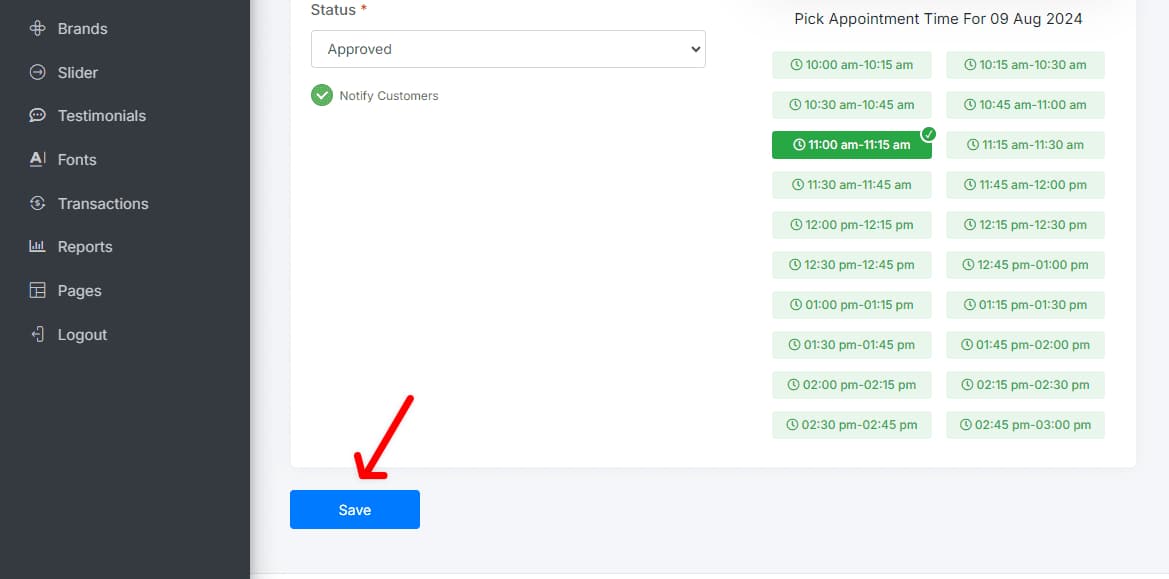
- Appointment Status: Set the current status of the appointment (pending, rejected, or approved)
Save Appointment: Click Save.
View and Edit Appointment History
Access History: Press the Back button to view the history of your appointments.
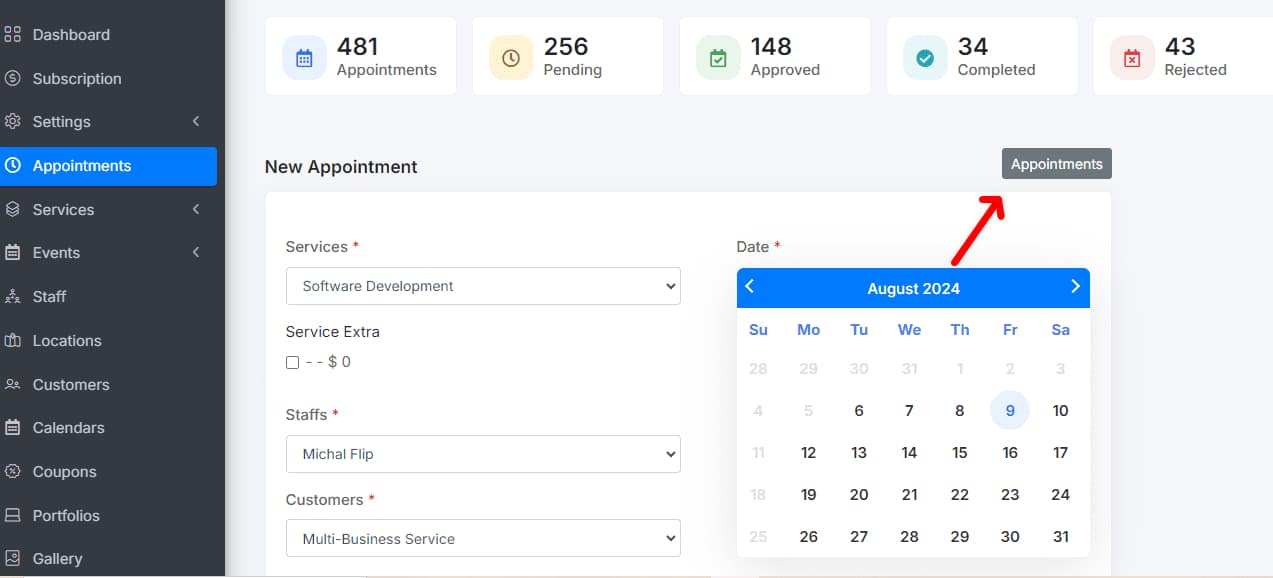
Edit Appointments: Select any appointment from the history to edit it at any time.
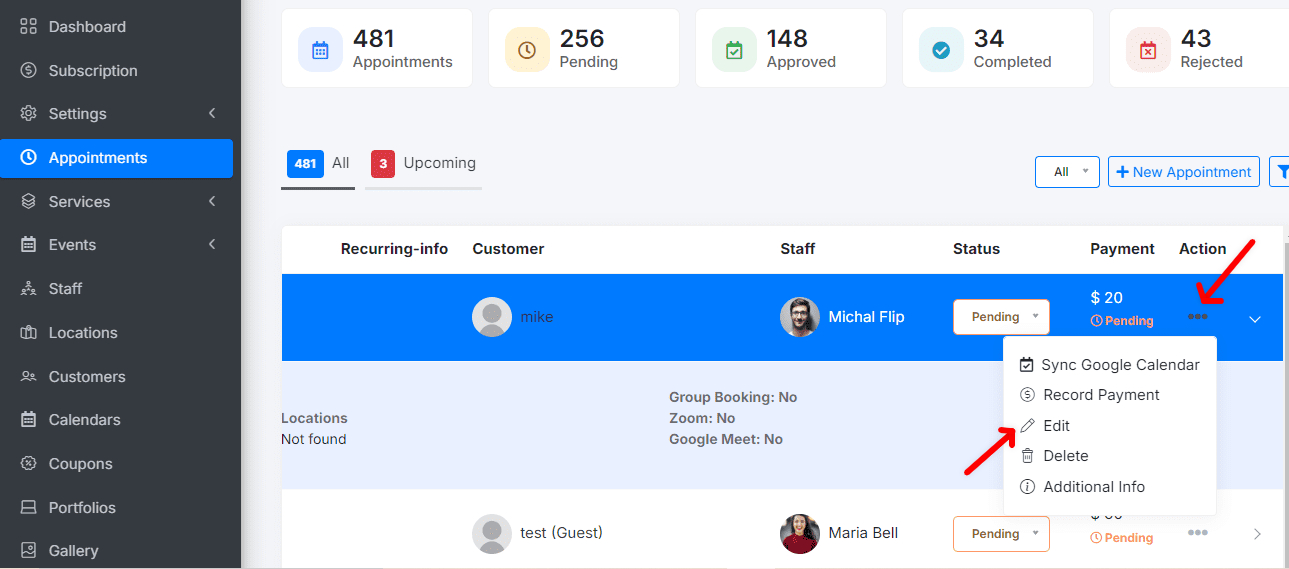
Track Appointments
At the top of the page, you can see a count of the appointments based on their status: Pending, Approved, Rejected and Completed.

You’re all set to manage your appointments effectively! If you have any questions, feel free to contact our Support Team.
