The “Manage Labels” tool in BotCommerce allows you to manage and segment users within your chatbot. Labels are used to identify and classify conversations or users based on specific topics or actions, enabling personalized communication and efficient organization.
Key Benefits of Labels in BotCommerce
- User Classification: Group users by behaviors, interests, or needs, such as labeling those interested in a specific promotion.
- Flow Automation: Trigger specific actions like sending targeted messages or activating campaigns based on user labels.
- Insights & Metrics: Analyze user interactions to better understand preferences and improve marketing strategies.
- Optimized Support: Mark unresolved issues so human agents can prioritize important conversations.
Steps to Create a Label
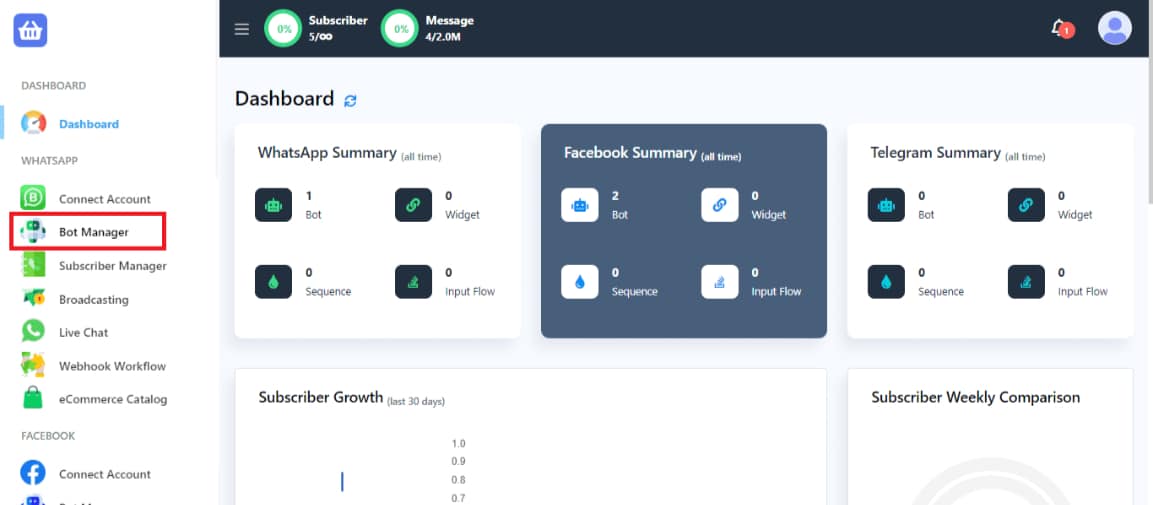
Access the Subscriber Manager: In your BotCommerce panel, find the “Subscriber Manager” section.
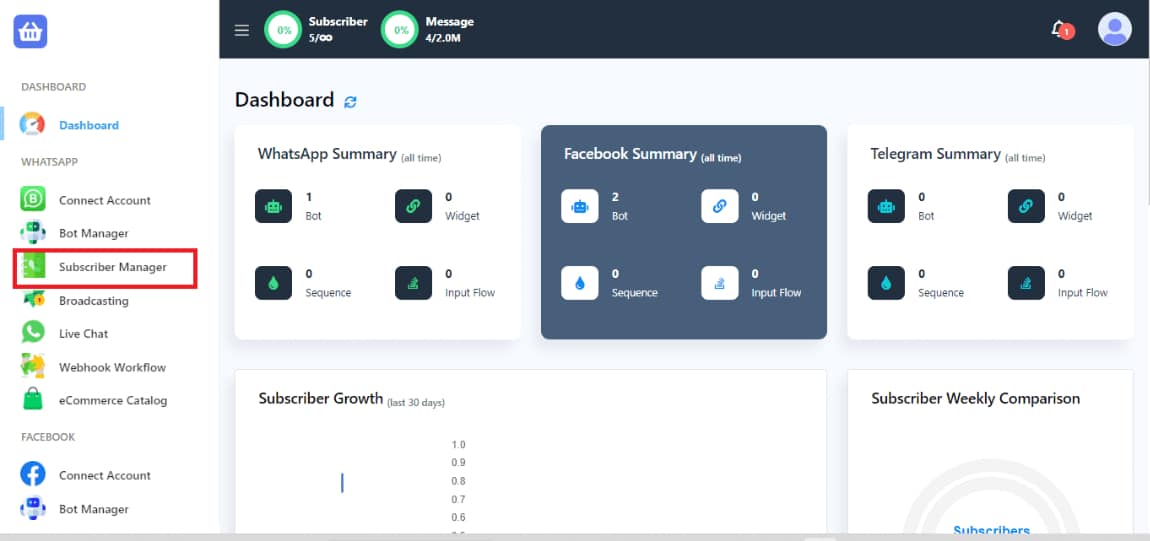
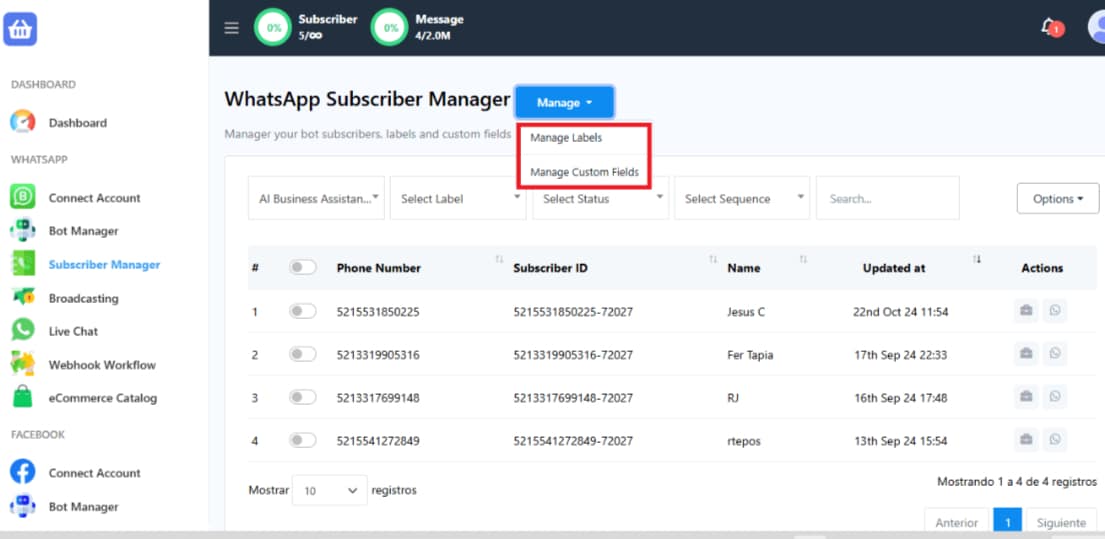
Navigate to Manage: Go to the upper section of the screen and click on “Manage”. This will display two options.Click on “Manage Labels” to proceed.
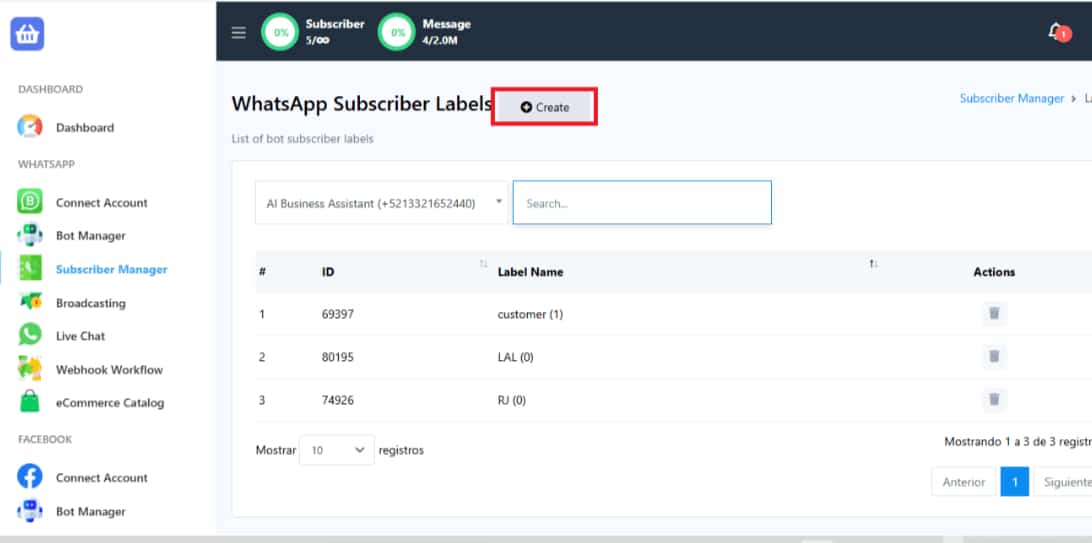
In the new window that appears, click on “Create” to start the process of creating a label.
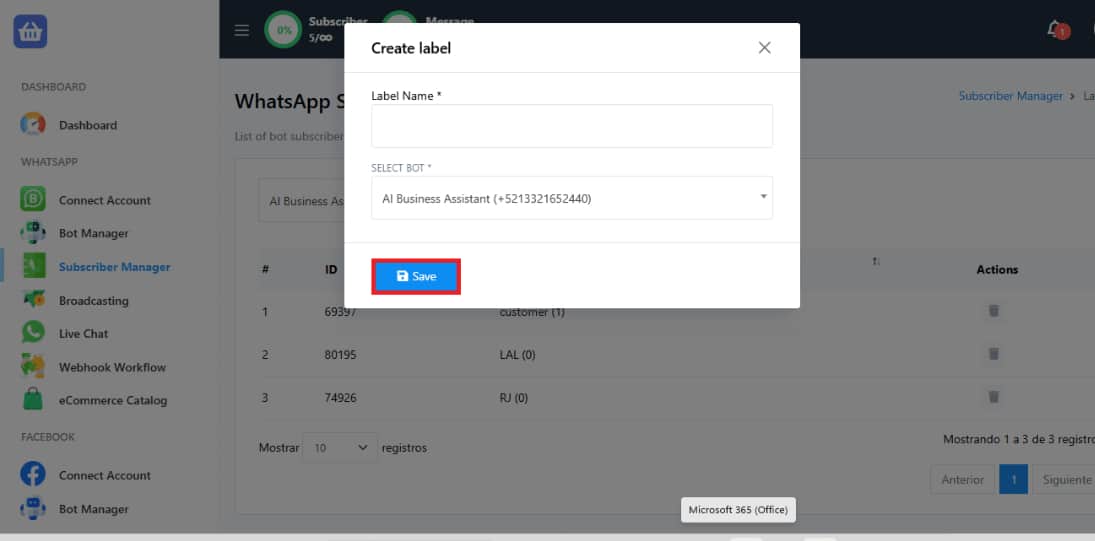
You will be prompted to enter two simple pieces of information:
Label Name: Give your label a name to easily identify it later.
Select Bot: If you wish to associate the label with a particular bot, click on the dropdown menu and choose the desired bot. Once selected, the associated labels will be displayed for easy management.
Click Save.
Assign or Remove Labels Automatically in the Bot
In your BotCommerce dashboard, go to the Bots section.
Open the Bot Reply or the area where you can edit your bot’s flow.
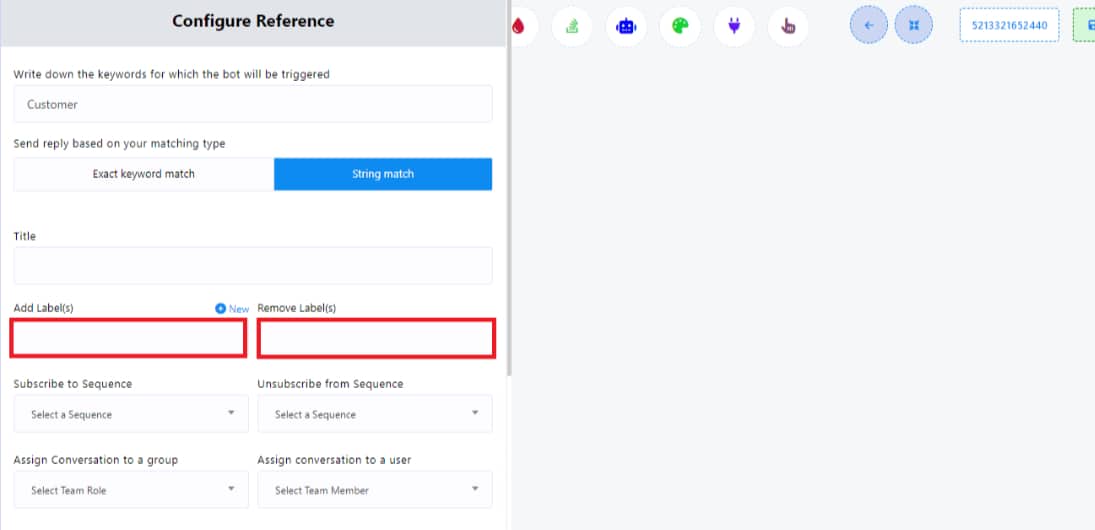
Configure the Label Action
During the creation or editing of the bot’s flow, select the step where you want to automatically assign or remove a label (e.g., after a specific interaction or user response). Double click on it to configure it. In the options box, choose the label you want to assign or remove. Now, whenever that action is triggered in the bot flow, the label will be automatically assigned or removed from the corresponding subscriber.
Save the changes to the bot’s flow.
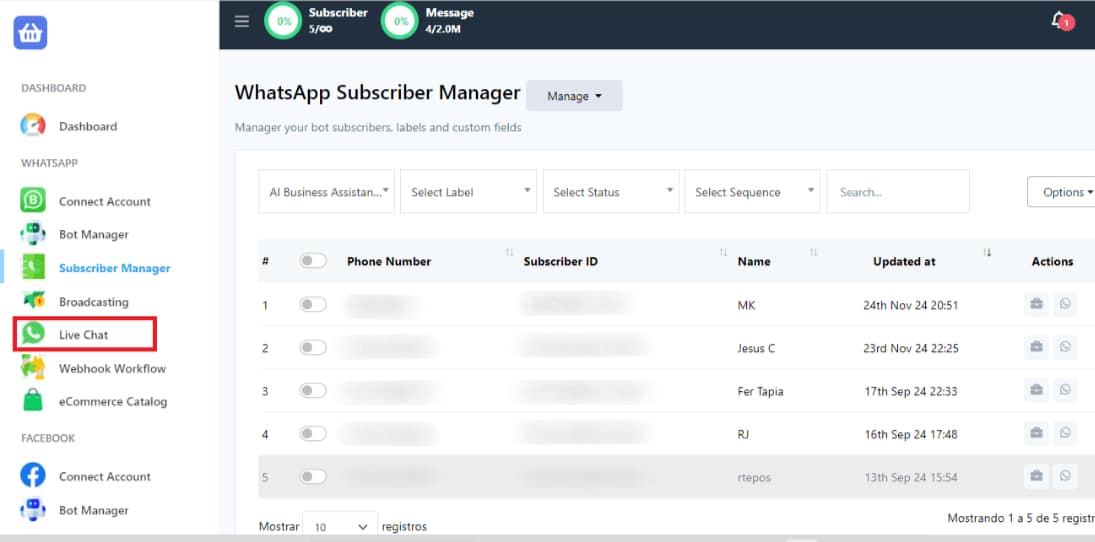
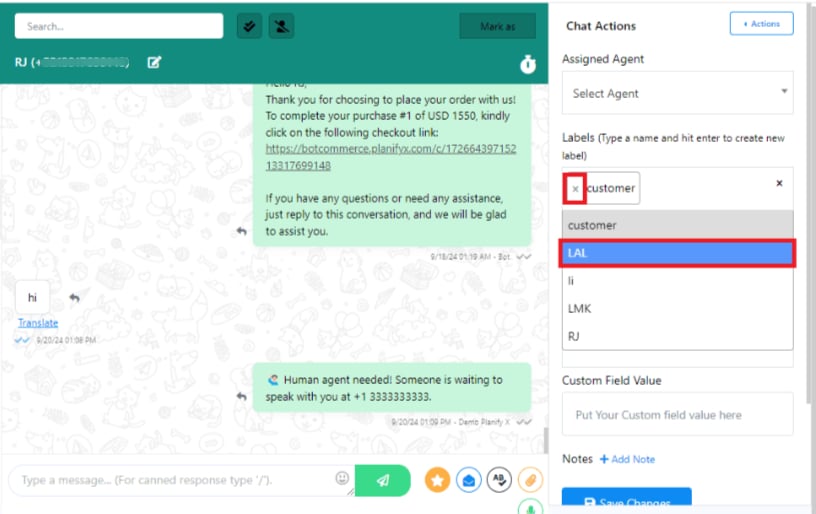
Assign or Remove Labels in the Live Chat
In the BotCommerce panel, go to the Live Chat section. In the chat window, you’ll see a list of active conversations. Select the chat with the subscriber you want to assign or remove a label from.
Within the conversation, look for the Actions menu or a settings icon (three dots).
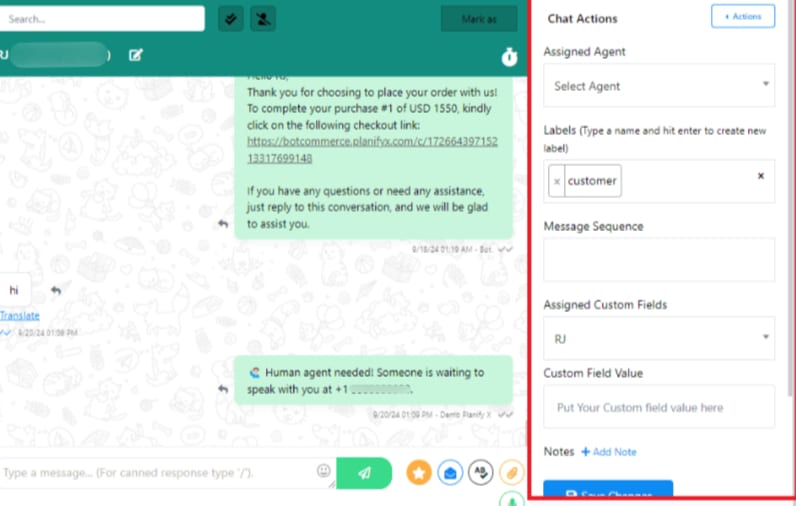
A list of available labels will appear. Check or uncheck the labels you want to assign or remove for that subscriber. Click Save to confirm the changes.
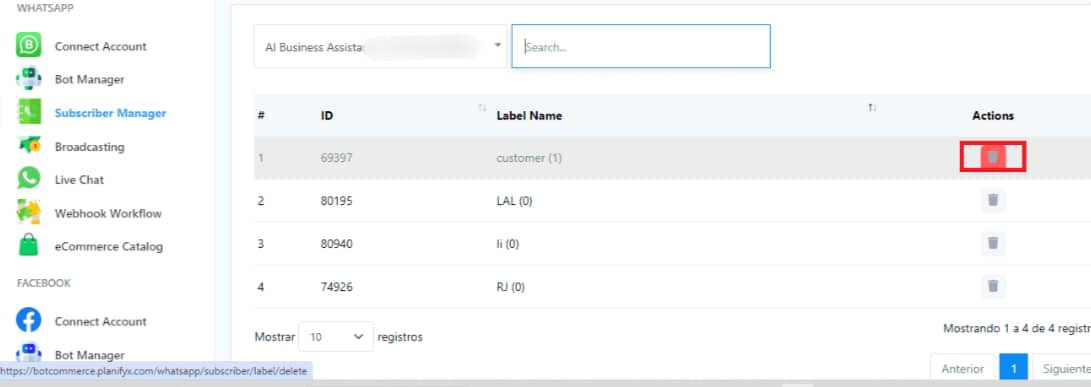
Delete a Label
If you wish to delete a label, click the “Delete” icon found in the Actions section of your panel.
This feature is particularly valuable for enhancing e-commerce experiences. Labels enable you to deliver personalized product recommendations, set up reminders for abandoned carts, and even implement cross-selling initiatives. These capabilities allow you to boost user engagement and sales performance effectively.
