Welcome to our guide on managing bookings and appointments with ScheduleMeet!
Receive Bookings:
Share your company’s booking link: Provide your clients with a direct link to make bookings, whether through your website, social media, or email.
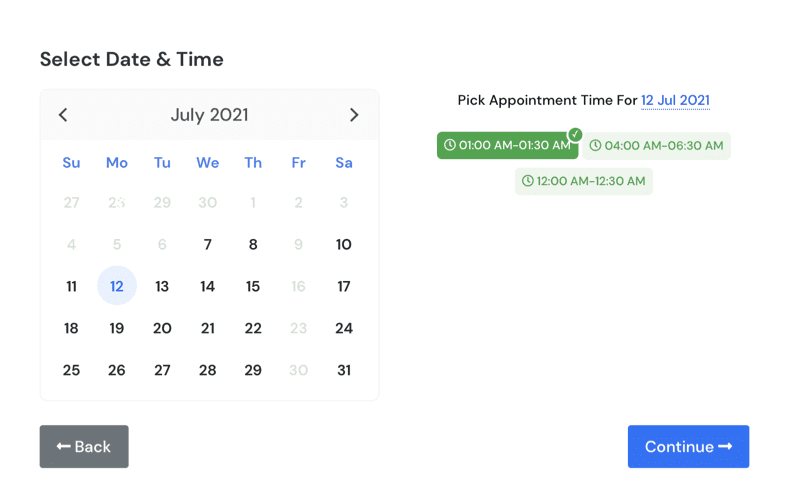
Clients can select services, dates, and available times: Clients can view your real-time availability and choose the time that suits them best.
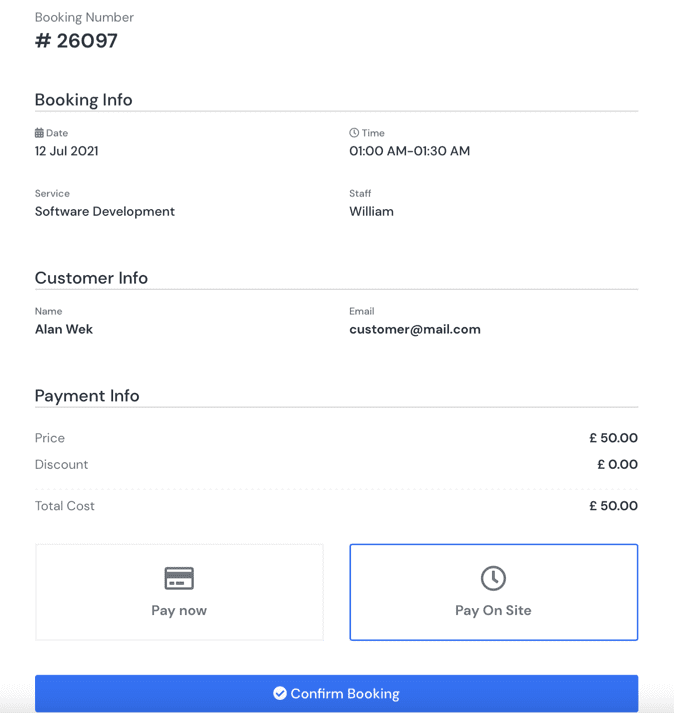
Confirm Bookings:
Review new bookings in the “Bookings” section: Stay updated on new booking requests.
Confirm or reject bookings as needed: Accept or reject bookings based on your availability and other criteria.
Send confirmation notifications to clients: Keep your clients informed by sending them booking confirmations.
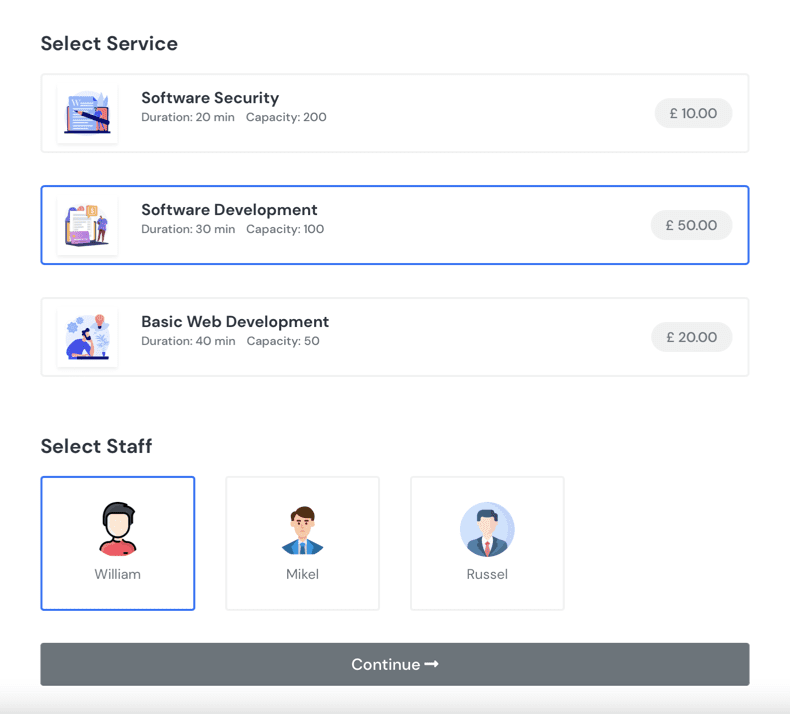
Booking Page
Review your booking page. After setup above information your business page will look like this.

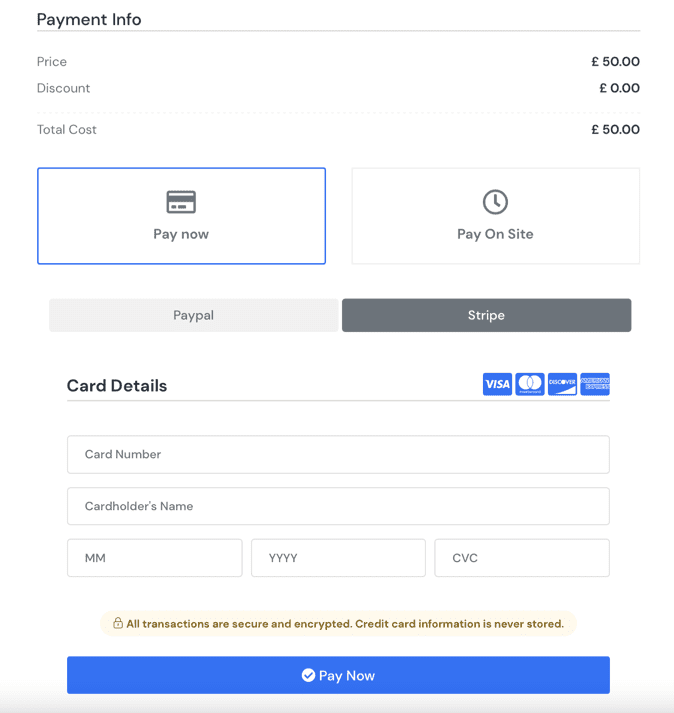
Booking an Appointment
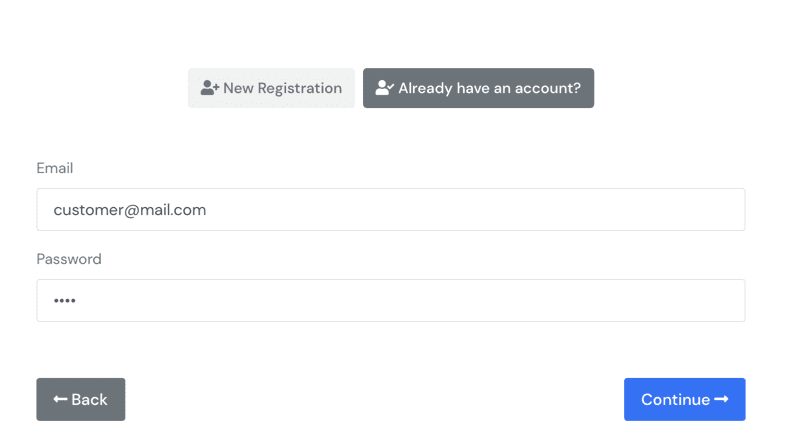
On your booking page customers can book your services. They just haver to click the Booking button and follow the steps.
And that’s it! You’re now ready to manage your bookings efficiently. If you have any questions, don’t hesitate to reach out to our Support Team.
