Inviting team members to join your projects can significantly enhance collaboration and productivity. By sharing access to your account, team members can seamlessly contribute to tasks, utilize tools, and drive projects forward without needing to purchase separate Planify X accounts.
This tutorial will guide you through the process to do it.
💡Remember that each app within Planify X operates as its own ecosystem. You must invite your collaborators to each app separately, as they won’t have access to apps they weren’t specifically invited to.
Creating a team
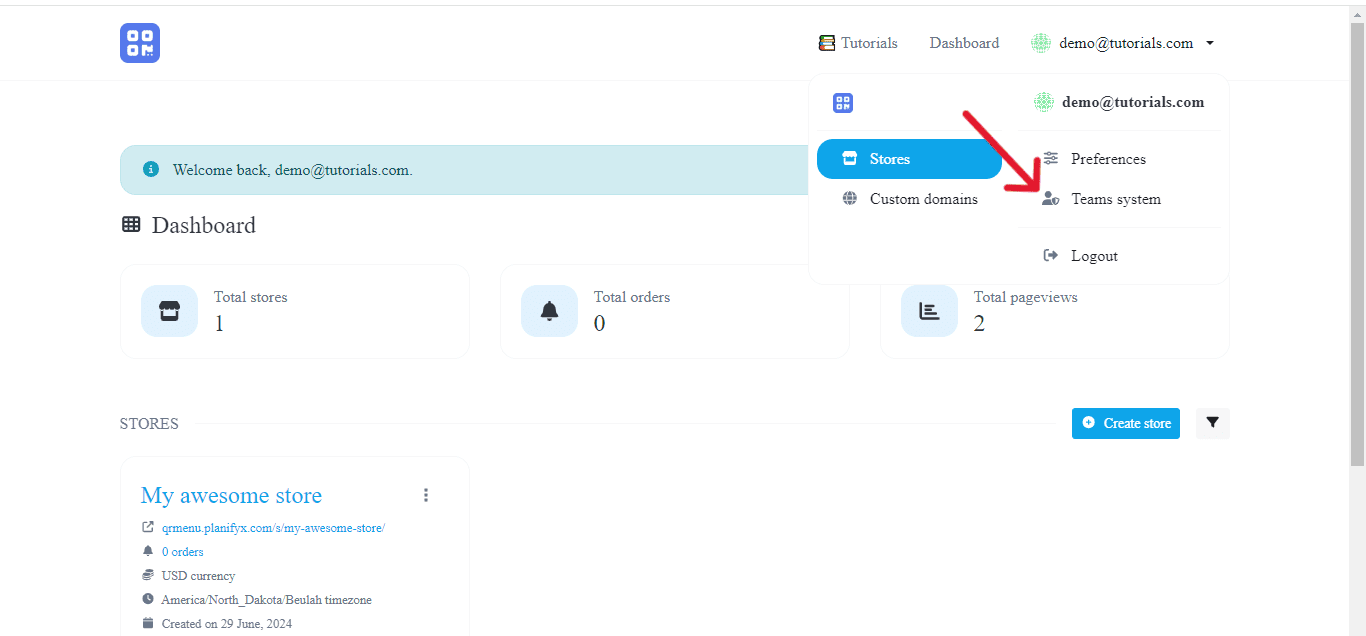
Open the administrator account. Once inside, click on the name of the account at the bottom of the left sidebar to display the Setup menu. Select the Teams System option.
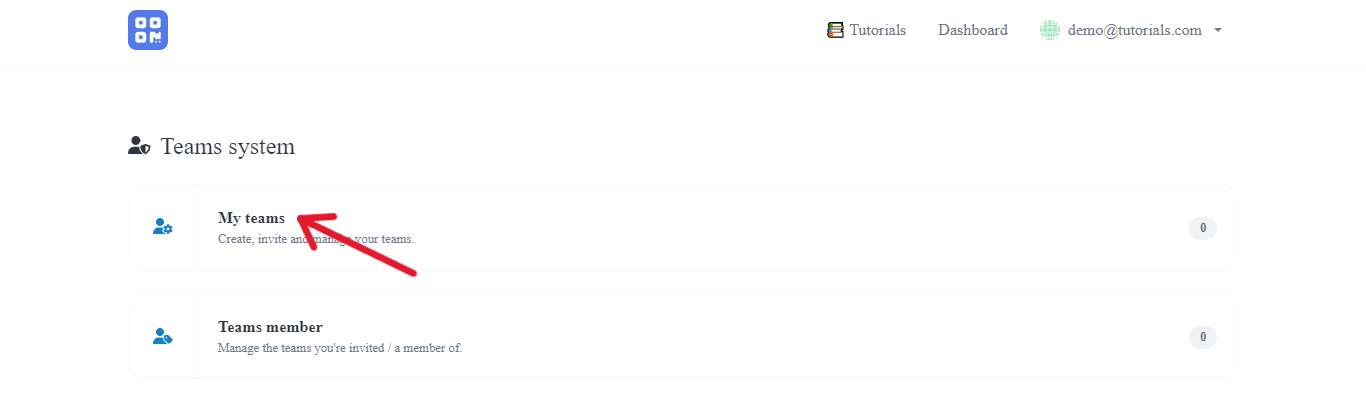
You will see a page called Teams System. Click on My Teams.
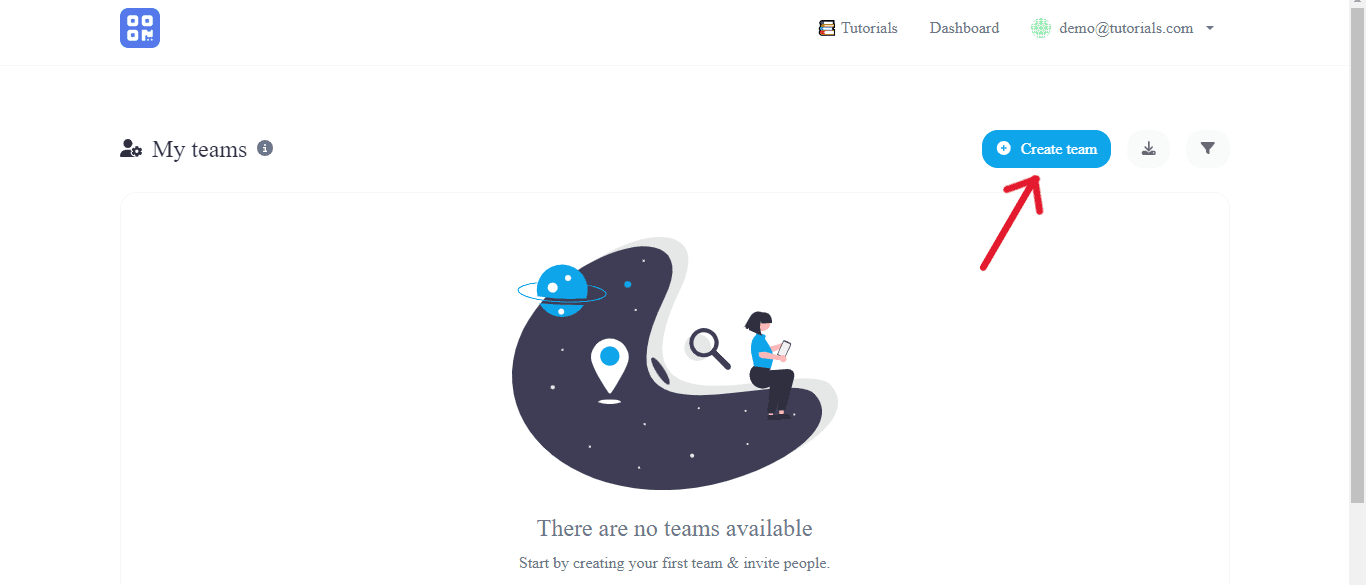
Now, click on the Create Team button to create your first team.
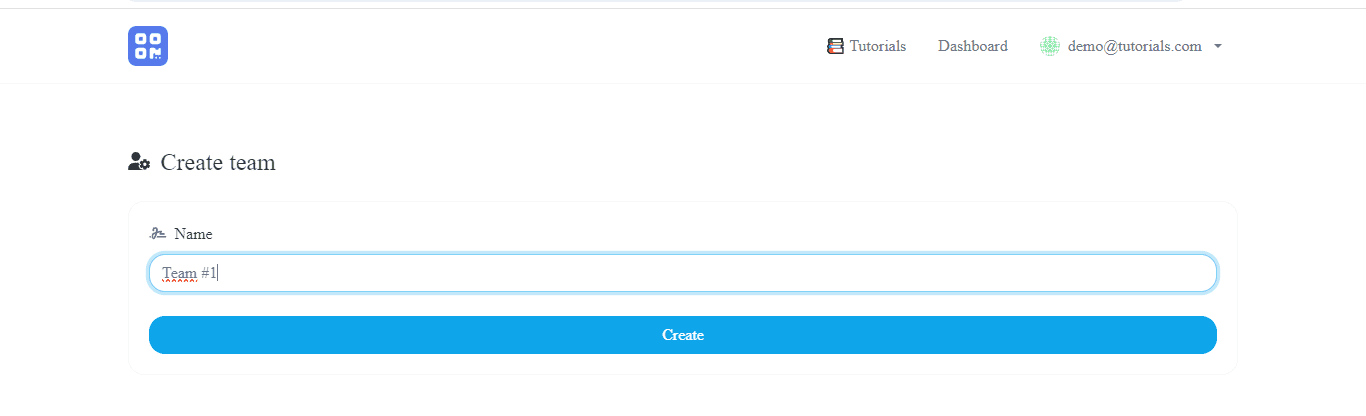
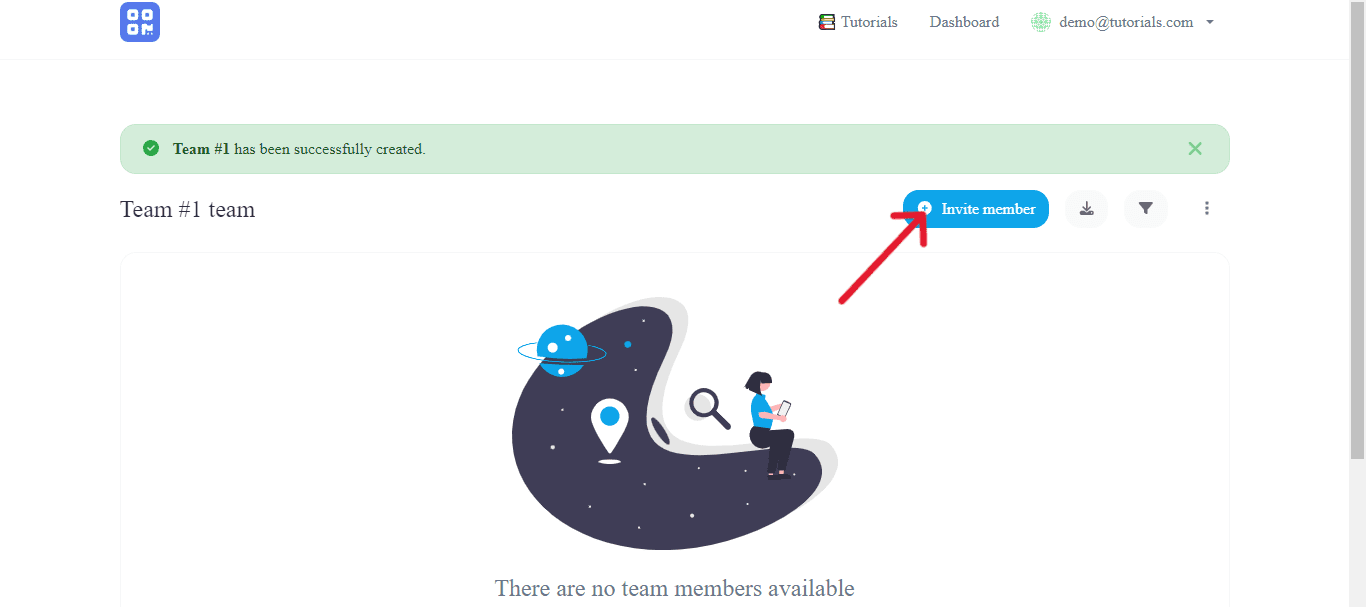
Give your team a name and click on Create. Your first team is ready! Now, you just have to invite its members. Leave the Team page open. We will need it later.
Creating a Tester account
In order to use the apps as Team Members, your collaborators must first create their own Planify X Tester accounts. This way, they will be recognized by the system without having to pay for an additional license. Ask them to sign up at https://planifyx.com/tester-mode/ and share with you the email they used for it. You will need it.
Inviting collaborators
Inside the Team page, click on the Invite Member button.
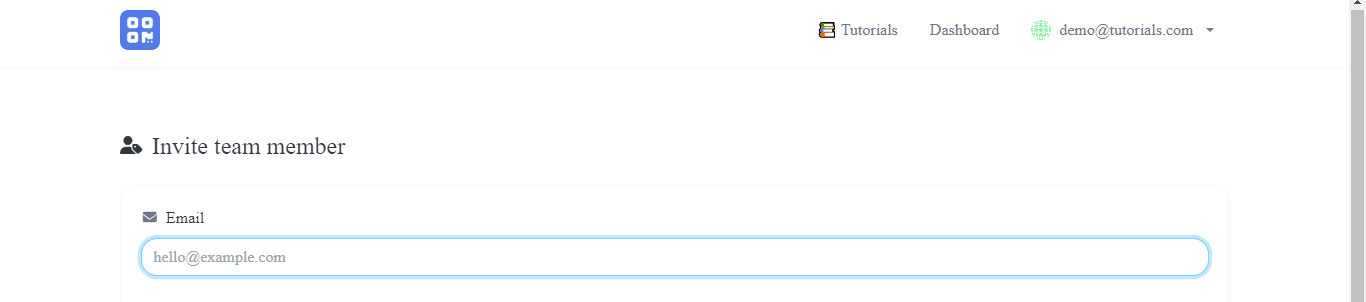
Write the email your collaborator used to create their Tester Account.
Then, configure the permissions you will grant them.
The boxes under the View category refer to which tools will they be able to see. We recommend selecting All.

The Create permissions refer to which kinds of content they will be able to generate. Will they be able to create QR Codes? AI Documents? Payment Processors? Select all that apply.

The Update permissions will allow your collaborator to modify already existing projects. Once again, select all that apply.

Finally, you can grant them permissions to delete projects, including those created by you or by other collaborators.

When you have finished assigning permissions, click on Invite Via Email.
Done! Now, you just have to wait for them to accept the invitation.

💡 Keep in mind that the invited user will not have access to any account related pages, such as the account settings, payments and logs. You cannot grant them those permissions, since they are exclusive of your administrator account.
Done! You are now an official member.
