Inviting team members to join your projects can significantly enhance collaboration and productivity. By sharing access to your account, team members can seamlessly contribute to tasks, utilize tools, and drive projects forward without needing to purchase separate Planify X accounts.
💡 PRO TIP:Remember that each app within Planify X operates as its own ecosystem. You must invite your collaborators to each app separately, as they won’t have access to apps they weren’t specifically invited to.
Creating a role
Open the app. Go to the Management section at the bottom of your left sidebar, and click on Team Roles.

Inside the Team Roles Page, tap on Create.

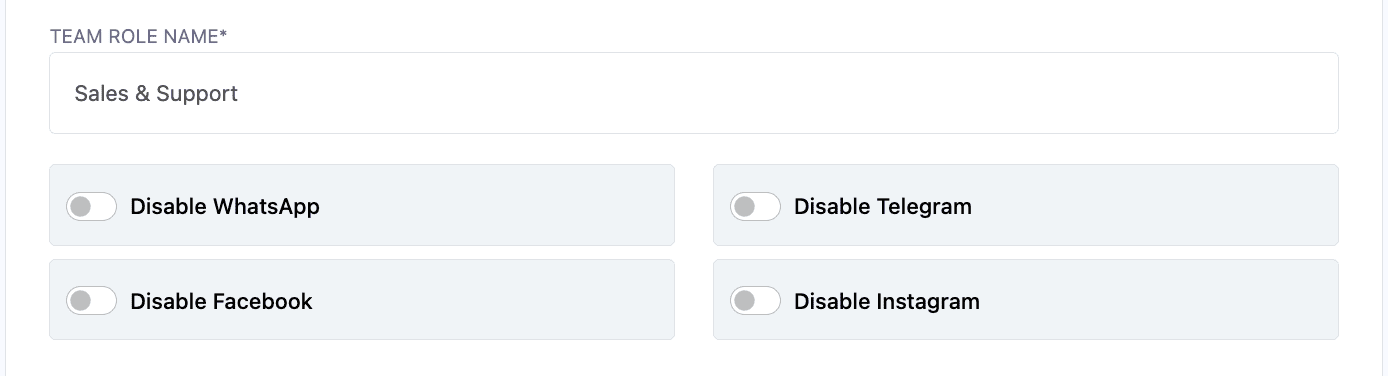
Give the role a name. Then, indicate if you would like to ban the people assigned to this role from a particular app’s tools (Facebook, Instagram, WhatsApp or Telegram). If you want them to access all, leave this part blank.
In the bottom section, select the modules that people with this role will have access to. Also, specify if they will be able to create, update, delete or manage the content within those sections.

When you are finished, click on Save.
Once your new role is created, you have to assign people to it.
Inviting team members
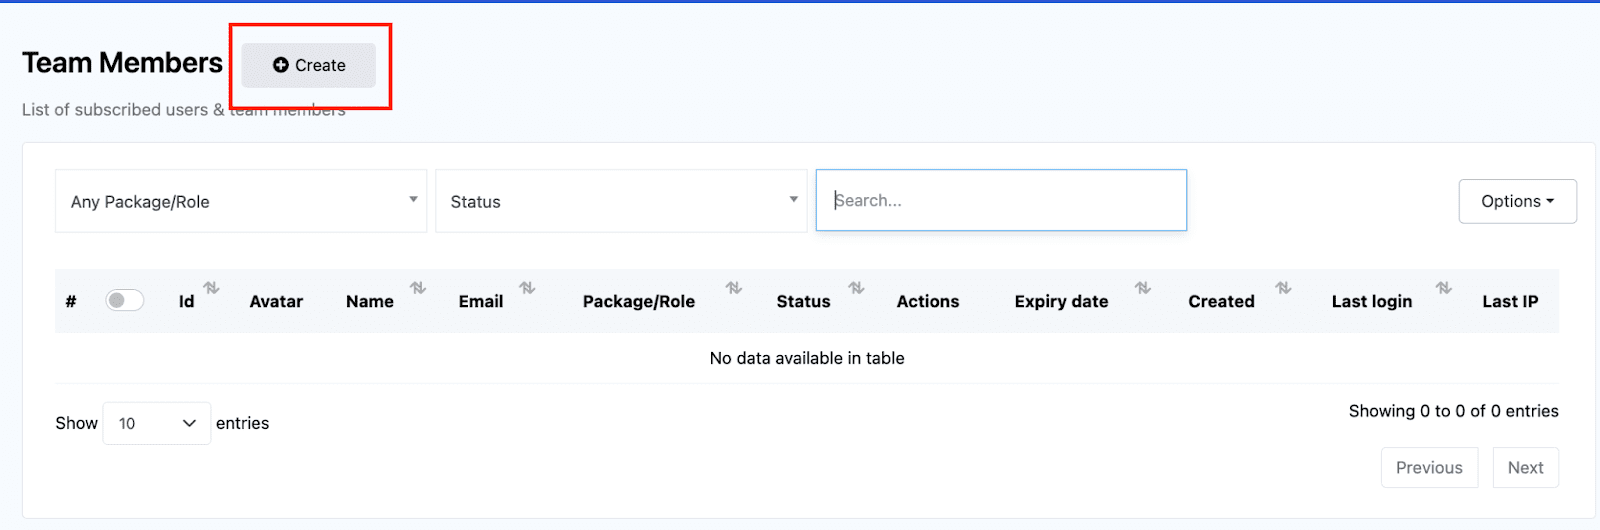
Click on Team Members under the Management section at the left sidebar.

On the Team Members page, click on Create.
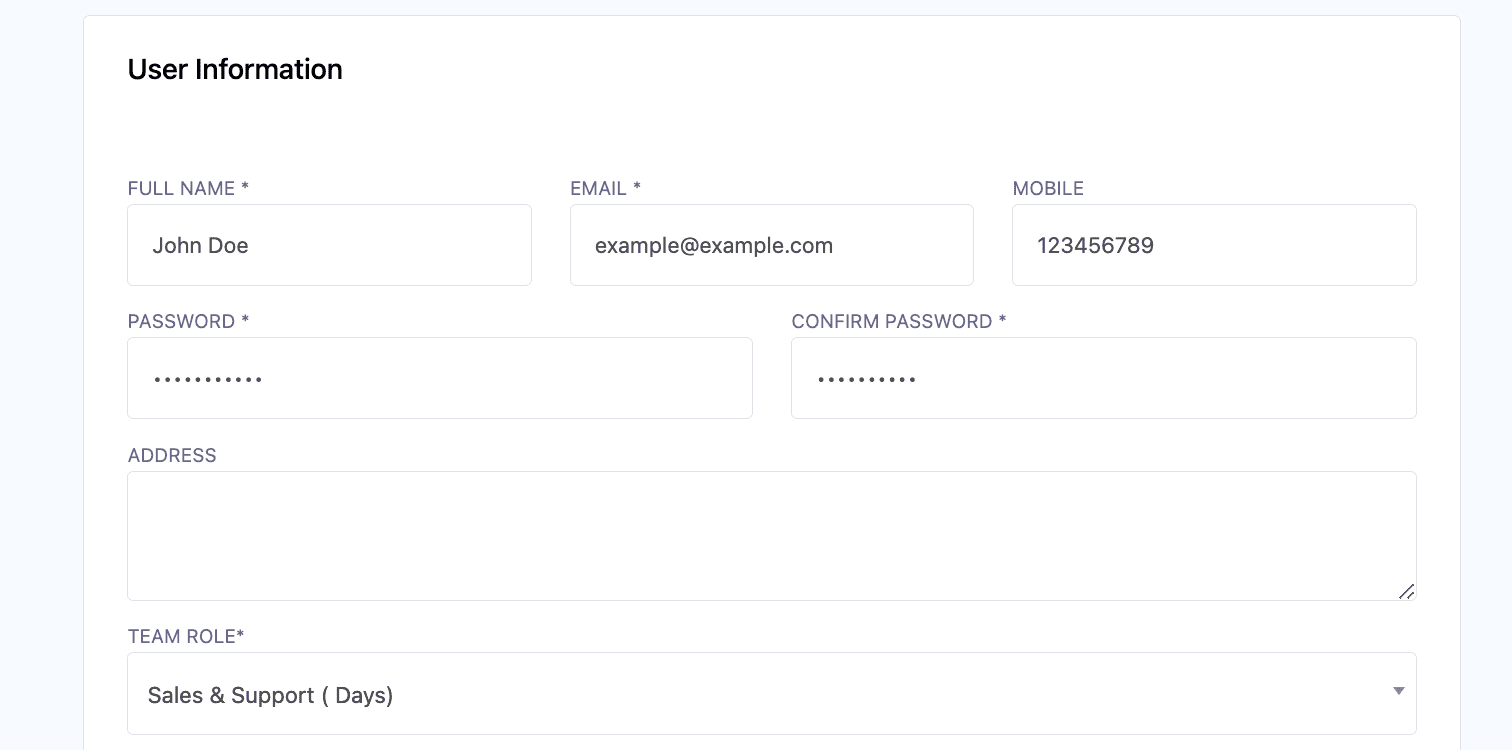
You will create a new account for your collaborator. Provide their name and email. Give them a Password, assign them a role and save.
💡 PRO TIP:It is very important that the email provided is not linked to another Planify X account.
Finally, indicate the accounts that this specific collaborator will be able to see and manage.
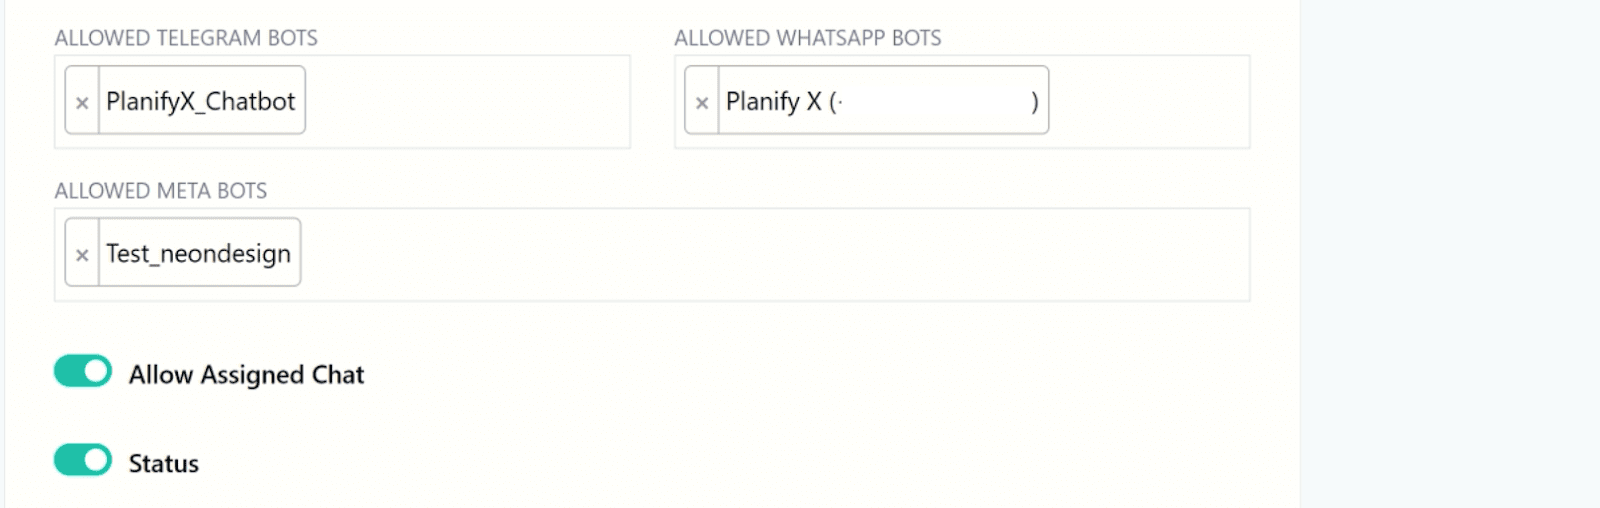
Turn On the Allow Assigned Chat to grant them access as an agent on the Live Chat tools.
Finally, make sure their Status is Enabled.
When you are ready, click on Create.
Login in as a Team Member
Since the team members of a SalesBot profile exist as separate accounts, they have to login at this link: botcommerce.planifyx.com/login
Now just input the user and email assigned to you by your administrator and login in. You will see all the modules they granted you access to.
