Want to make your website more interactive and responsive? Inserting a widget chat in OmniChat is a game-changer! It allows you to engage with your visitors in real-time, answer questions, and offer support—all within a few clicks. This step-by-step guide will walk you through the process of integrating a widget chat seamlessly into your OmniChat setup.
1. Get into the app. Log in with your credentials.
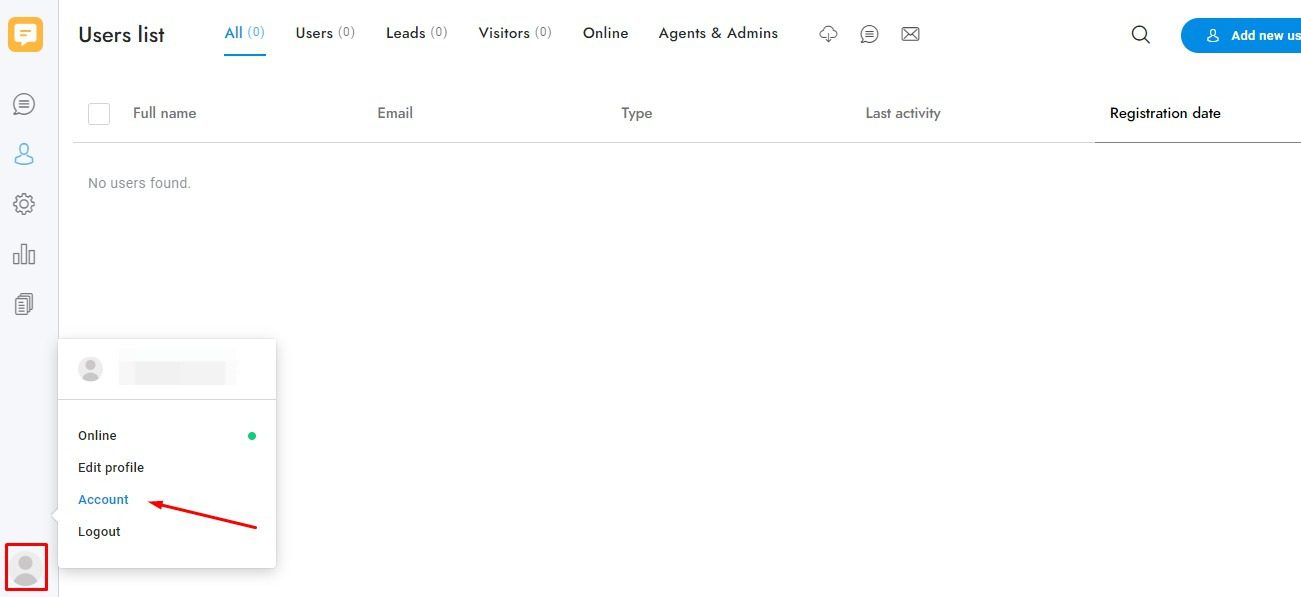
2 Go to your profile image and click on the Account button. You’ll find it in the bottom-left corner.
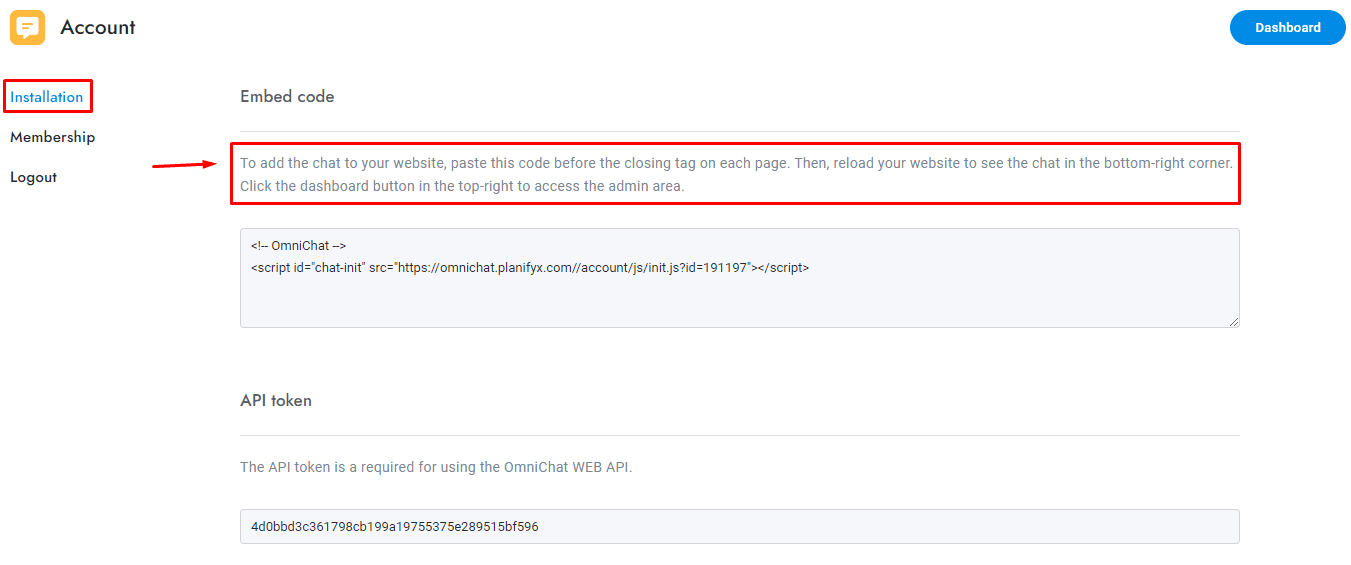
3 Go to Installation. You’ll find the embed code needed to add your widget chat to your website. Above the code, you’ll find more detailed instructions for connecting your widget chat.
💡PRO TIP: In case you need more help, feel free to contact us anytime.
Customize chat widget
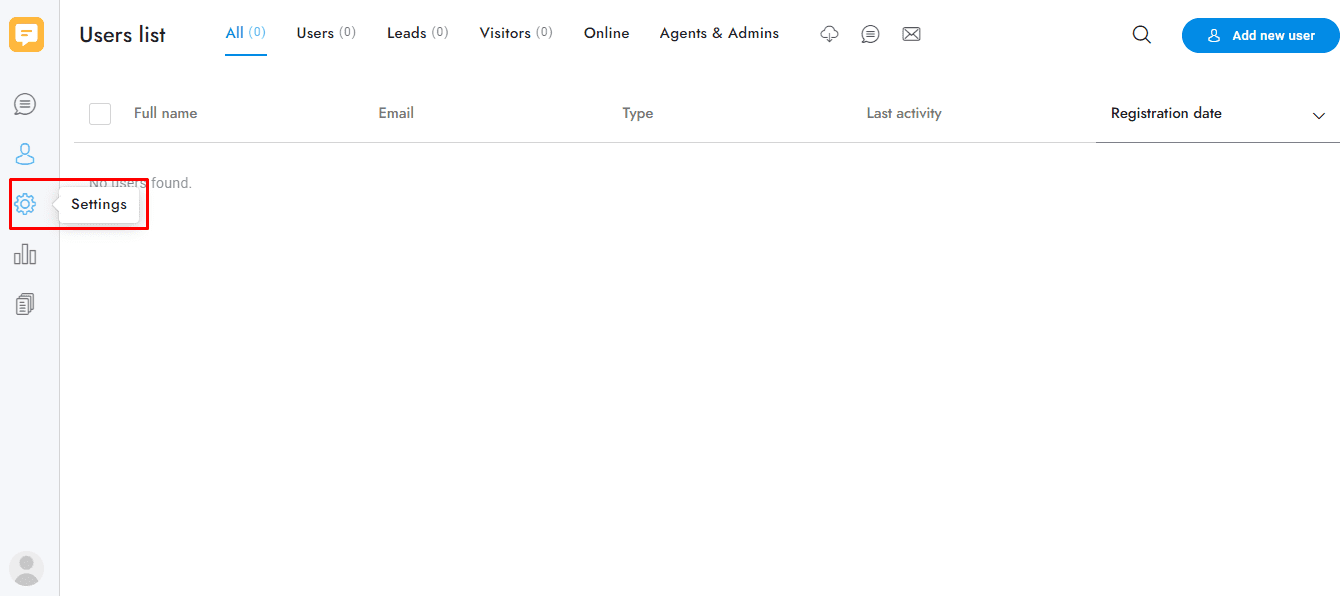
1 Click on settings button. You will find it on the left side tool bar.
2 Click on design option: There you can customize the widget chat.
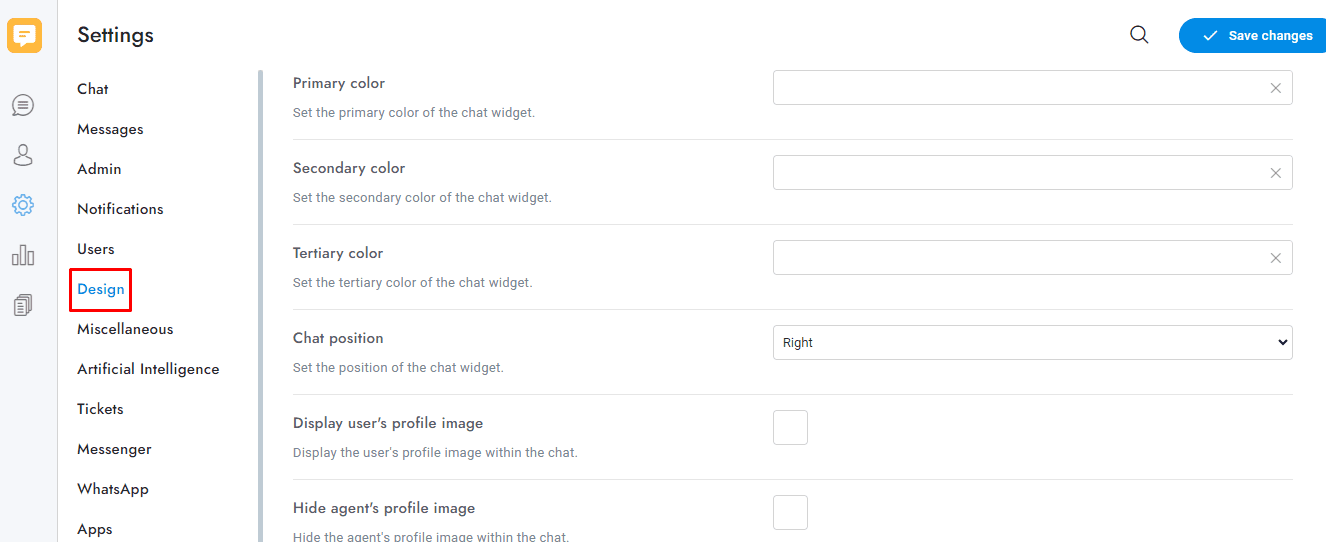
Customize options
OmniChat offers many customization options, including the following:
- Primary, secondary, and tertiary color.
- The position of the chat on your page.
- Display or hide the users or Agents profile image.
- Add header headline and message .
- header brand icon, image and background image.
- Chat background.
- Chat button position.
If you have additional doubts, remember that you can always contact us.
