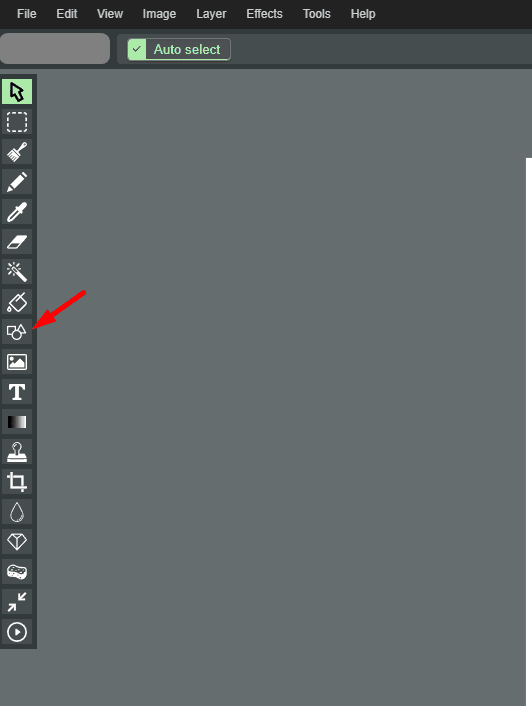
Select the Shapes Tool
Look for the shapes tool icon, typically represented by geometric shapes like squares, circles, or triangles. Click on it to activate the shapes tool.
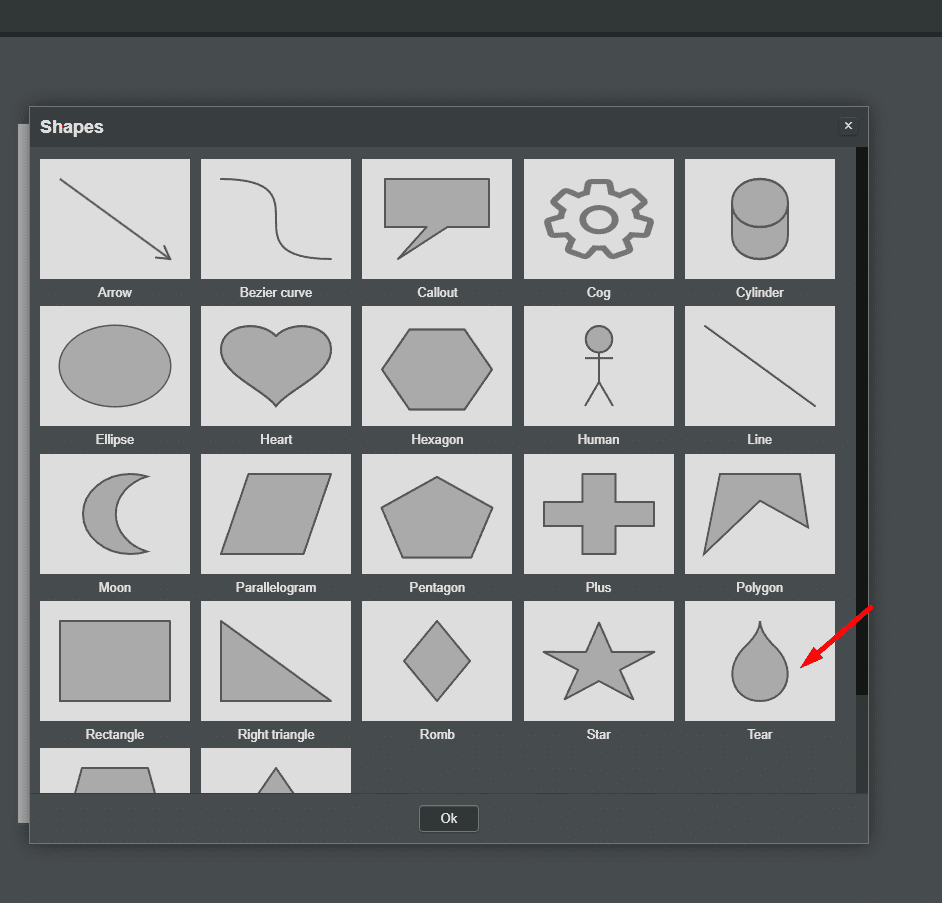
Open Shape Options
After selecting the shapes tool, a panel or window will open displaying the available shape options. Choose the shape you want to insert into your workspace by clicking on its icon or name in the panel.
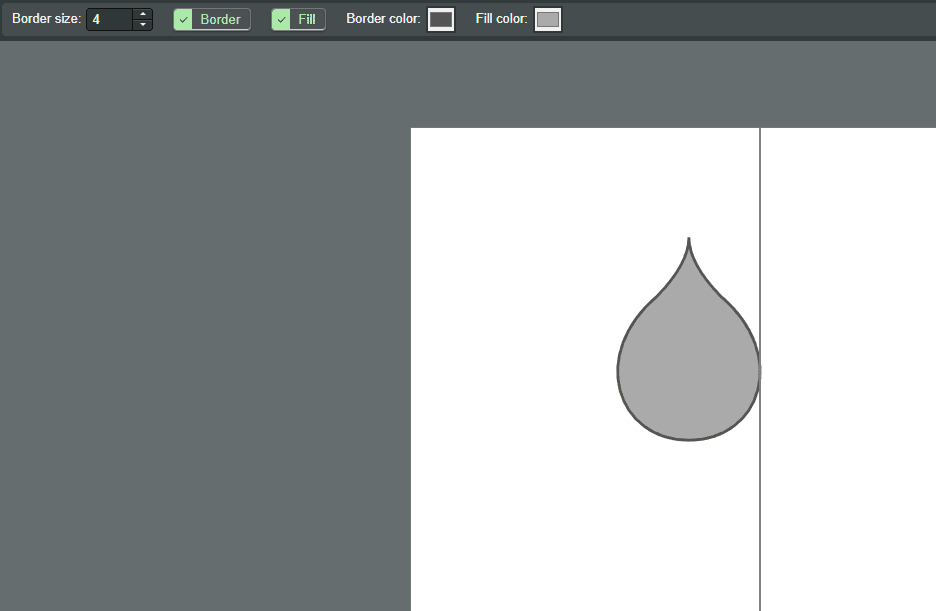
Click and Drag
Click and drag your mouse on the workspace to place the selected shape. You can adjust the size by resizing the shape using the handles.
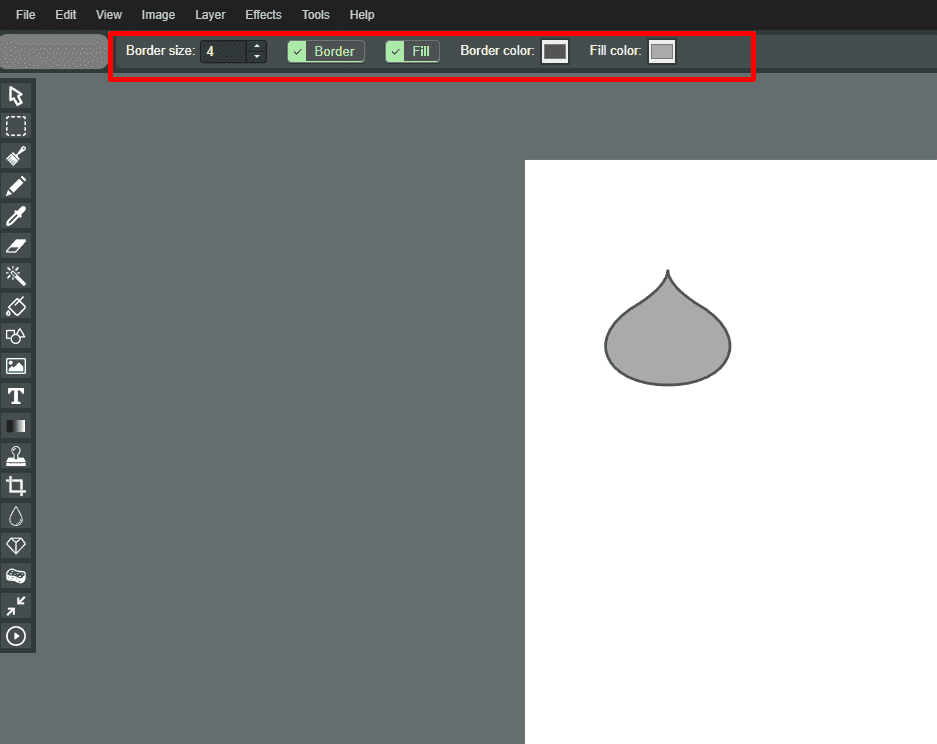
Adjust Settings
At the top of the screen or in a settings panel, you will find options to customize the shape, such as border size, fill color, border color, and more. Modify these settings according to your preferences.
Save Changes
Once you are satisfied with the shape placement and appearance, save your changes to the image.
