In order to use the AI chatbots in Social Poster (R), you need to input your OpenAI API credentials into the app. Do not worry, it is easier than it sounds. Let’s go through the steps to achieve it.
Obtaining your OpenAI API keys
Go to the OpenAI website. Scroll down to the footer and click on API login. Create an account or sign up to an existing one. If you have a ChatGPT account, you can use the same credentials.

Open the API area. After you enter your personal information, the following screen will appear asking where do you wish to go. Select API.

Open your dashboard. Click on the Dashboard button at the top right corner of the screen.

Generate an API Key. Click on the API Keys option at the left sidebar. Then, click on the Create New Secret Key button.

Configure your API Key. Give it a name to identify it. In permissions, select “All”. Optionally, link it to a project and click on ‘Create secret key’. Copy the code that will appear and save it somewhere safe. After you close this window, you will not be able to see it again.
💡 PRO TIP: You can recycle the same Secret Key on several accounts. However, we recommend having separate keys for each one, as this will allow you to measure the token spend on every tool.

Adding Credit To Your OpenAI Account
All OpenAI models work with tokens, and these tokens have a cost. Therefore, you need to add credit to your OpenAI account for your OpenAI keys to work. We recommend adding at least $10.00 USD to get started. Here are the steps to do it.
Navigate to the Billing Section. Click on the Settings icon in the top-right corner of the OpenAI dashboard, right before your profile picture. You will be directed to the Settings page. From the left sidebar, select ‘Billing’.

Add a Payment Method. In the Billing section, click ‘Add a payment method’. Enter your credit card or payment details and save them. You can add several payment methods and set one of them as default.

Add Credit. Go back to the Billing Overview page. Click on the ‘Add to credit balance’ button.

Indicate the amount you wish to add in dollars. Options usually range from USD $10 to $500, depending on your requirements. Then, confirm your payment. Once processed, the credit will be available in your account.
💡PRO TIP: Add at least USD $10 in credit to your account. In most individual accounts, this amount will suffice for using both the AI chatbot and the AI content generators during a month.
We recommend going back to the Overview section to confirm that the credit has been added. When your credit balance reaches $0.00 USD, your API requests, and therefore your chatbots, will stop working, so you must repeat this step frequently to ensure you always have enough credit.
Optionally, enable automatic recharge. You can optionally enable automatic recharge to automatically keep your credit balance topped up.To do this, go back to the Billing Overview page and click on the ‘Enable auto recharge’ button.

Indicate when should the credit be recharged, and to which amount, and save. Now that your account has sufficient credit, your OpenAI-powered tools and chatbots will continue to work smoothly without interruptions!

Input your OpenAI keys into Social Poster (R)
Different API keys must be inserted in each of the different tools that use Artificial Intelligence within the app. Connecting the API keys in the Chatbot section will allow you to train an AI to answer your WhatsApp messages, while the API key you connect in the Composer section will allow you to use the different content generators in the app. Let’s go through each one.
Input your OpenAI keys into the WhatsApp Chatbot
Open our app. Go to the WhatsApp section. Open the Chatbot tools, and on the WhatsApp account where you wish to insert the OpenAI API key, select Item List.

Open the Chatbot Settings. You can find them in the three-dot menu at the top right corner of the page.

Input your OpenAI API Key. Paste it on the corresponding box. Then, select the GPT model you wish to use in your chatbot. Different models have different input limits (affecting the maximum length allowed for the AI training text), as well as different language comprehension abilities and costs. Check the OpenAI documentation to learn more.

Save and repeat. Click ‘Submit’ to save your changes. Then, repeat this process for every WhatsApp account connected to the app, ensuring each one has access to the chatbot’s AI functions. You can either paste the same API key on all accounts or generate a unique key for each one, which is recommended if you’d like more control over spending limits.
Input your OpenAI keys into the AI Composer
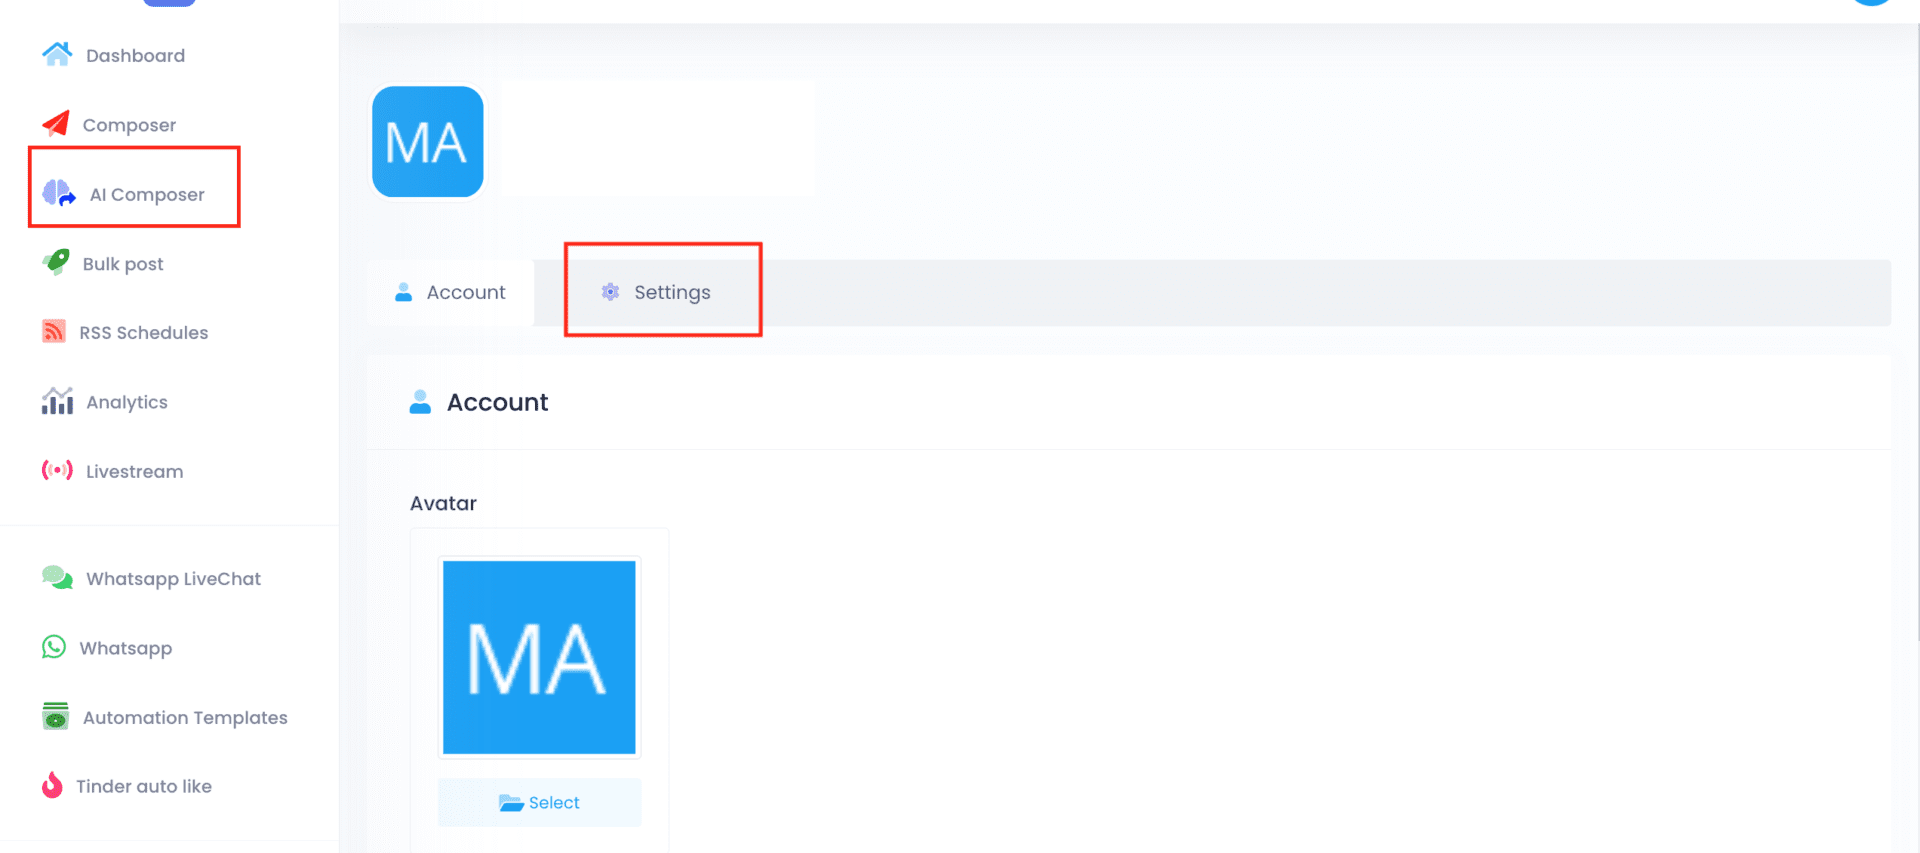
Open the app. Click on ‘AI Composer’ in the left sidebar. Go to Settings.
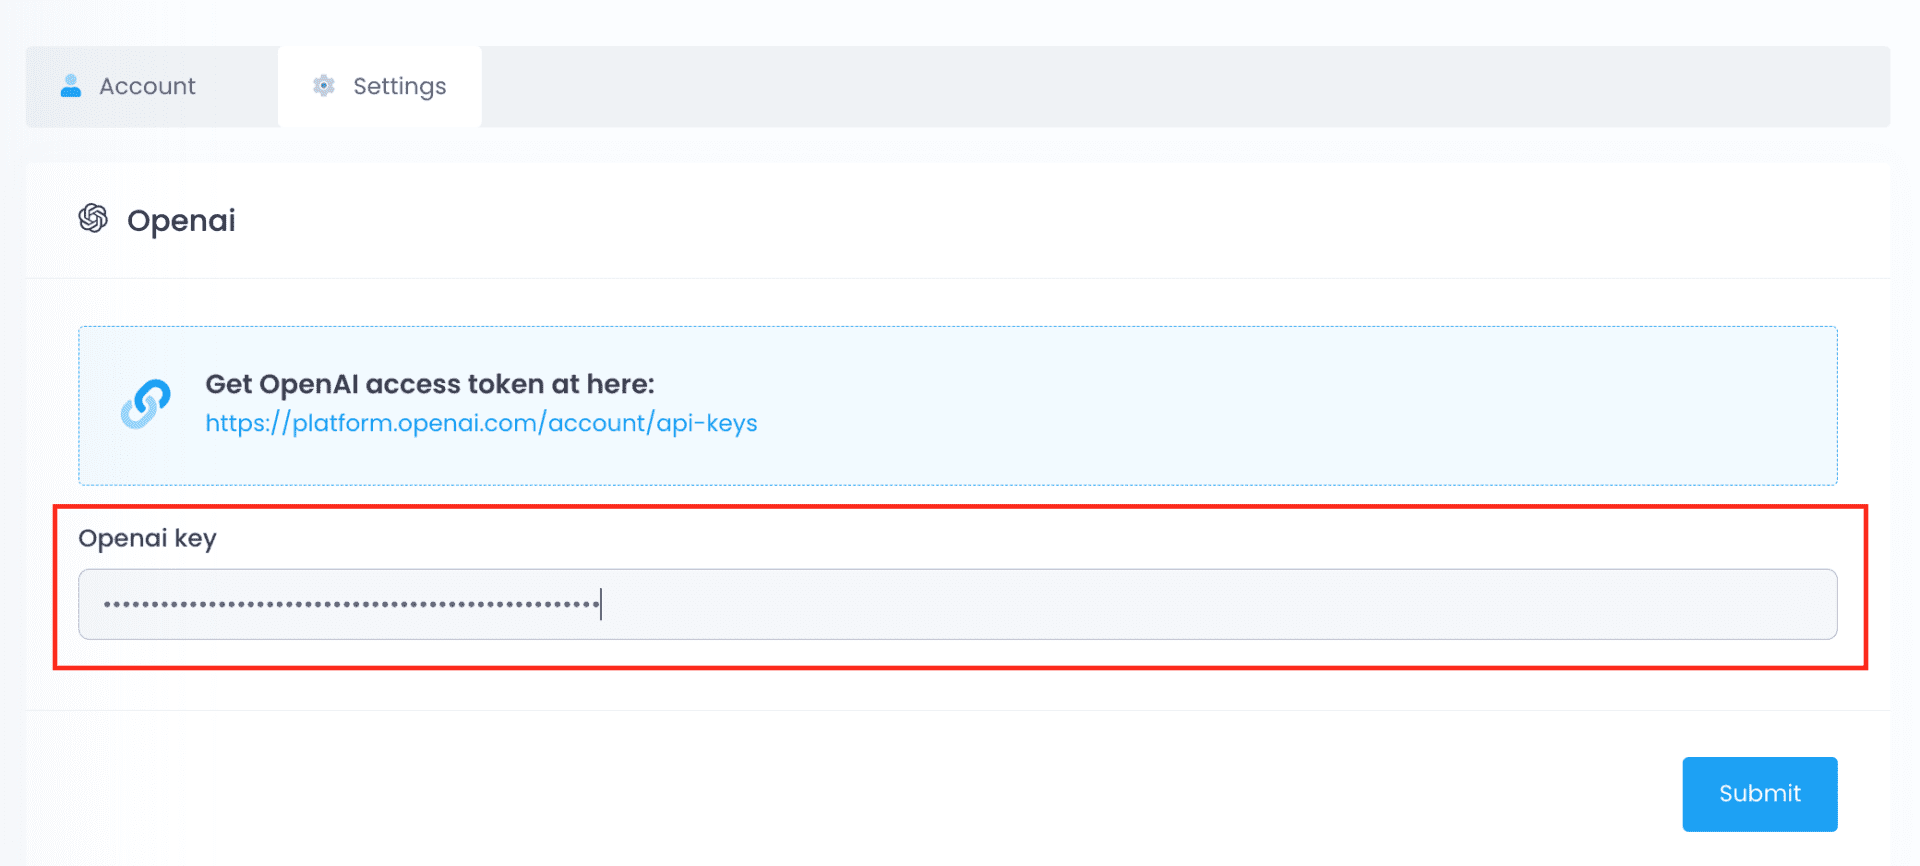
Paste the OpenAI API key in the corresponding field. Click on ‘Update’ to save.
Remember that the API key will only work for the individual account where you place it (even if said account is the administrator of the whole platform). This means that your users will have to repeat this process to use the AI tools in theirs.
