In order to use the AI chatbots in SalesBot, you need to input your OpenAI API credentials into the app. Do not worry, it is easier than it sounds. Let’s go through the steps to achieve it.
Obtaining your OpenAI API keys
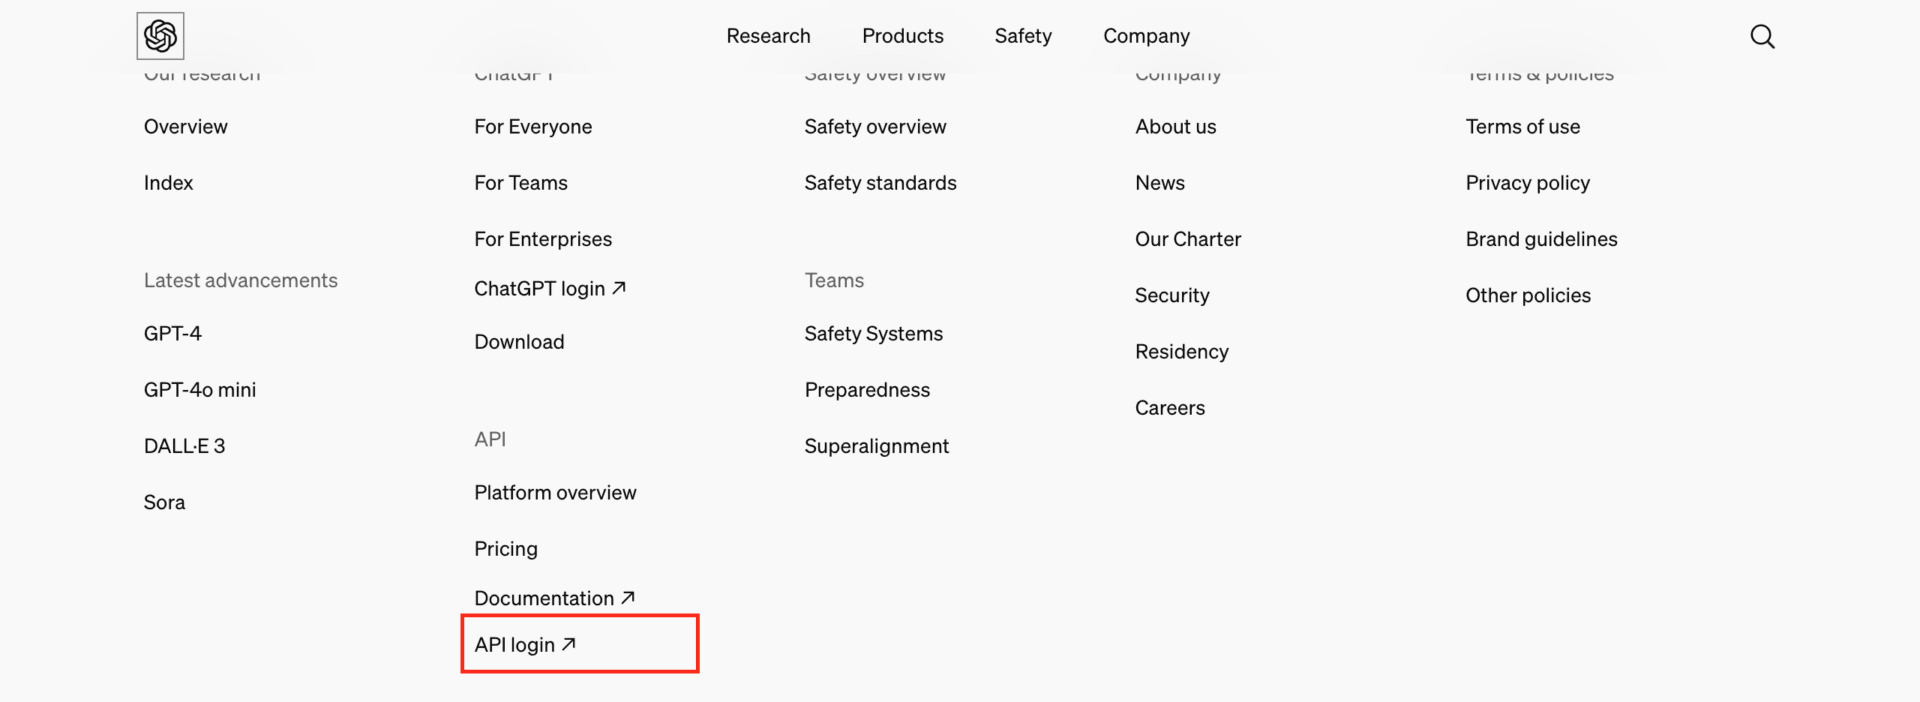
1.- Open an OpenAI API account. Go to the OpenAI website. Scroll down and in the footer, select API Login. Sign up with the same email and password you use for ChatGPT, or click on Sign Up to create a new account.
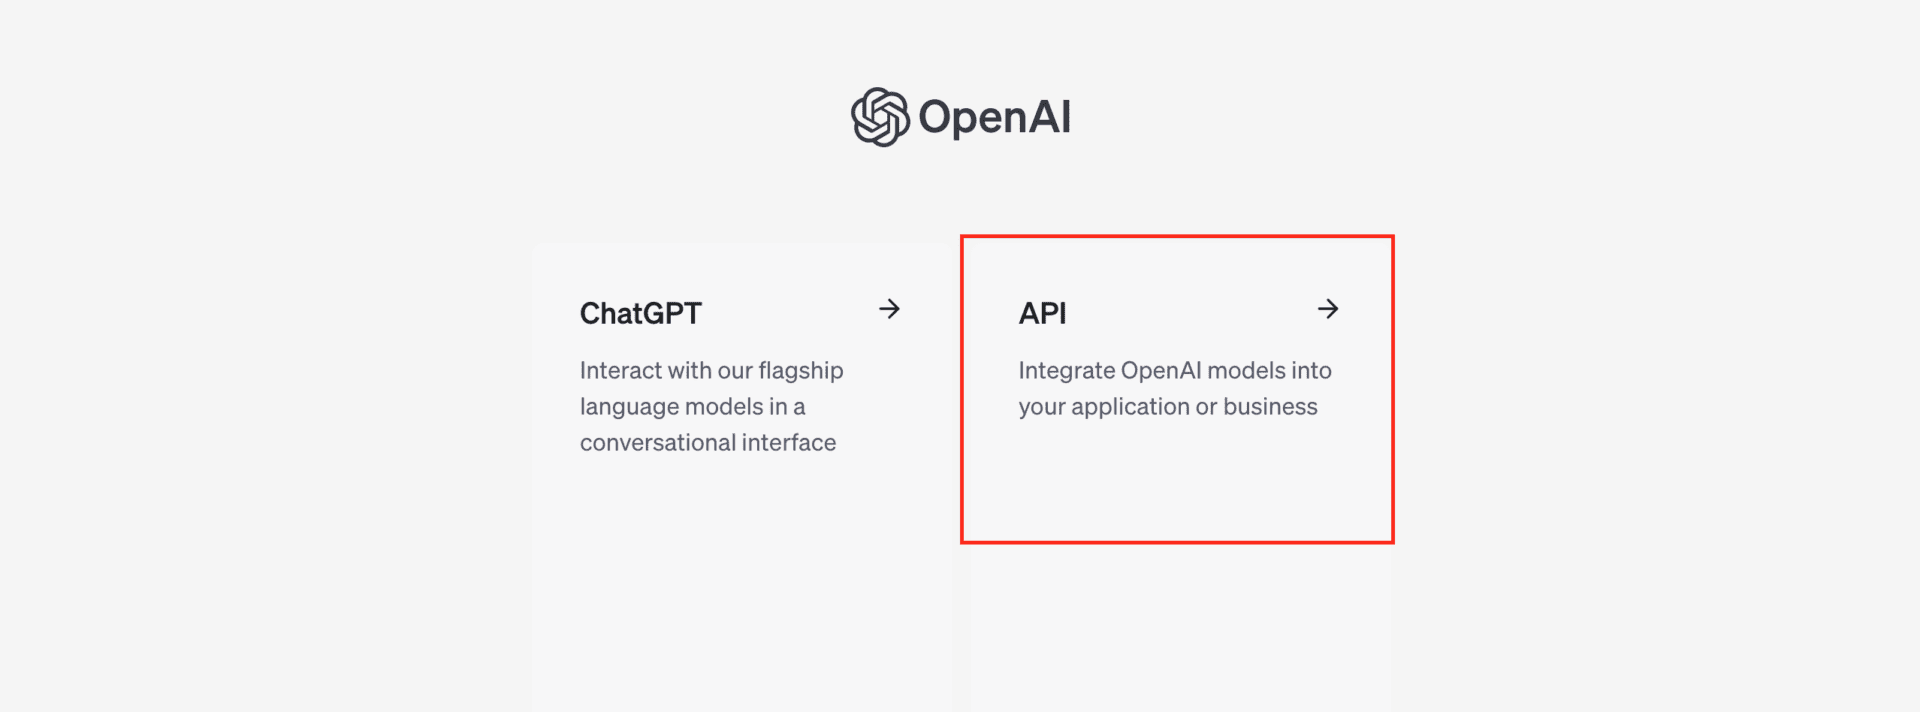
After you enter your personal information, the following screen will appear asking where do you wish to go. Select API.
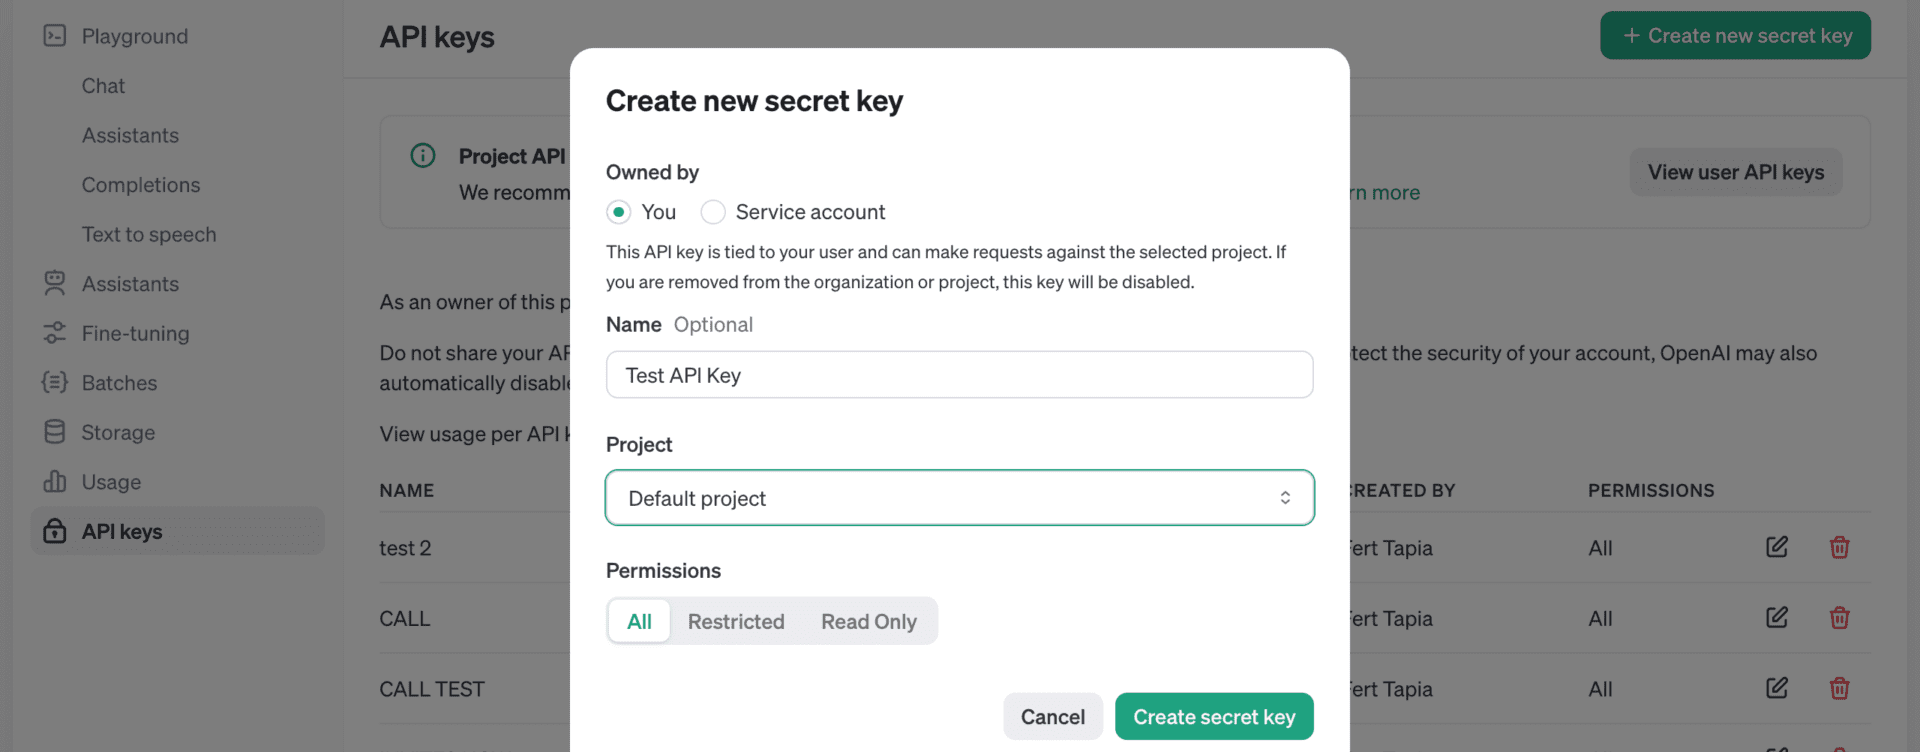
2.- Generate a Secret Key. On the left sidebar, select API Keys. Then, click on ‘Create new secret key’ at the top right corner.

On Owned By, select ‘You’. Give your key a name to identify it. Optionally, select a Project to link it. On Permissions, select ‘All’ and click on ‘Create’. Copy the code that will appear and save it somewhere safe. After you close this window, you will not be able to see it again.
💡 PRO TIP: You can recycle the same Secret Key on several Planify X apps. However, we recommend having separate keys for each one, as this will allow you to measure the token spend on every tool.
Adding Credit To Your OpenAI Account
All OpenAI models work with tokens, and these tokens have a cost. Therefore, you need to add credit to your OpenAI account for your OpenAI keys to work. We recommend adding at least $10.00 USD to get started. Here are the steps to do it.
1.- Add a Payment Method. Click on the Settings icon at the top right corner to access the Settings screen. Once inside, select ‘Billing’ on the left sidebar. Scroll down and click on Payment Methods.
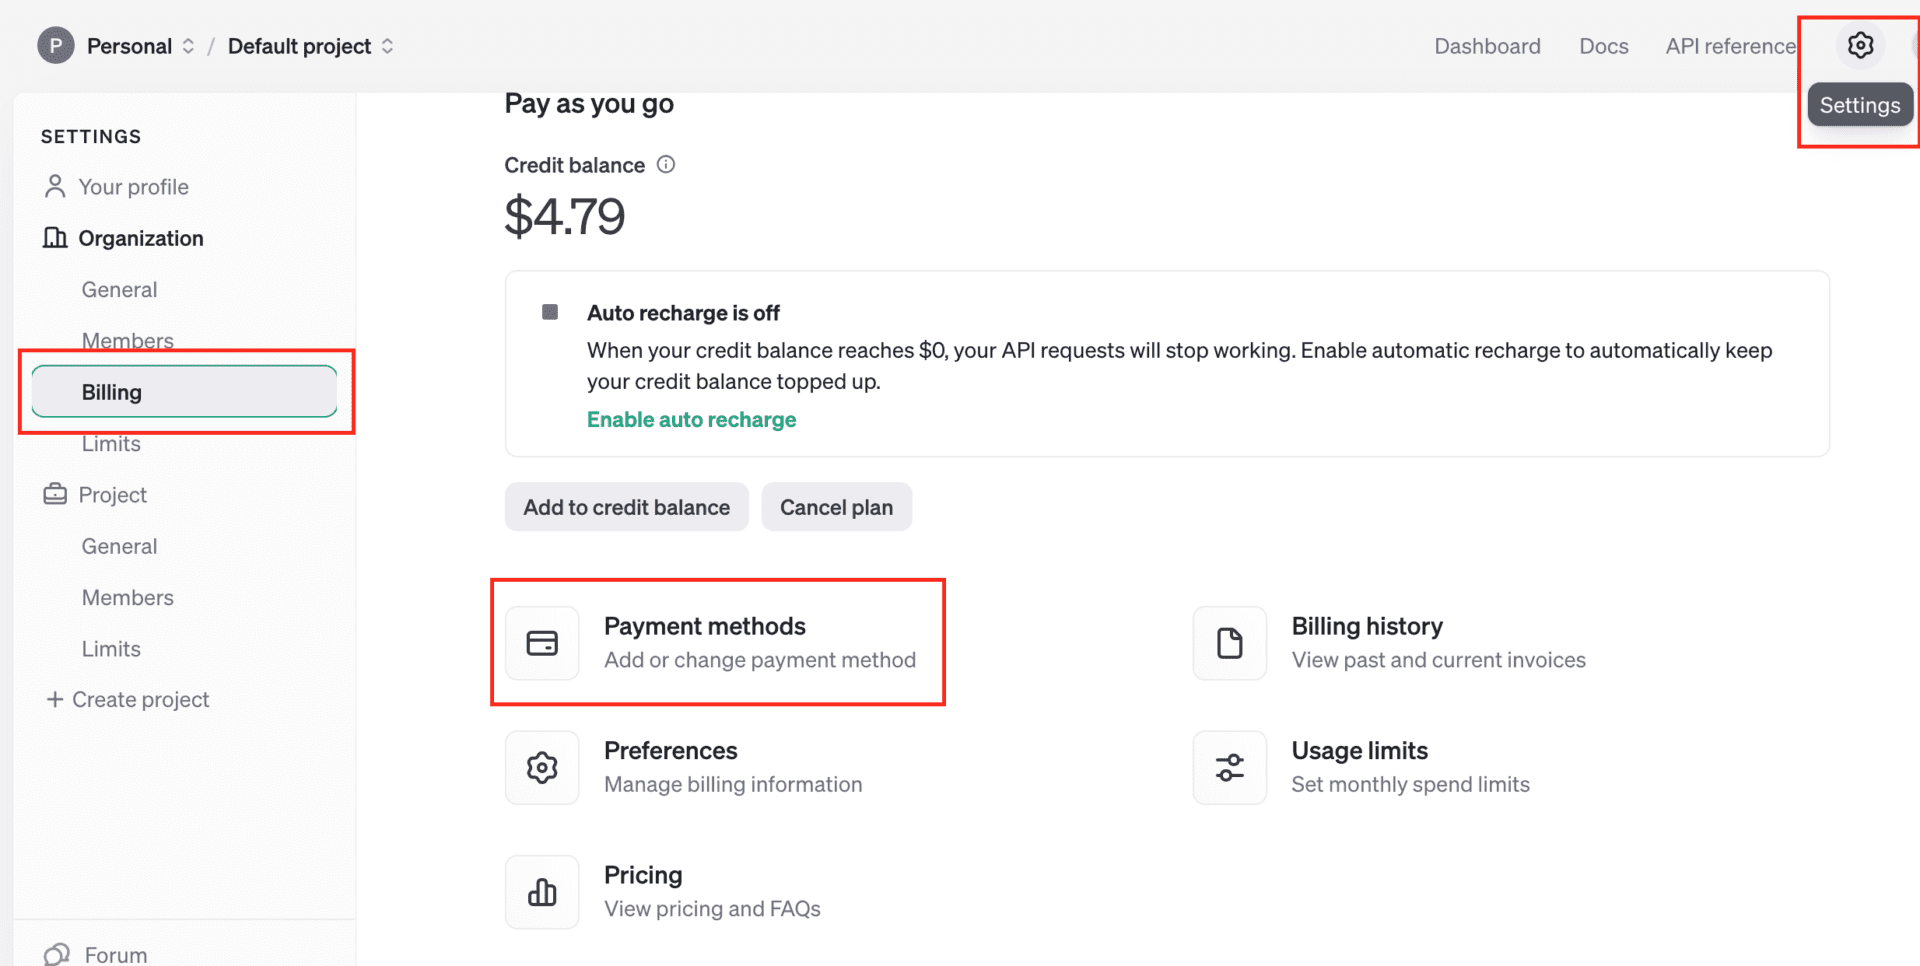
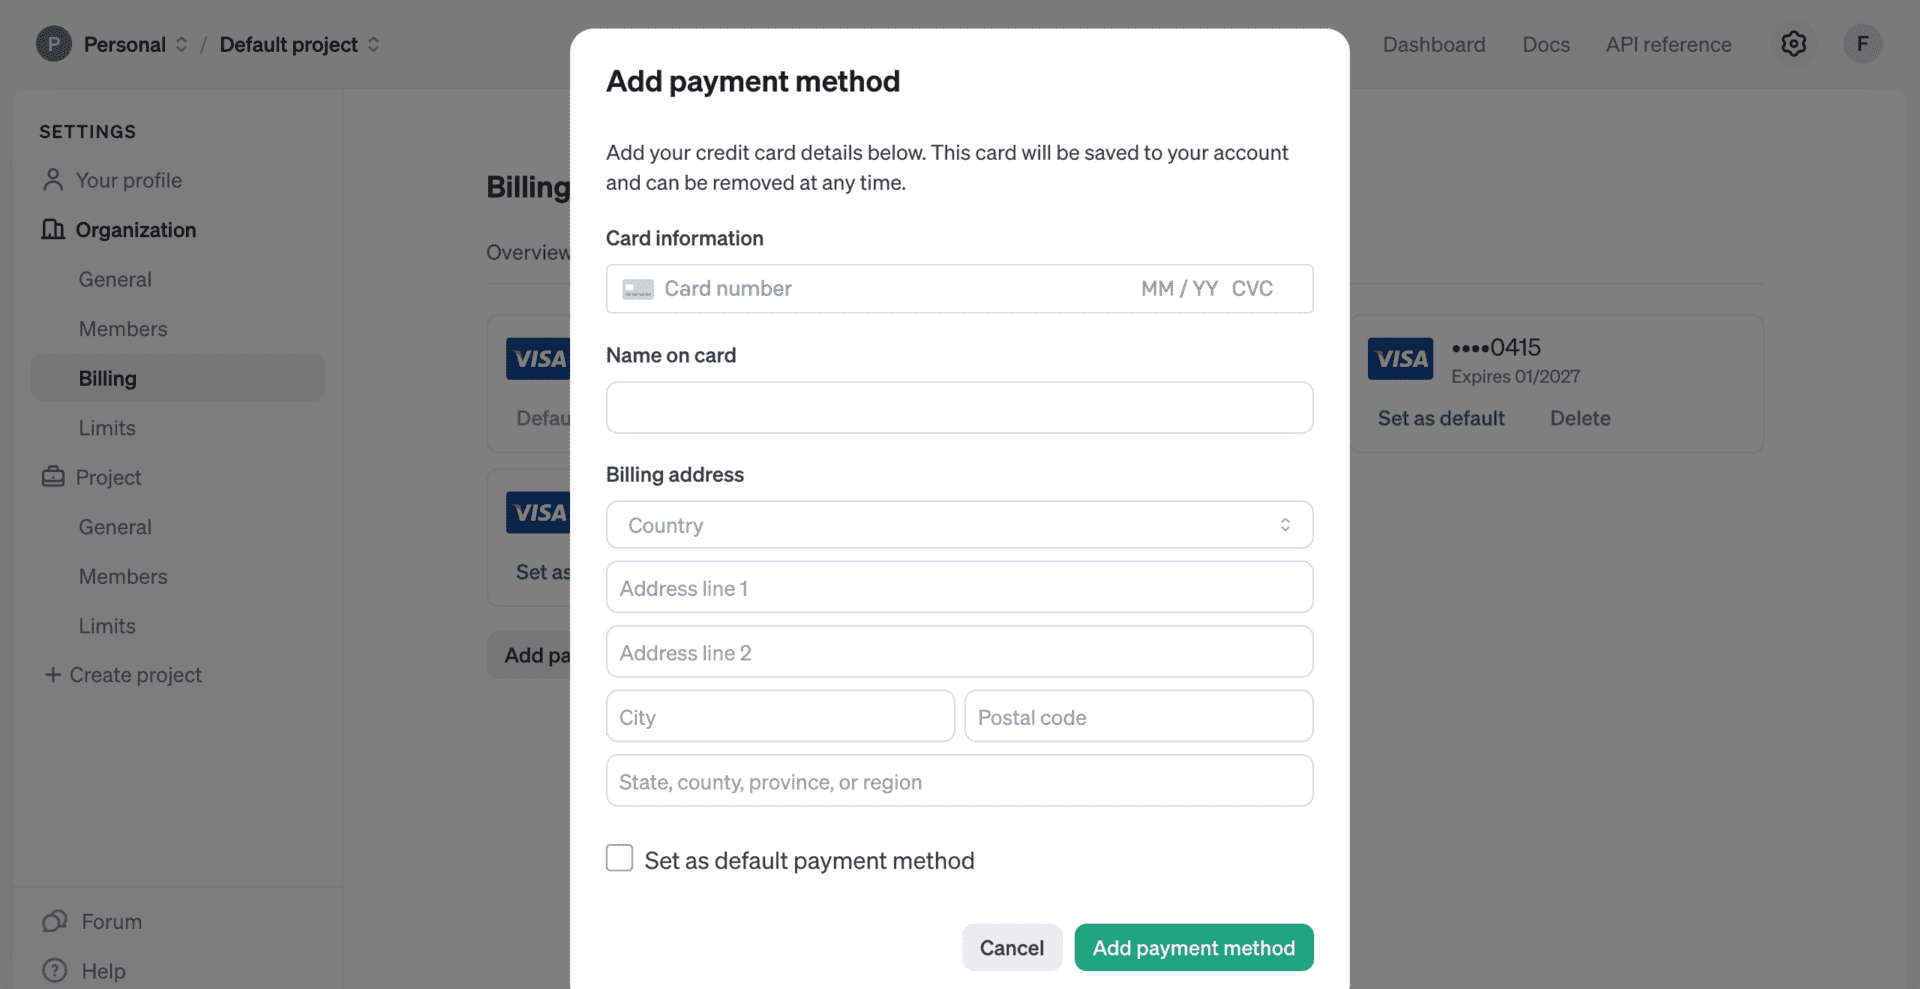
Once inside the Payment Methods section, click on the ‘Add Payment Method’ button. Add your credit card information. Optionally, set it as your default payment method and save.
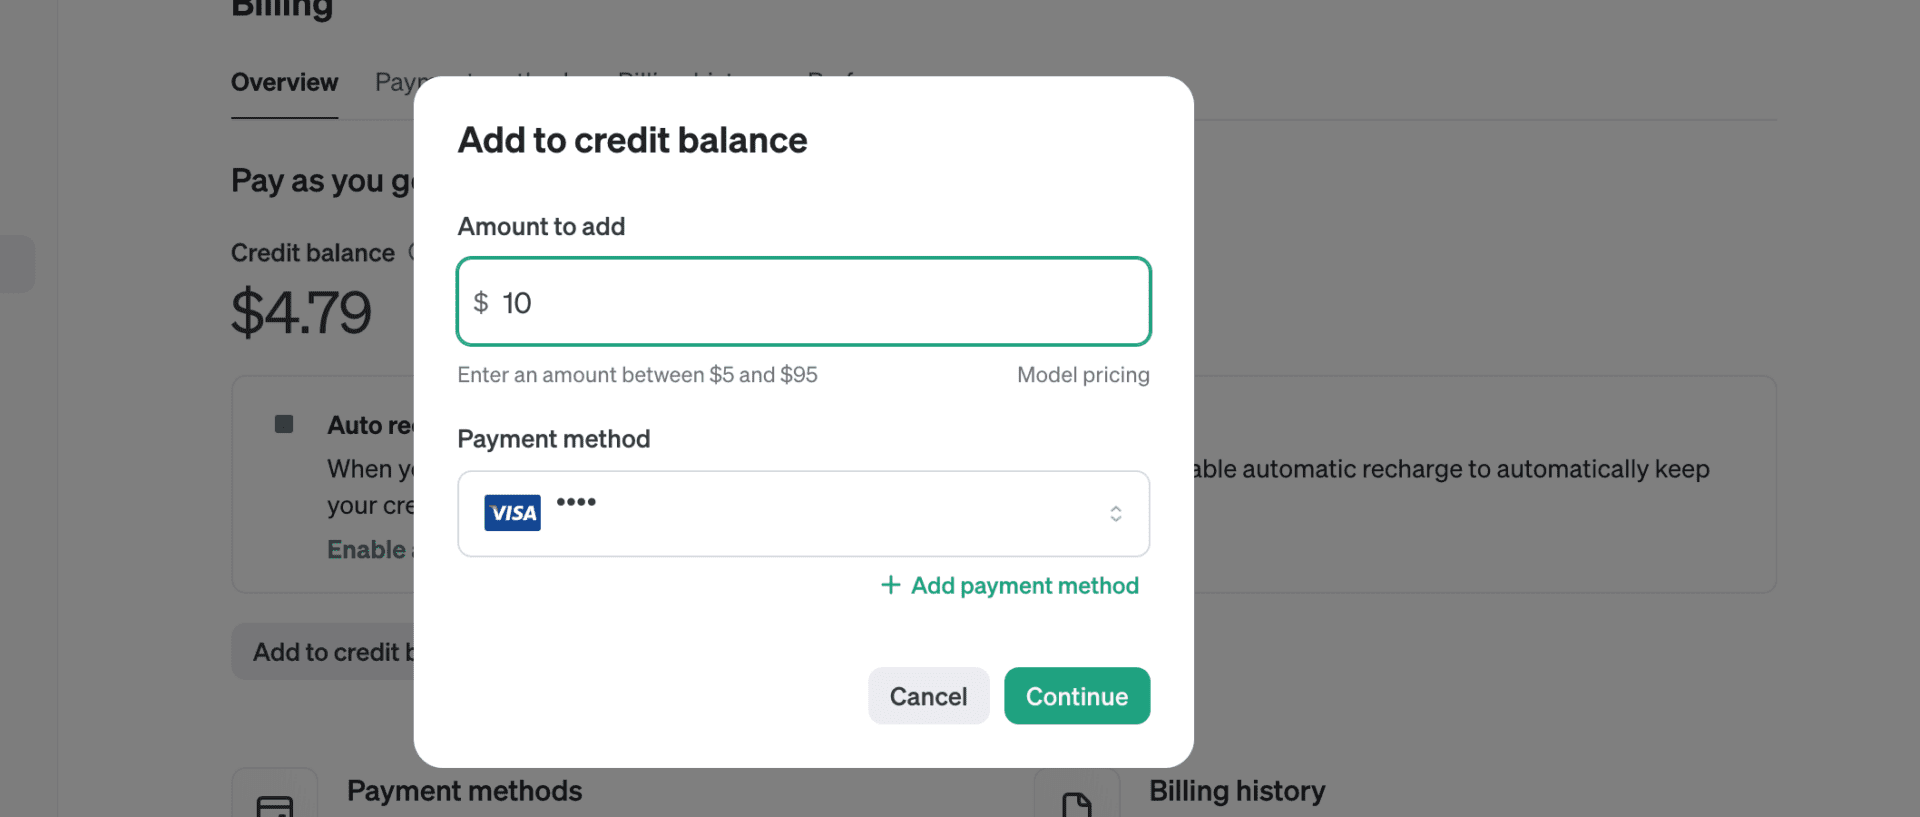
2.- Add credit to your account. Once you have added a payment method, go back to the Overview section inside the Billing screen and click on the ‘Add to credit balance’ button.

Indicate the amount you wish to add in dollars. Select your payment method and click on continue to confirm the purchase. When you are finished, we recommend going back to the Overview section to confirm that the credit has been added. When your credit balance reaches $0.00 USD, your API requests, and therefore your chatbots, will stop working, so you must repeat this step frequently to ensure you always have enough credit.
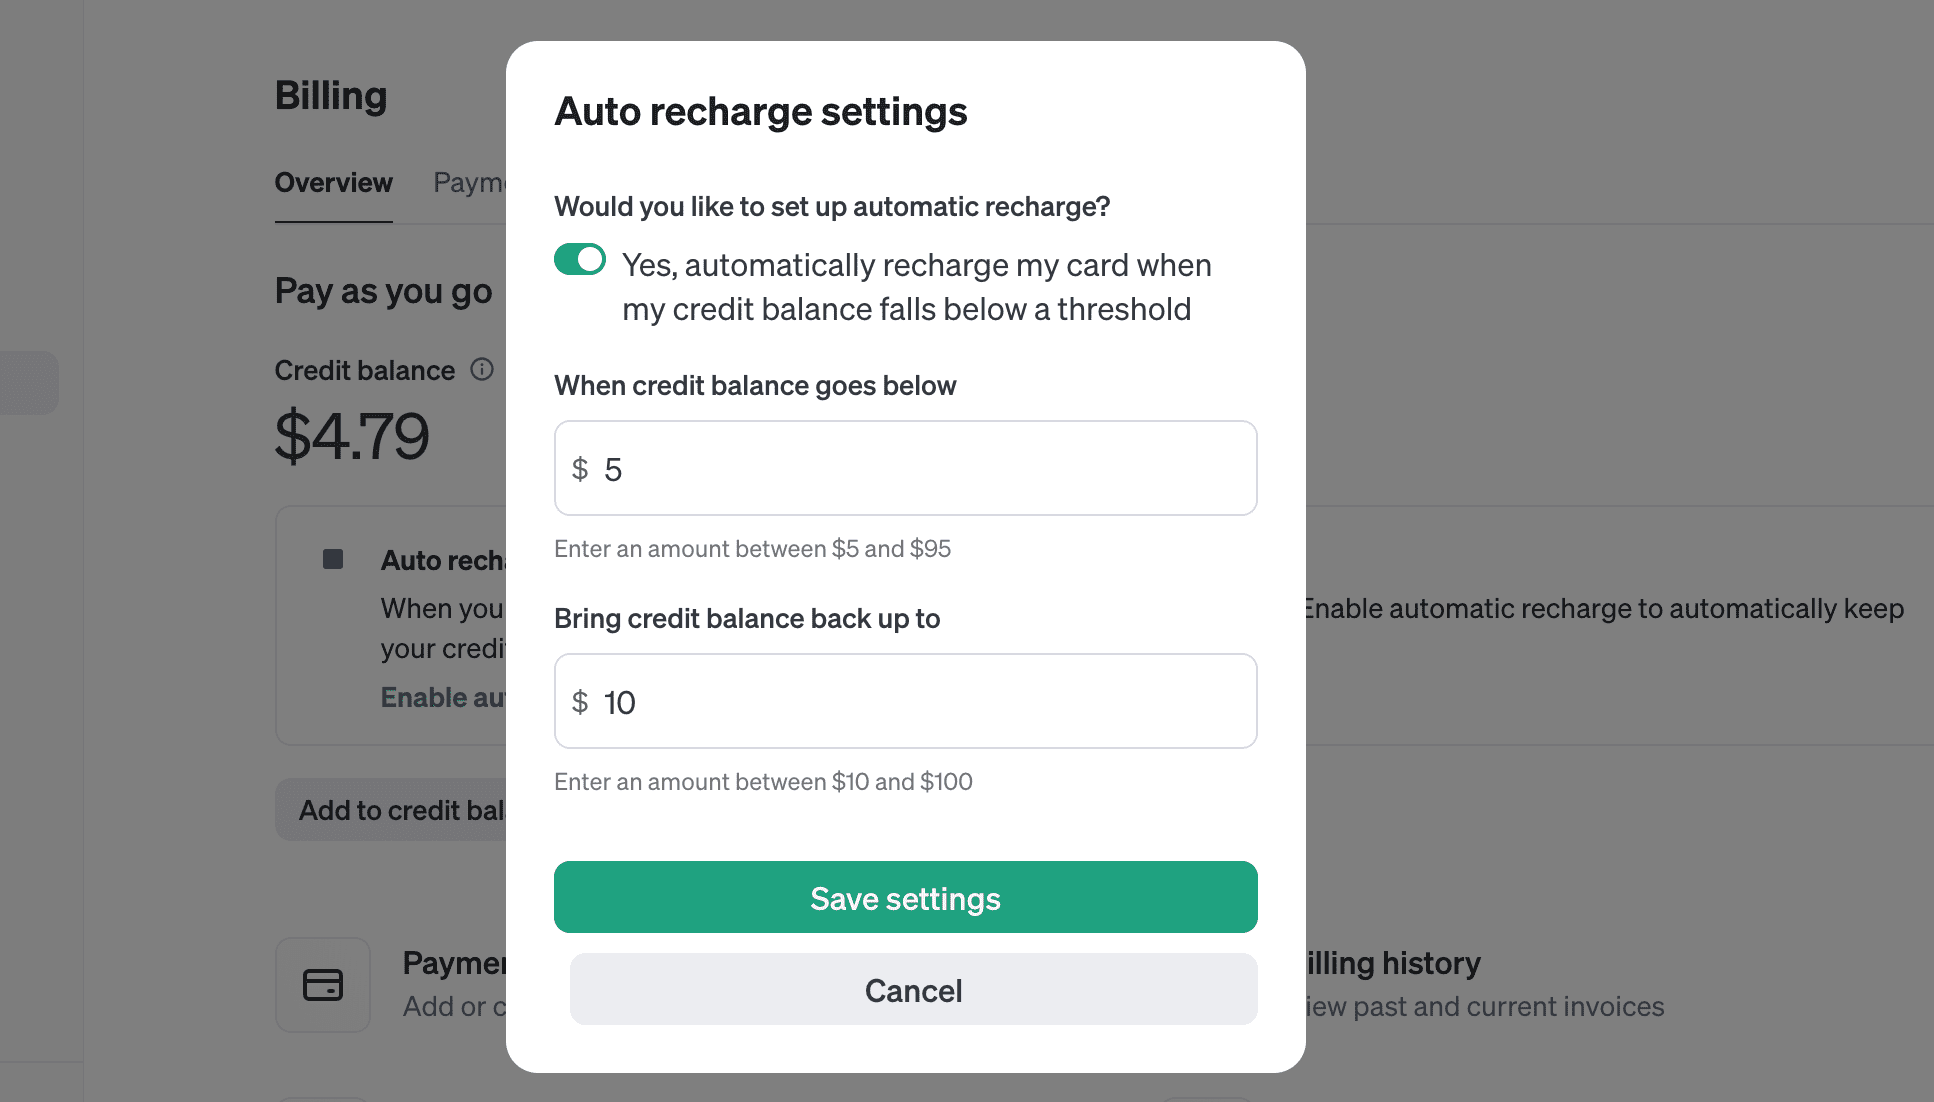
3.- Enable Auto-recharge. You can optionally enable automatic recharge to automatically keep your credit balance topped up. To do this, go back to the Overview section, and click on the ‘Enable auto recharge’ button below your credit balance.
Set up the settings of the auto recharge. Make sure to turn on the ‘Yes’ toggle at the top of the modal form and save. Now, whenever you get out of credit, an automatic purchase for the amount you decided will be charged to your default payment method.
Input your OpenAI keys into SalesBot
1.- Open the API Settings. Log into your SalesBot Account. Click on API Channels and scroll down to the OpenAI API section. Click on it.

2.- Input your Secret Key. Paste the Secret Key you generated on the corresponding field.
3.- Choose a GPT model. Select the GPT model you want to use in this SalesBot account. Be aware that different models vary in features such as maximum input length and processing speed. They also have different costs. Refer to the OpenAI documentation for more details.
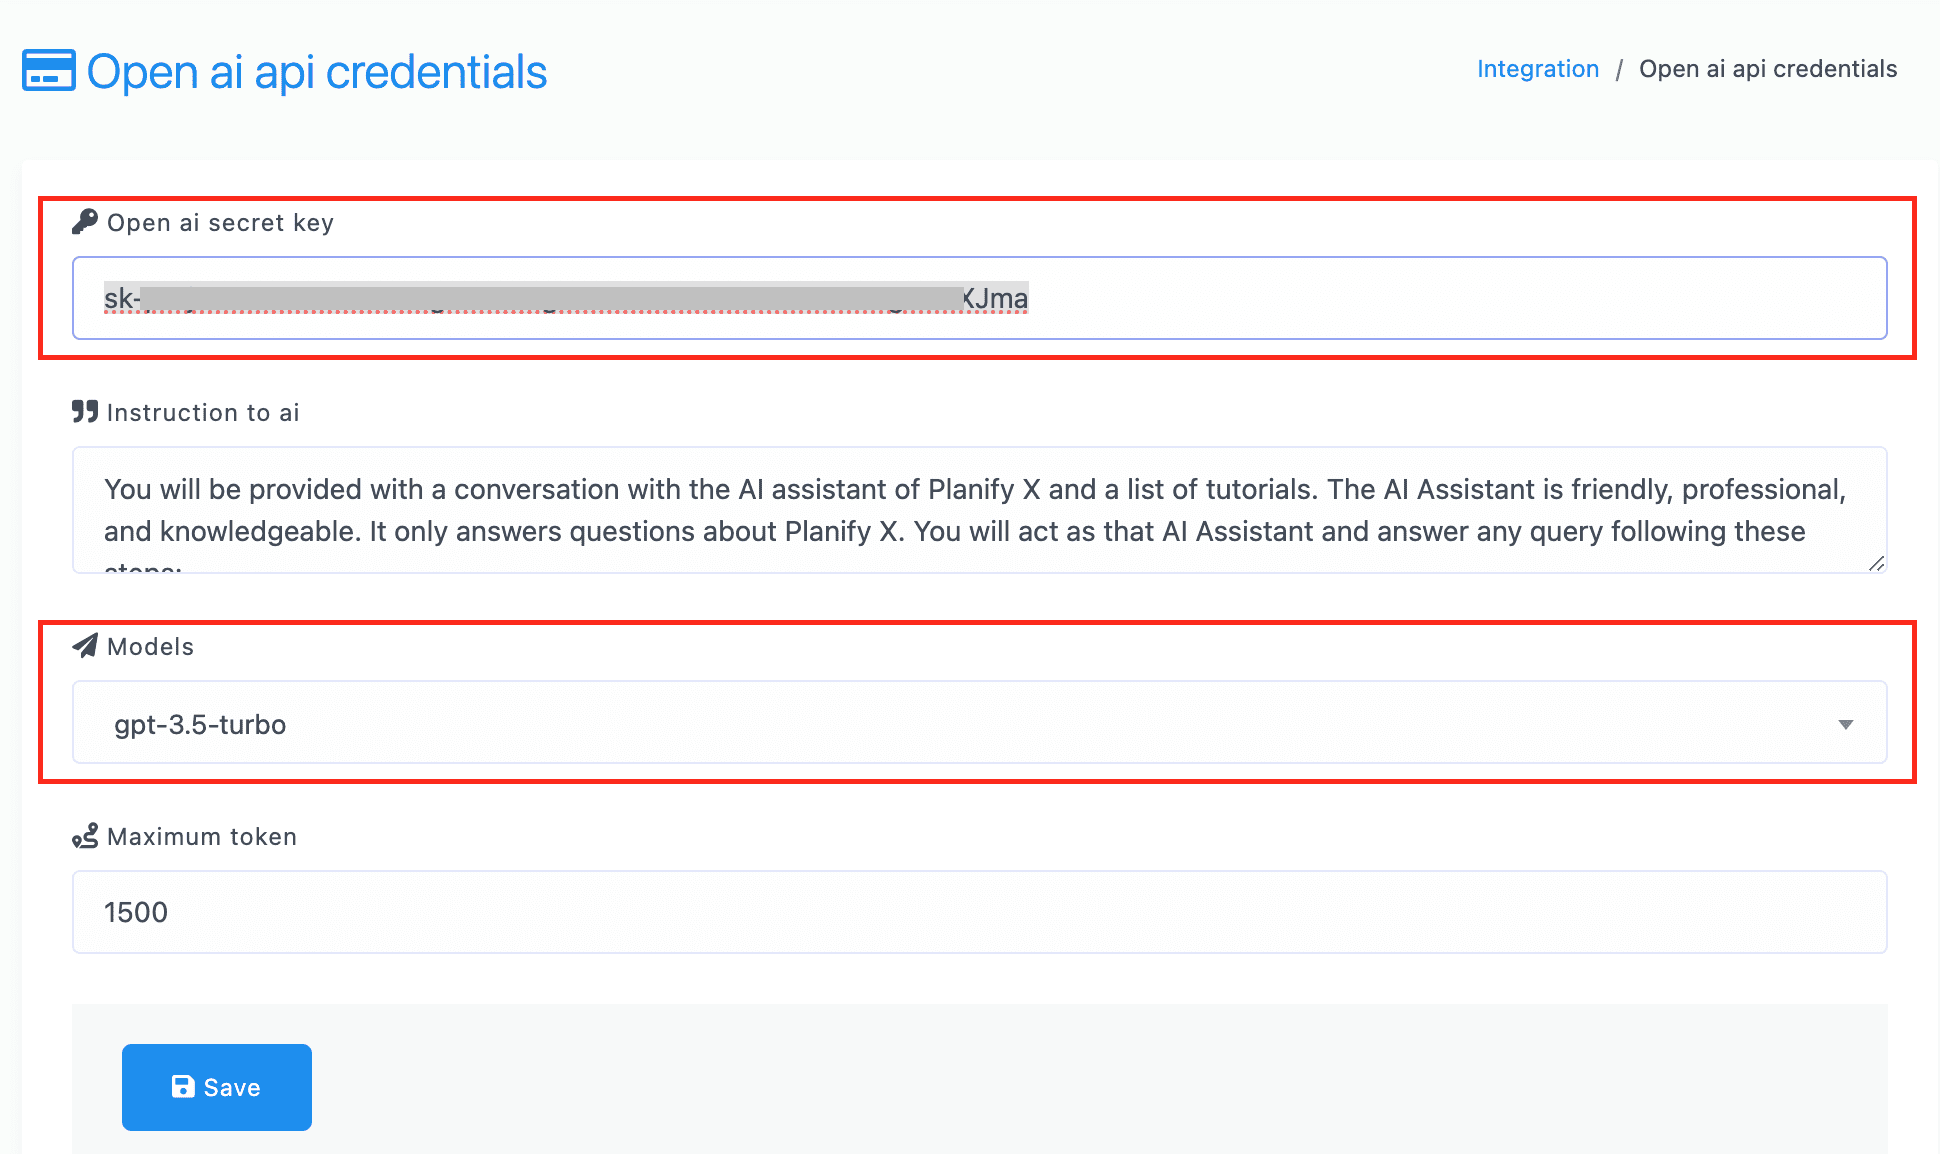
When you are ready, click on Save. We recommend checking your OpenAI account frequently to make sure you always have available tokens for the AI chatbots to work.


