Integrating Adobe Express with your reseller platform gives your users access to a powerful design tool right inside your app. This step-by-step guide will walk you through how to create a project in Adobe Developer Console, configure API credentials, and enable access for your clients — all in just a few clicks.
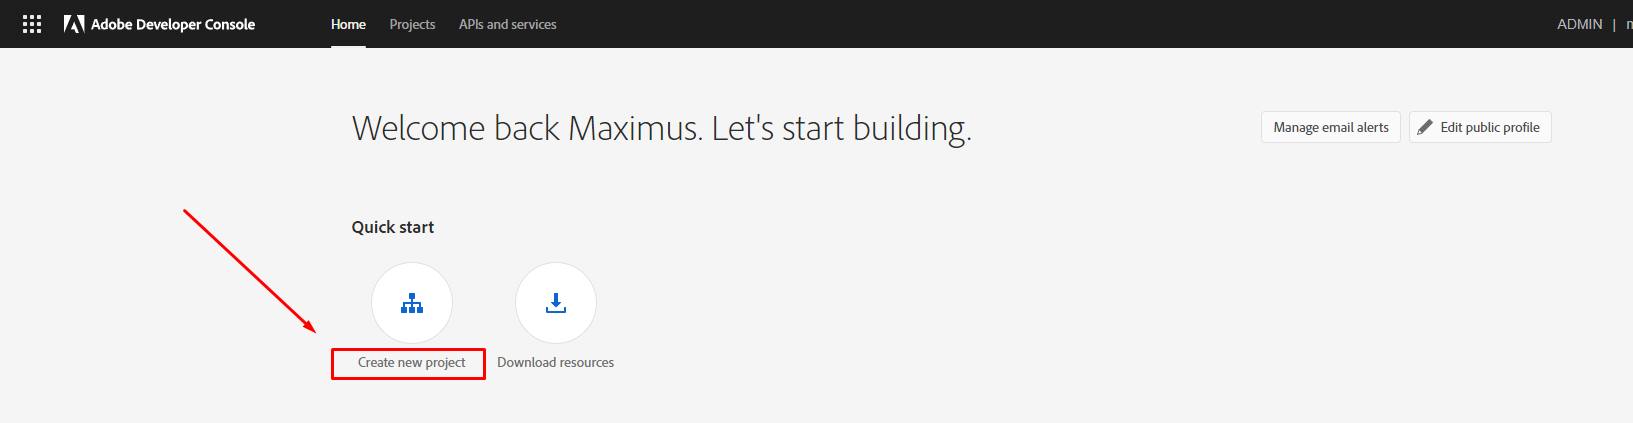
Go to Adobe Developer. Sing in or create an account and go to the developer console at https://developer.adobe.com/developer-console/. Click on Create New Project.
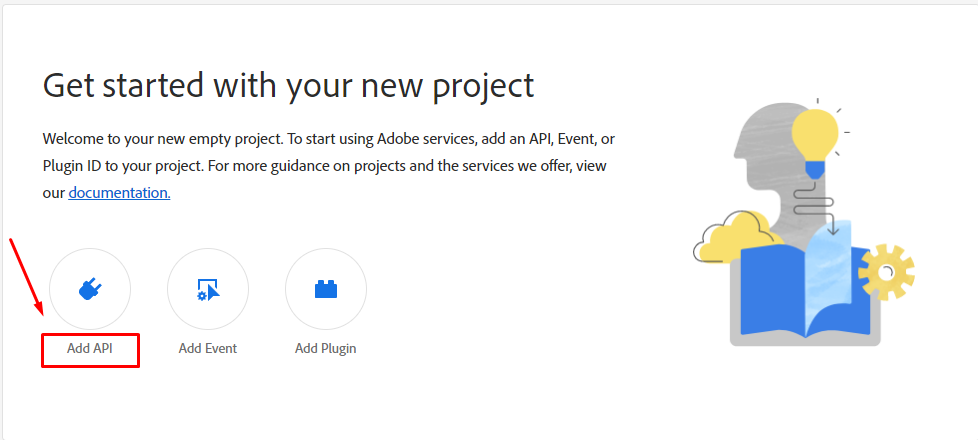
You will be asked to add an API, Event or Plugin ID to the project. In this case, we will add a REST API.
Select Adobe Express Embed SDK. Click on Next.

On the modal form, select Add API key authentication credential. Click on Next. You will be asked to provide a domain. Write the one where you placed your application. Then, click on Save Configured API.

You also need to provide a redirect URL and a Redirection URL Pattern. To obtain them, login to your platform with your Admin Credentials. Go to Settings > File Manager. Look for the Adobe Express Integration.

Copy them and paste them on the corresponding fields. Click on Next.

Leave the scopes as they are. Click on Save Configured API.

You will be provided with an API Client ID. Copy it.

Go back to your platform and paste it on the corresponding field. Set the Status as Enabled, and save your changes.

Now that you have added the APIs, you need to submit your project for review. You will be redirected to your project screen. Click on Project overview, and then on the Submit for Review button.

You’ll need to complete a public profile before you can submit your app or integration for approval. The information from this profile will appear on the consent screen that users will view when using your app. Click on Edit public profile to get started, and then on Continue.

Complete the information about your company. You’ll need to provide your website’s landing page URL, a description, and a logo of 250 px by 250 px, no larger than 2 MB, and in a PNG or JPG file format.

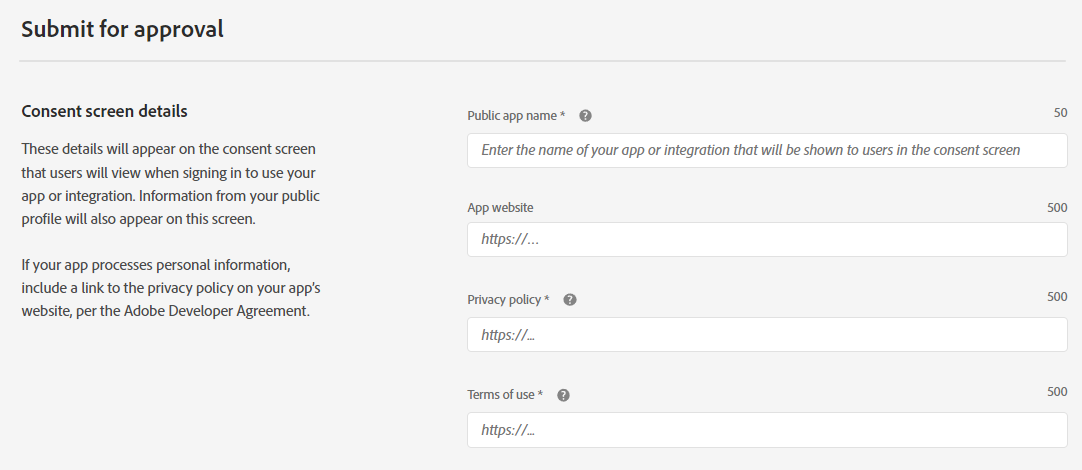
Add your consent screen details. These details will appear on the consent screen that users will view when signing in to use your app or integration. Information from your public profile will also appear on this screen. Include the link to the privacy policy on your app’s website.
On Approval details, describe what your app does. This will help Adobe review it for approval.
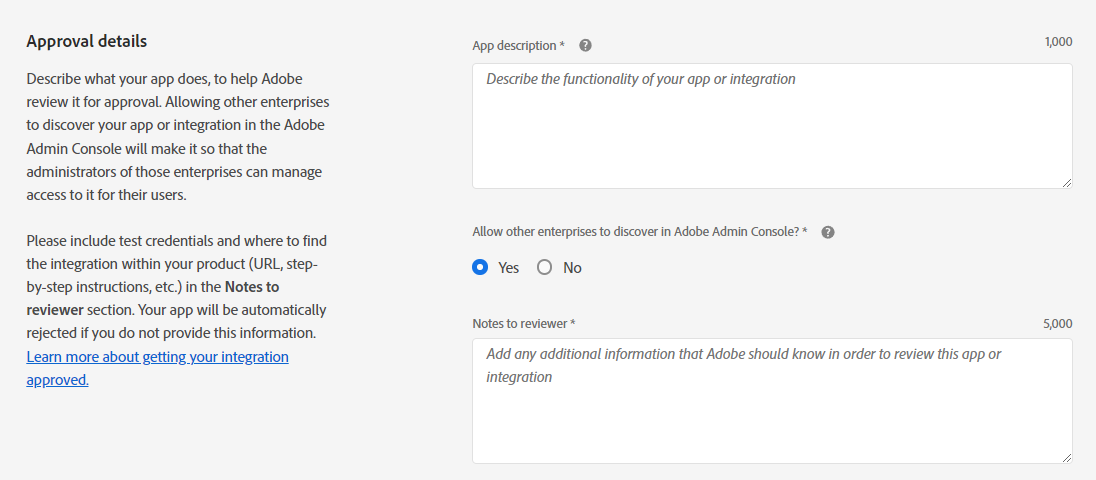
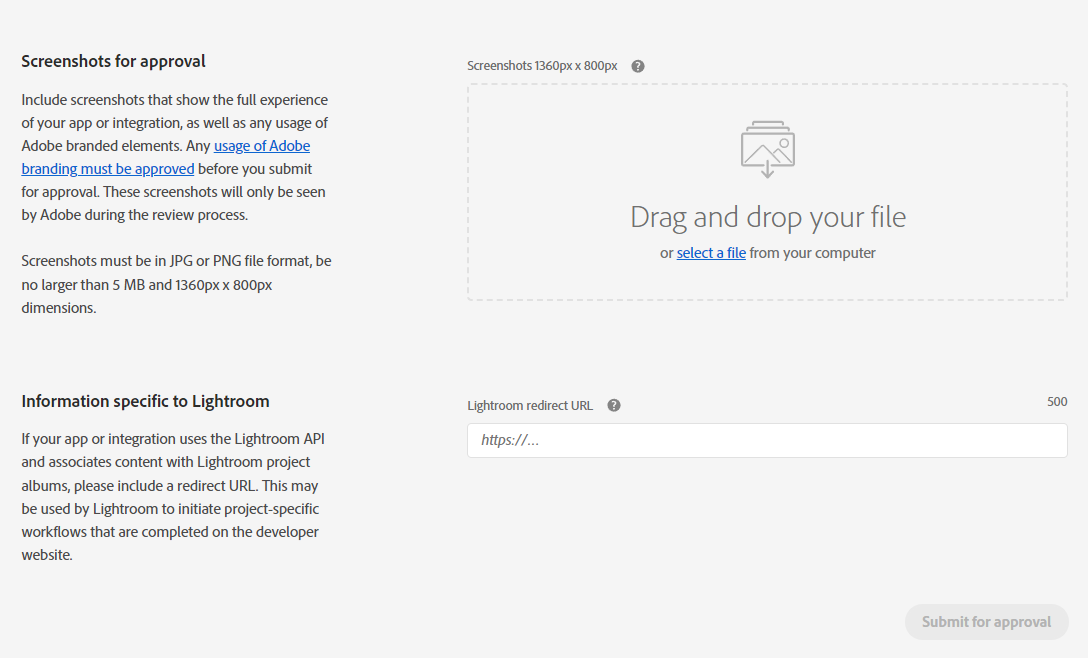
Include screenshots that show the full experience of your app or integration. This will help make the approval process faster. Finally, when ready, click on Submit for Review.
You’ll see that the status of your project has changed to “In Review”. After a few days — and if everything was done correctly — it will change to “Approved”.
💡 PRO TIP: Note that if you’re using the integration inside your reseller platform, this approval is not required. Your users will still be able to access Adobe Express right away, even while your project is under review.

That’s it! Your Adobe Express integration is now connected to your platform.
Whether or not your Adobe project has been approved, your users can start designing right away through the Composer > Adobe Express section. It’s a seamless way to offer pro-level design tools to your customers — with zero friction and maximum value.

