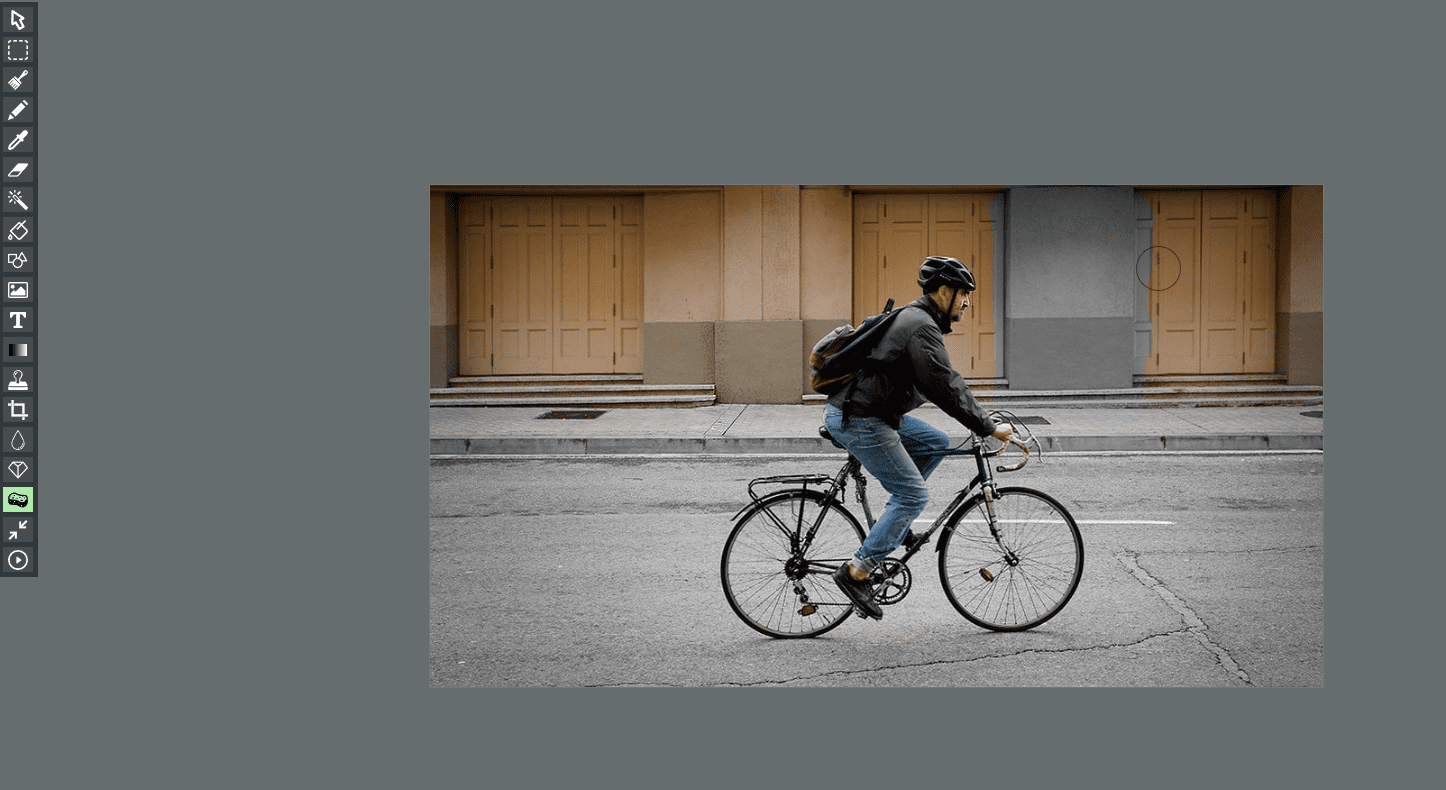
Blur
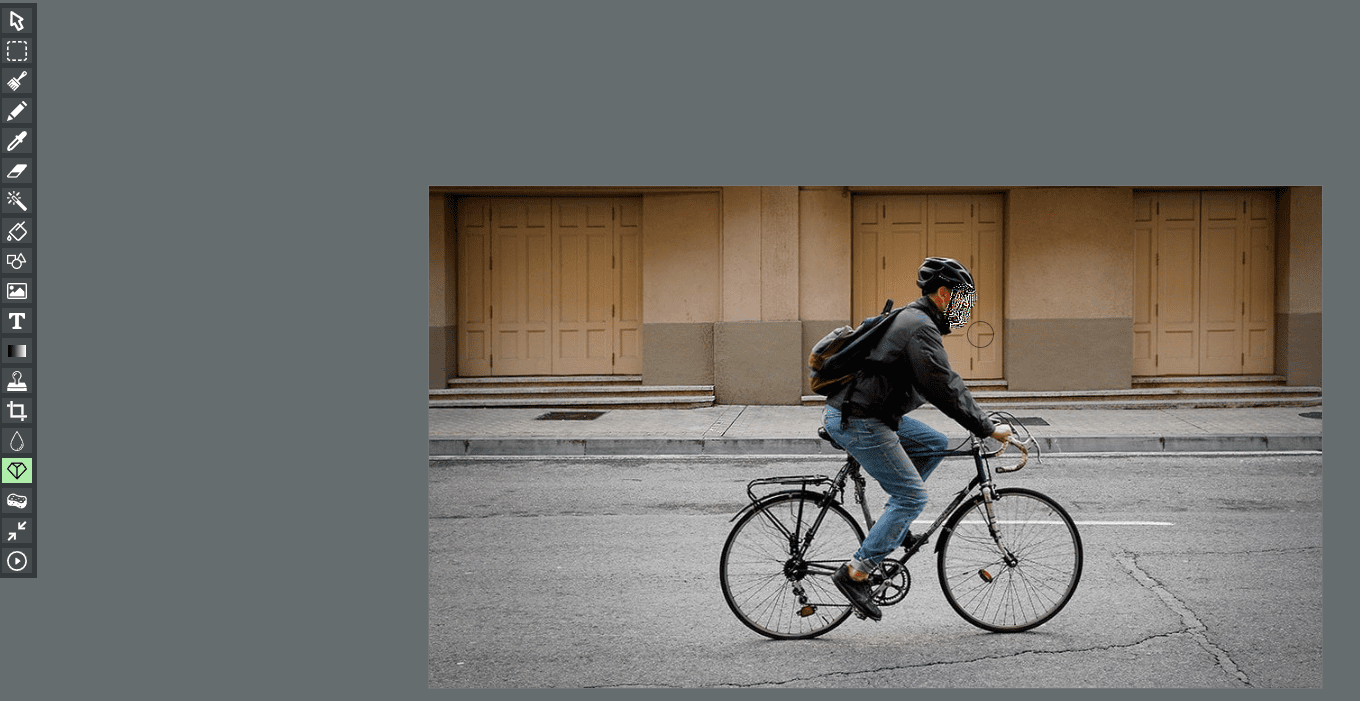
Use the Blur Tool: Among the editing tools in MiniPaint, you can find the “Blur” tool to make certain parts of your image blurry. Selecting it will transform your cursor into a brush that you can place on the parts of your image you want to blur.
Sharp
Locate the Sharpen Tool: Among the editing tools in MiniPaint, you can find the “Sharpen” tool to make certain parts of your image sharper. In the toolbar on the left side of the screen, find the “Sharpen” tool.
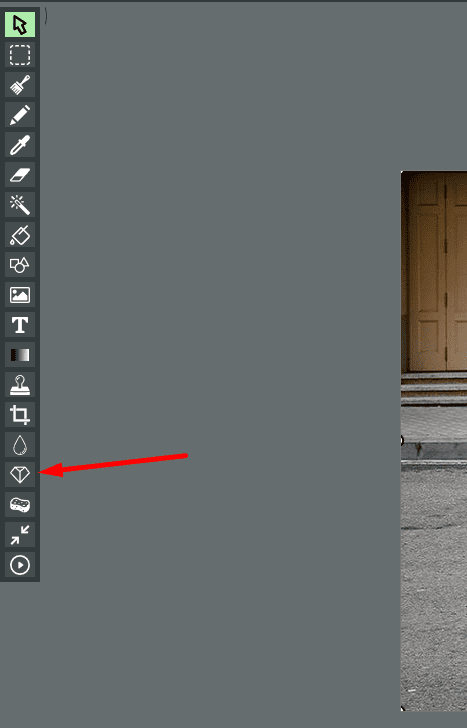
Use the Sharpen Tool: Selecting it will transform your cursor into a brush that you can place on the parts of your image you want to sharpen.
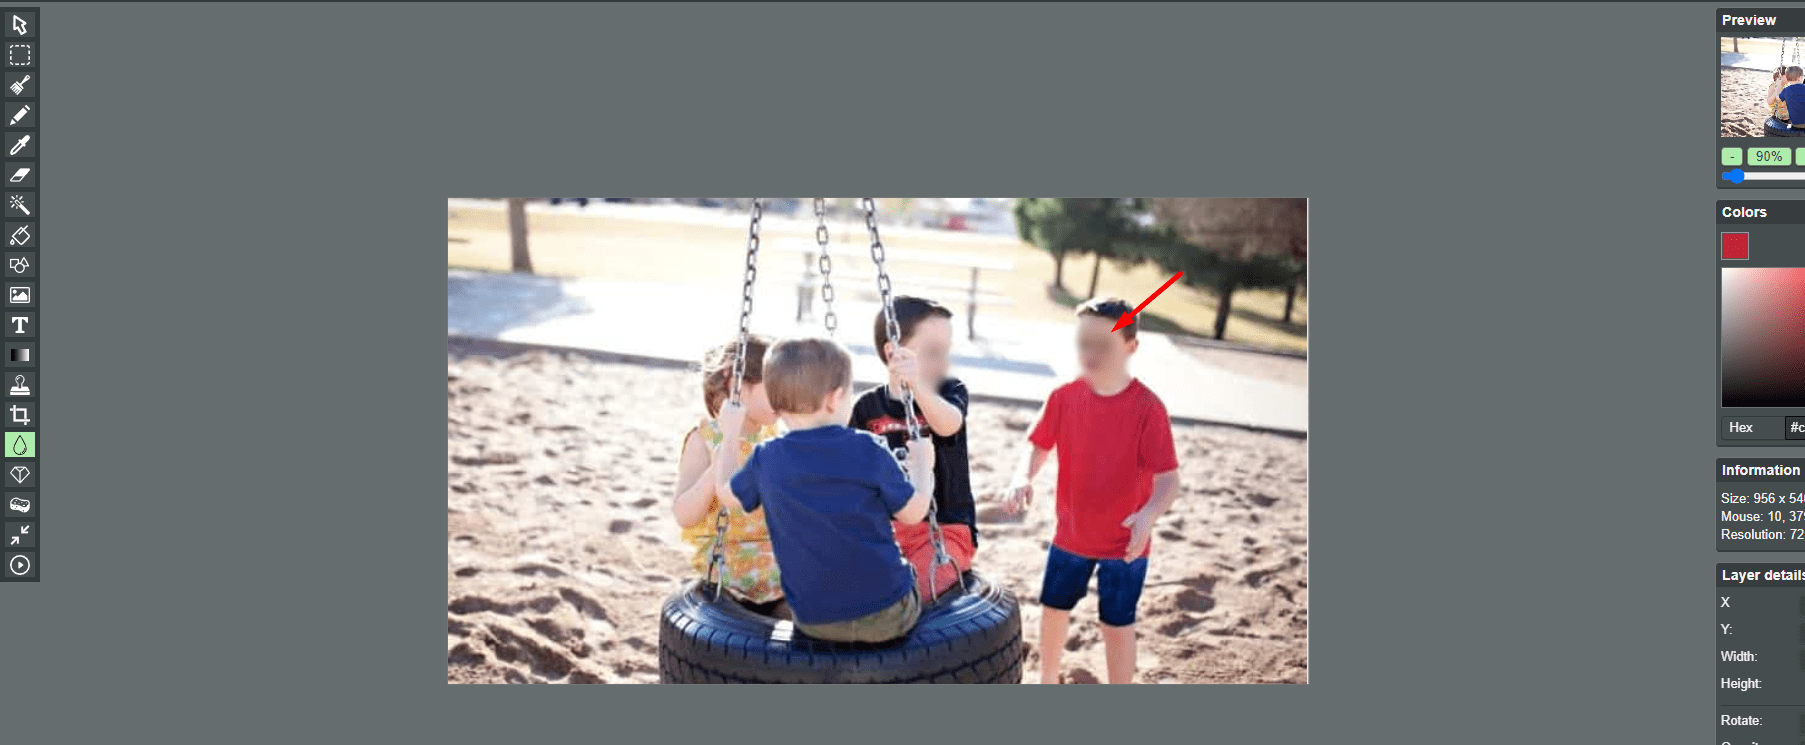
Desaturate
Locate the Desaturate Tool: Among the editing tools in MiniPaint, you can find the “Desaturate” tool to adjust the saturation of your image. In the toolbar on the left side of the screen, find the “Desaturate” tool.
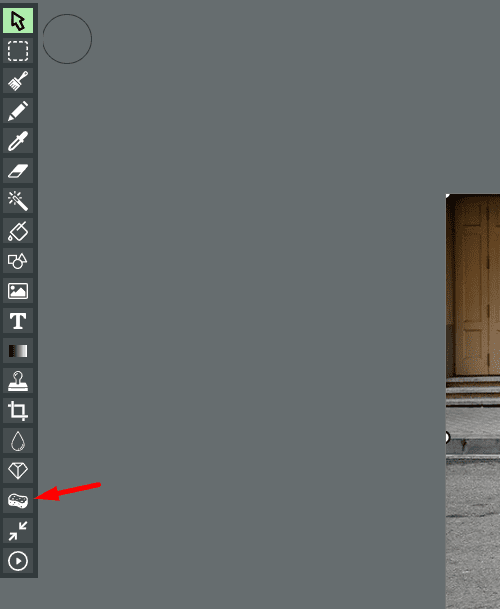
Use the Desaturate Tool: Selecting it will transform your cursor into a brush that you can place on the parts of your image you want to desaturate.