Maintaining an organized and efficient digital workspace often involves not only the creation but also the removal of labels that are no longer needed or relevant. Over time, as your data management needs evolve, you may find that certain labels have outlived their usefulness. Deleting these outdated labels can help keep your system tidy and ensure that your categorization remains relevant and streamlined.
Step-by-Step Guide to Deleting a Label #
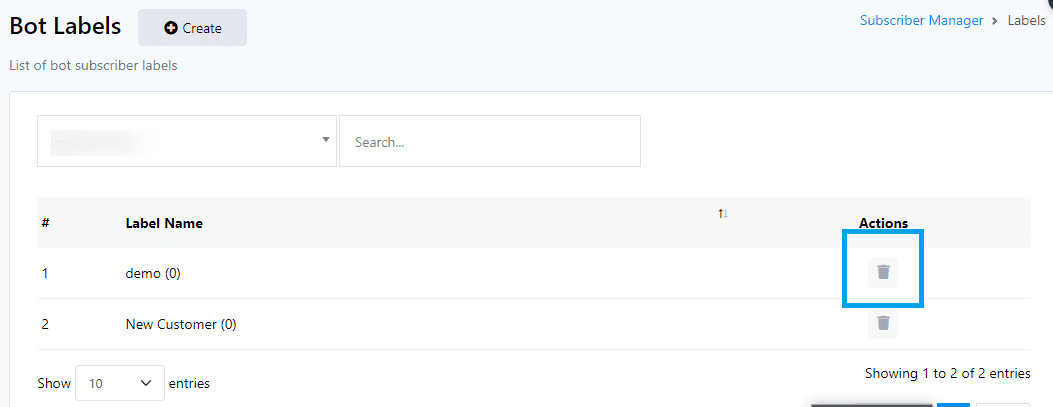
1. Locate the Label
Navigate to the area within the app where your labels are displayed. Each label should be accompanied by an action button, typically located next to the label’s name. This button is your gateway to modifying or removing labels.
2. Initiate Label Deletion
To remove a label, look for the action button adjacent to the name of the label you wish to delete. This button might be represented by an icon (such as a trash can or a minus sign) indicating deletion or removal.
3. Confirm Deletion
Clicking on the action button will either immediately delete the label or prompt you for confirmation. If a confirmation message appears, review it carefully to ensure you are deleting the correct label. Confirm your decision to proceed with the deletion.
By following these simple steps, you can efficiently manage your labels, removing those that are no longer necessary. Keeping your labels up-to-date ensures that your data remains well-organized and that your digital workspace reflects your current needs and priorities.