Once you’ve chosen the type of notification for your website, you can customize it to your liking. In this article, we’ll show you how.
1.- Access the notification you want to customize. You’ll see a screen similar to the one on the image below.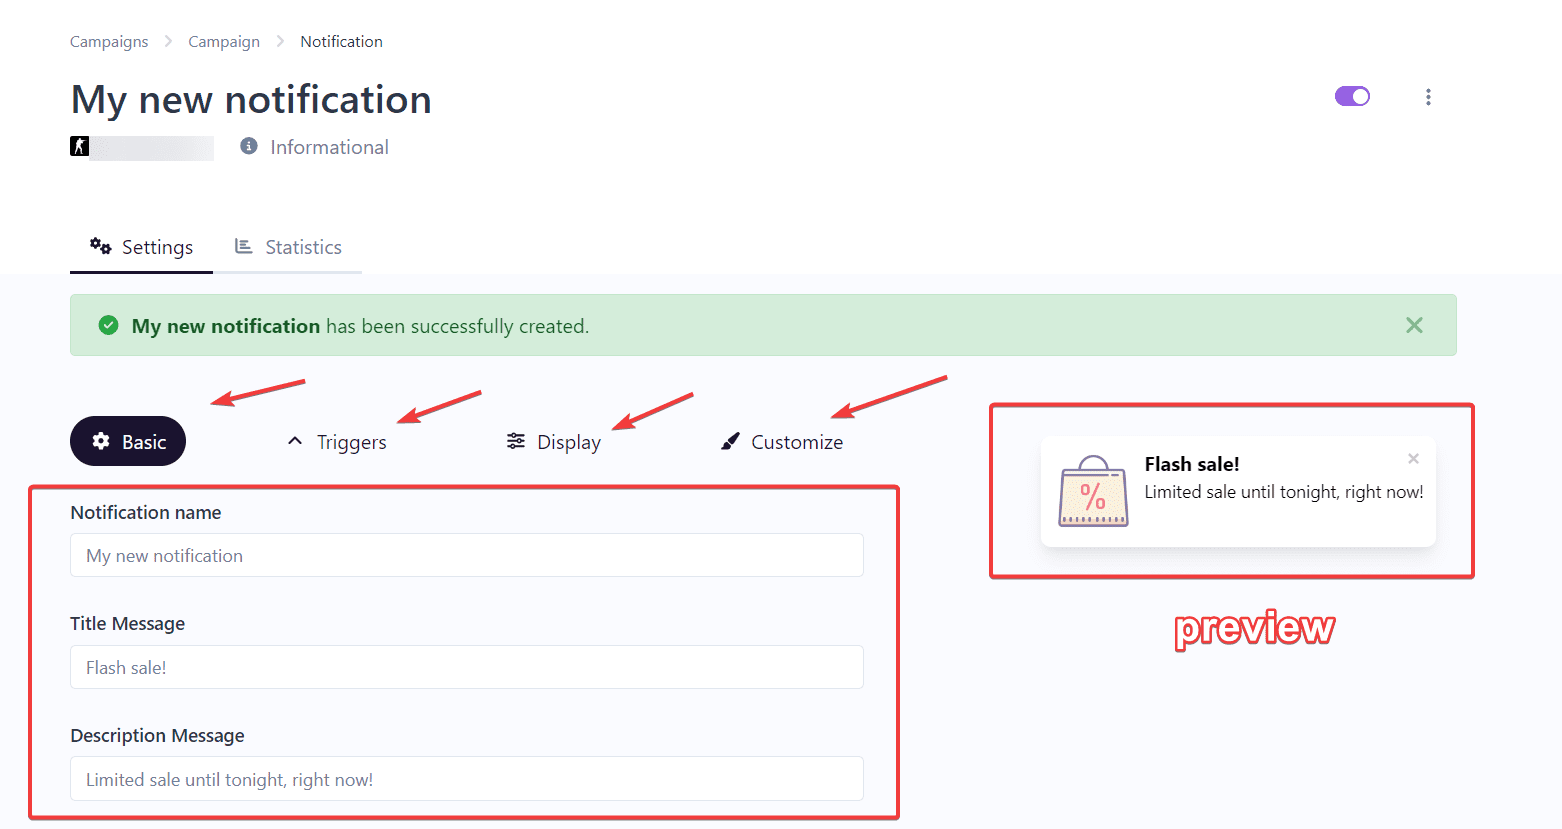
You have 4 types of customizations:
- Basic: To add titles, descriptions, URLs, etc.
- Triggers: To choose how you want the notification to be triggered on your website (e.g., after 10 seconds of user entry, or when they click a button, etc.).
- Display: To select the position of the notification within the window.
- Customize: To set background colors, appearance animations, etc.
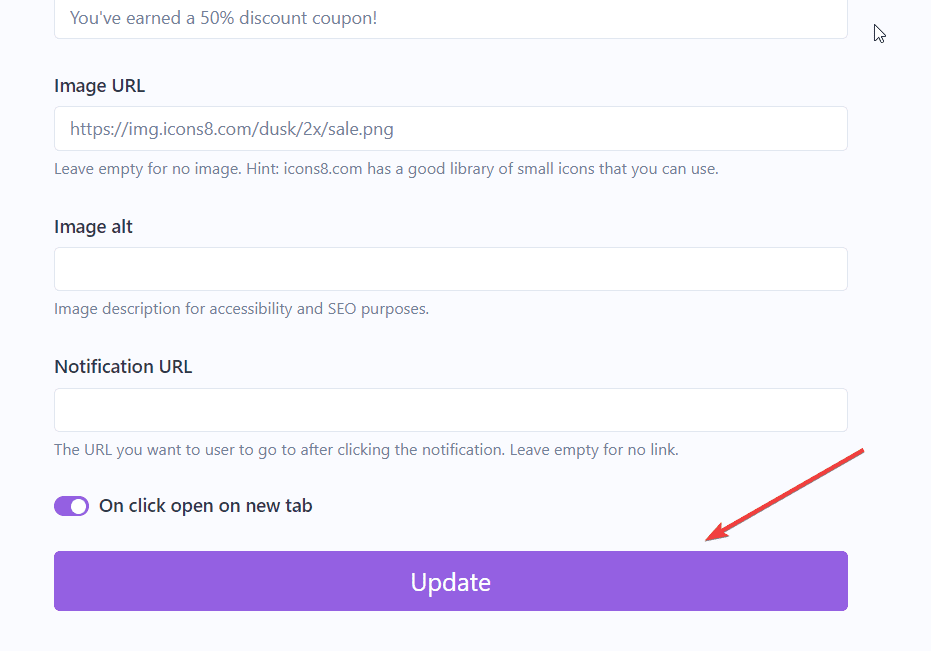
2.- As you customize your notification, you will see the update button at the bottom of the page. Click it each time you make a modification to save the changes.
3.- When you finish customizing your notification, activate it. This step is needed to start displaying it on your website.
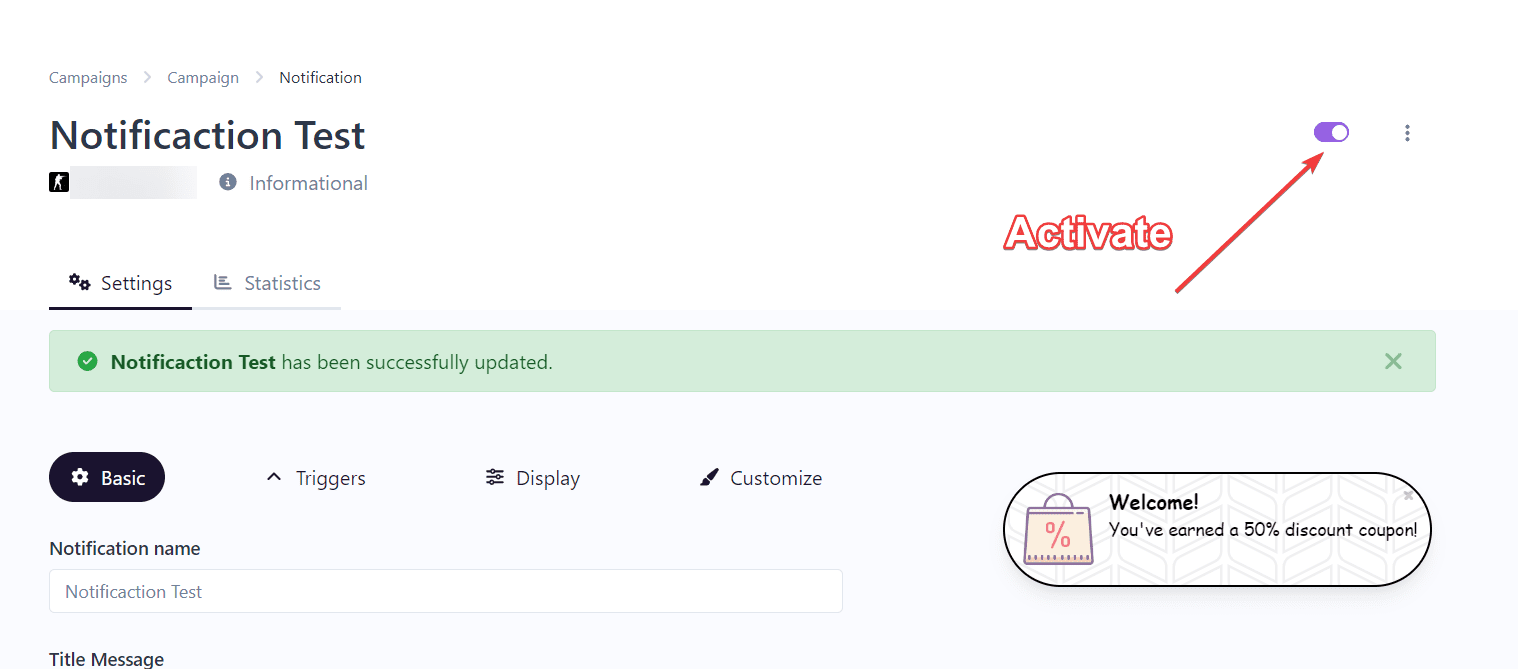
Here’s an example of a customized notification (Isn’t it beautiful?):
