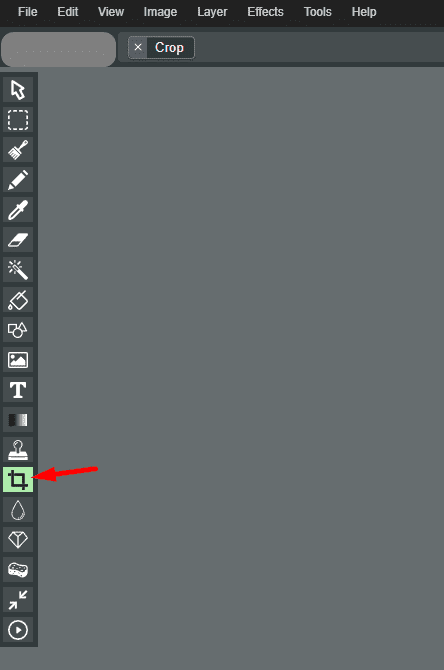
Select the Crop Tool
Look for the crop tool icon, typically represented by a square or rectangle. Click on it to activate the crop tool.
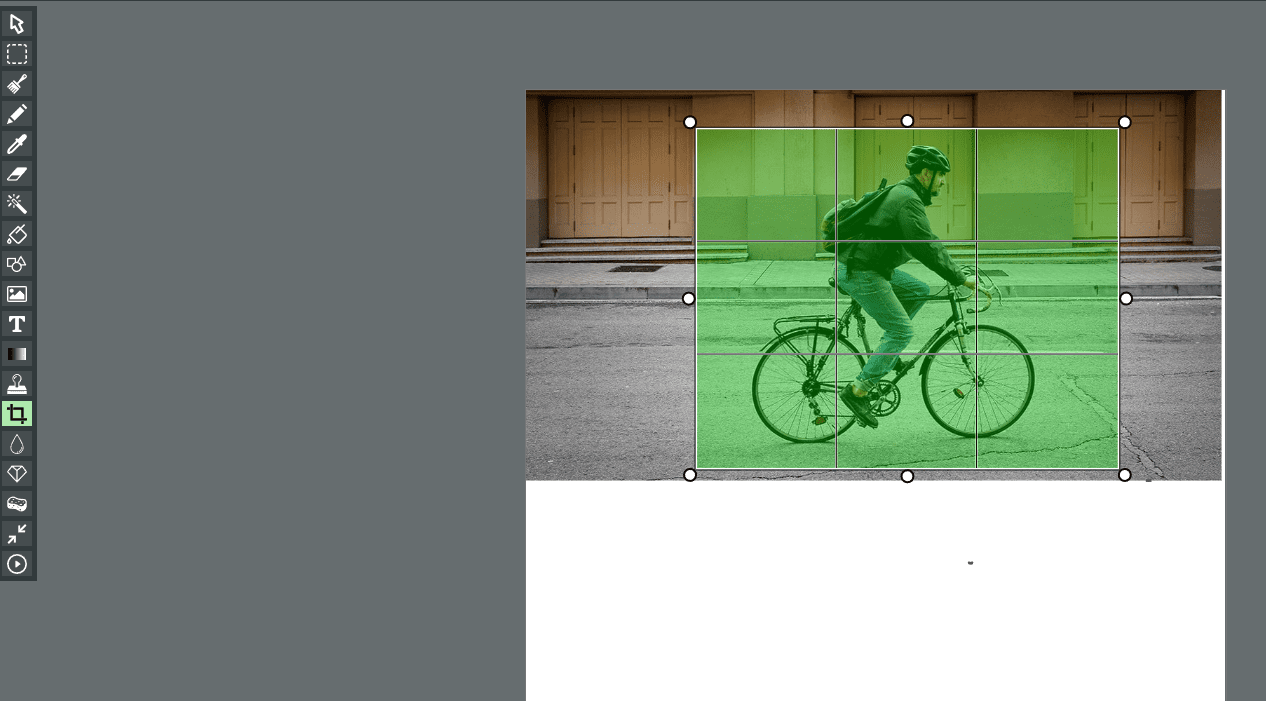
Click on the Image
After selecting the crop tool, your cursor will turn into a crop pointer. Click on the image to activate the cropping area and drag your mouse to select the area you want to keep. This area will be highlighted in green, indicating the portion of the image that will be retained.
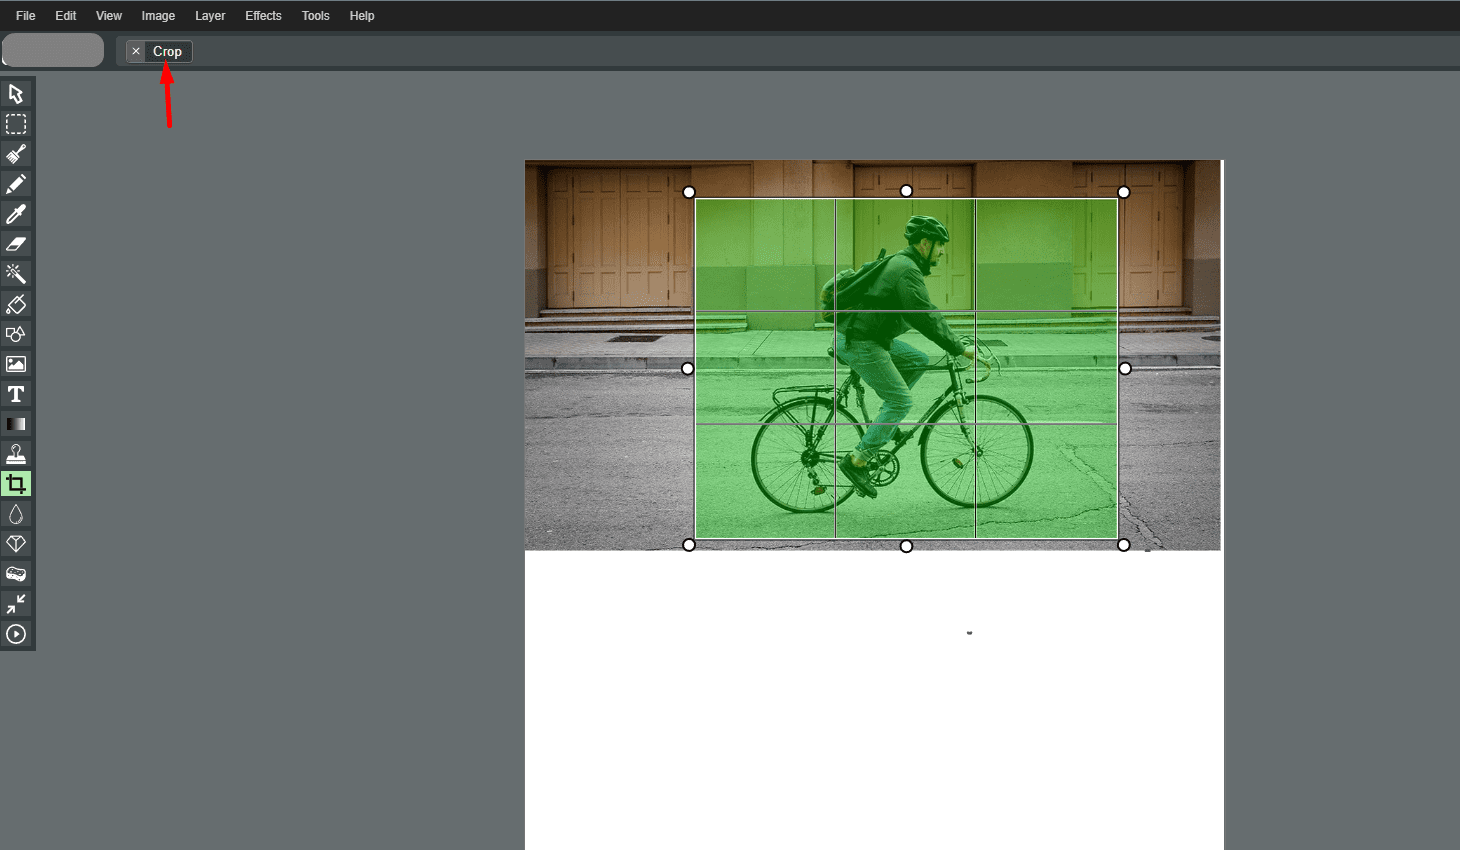
Finalize the Selection
Once you have defined the crop area, click on the “Crop” option usually located at the top of the screen.
Confirm Crop
Confirm the crop action to apply the changes. The image will be cropped according to the selected area.
