Create and Turn On Welcome Message
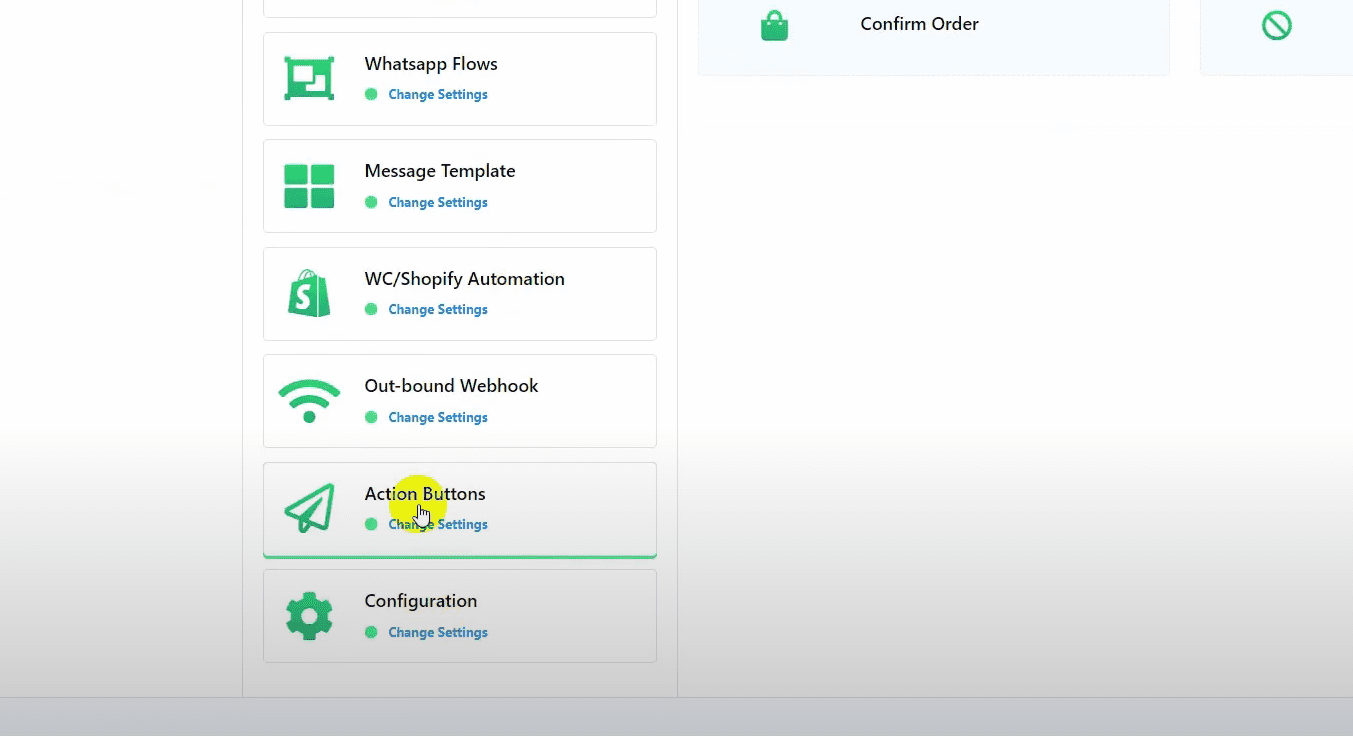
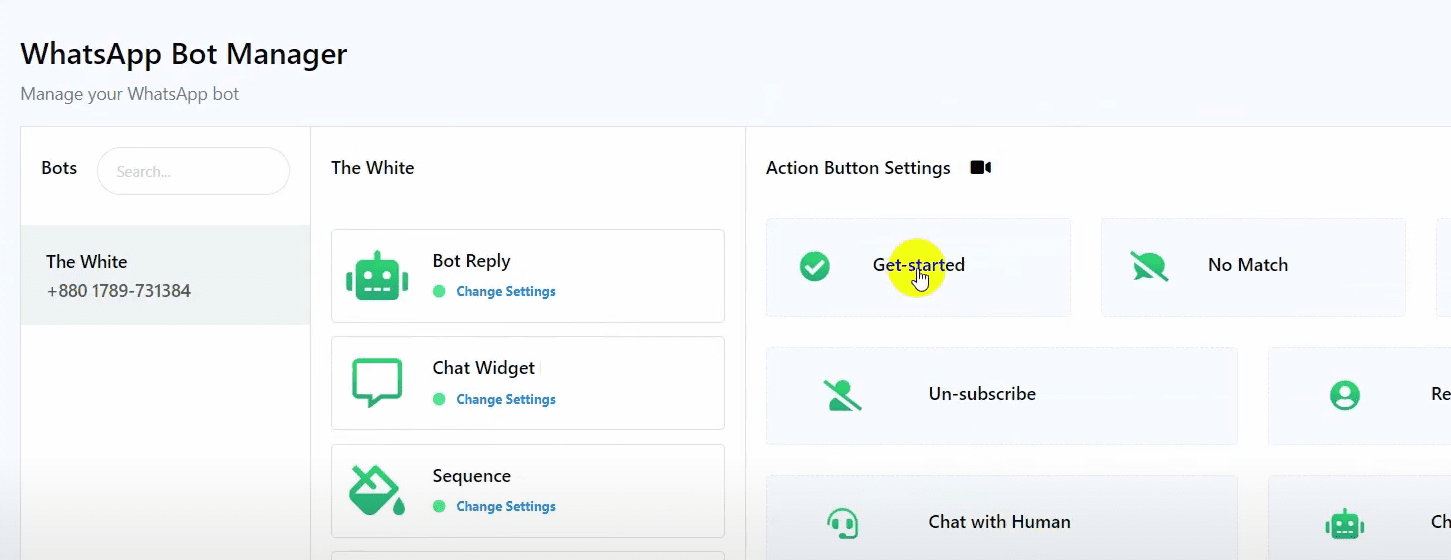
From the app dashboard, go to the WhatsApp bot manager.

Select the “Actions” button and click on “Get Started.”
Edit the default reply to match your requirements. You can add an image or any content you want.
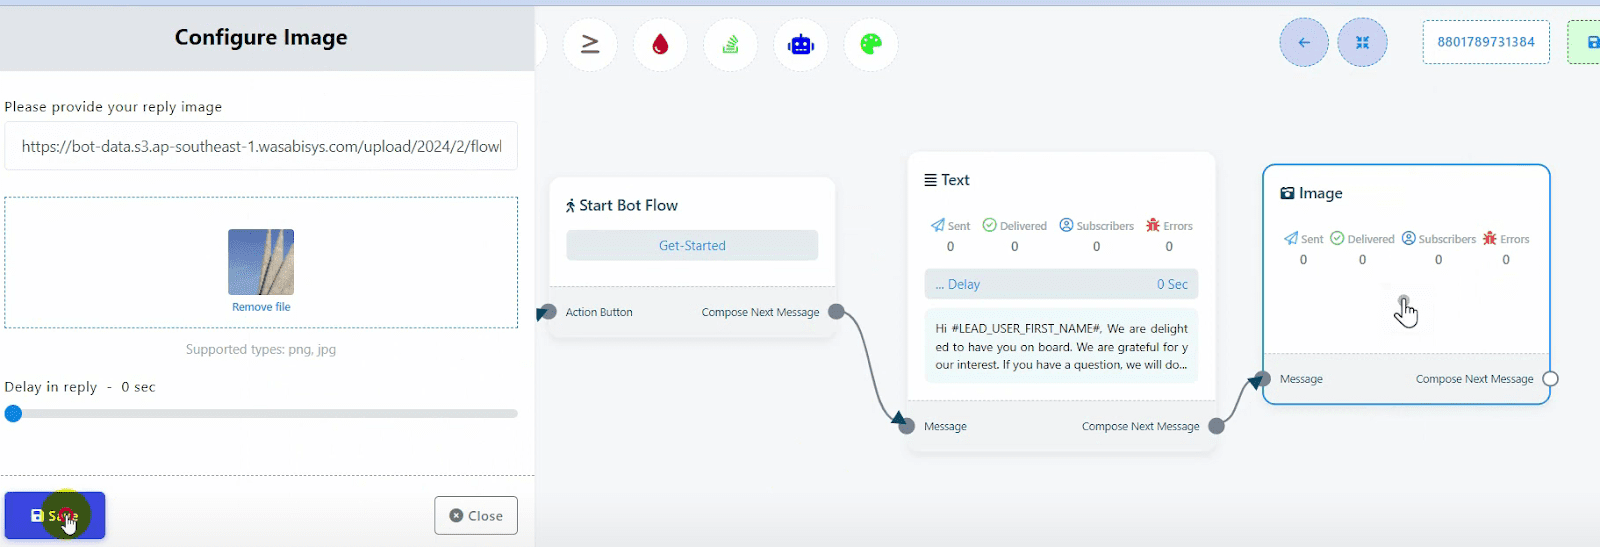
Save the changes.
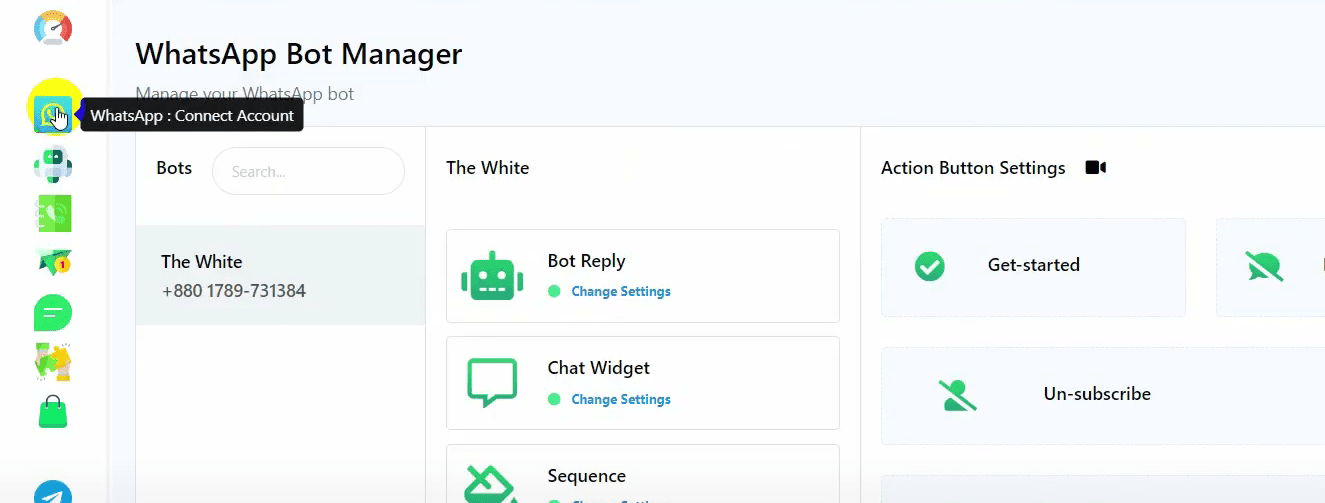
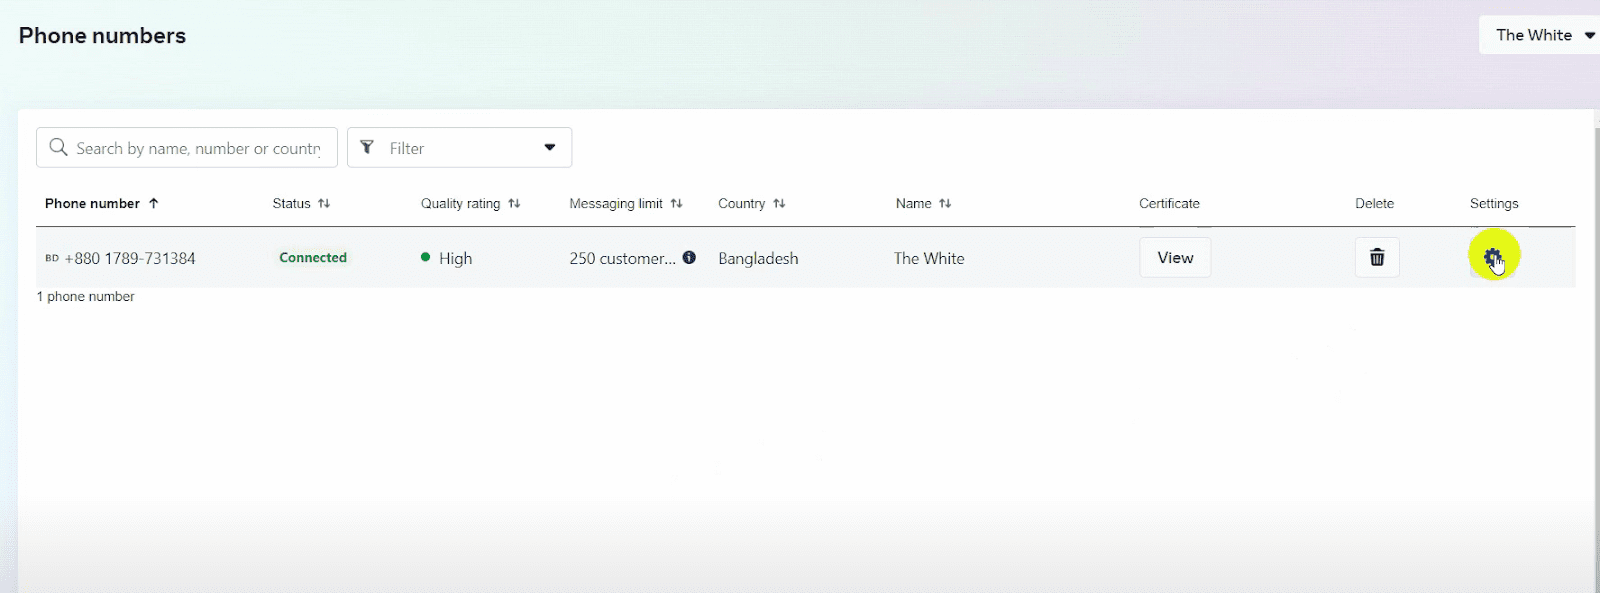
Go to your WhatsApp Cloud API to turn on the welcome message.
In the app dashboard, click on “Connect Account,” find the connected bot account, and click on “Manage.”
This will redirect you to the WhatsApp Cloud API. Click on the “Settings” button, select “Automation,” and turn on the welcome message.
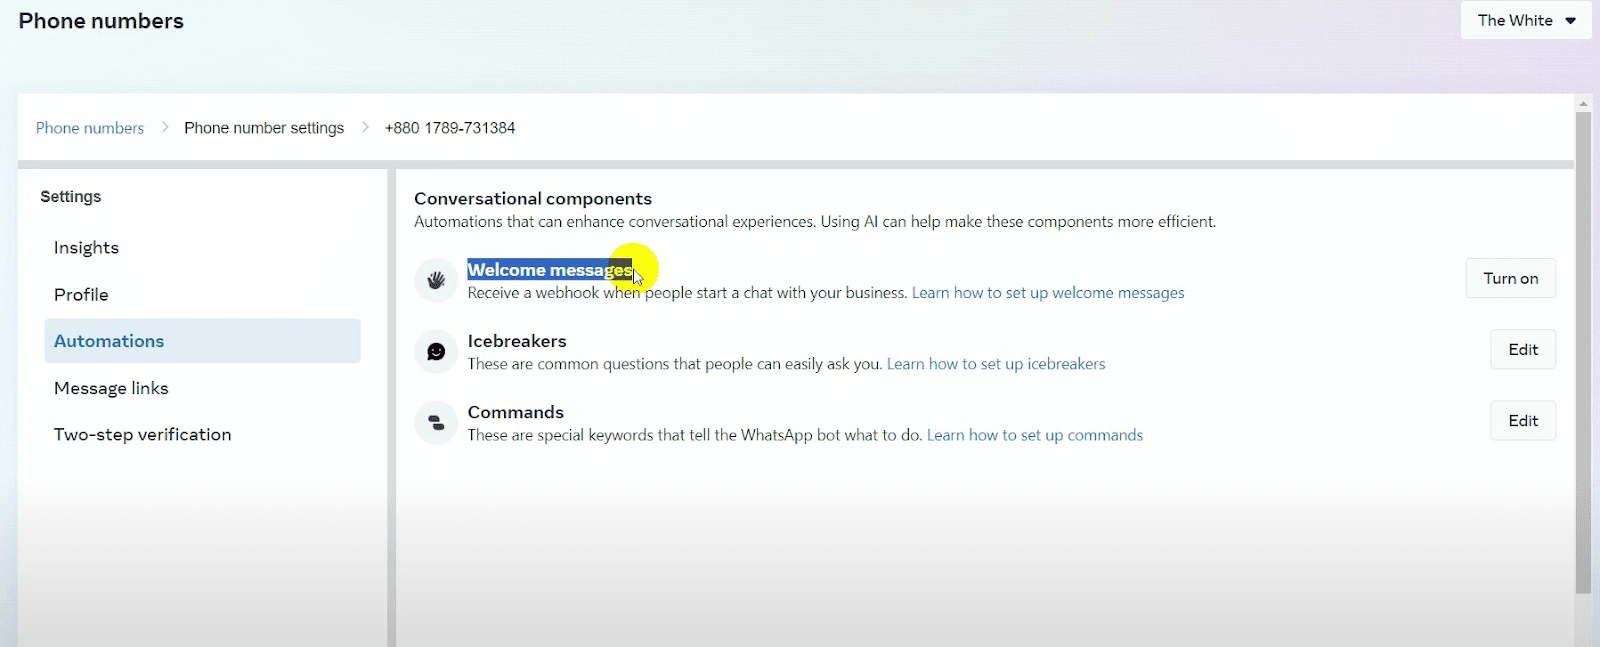
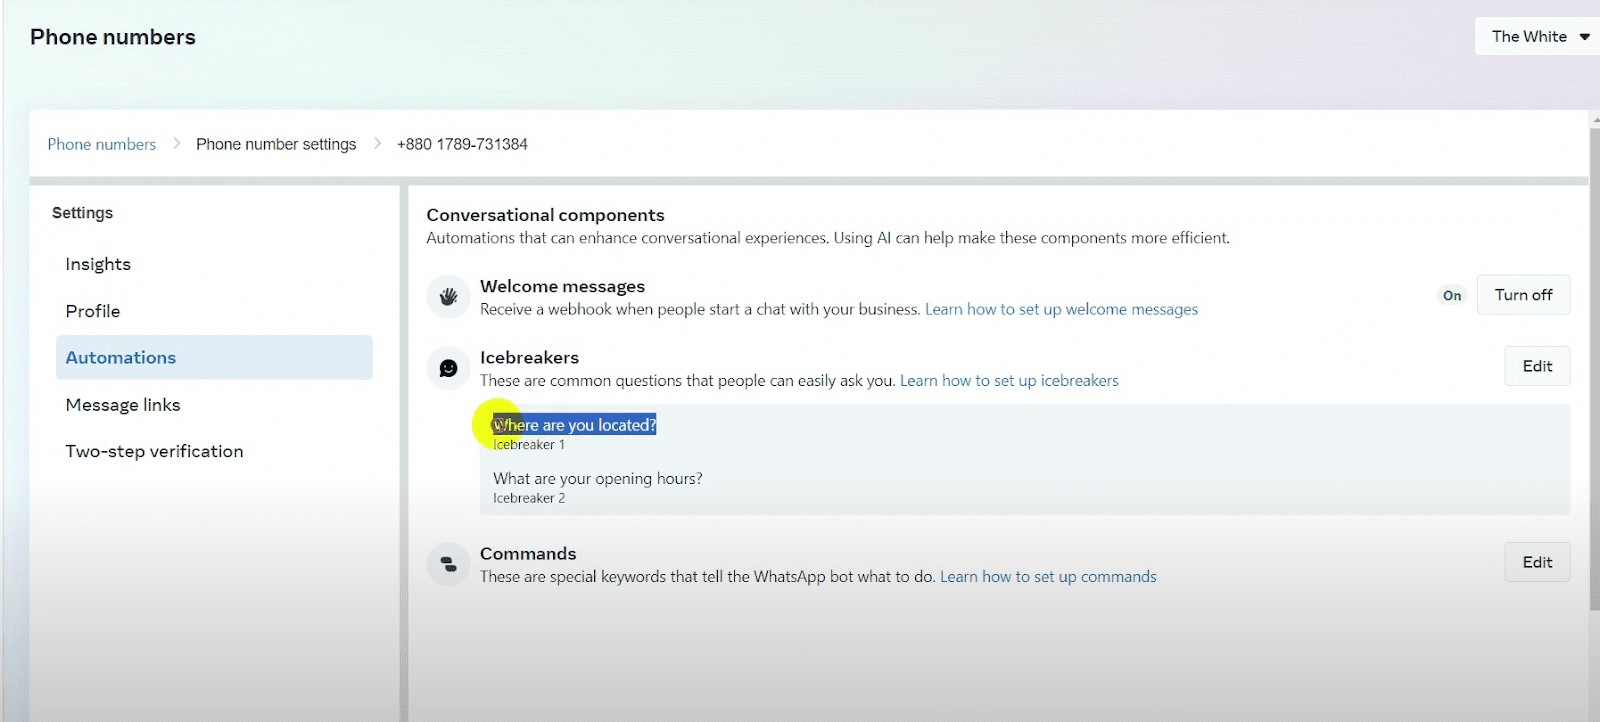
Create Icebreaker Questions
From the same “Automation” settings, create icebreaker questions that users can easily ask.
Click on the “Edit” button, type the question, and click on the “Add Icebreaker” button to add more questions.
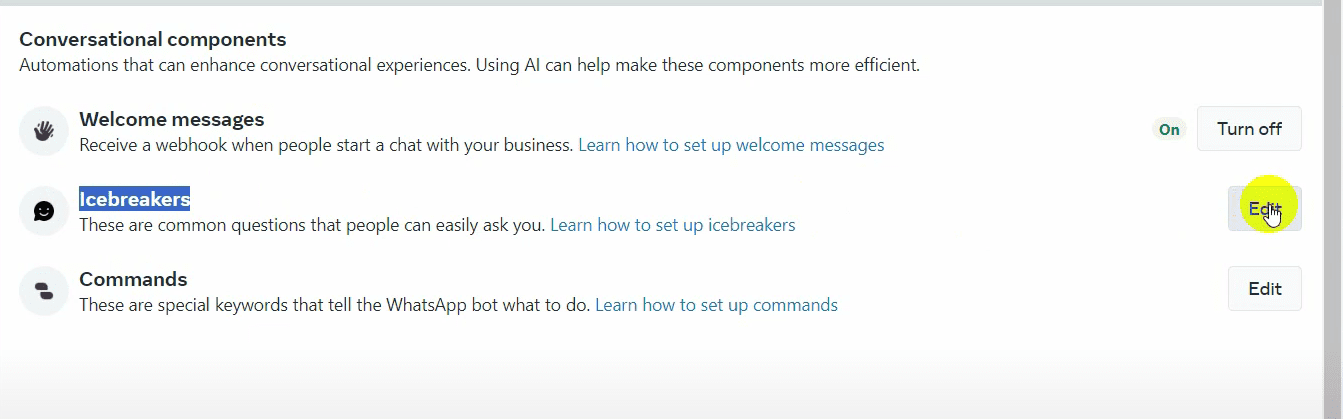
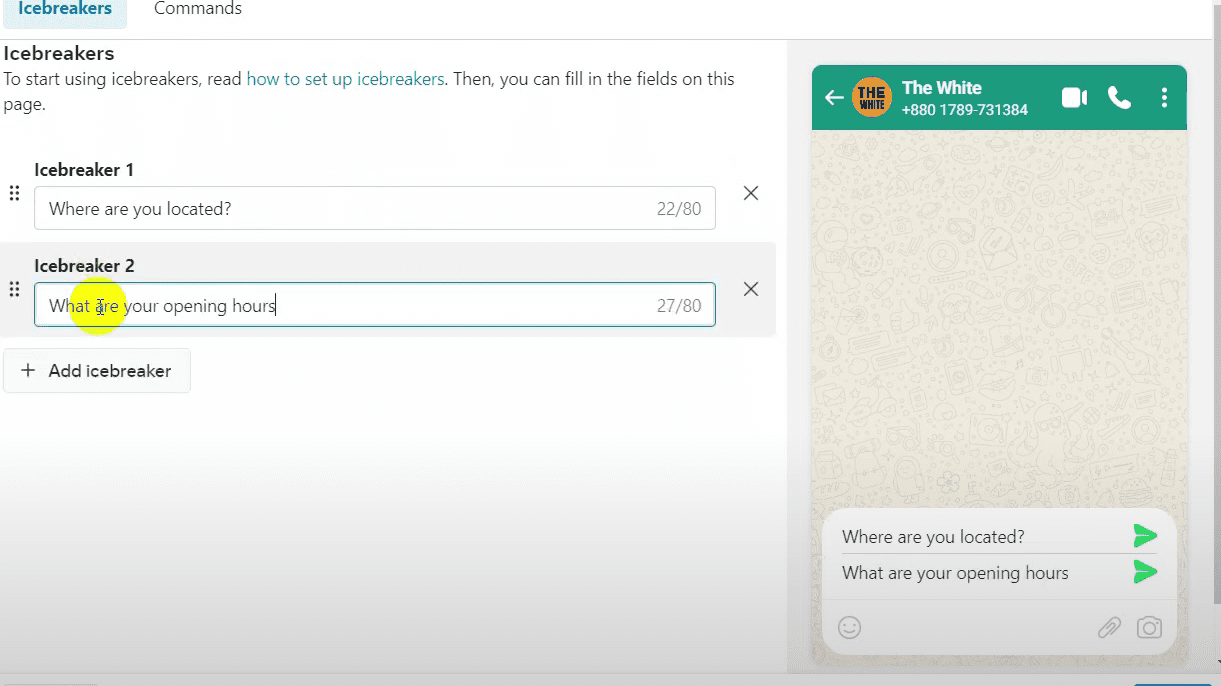
Click “Save” to save the icebreaker questions.
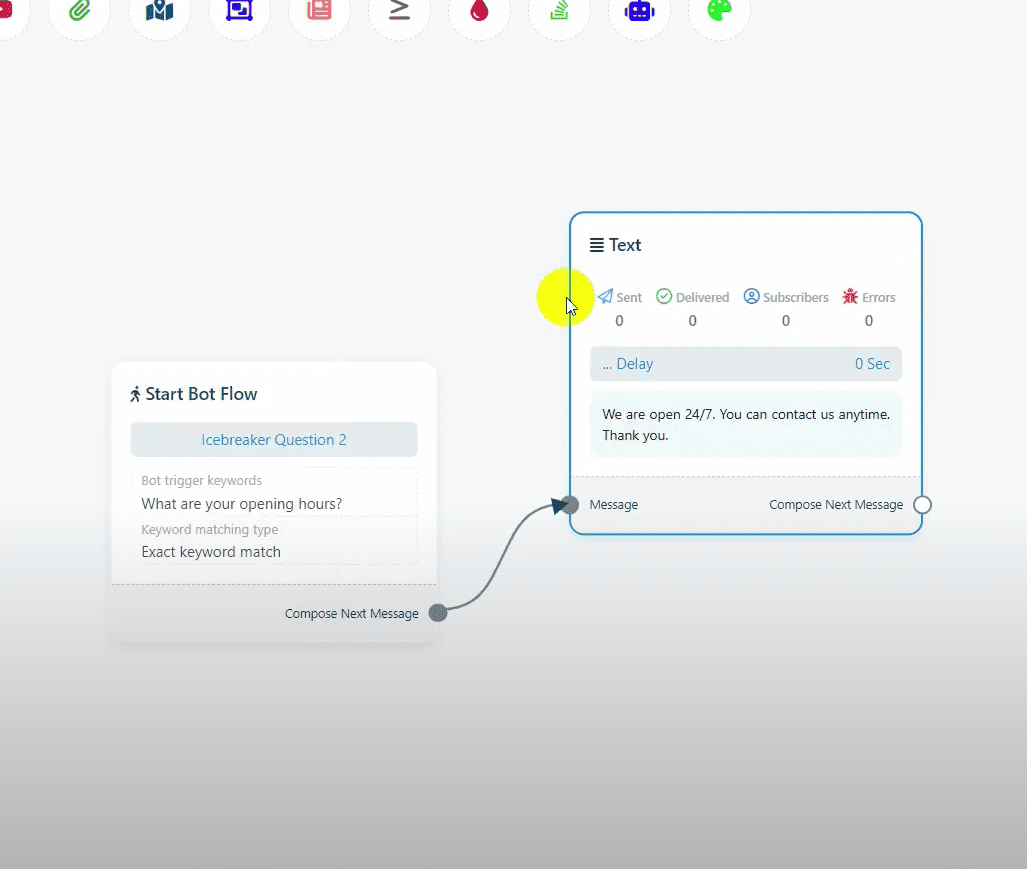
Now, create bot replies for these icebreaker questions using the questions themselves as keywords.
Copy the icebreaker questions and go back to the bot manager to create a bot.
Use the copied questions as keywords, give a name to the bot, and save it.
Add replies to the bot and save the changes. Repeat the process for other icebreaker questions.
Create Commands
Go back to the WhatsApp Cloud API and click on the “Command Edit” button.

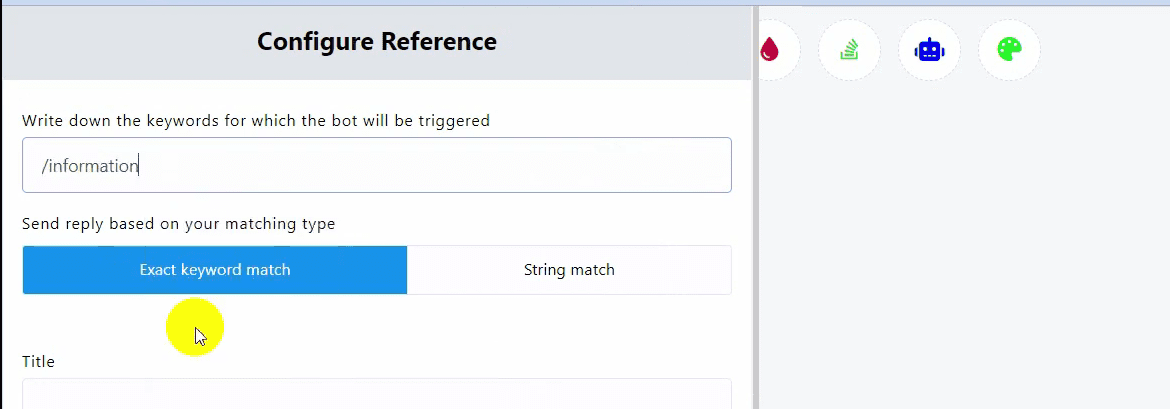
Enter the command text, ensuring you use a slash (/) before the command text.
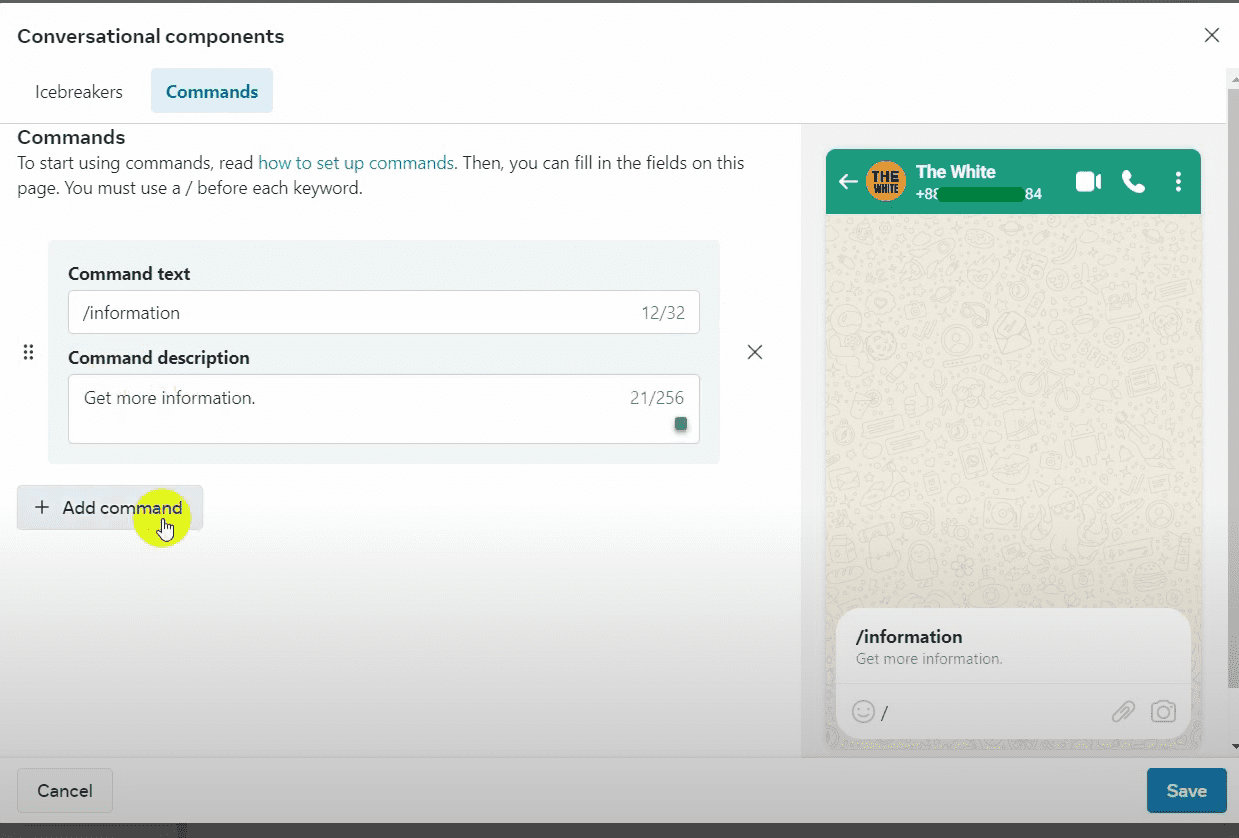
Add a command description and click on the “Add Command” button to add more commands.
Save the bot.
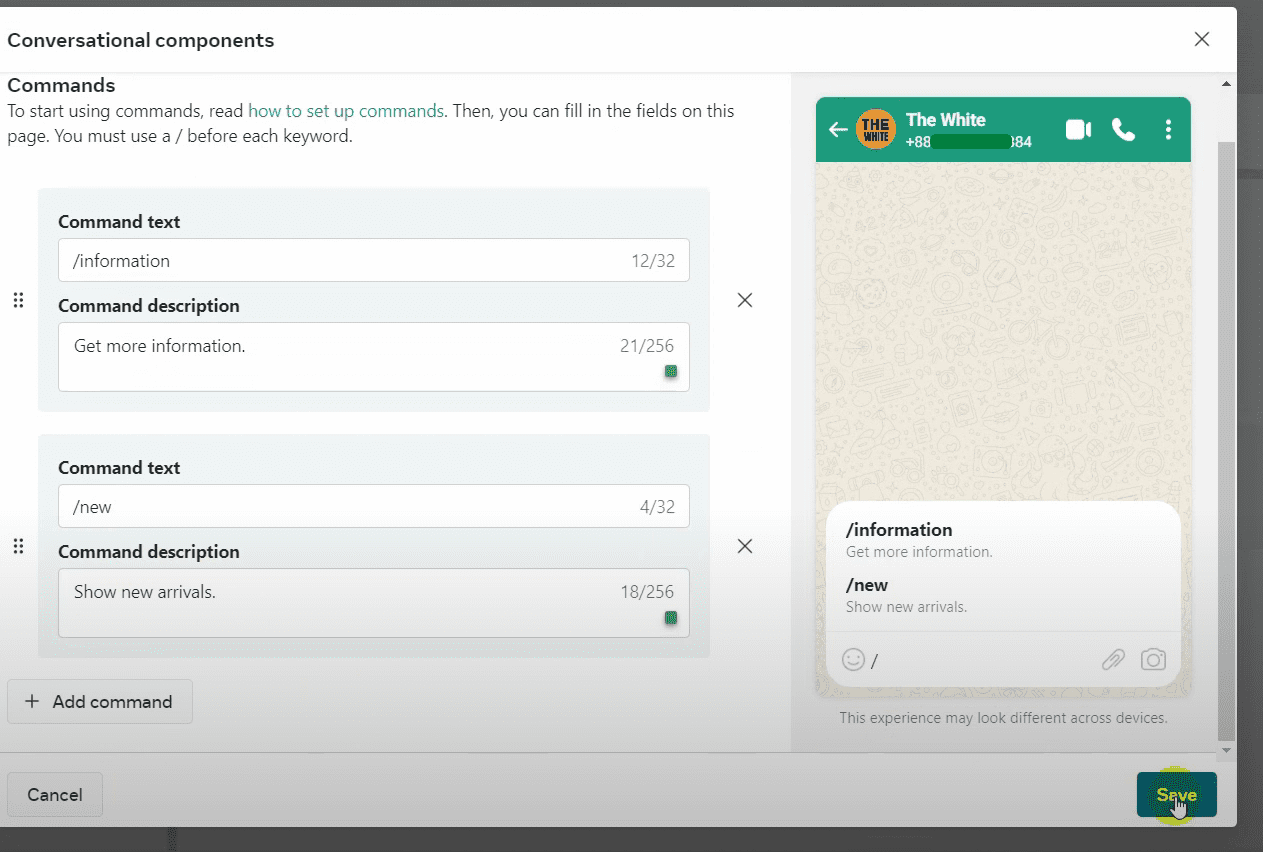
Now, create bot replies for these commands. Each command will have a different body, and the keyword for the bot will be the same as the command.
Copy the command and go back to the bot manager to create a bot for commands.
Use the copied command as the keyword, give a name to the bot, and add a reply. Save the changes.
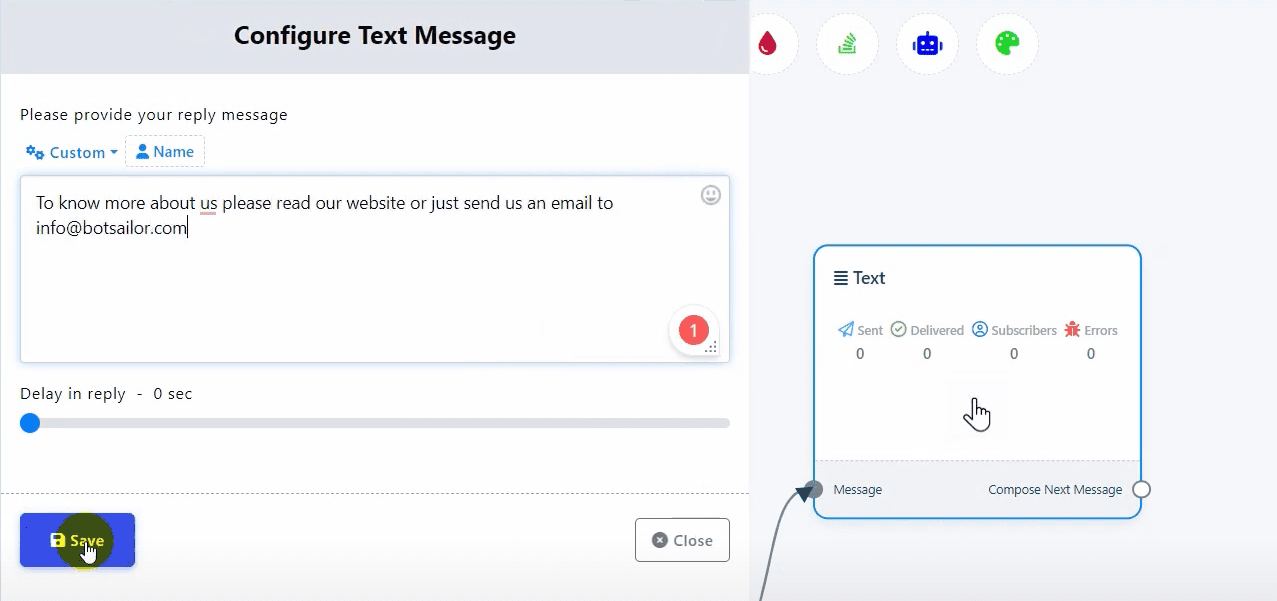
Repeat the process for other commands.
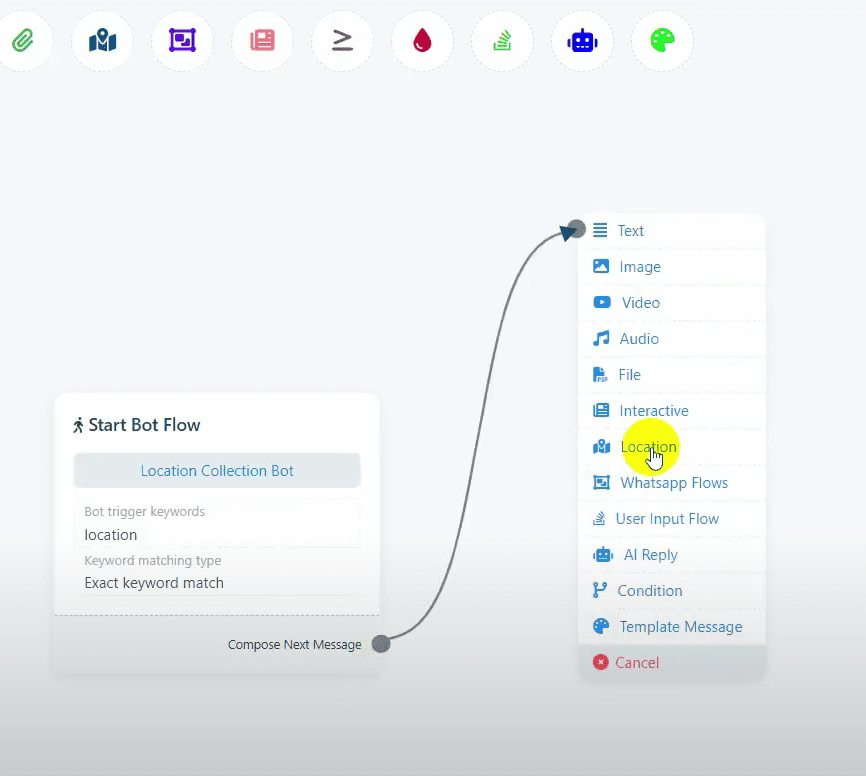
Use a Location Button in a Bot
From the bot reply section, click on the “Create” button.
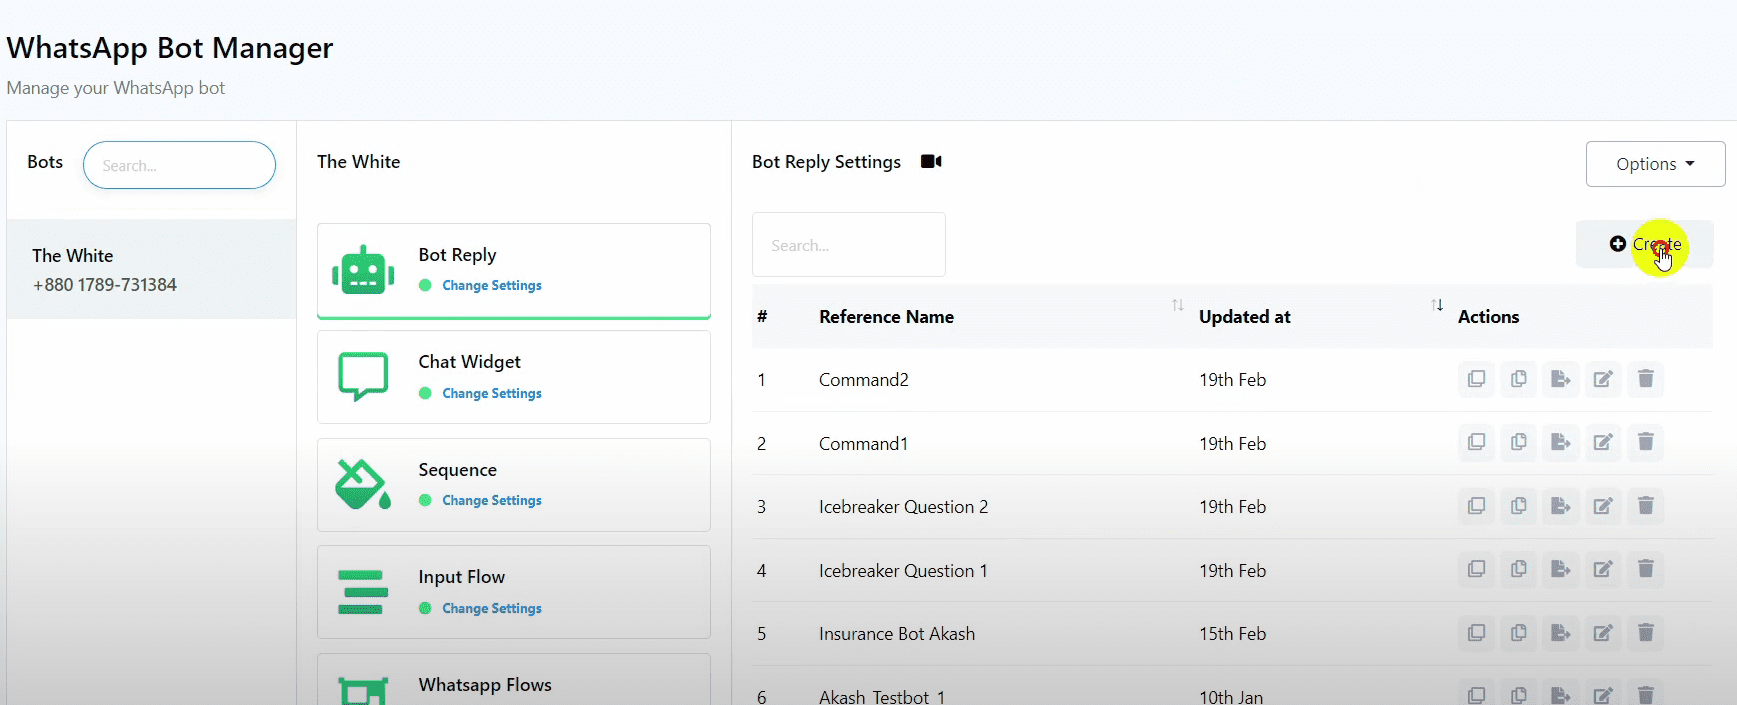
Double-click on the “Start Bot Flow.”
Enter a keyword for the bot (e.g., “location”), give a name to the bot, and add the location component as a reply.
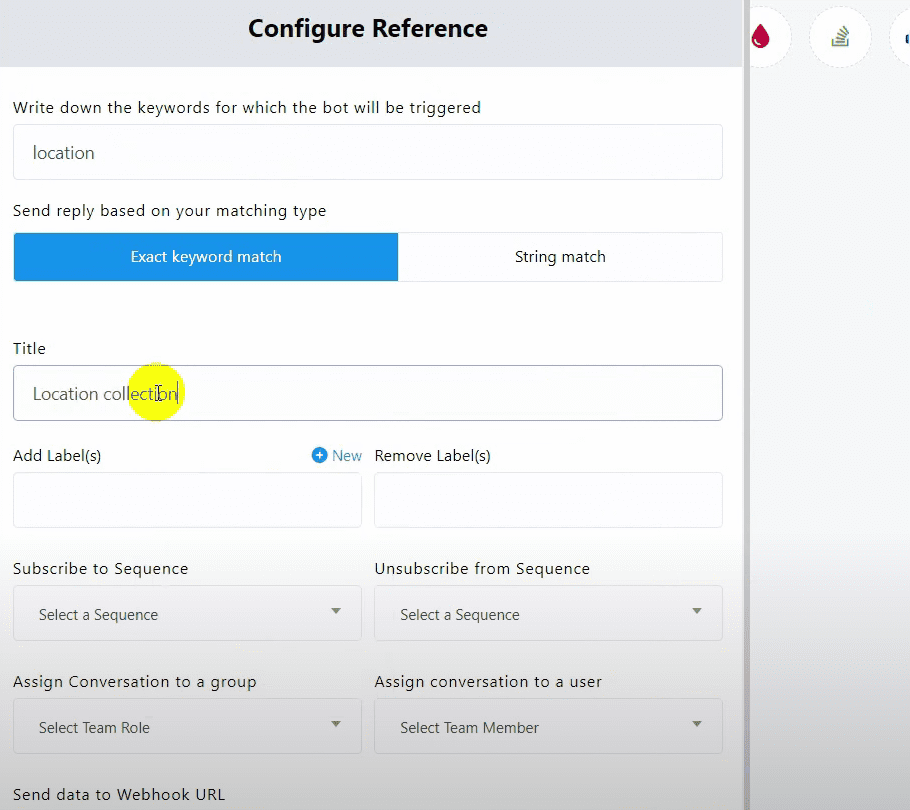
You can use the location component anywhere in your bot. Add some text in the location reply, and save the changes.
Test Everything
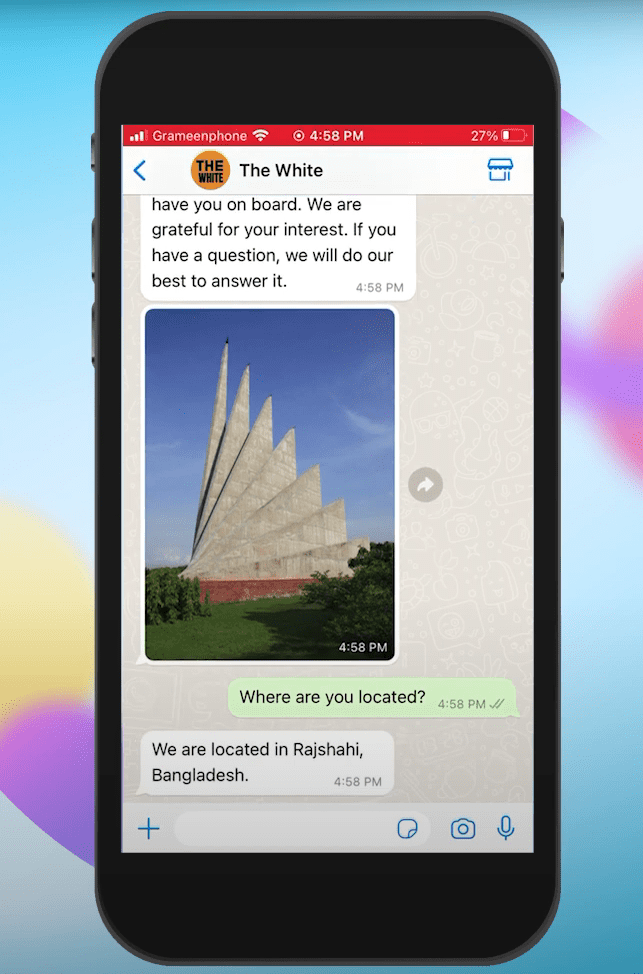
Test the welcome message to ensure it is received correctly.
Test the icebreaker questions by clicking on a question and verifying the reply.
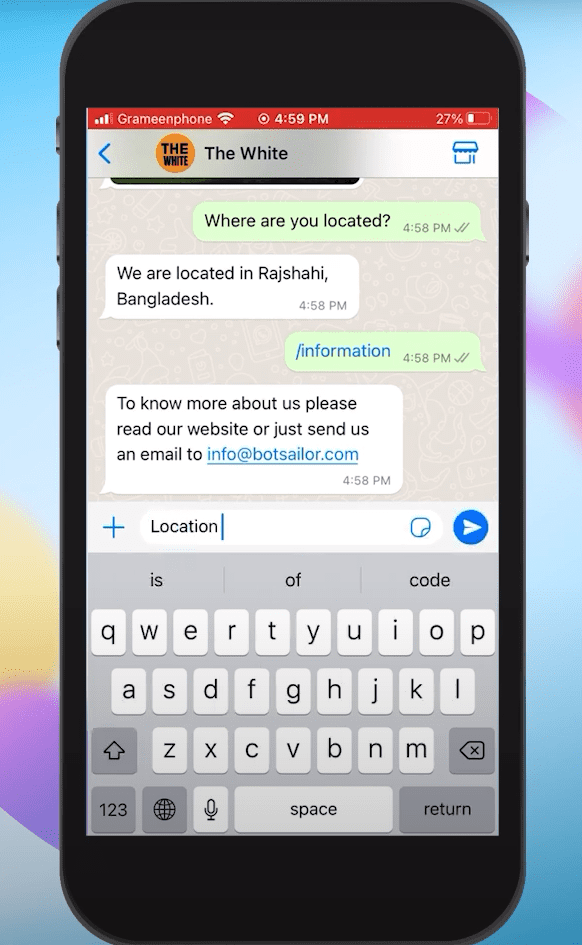
Test the commands by typing the slash (/) in the message and checking if all commands show up correctly.
Test the location button by checking the live chat of the app to see if the location is shared. You can also verify the location information from the subscriber manager.
That’s it! Now you know how to create and use welcome messages, icebreaker commands, and a location button on your WhatsApp Chatbot using this app.
