Detailed instructions for creating and saving new invoices, and how to view the history.
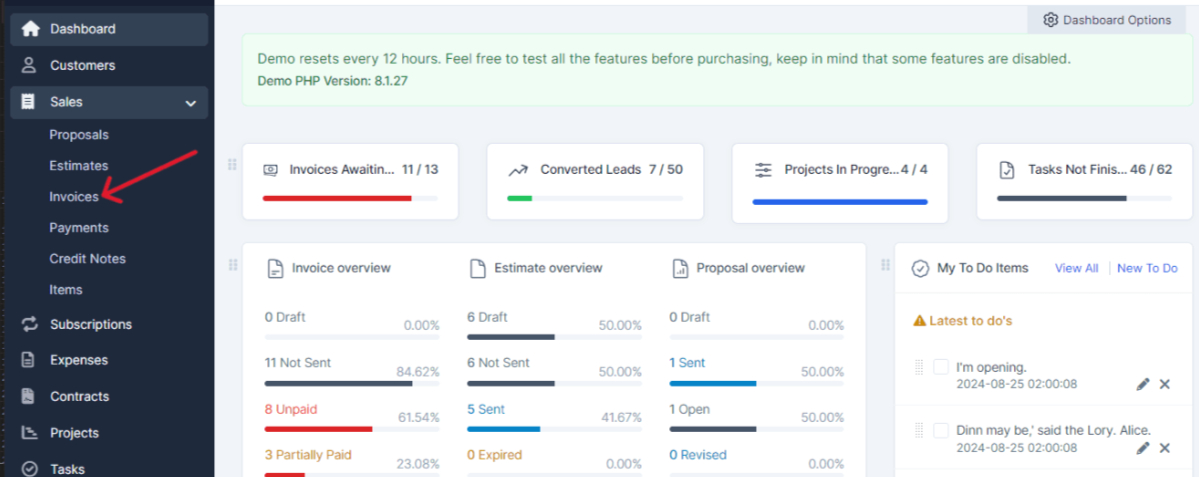
Within the main dashboard, go to the Sales section.

Select the Invoices Option: In the Sales menu, click on Invoices.
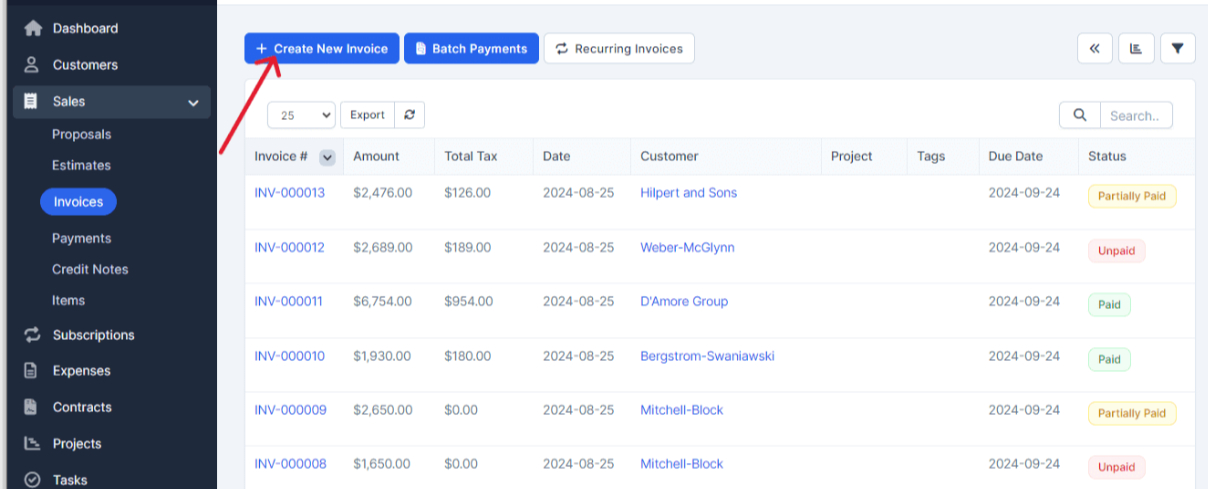
In the Invoices section, select the option to Create New Invoice.
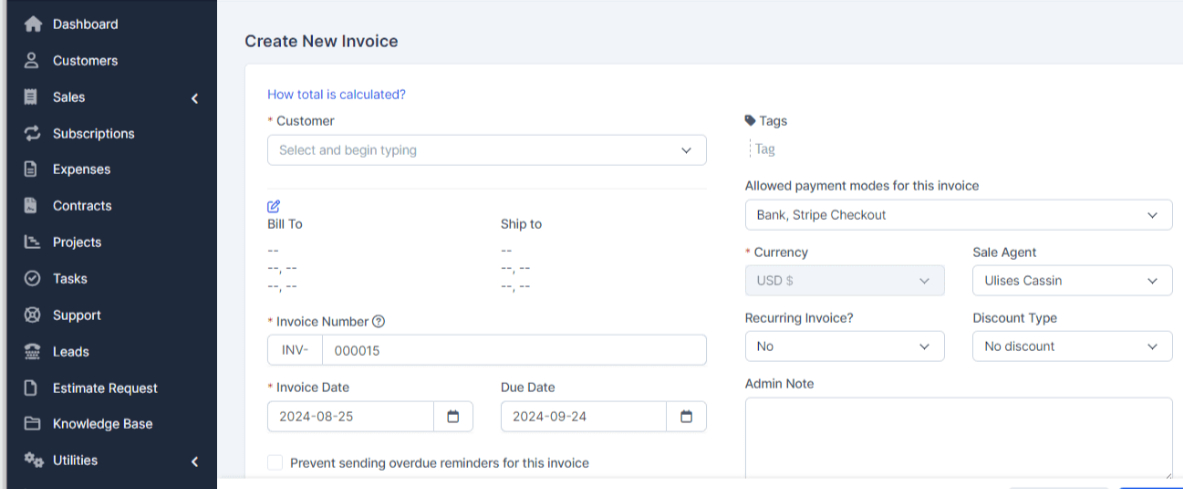
Select the Client and Complete the Details: Choose the client for whom you want to create the invoice and fill in all the required fields in the form. Make sure not to leave any fields blank to ensure the invoice’s accuracy.
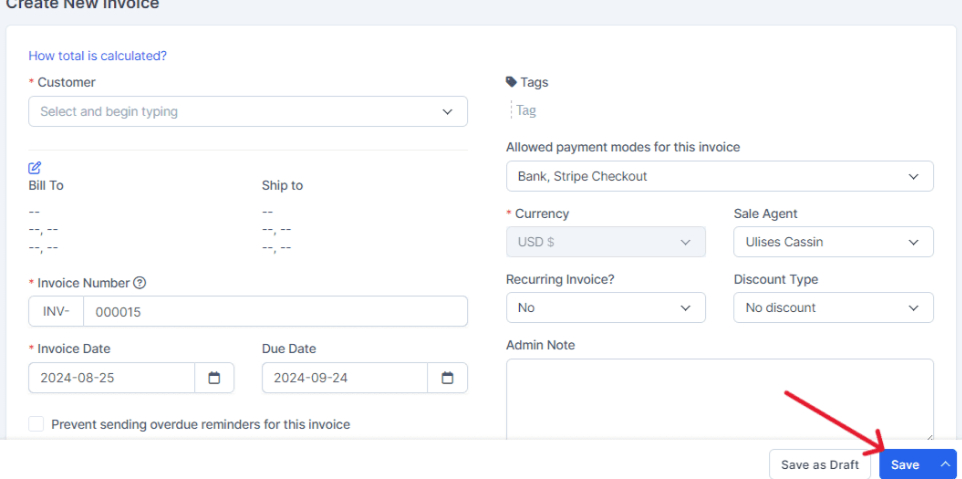
Once you’ve completed the information, click on Save.
After saving, you can view the tray with the history of your invoices as well as their current status.
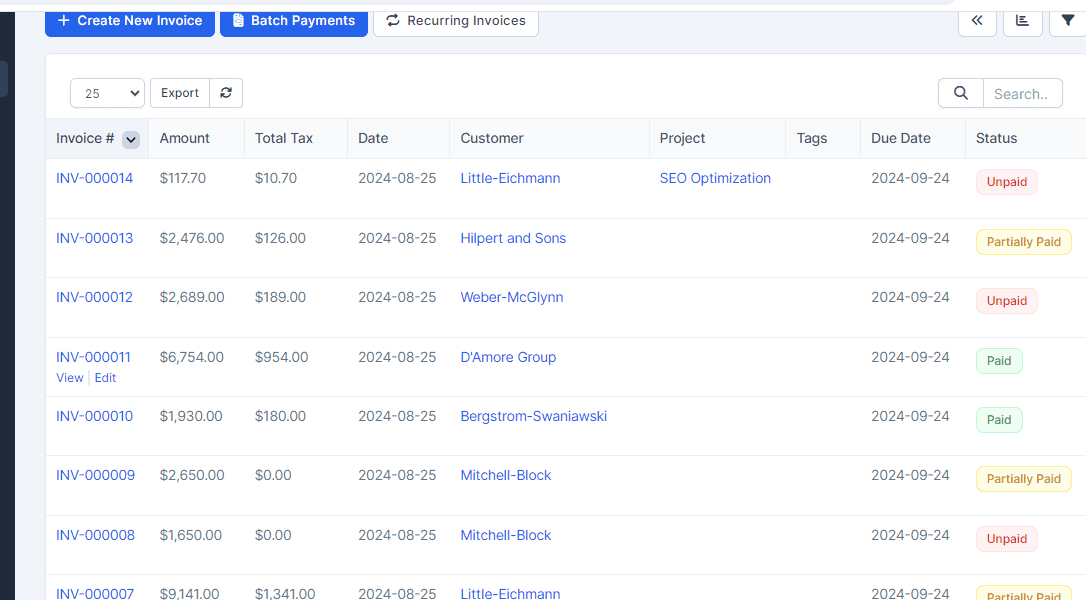
And that’s it! This is how you can manage and maintain a clear record of your invoices.