Here’s a detailed guide on how to incorporate buttons into your chatbot flow to create a dynamic conversation path
Introduction to Buttons in Chatbots
Buttons in chatbots serve as interactive elements that guide users through the chat flow, enabling them to make selections, provide information, or trigger specific actions seamlessly. When a user clicks a button, it can lead them to another part of the conversation, execute a function like sending a message or making an API call, or direct them to external resources like websites.
Uses of Buttons in Chatbots
Navigation: Direct users through different parts of the chatbot conversation.
Data Collection: Gather user details like names, email addresses, or preferences.
External Links: Redirect users to websites, product pages, or other online resources.
Action Triggers: Execute specific actions such as API calls or connecting with a live agent.
Step-by-Step Guide to Adding Buttons to Your Chatbot Flow
Navigate to the ‘Bot Manager’ on your dashboard and select ‘Bot Reply’.
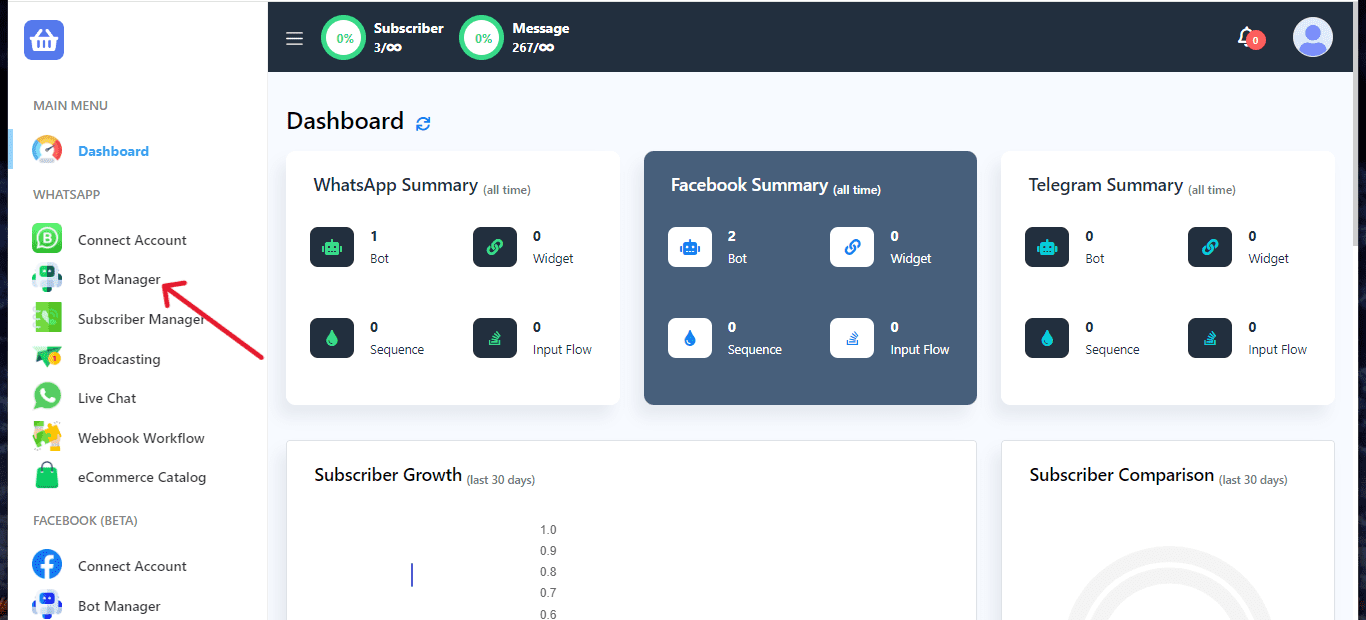

Within ‘Bot Reply’, find and click on the ‘Create’ button. This will open the Bot Builder in a new tab, where you can start designing your bot flow.

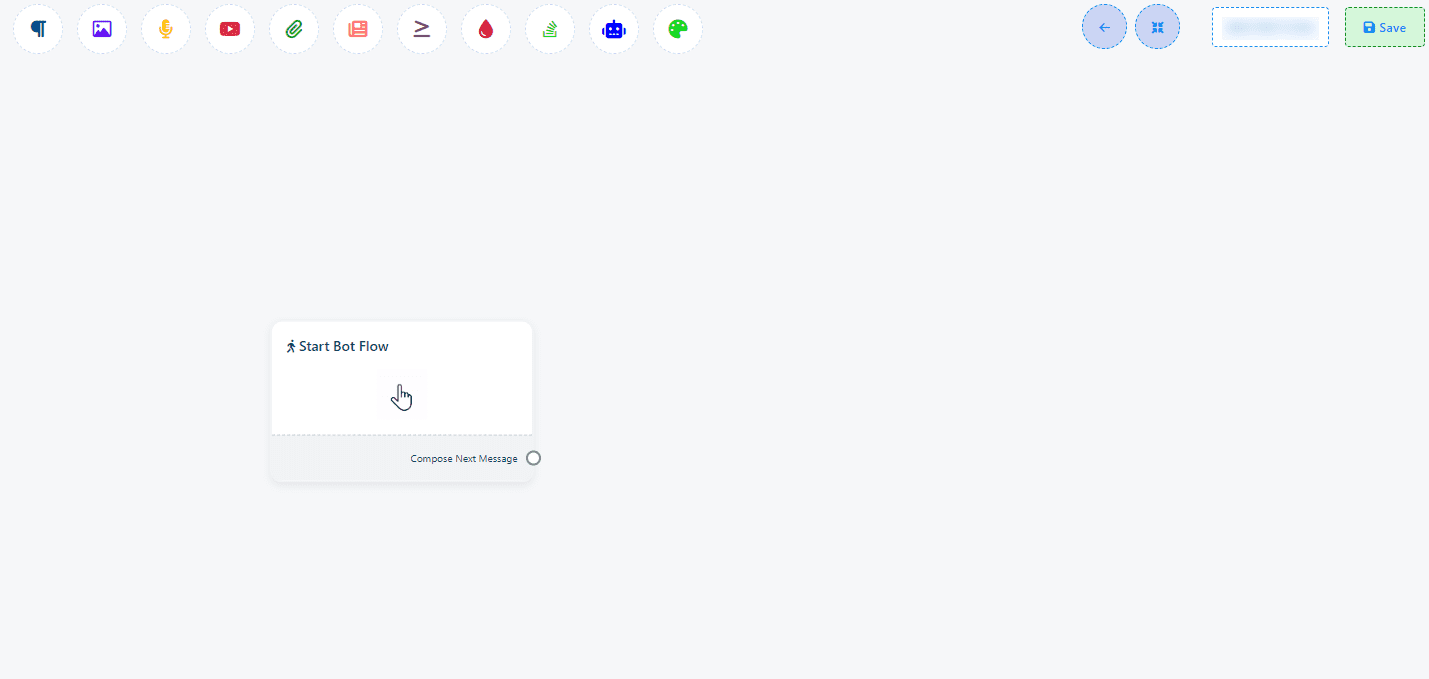
Begin by setting up the ‘Start Bot Flow’ to define how your bot initiates conversations.
Add an ‘Interactive’ component within your bot flow. This component is crucial for enabling the use of buttons.
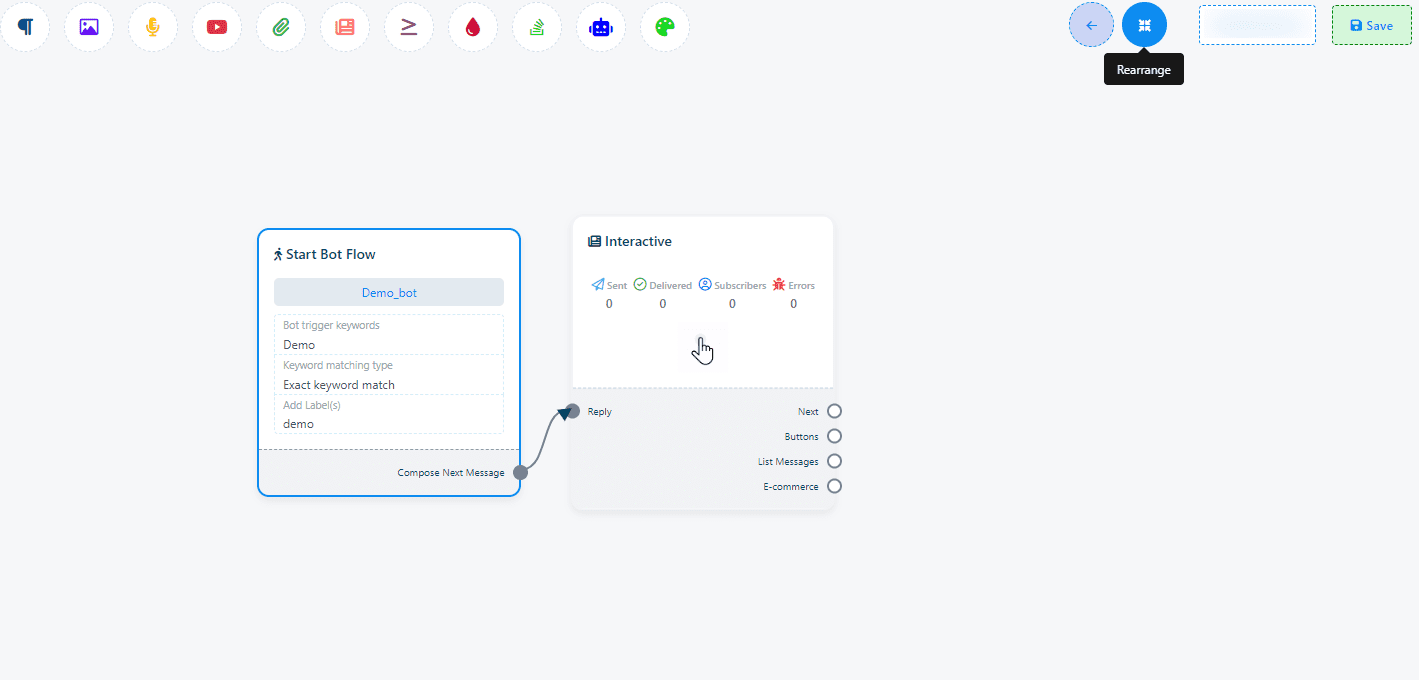
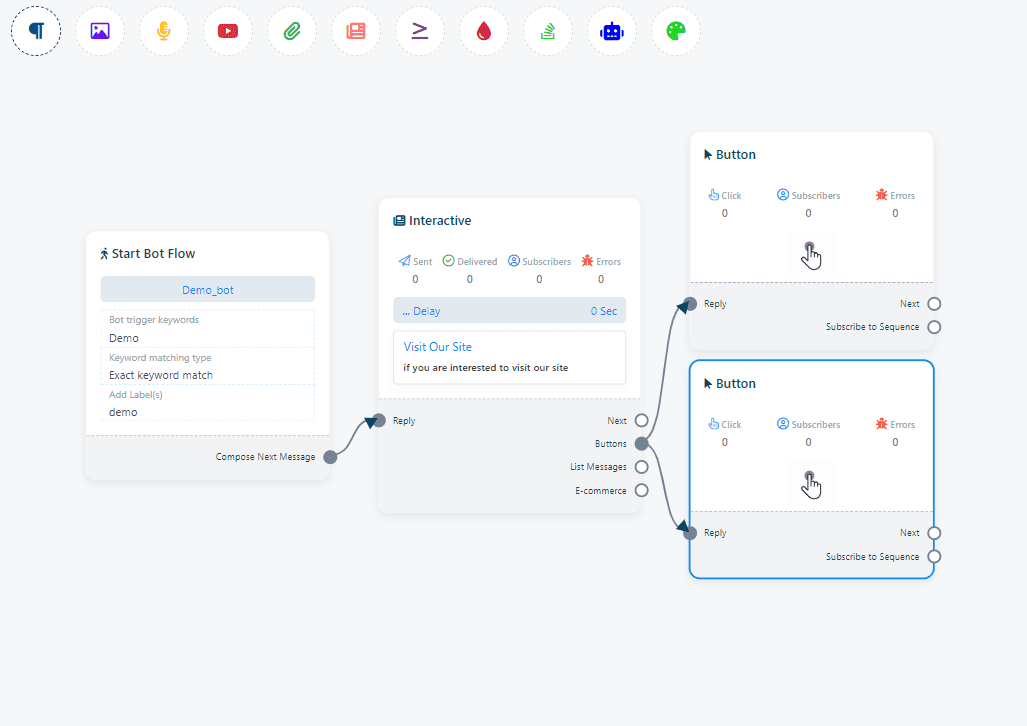
Within the ‘Interactive’ component, locate the “Button” socket to add a button. Note that a maximum of 3 buttons can be used within an ‘Interactive’ element to maintain clarity and usability.
Configure Your Button
After adding a button, double-click on it to configure its settings. You will encounter two essential fields: ‘Button Name’ and ‘When User Presses the Button’.
Button Name: Enter a descriptive name for your button that clearly indicates its function or the type of information it represents.
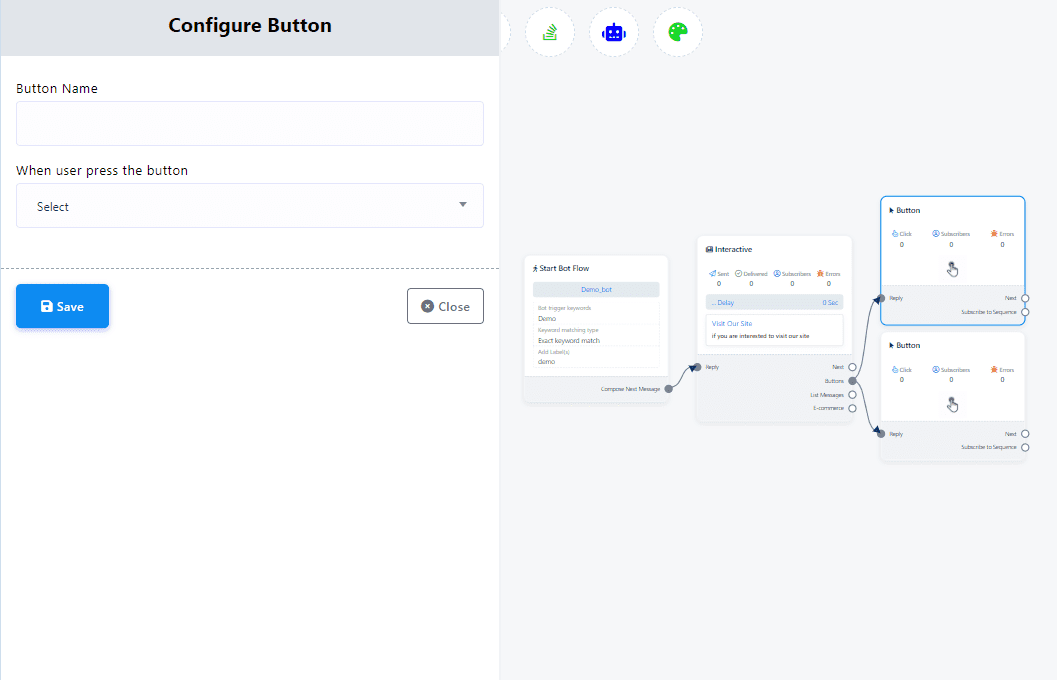
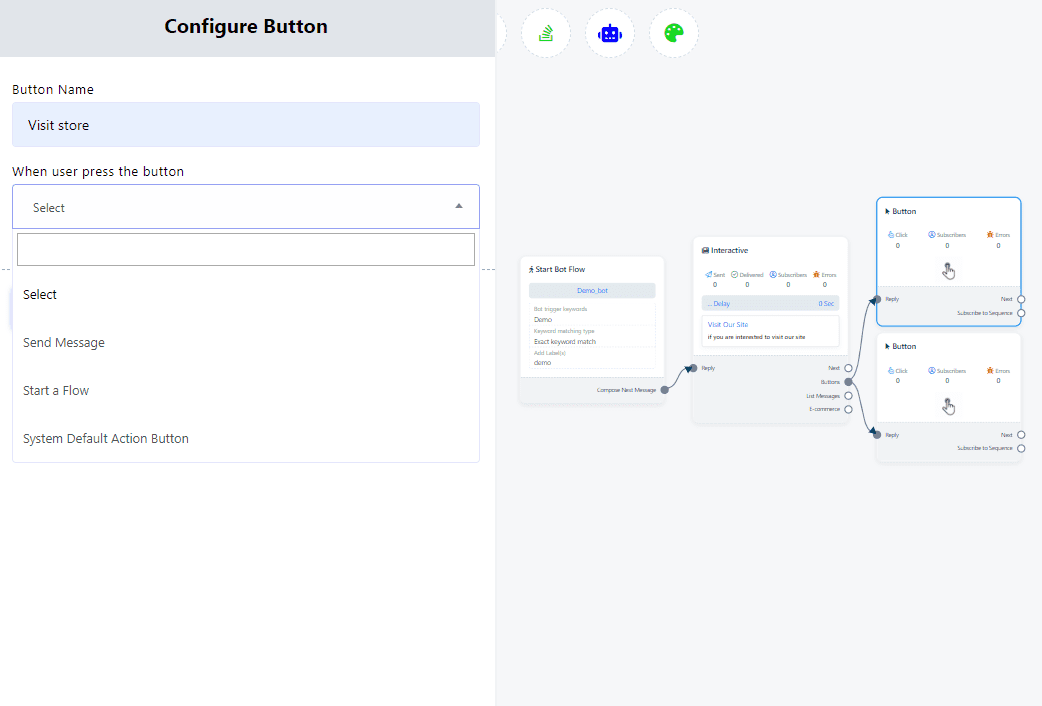
Action Selection: Use the dropdown menu in ‘When User Presses the Button’ to select the desired action that will be triggered by the button click.
Once you have filled in all necessary fields and configured the button’s action, save your changes to incorporate the button into your bot flow effectively.
By following these steps, you equip your chatbot with interactive buttons, making the conversation more engaging and user-friendly. Buttons not only simplify the user’s journey through the chatbot but also open up possibilities for more complex interactions and conversions.
