Hello! One of the main functions of PushAlerts is to manage and monitor notifications on your websites. To get the most out of the application, it’s crucial to know how to create automated flows. Don’t worry—this tutorial will guide you through the process step-by-step. Automated flows will help you optimize your notifications for subscribers.
1. Get into the app. Log in with your credentials.
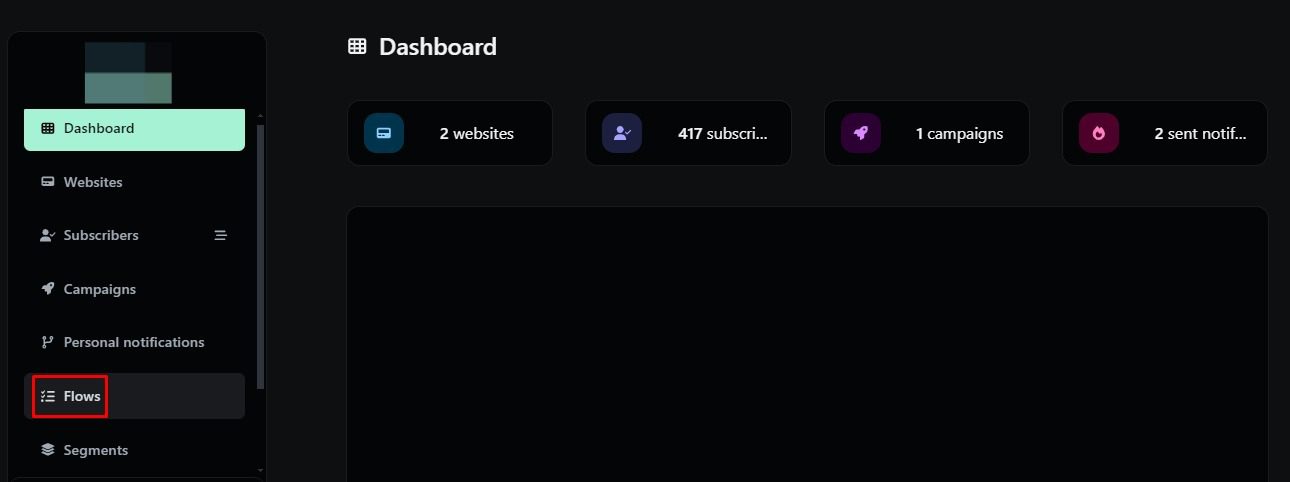
2. Go to the Flows section. You will find it in the dropdown menu on the left side of your screen.
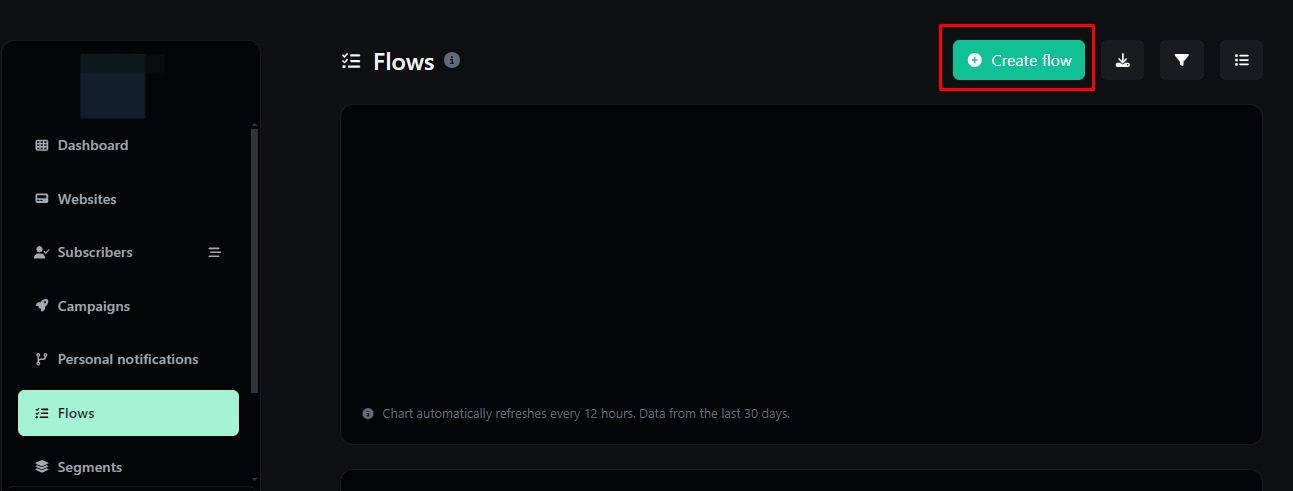
3. Click on Create Flow button. You will find it in the top right side of the screen.
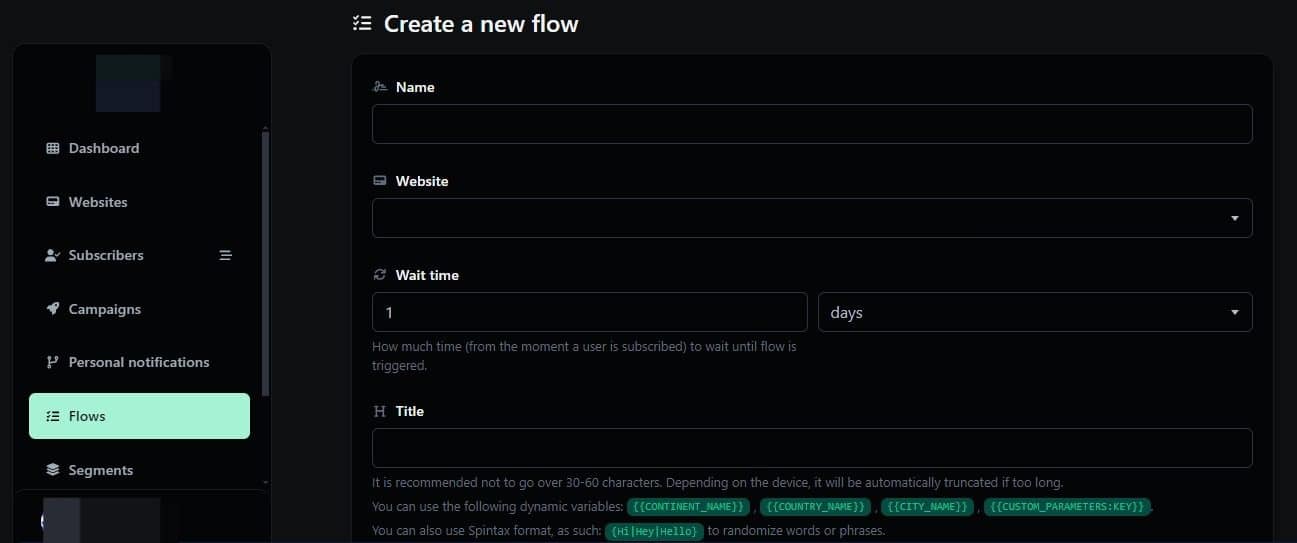
4. Fill in the requested information. “Name, Website where it will be created, Title, Description, URL, Images, Segments”. There is also an additional section called ‘Wait Time,’ where you can select the duration the app will wait after a user subscribes before sending the notification flow.
5. Click on Create button. That will be the last step for this tutorial
Congratulations! You now know how to create Automated Flows in PushAlerts. Once you’ve set up a flow, it will appear in the main Flows section. To monitor information about your flows, just click on the website’s name in the Flows section, and you’ll be taken to the detailed data for that flow.
If you have additional doubts, remember that you can always contact us.
