Adding a chat widget to your website enhances user experience by providing instant support and communication. By following these steps, you can create and integrate a chat widget effectively.
Creating the Chat Widget
Access the WhatsApp Bot Manager Page to begin creating your chat widget.
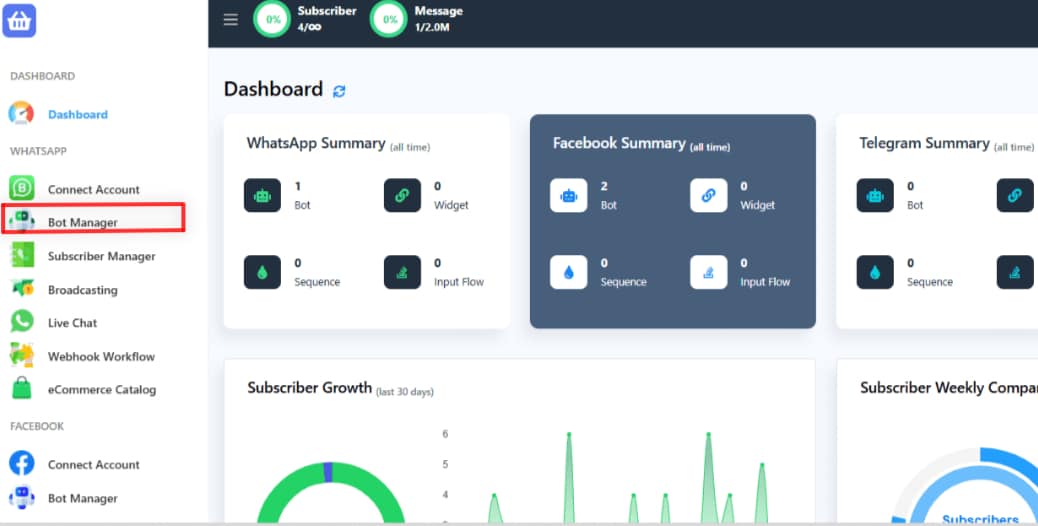
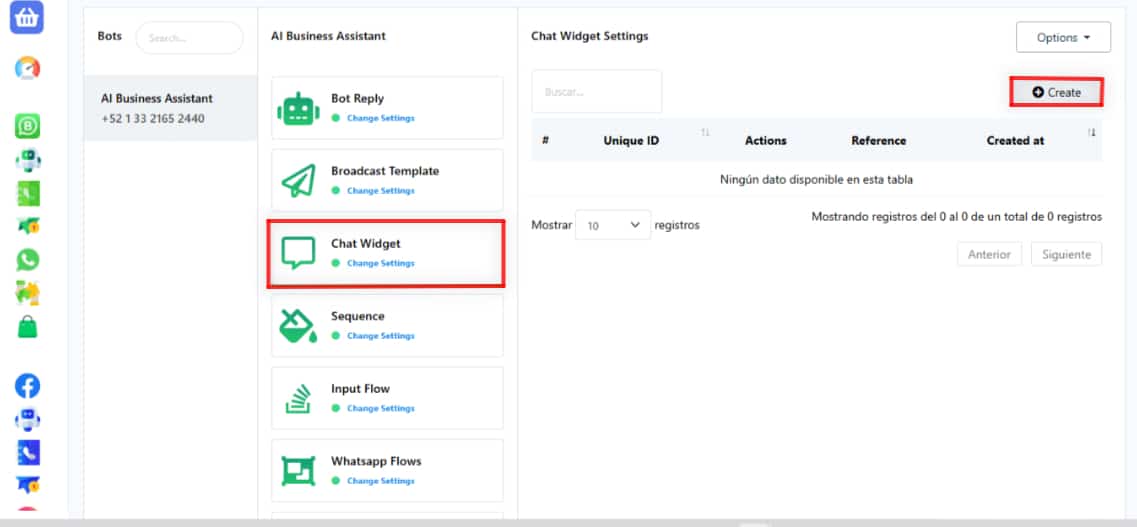
Within the WhatsApp Bot Manager, navigate to the “Chat Widget” section and click on the “Create” button. Ensure that the WhatsApp bot account is selected for which the chat widget will be created.
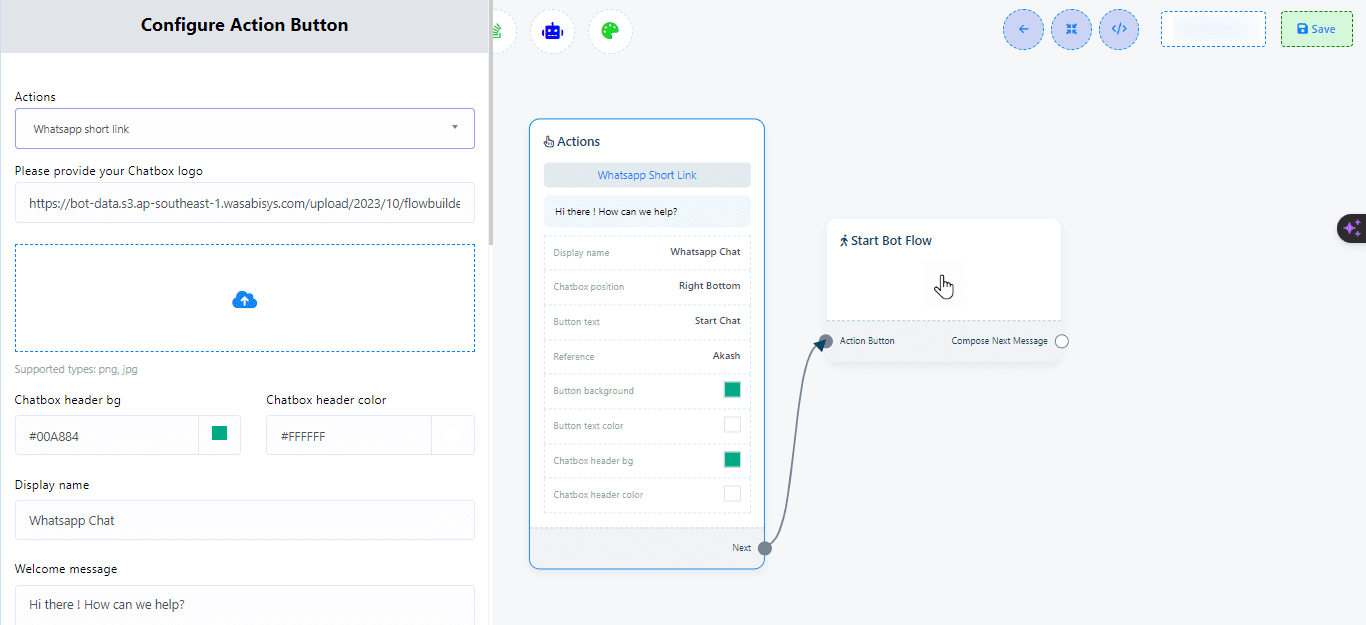
Customize the action button by completing the following fields and clicking “Save”
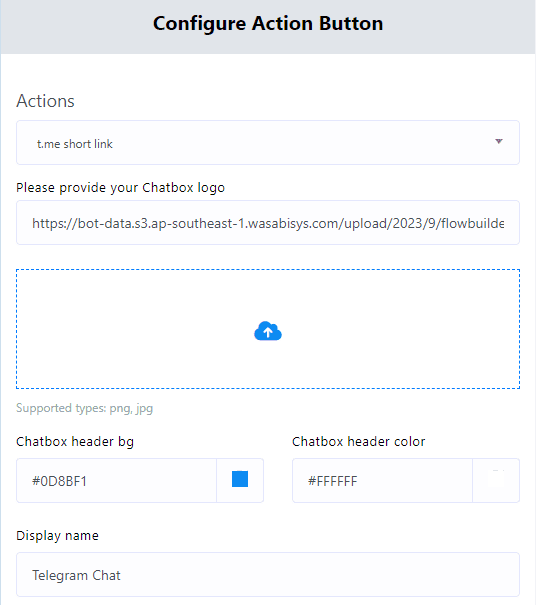
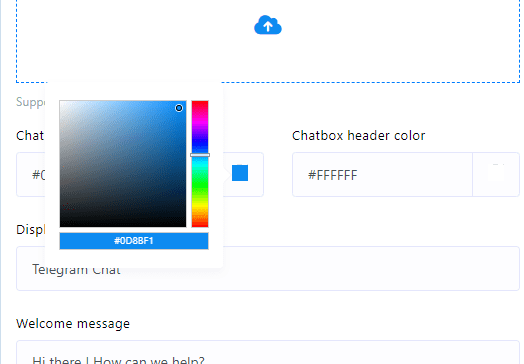
Upload a logo image or provide a URL for the logo.

Select a color from the palette or input a hexadecimal color code for the chat widget’s header background.
Set a display name for your chat widget.

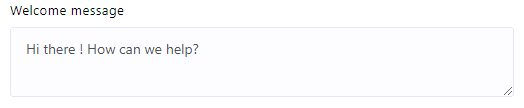
Craft a welcoming message for your users.
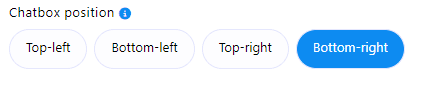
Choose the desired position for the chat widget on your webpage.
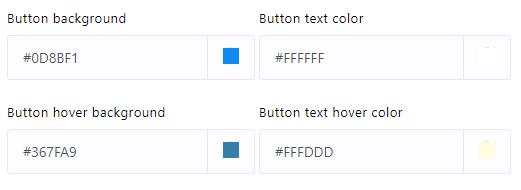
Define the button text.

Specify colors for the button background, button text, button hover background, and button text hover color.
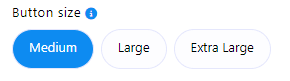
Set the button size.
Provide a reference for tracking the plugin later.

Click the “Save” button to preserve the chat widget configurations.
Configure Start Bot Flow
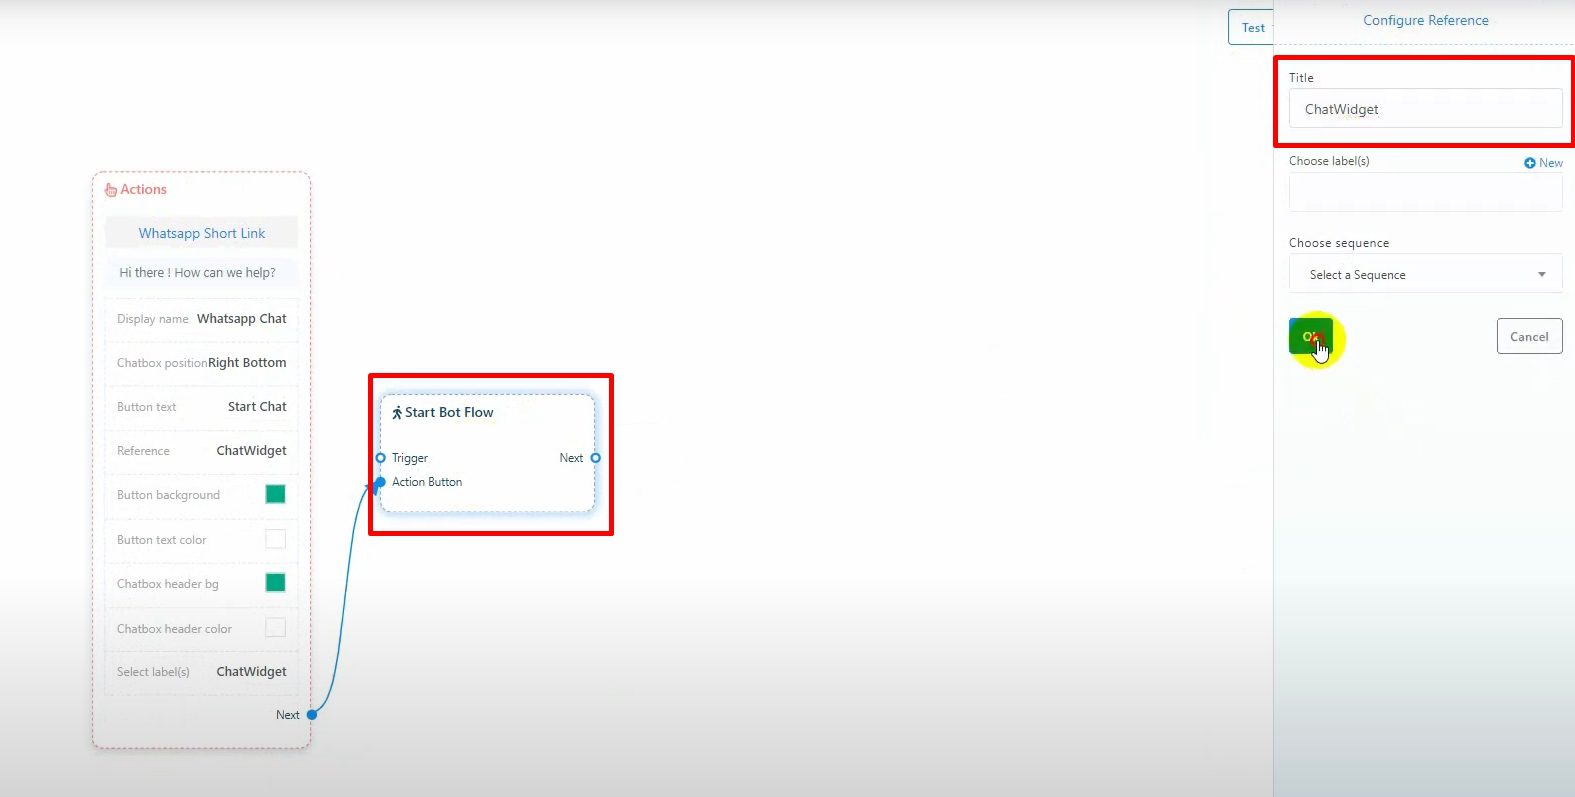
Double click on the “Start Bot Flow” and provide a name for it. You can also add labels, sequences, and assign conversations to an agent or team member as needed. Save the flow after adding the desired replies.
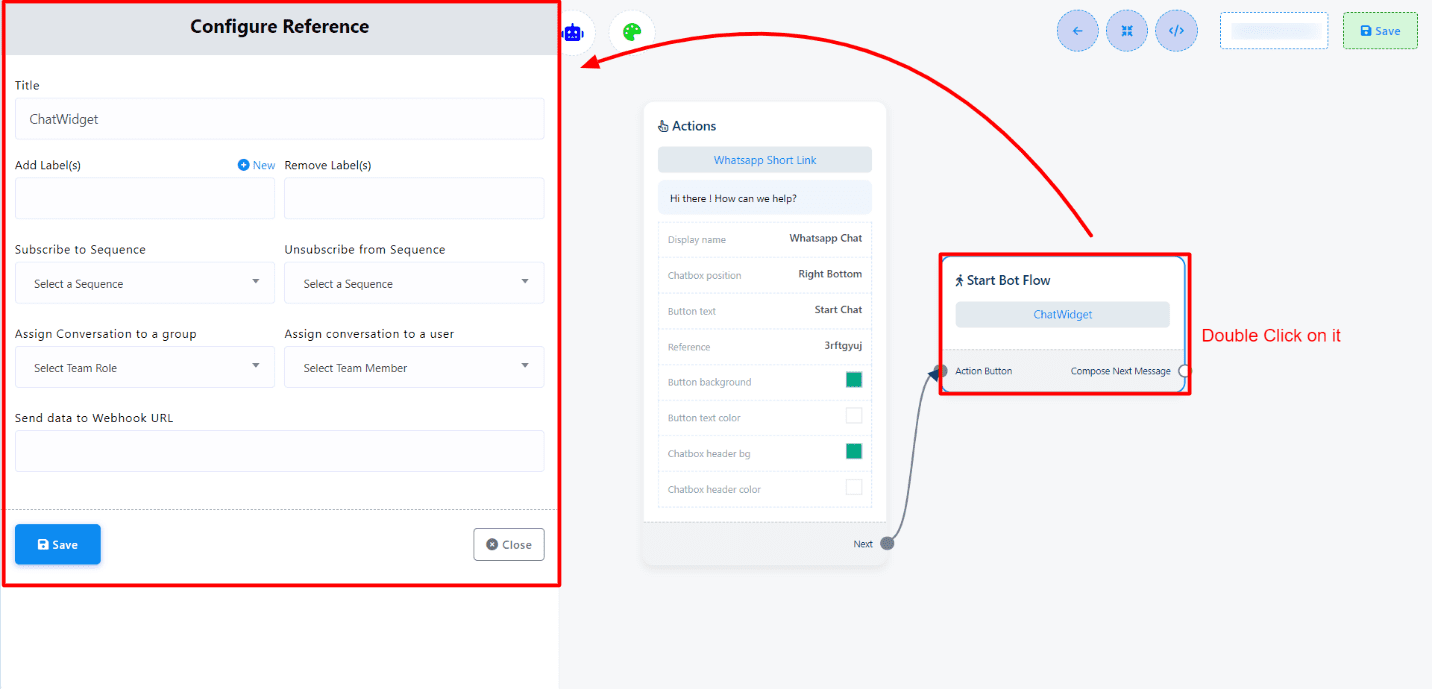
Add tags to categorize subscribers who sign up through this chat widget.
Click “OK” to save the chat widget settings.
Give your bot flow a name under “Start Bot Flow.”
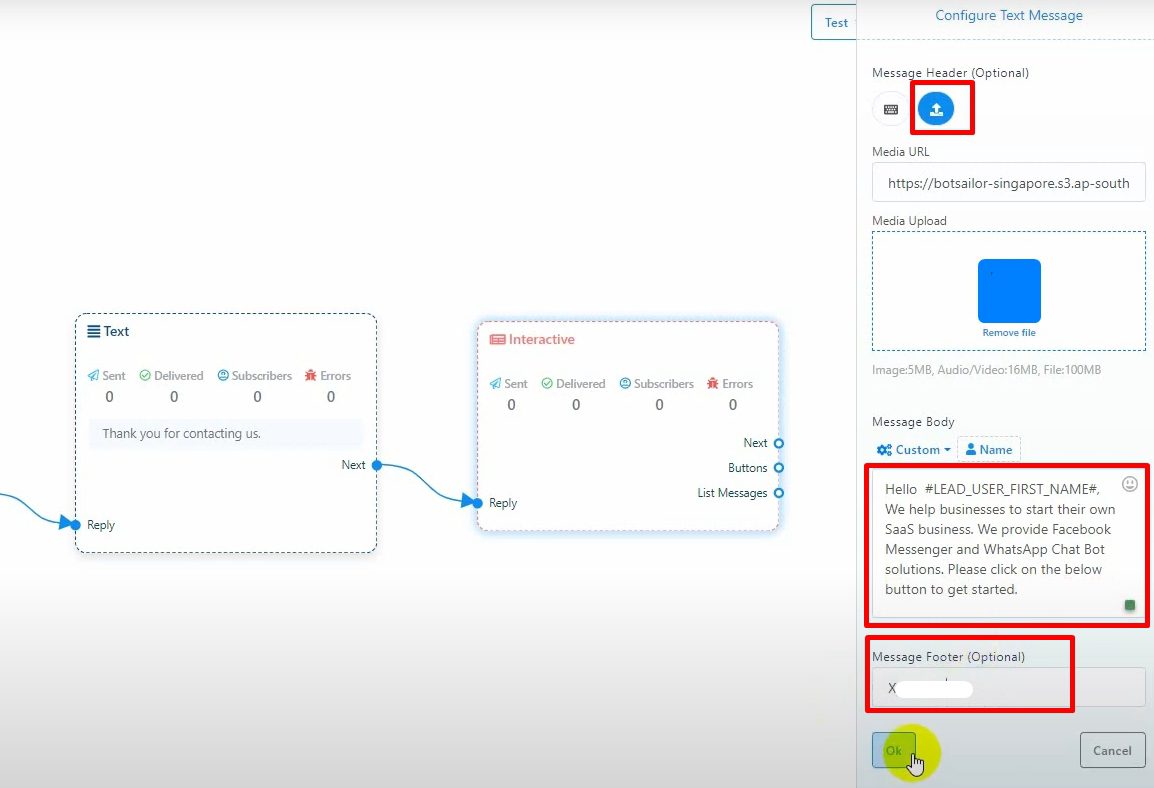
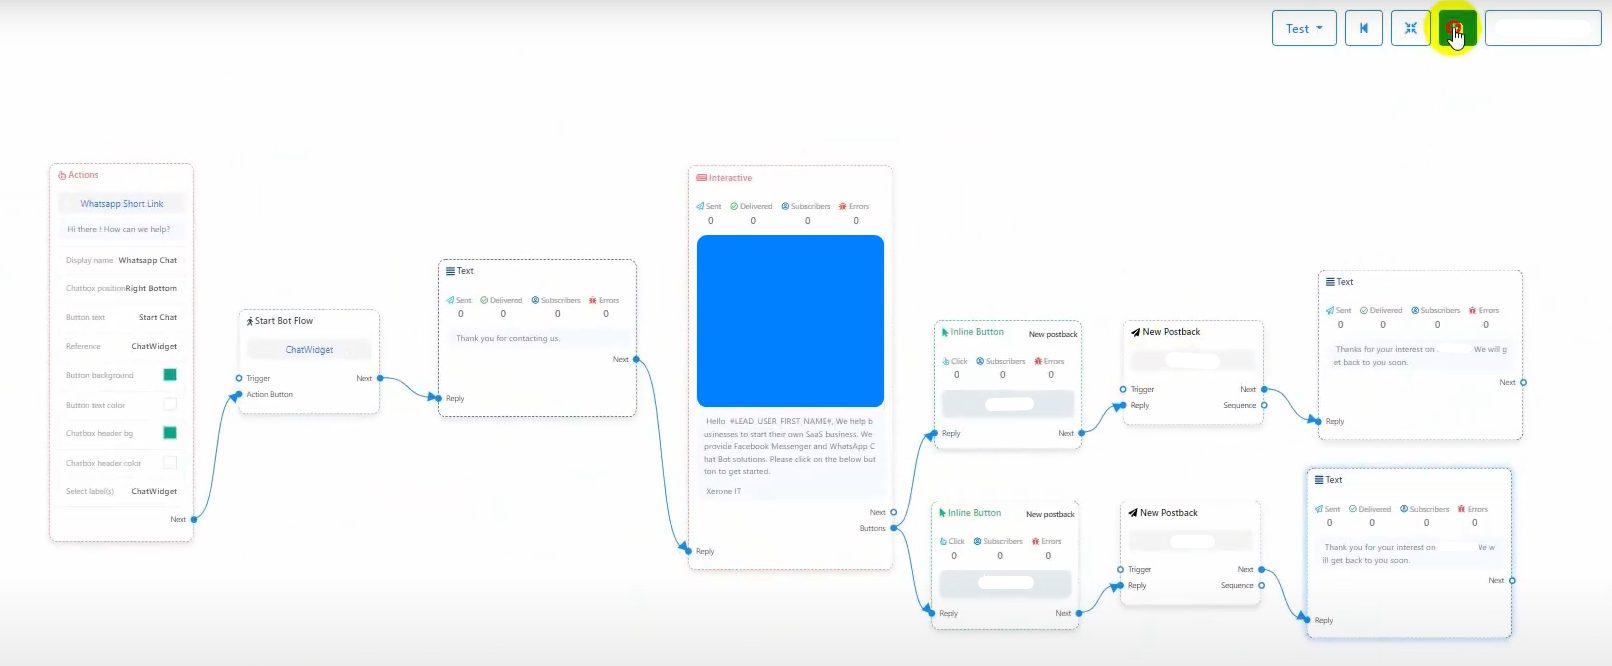
You can add any type of bot response: text, image, audio, video, interactive, etc.
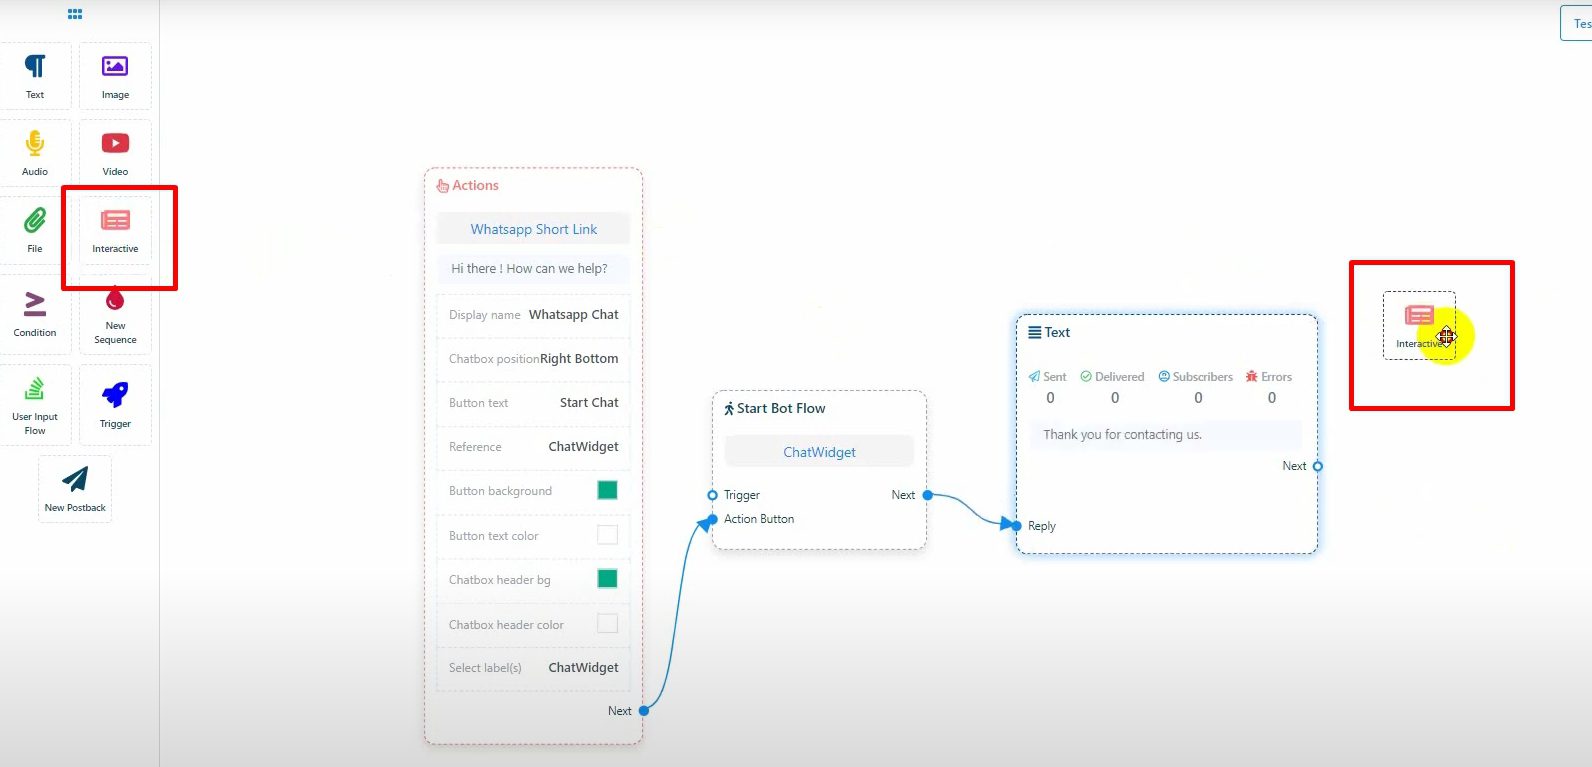
Add a simple text response and connect it to the next response.
For interactive responses, add buttons, text, or images as needed.
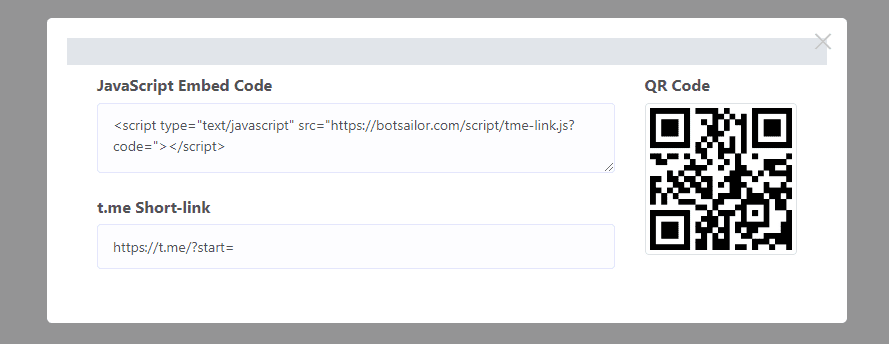
Once your bot is set up, click “Get Embed Code” to get the JavaScript code.
Use this code on your website to display the chat widget.
Integrating the Chat Widget
For WordPress Website:
Copy the JavaScript Embed Code.
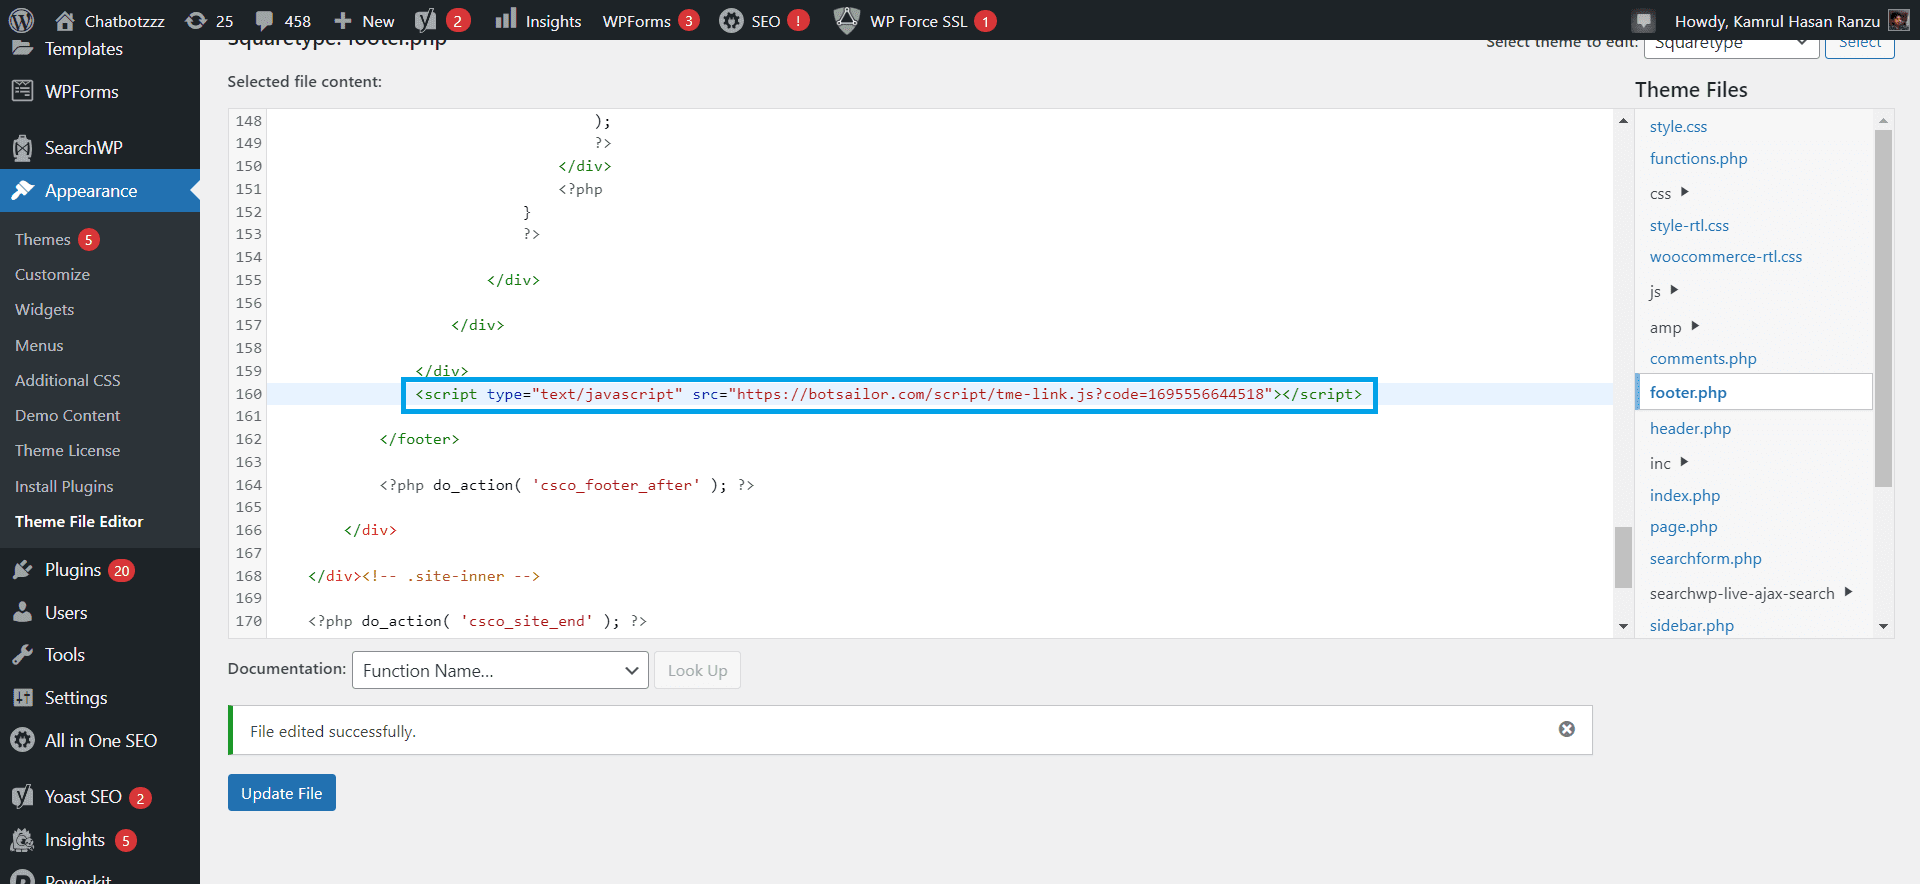
Access your WordPress Dashboard and navigate to “Appearance” > “Theme File Editor.”
Paste the copied code into the footer section.
For Custom Website:
Copy the JavaScript Embed Code.
Paste it into the header or footer section of your index.php or index.html file.
Go to “Subscribers Manager” in BotCommerce to view users who subscribed via the chat widget.
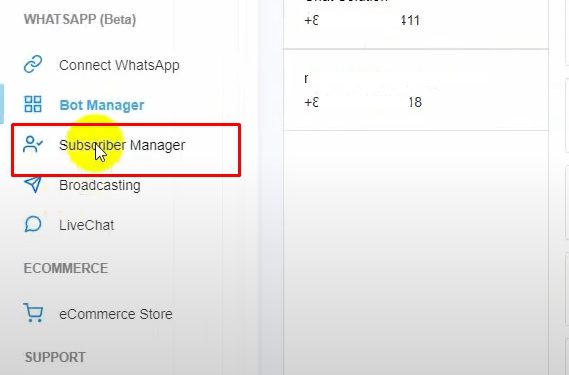
Verify that tags have been correctly assigned to subscribers.
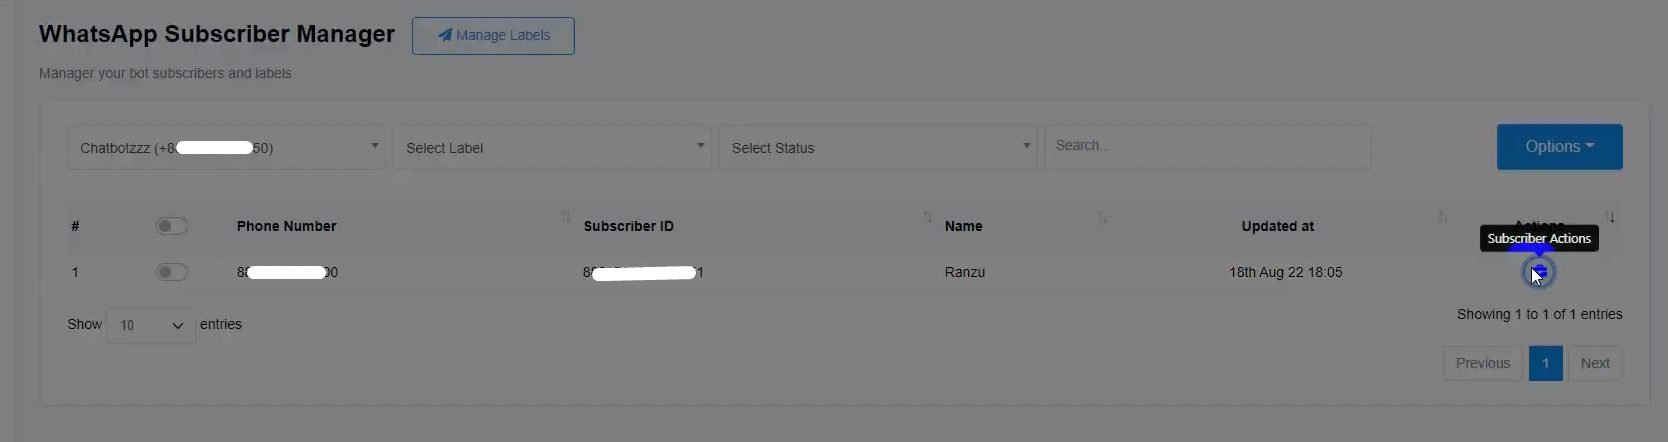
Embed the widget code on your website to make it live. Then, check the “Subscriber Manager” to confirm that subscribers are tagged correctly.
By following these steps, you can effectively create and integrate a chat widget into your website, providing an efficient means of communication and support for visitors and subscribers.
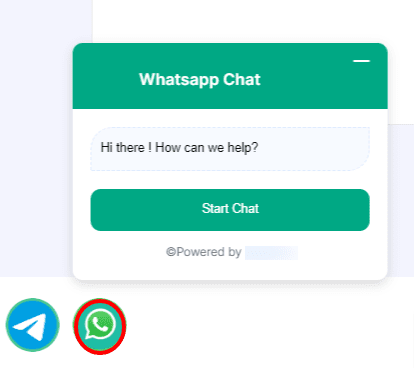
Your WhatsApp chat widget is now ready to use!
