Learn how to create a WhatsApp Chat Widget and use it on websites by following the next steps:
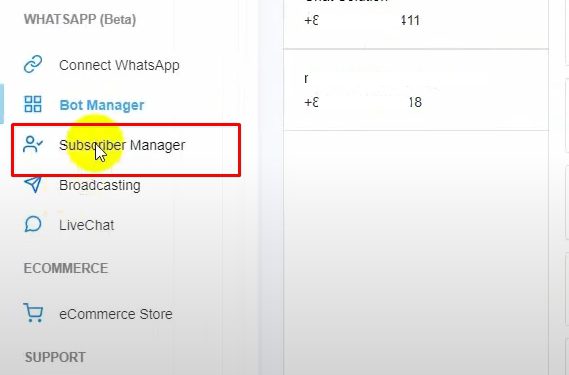
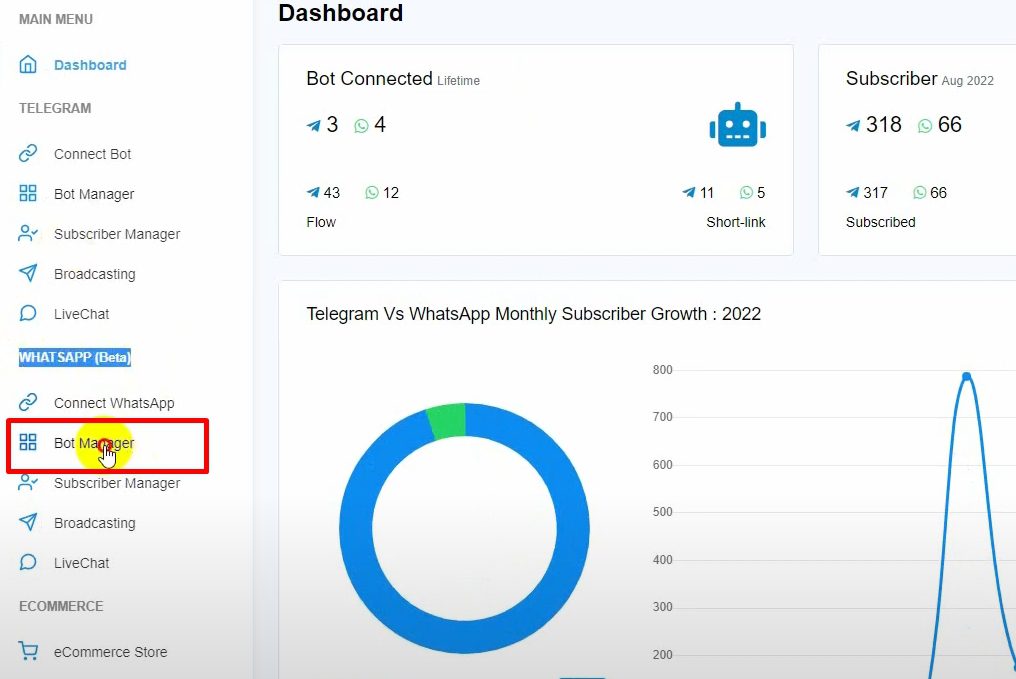
Access the WhatsApp Bot Manager: #
-
- From the BotCommerce dashboard, go to “WhatsApp Bot Manager”.

- From the BotCommerce dashboard, go to “WhatsApp Bot Manager”.
-
- Select the WhatsApp account for which you want to create the chat widget.
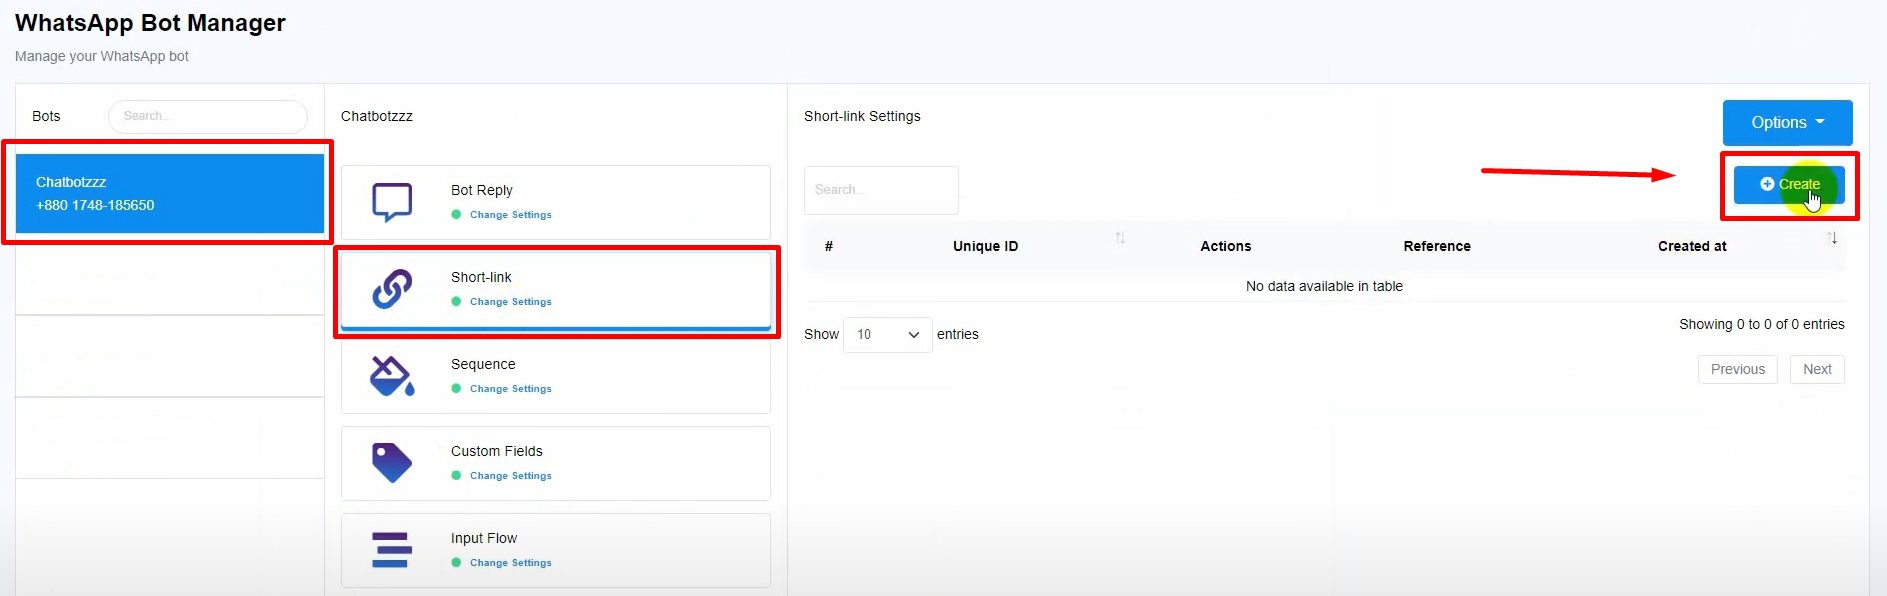
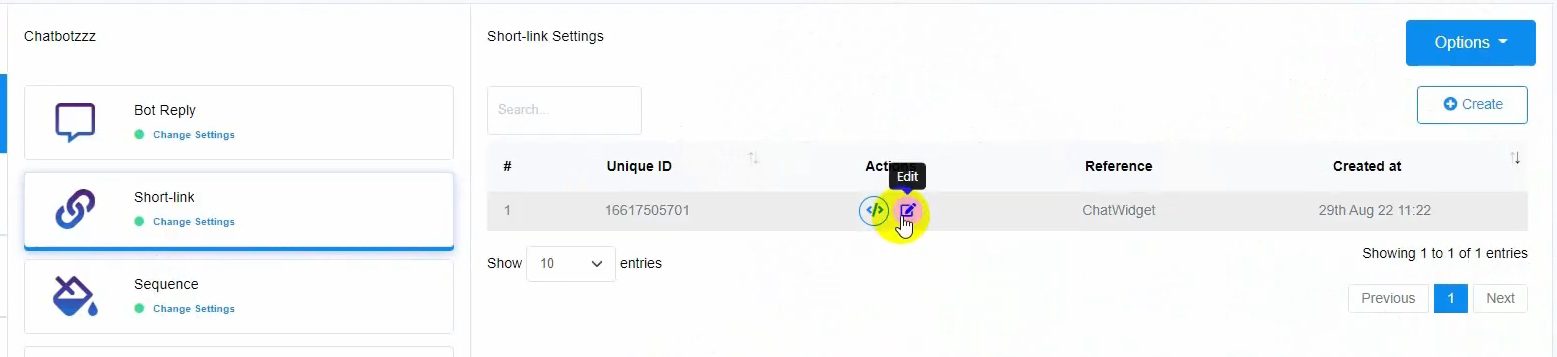
Create a Short Link: #
-
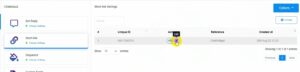
- Click on “Short Link” and then on “Create”.

- Click on “Short Link” and then on “Create”.
-
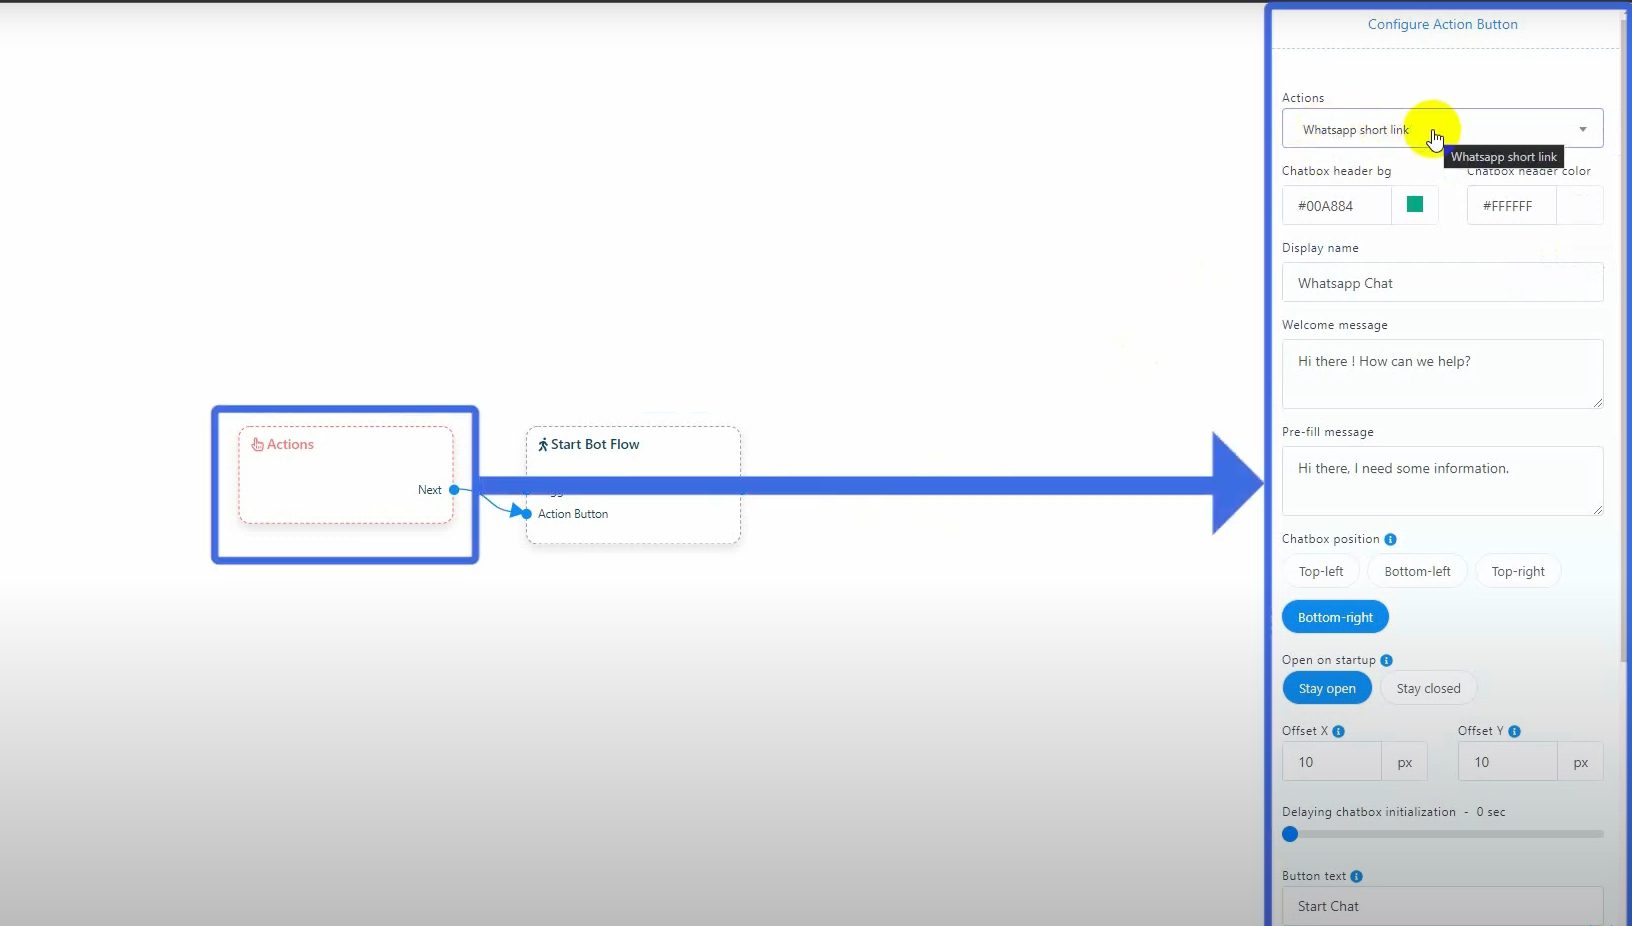
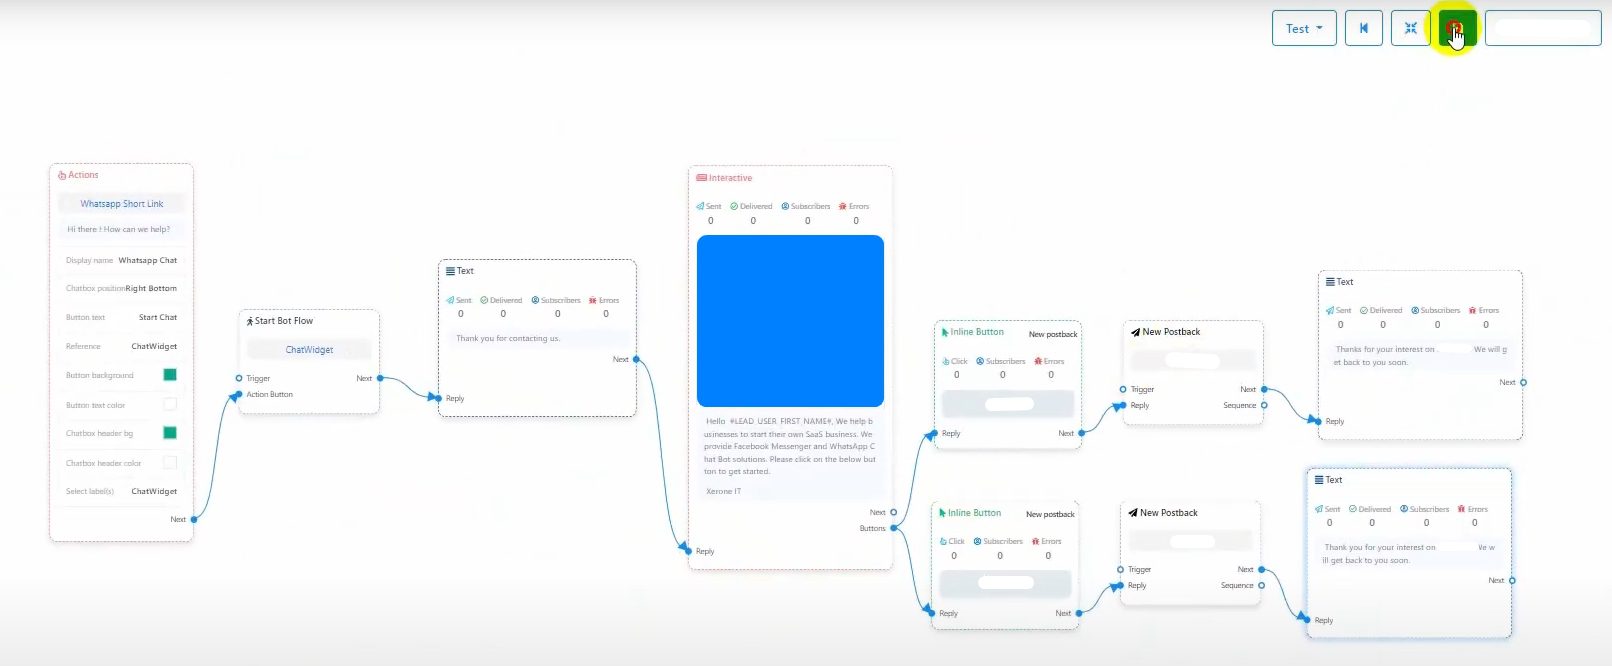
- This will redirect you to the “Visual Flow Builder”. Here, you’ll see a bot flow with the “Start Bot Flow” and an action button.

- This will redirect you to the “Visual Flow Builder”. Here, you’ll see a bot flow with the “Start Bot Flow” and an action button.
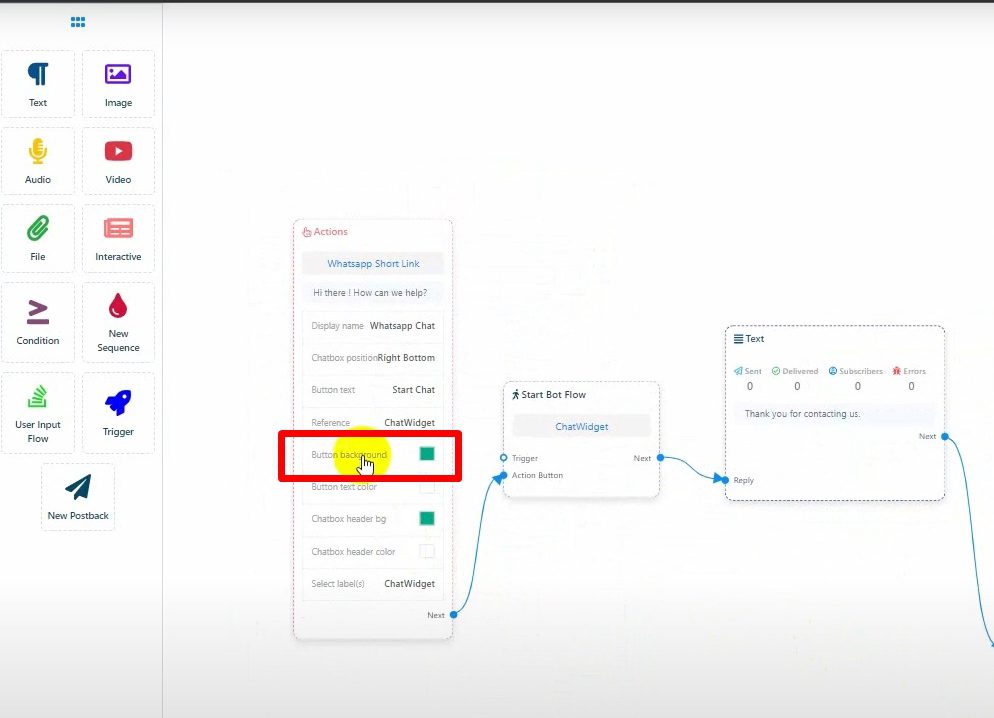
Configure the Action Button: #
-
- The action button corresponds to the chat widget settings.
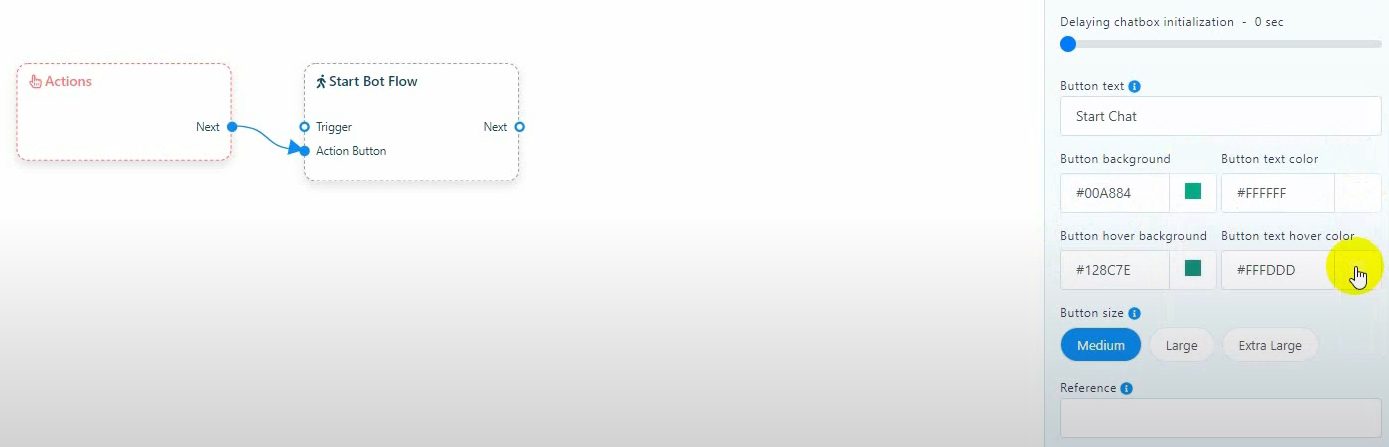
- Customize the chat box header and background colors.

-
- Change the display name, welcome message, and pre-filled message if desired.
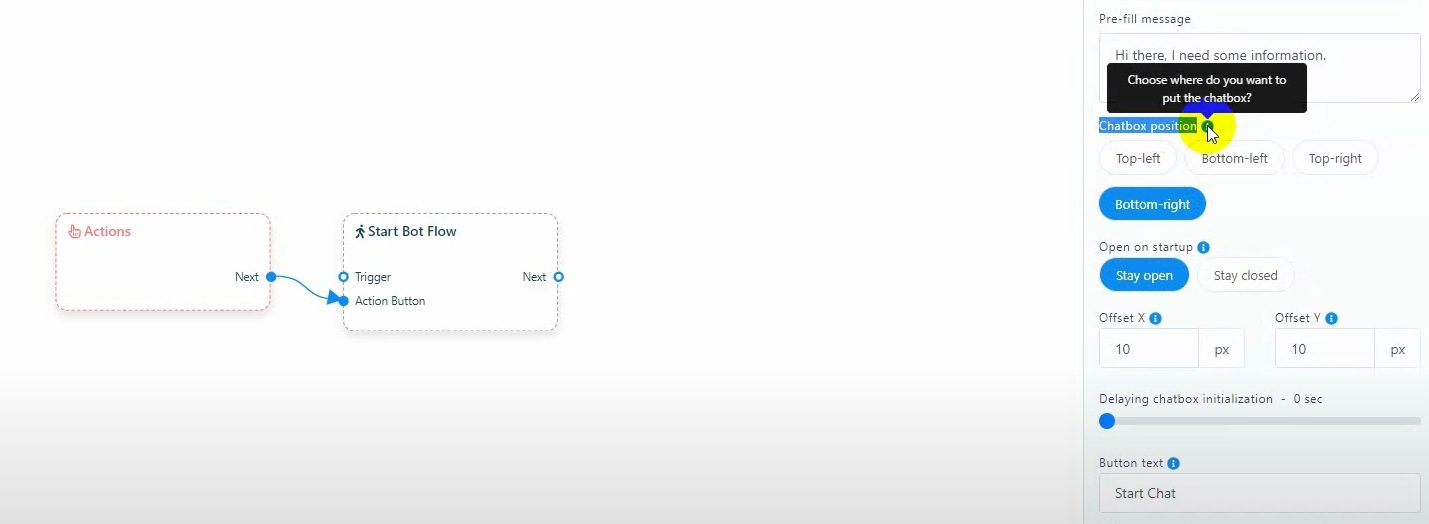
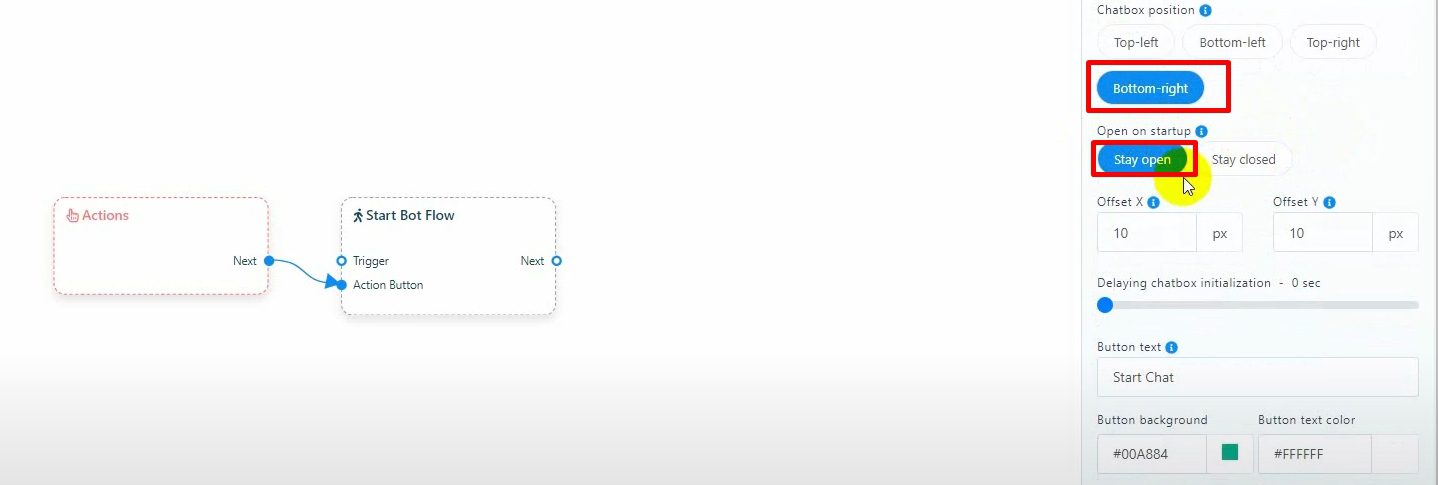
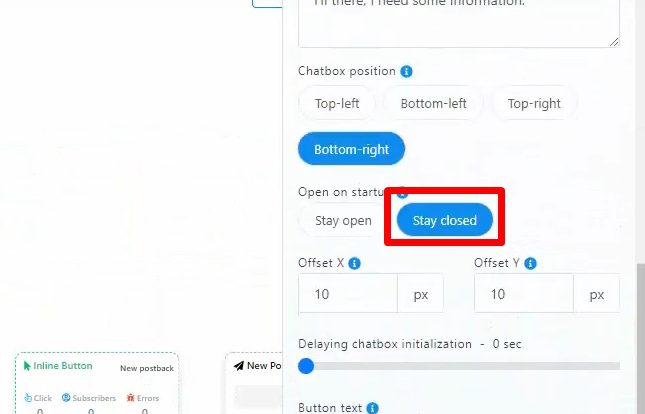
- Choose the chat widget position on the webpage (default is bottom right).
- Set whether the widget will be open or closed by default.

-
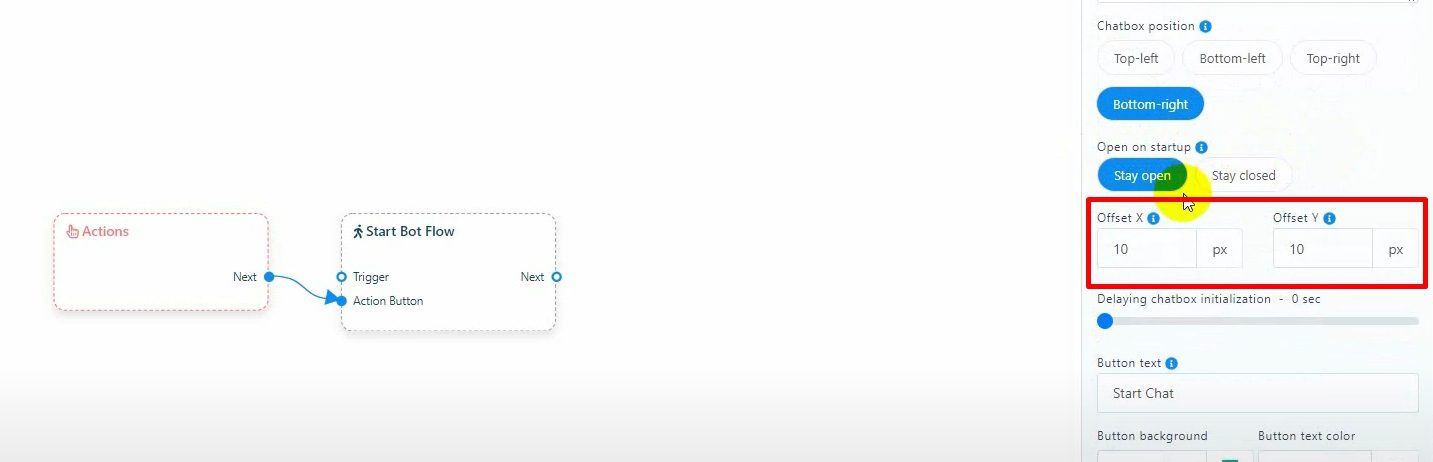
- Adjust the widget’s position using the X and Y offset values.

- Adjust the widget’s position using the X and Y offset values.
-
- Configure the delay time for the chat widget to appear after the website loads (0 to 60 seconds).
Customize the Widget Button: #
-
- Modify the button text, background, text color, hover background color, and button size.

- Modify the button text, background, text color, hover background color, and button size.
-
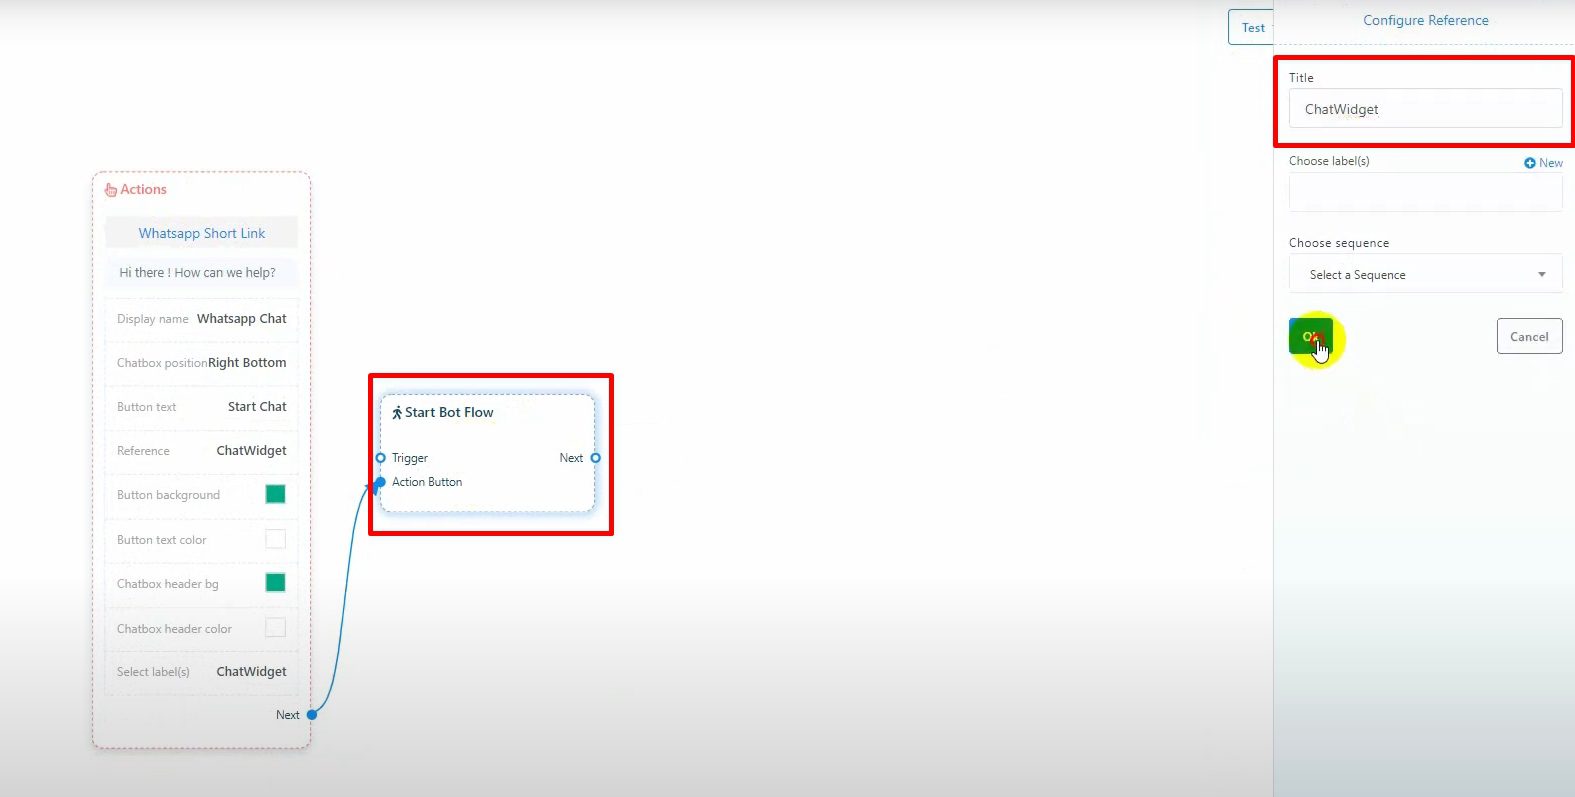
- Enter a unique reference using only alphanumeric characters.

- Enter a unique reference using only alphanumeric characters.
Assign Labels: #
-
- Add labels to categorize subscribers who sign up through this chat widget.
Save the Settings: #
-
- Click “OK” to save the chat widget settings.
- Assign a name to the bot flow in the “Start Bot Flow”.
Add Replies to the Chat Widget: #
-
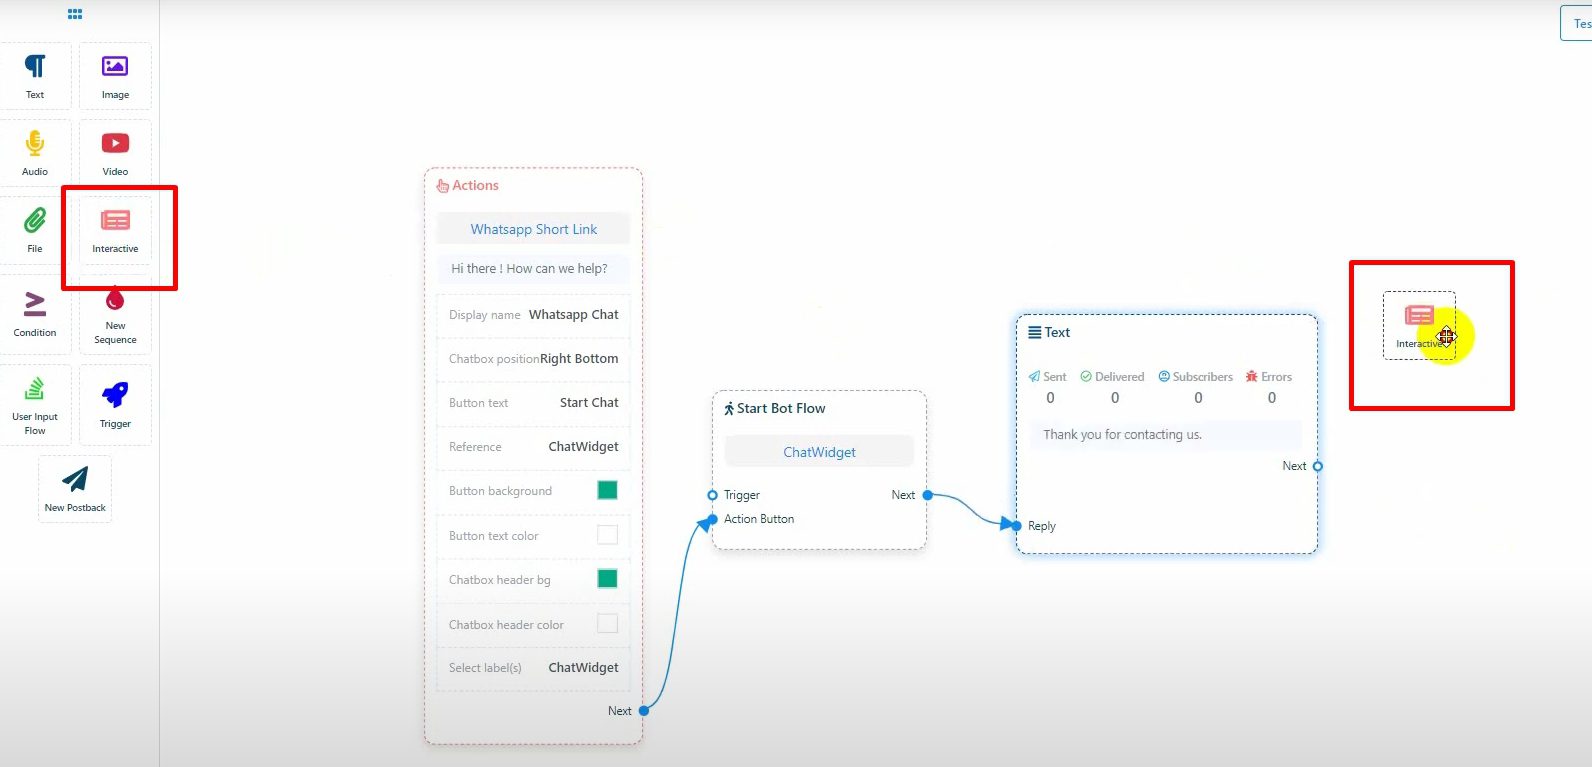
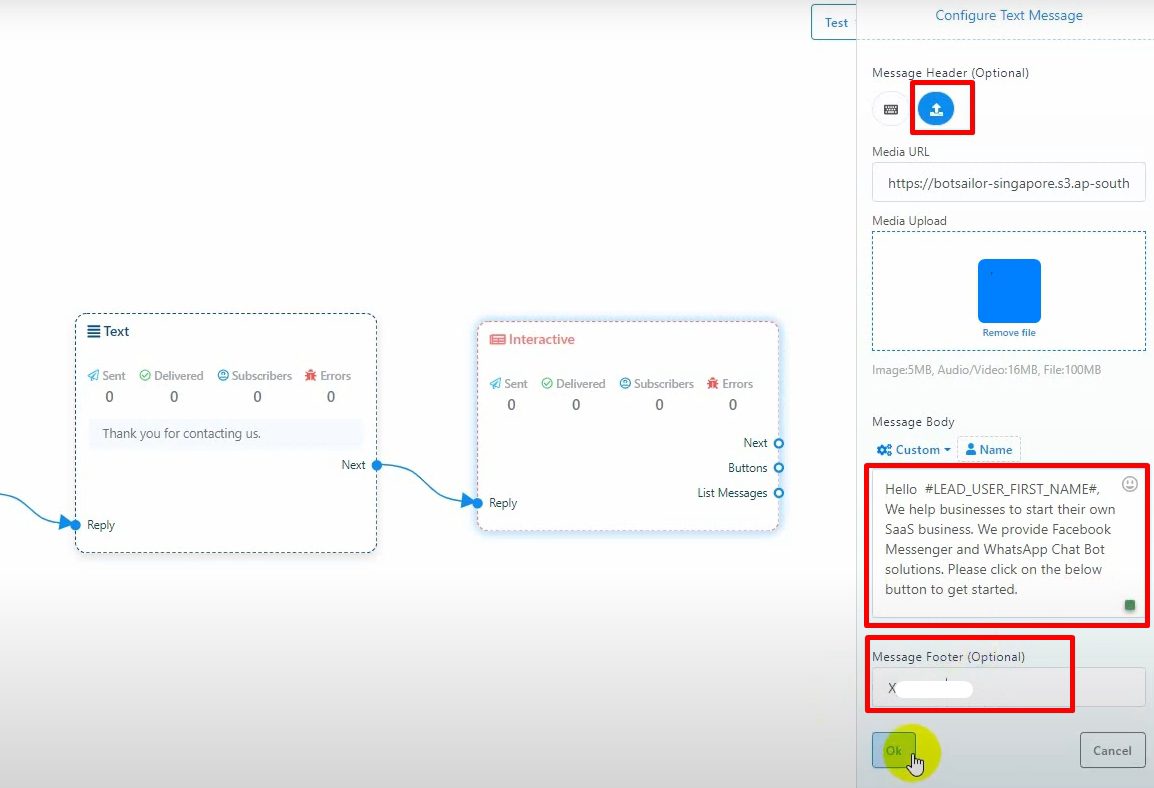
- You can add any type of bot reply: text, image, audio, video, interactive, etc.

- You can add any type of bot reply: text, image, audio, video, interactive, etc.
-
- Add a simple text reply and connect it to the next reply.
- For interactive replies, add buttons, text, or images as needed.

Save the Bot and Get the Embed Code: #
-
- Once the bot is configured, click “Get Embed Code” to obtain the JavaScript code.

- Once the bot is configured, click “Get Embed Code” to obtain the JavaScript code.
-
- Use this code on your website to display the chat widget.

- Use this code on your website to display the chat widget.

Test the Widget on the Website: #
-
- Insert the code into your website and ensure the chat widget appears.

- Insert the code into your website and ensure the chat widget appears.
-
- If needed, go back to “Short Link” in BotCommerce to edit the widget settings.


- If needed, go back to “Short Link” in BotCommerce to edit the widget settings.
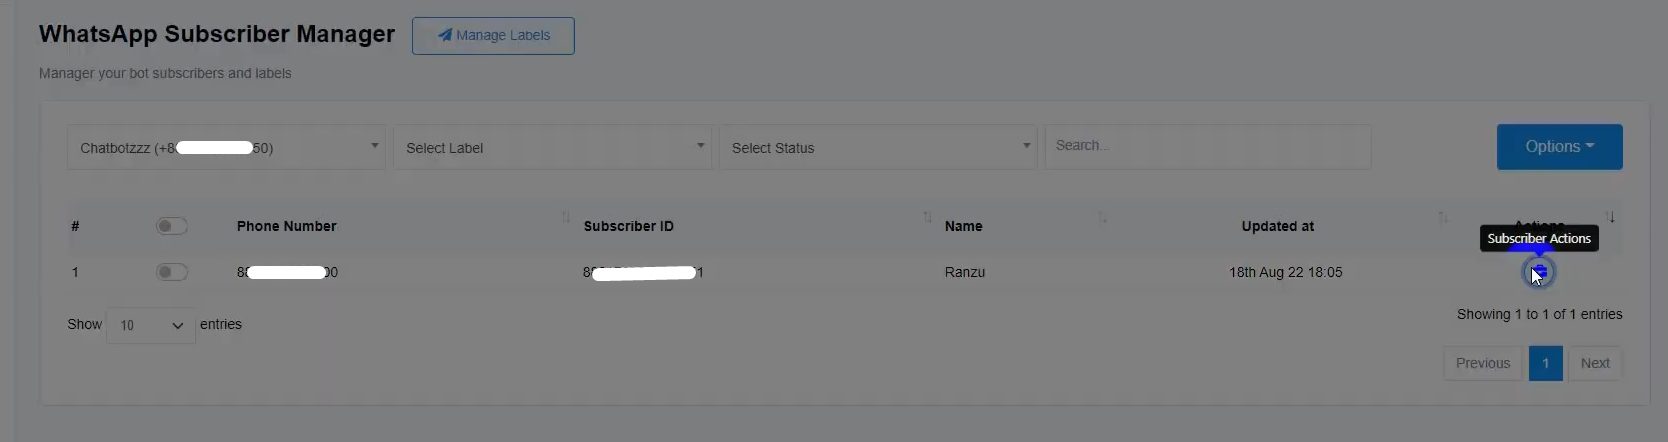
Review the Subscribers: #
-
- Go to “Subscriber Manager” in BotCommerce to view users who subscribed through the chat widget.

- Go to “Subscriber Manager” in BotCommerce to view users who subscribed through the chat widget.
-
- Verify that the labels have been correctly assigned to the subscribers.

- Verify that the labels have been correctly assigned to the subscribers.