Create a Telegram Bot:
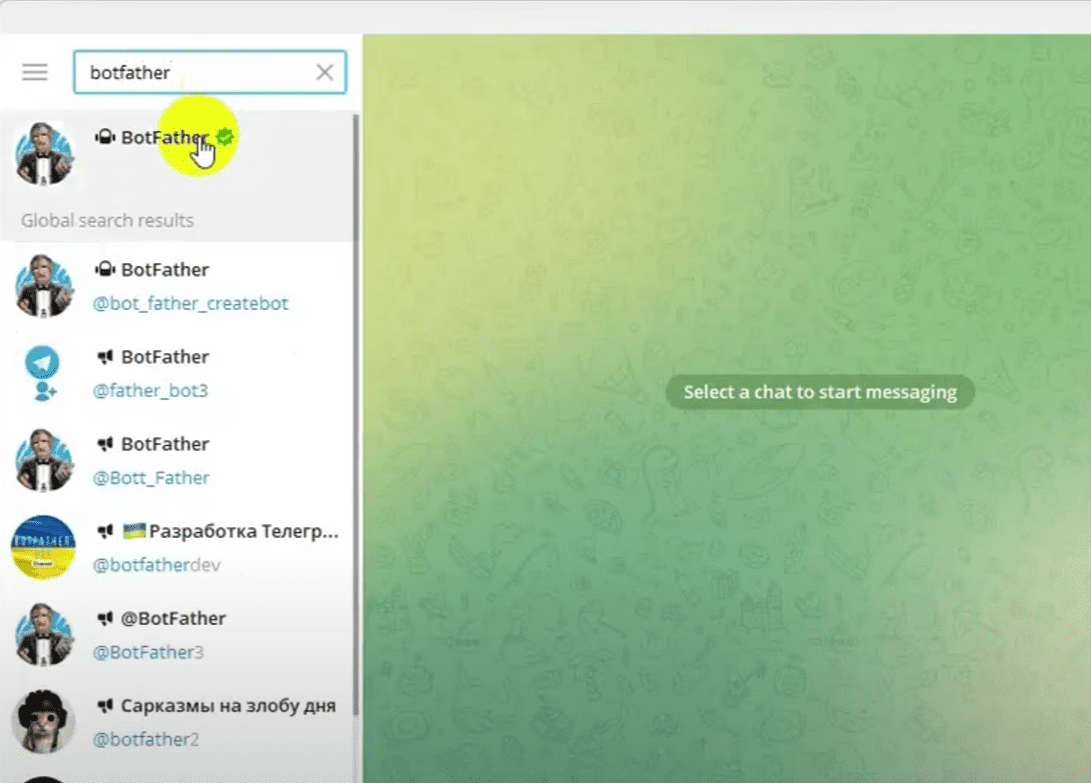
- Open your Telegram app and search for BotFather
- Click on the verified BotFather account to start a conversation.
-
- Click on the Start button to initiate the process with BotFather.
- Type
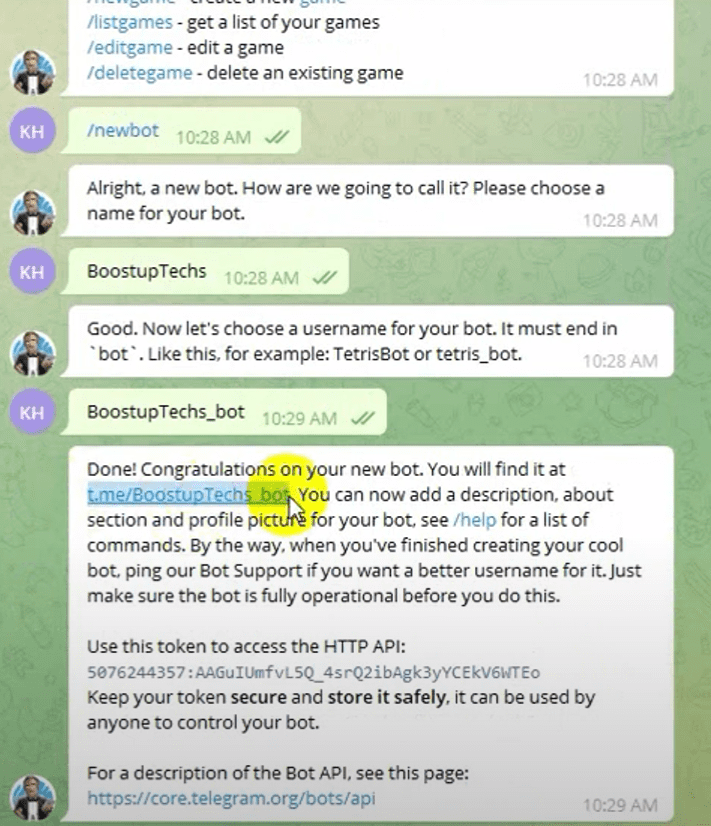
/newbotand send it to BotFather. - Follow the prompts to create your bot:
- Provide a name for your bot when prompted.
- Provide a unique username for your bot that must end with “bot” (e.g., MyAwesomeBot).
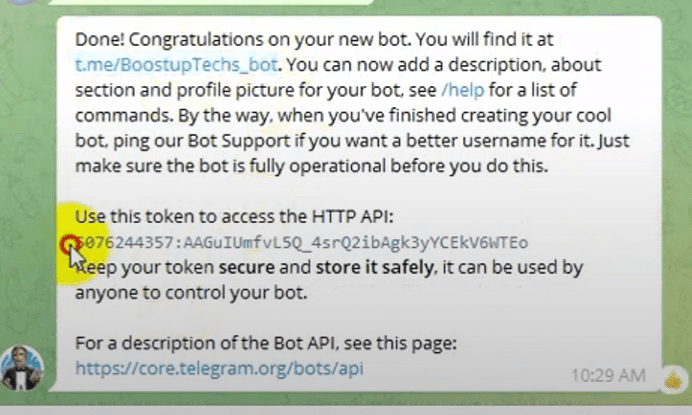
Receive Access Token:
- Once your bot is created, BotFather will provide a link to your bot and an access token. This token is essential for connecting your bot to BotCommerce.
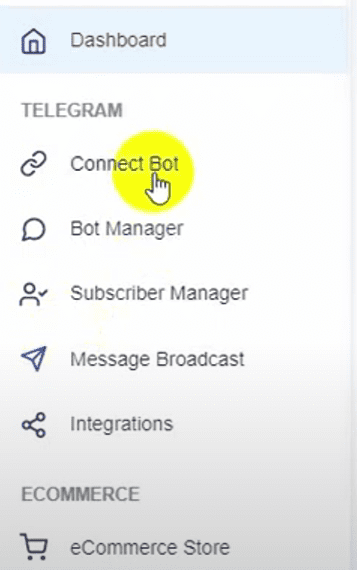
Connect the Bot to BotCommerce:
- Open BotCommerce and navigate to the Connect Bot section from the left navigation menu.
-
- Copy the access token provided by BotFather and paste it into the required field in BotCommerce.
- Click on the Connect button to link your Telegram bot with BotCommerce.

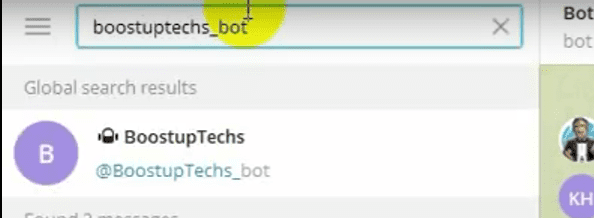
Verify Connection:
- Go to your newly created Telegram bot account and click on the Start button to initiate a conversation.

-
- BotCommerce should now be connected, and you will see a default reply set by BotCommerce.
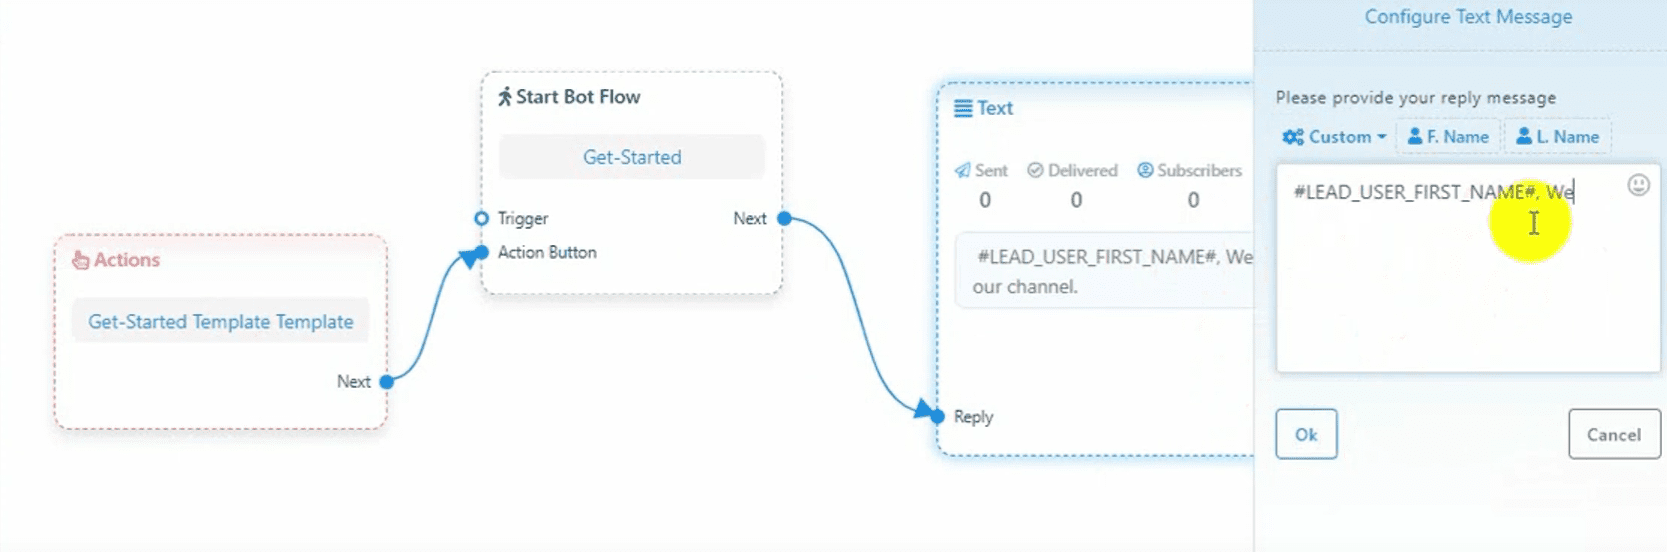
Customize Bot Replies:
- Go to the Bot Manager in BotCommerce and then navigate to Action Buttons.
- Click on the Get Started button to open the Visual Flow Builder.
- Edit the text reply as needed.
-
-
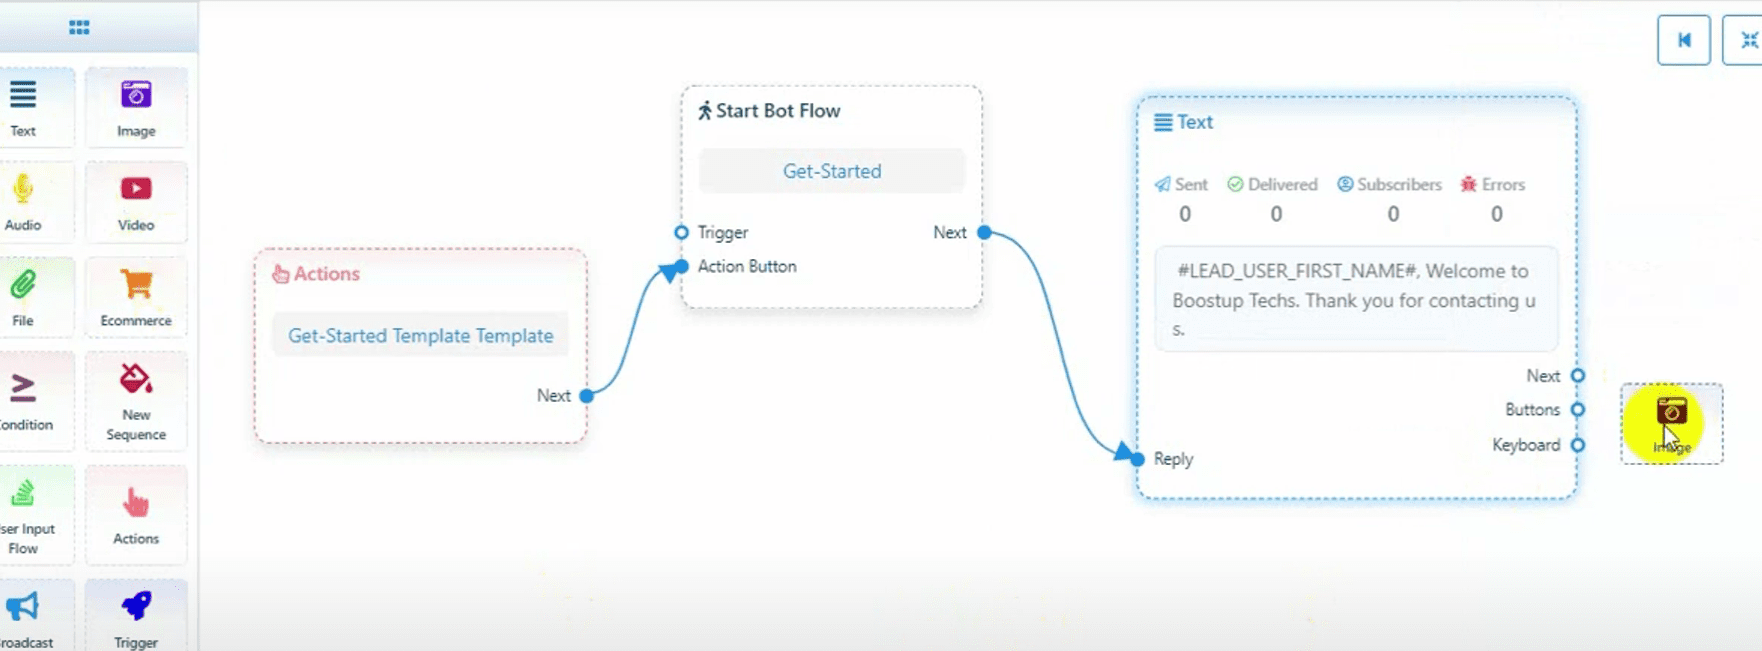
- Add more replies by dragging elements from the dock menu and connecting them to the previous replies. For example, you can add an image reply after the text reply.
-
Test the Bot:
-
- Return to your Telegram bot and click on the Start button.
- Verify that the replies you configured in BotCommerce are working correctly.
This tutorial covers the basics of creating a Telegram bot and connecting it to BotCommerce. We will create more videos to demonstrate how to use BotCommerce for managing your Telegram bot more effectively.