Hey there! One of the key features of PushAlerts is managing notifications on your websites. To make the most of this capability, you need to know how to create a notification handler. Don’t worry—this tutorial will walk you through the process step-by-step.
The main function of the notification handler is to establish where you want to receive your important notifications.
1. Get into the app. Log in with your credentials.
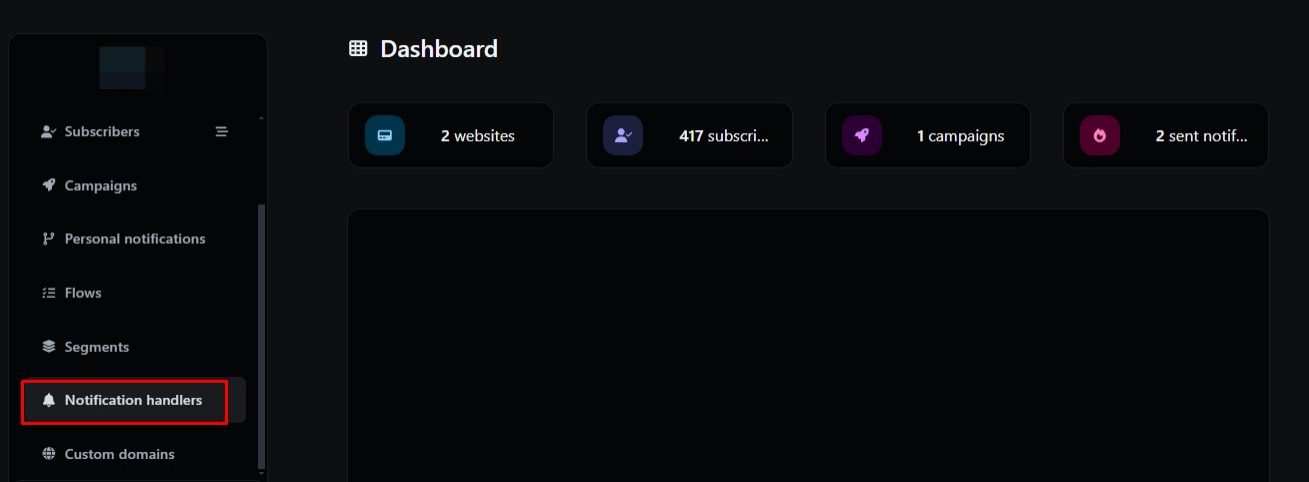
2. Go to the Notification handler section. You will find it in the dropdown menu on the left side of your screen.
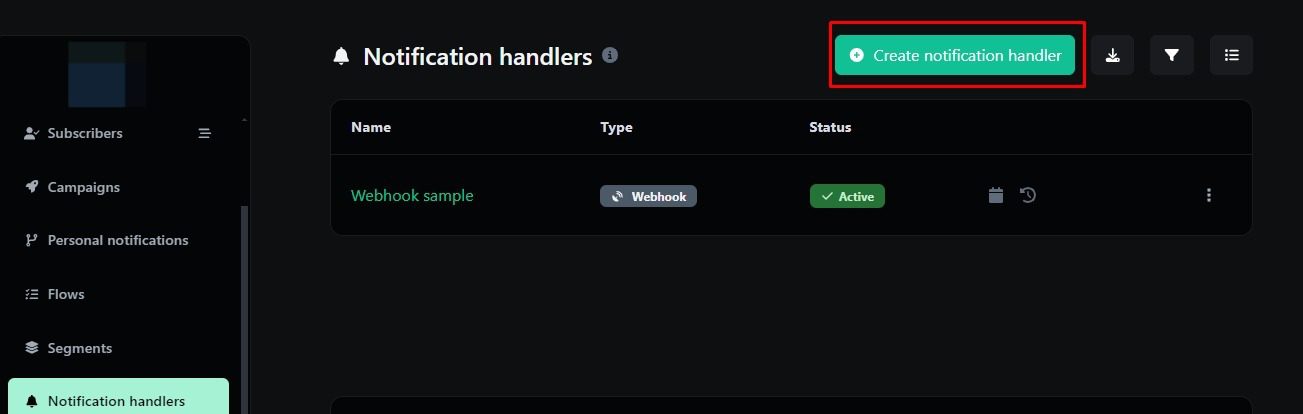
3. Click on the Create Notification handler button. You will find it in the top right side of the screen.
4. Fill in the requested information.
- Name the notification handler you are going to create.
- Notification type: Choose from different options, such as Webhook, Slack, Telegram, Discord, or Microsoft Teams.
- Webhook URL: Receive POST calls notifications to your specified webhook URL
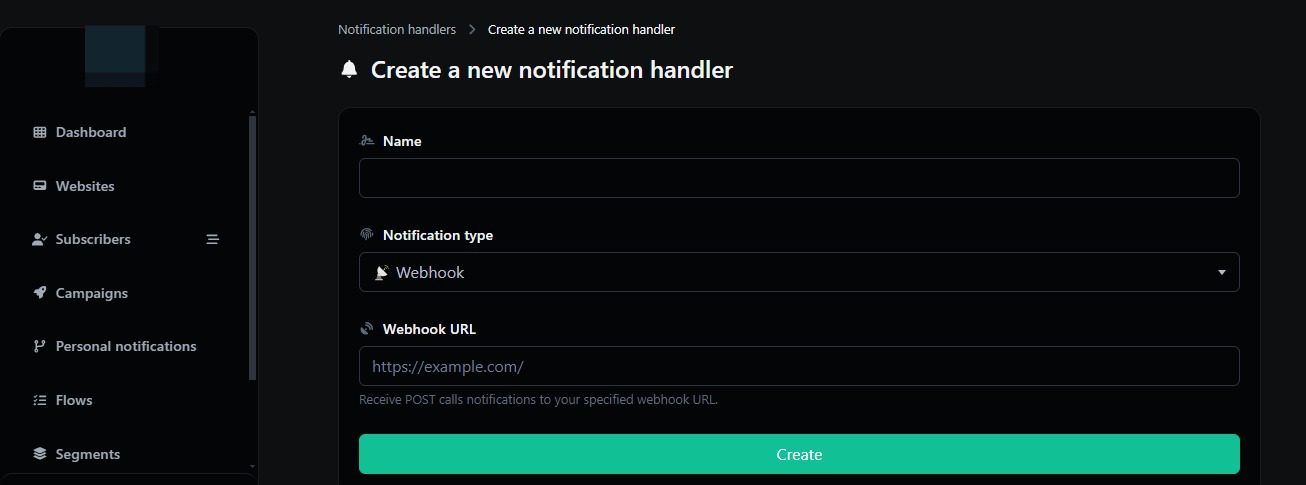
5. Click on Create button. That will be the last step for this tutorial
Congratulations! Now you know how to create a Notification handler in PushAlerts. To edit information about your notification handler, simply click on the website’s name in the notification handler section, and this will take you to the handler data.
If you have additional doubts, remember that you can always contact us.
