In this tutorial, you will learn how to create a name and username for Telegram users in BotCommerce. This process will allow you to personalize your bot and ensure better identification and management of users on the Telegram platform.
Access Bot Manager
Go to the BotCommerce dashboard.
In the left menu, click on Bot Manager.
Choose the bot you want to configure from the list.
Open User Settings
Navigate to the User Settings section of your bot.
In the User Settings, look for the Name Field.
Enter a unique and recognizable name for your Telegram bot user.
Scroll down to find the Username Field.
Enter a username that ends with ‘bot’ (e.g., MyBotUser_bot).
Telegram requires all usernames to end with “bot.”
Once the name and username are set, click on Save to apply the changes.
Test the Bot
Test the bot in Telegram to ensure the name and username appear correctly.
Your bot now has a name and username, ready for user interaction!
When prompted by BotFather, select a name that represents your bot’s function or character.
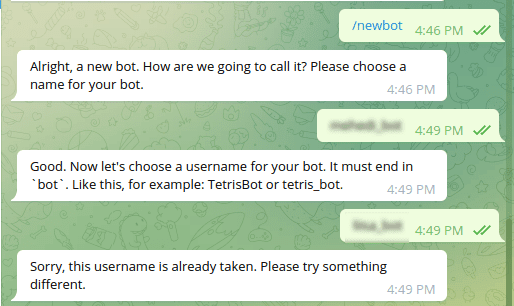
You’ll need to provide a username that ends with ‘bot’ (e.g., examplebot). This must be unique across Telegram.
Username Availability Check
If the username you chose is taken, BotFather will ask you to try a different one.
Receive Your Bot Token
Once your username is confirmed, you’ll receive a token to access the HTTP API, crucial for your bot’s operation.
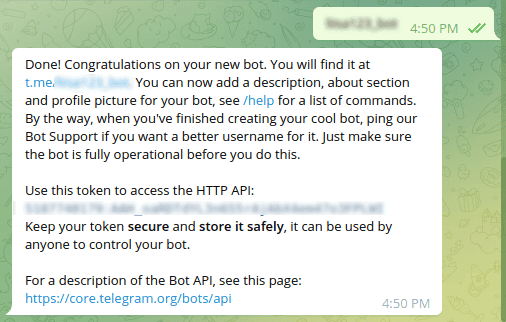
Secure Your Token
Store Your Token Safely: It’s important to keep your token secure to prevent unauthorized control of your bot.
Copy the Access Token: Make sure to copy and safely store the access token provided by BotFather.
