Click on the ‘Monitors’ button located in the left-hand menu.
Afterward, click on ‘Create Monitor’.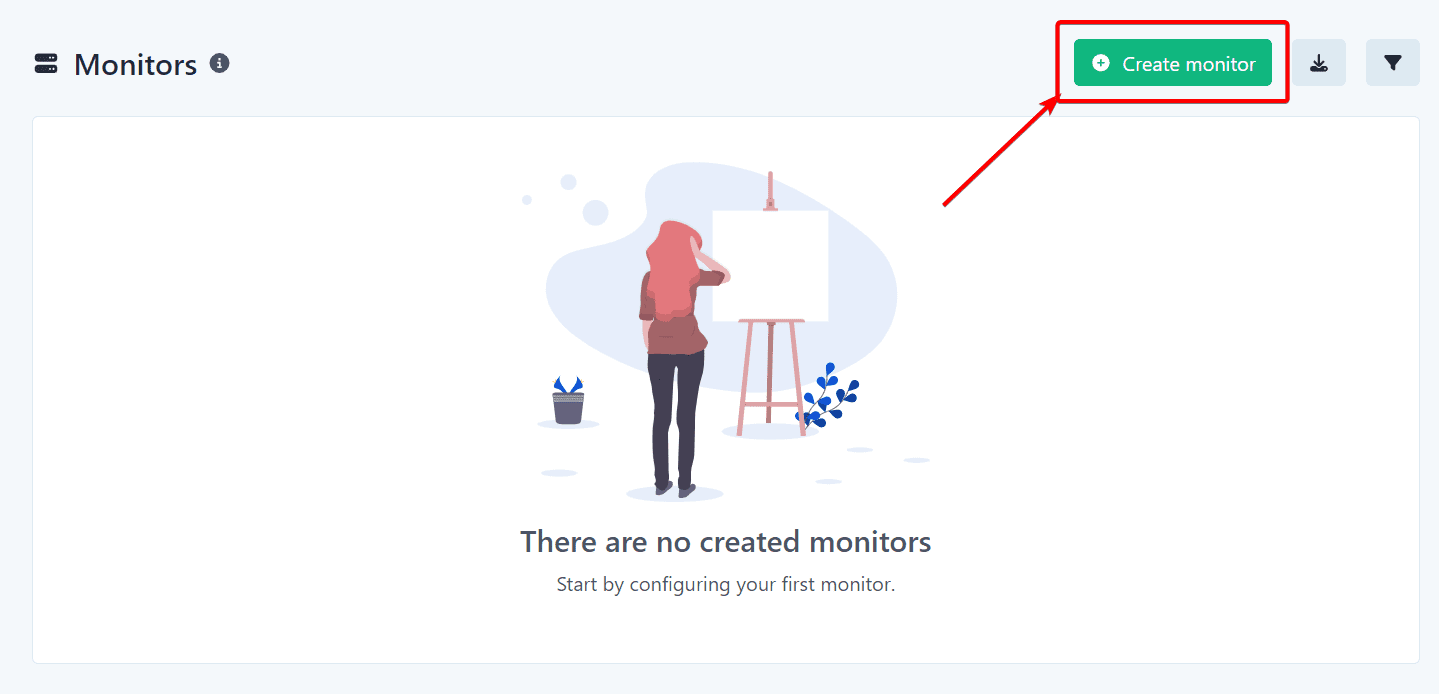
The following screen will load where you’ll need to enter a name for the monitor (1), the URL (2), the check interval (3), and finally click on ‘Create’.
💡 PRO TIP: In this window, you can also add advanced settings such as Request Method and a custom response.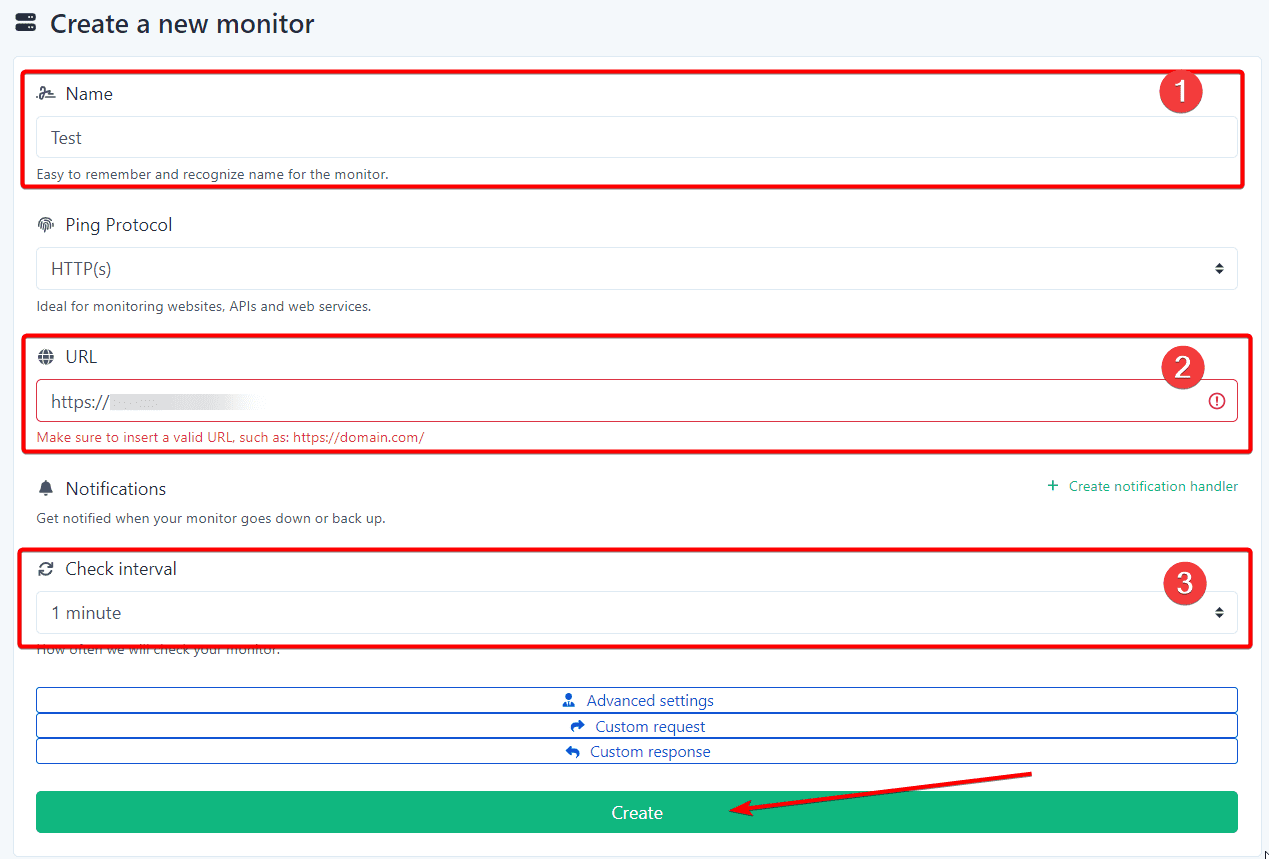
Afterward, click on ‘Create’, and your monitor will be created.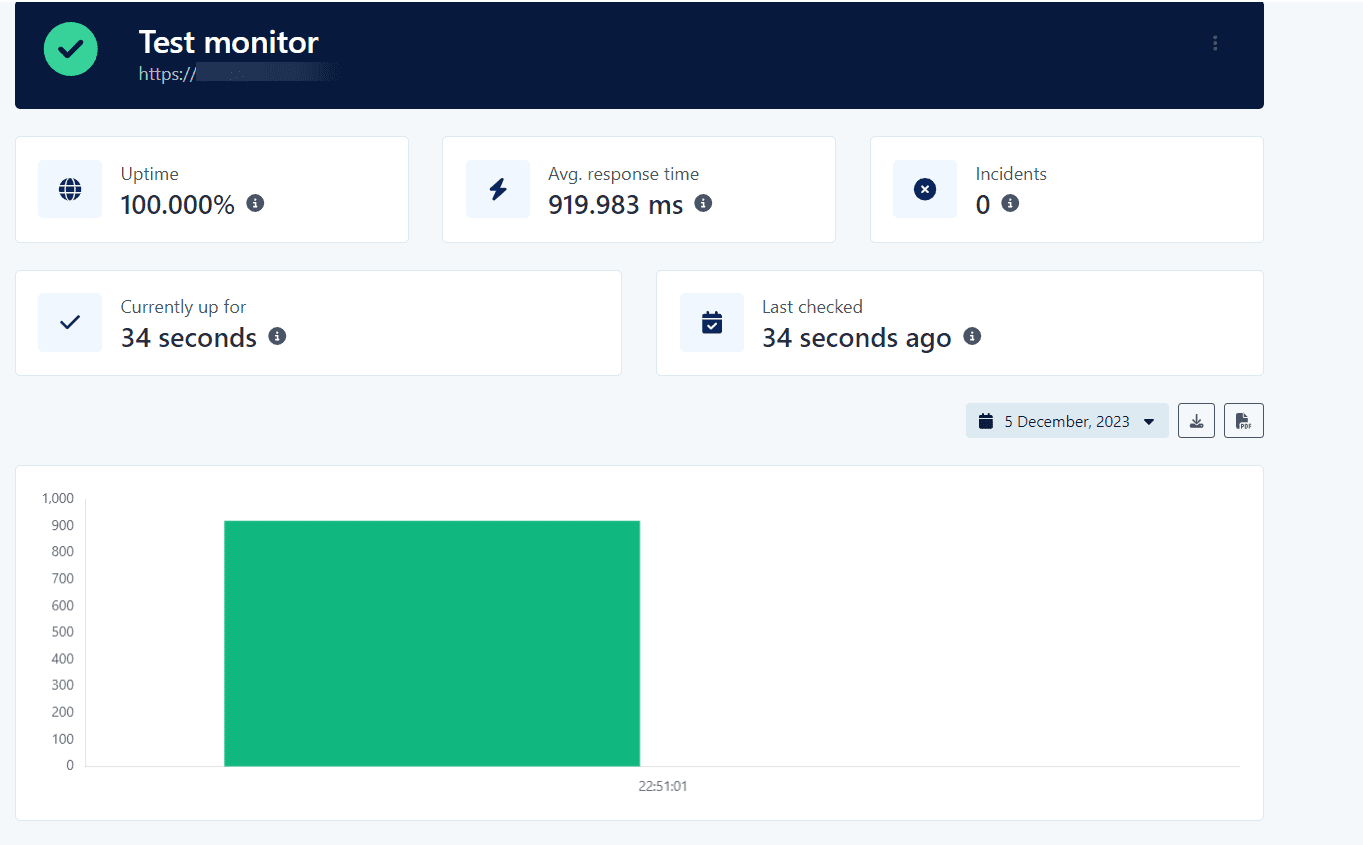
Excellent! You already have your Monitor created
