Message templates are essential for streamlined communication on WhatsApp. This guide will show you how to create and customize templates, helping you efficiently engage with your audience while maintaining consistency in your messaging.
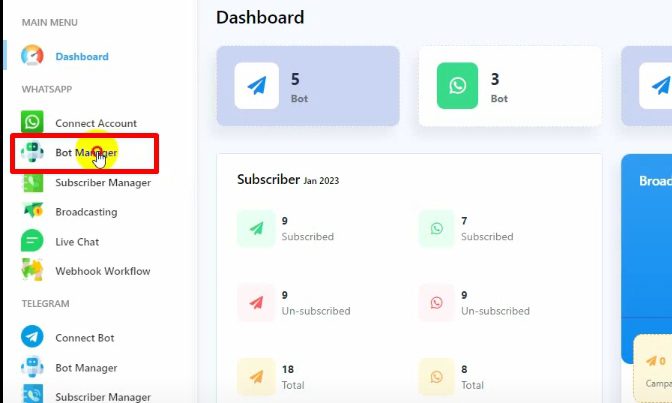
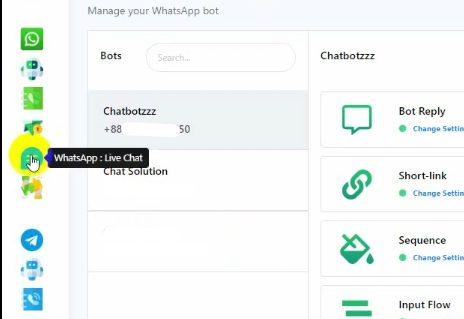
From the BotCommerce dashboard, go to “Bot Manager.”
Choose the bot account for which you want to create the message template.
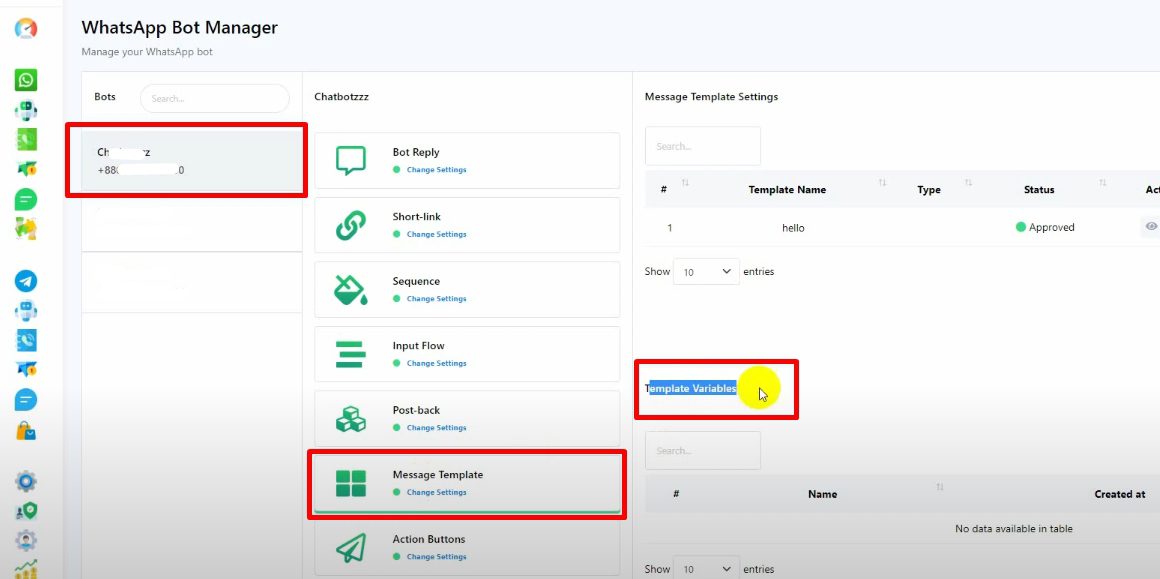
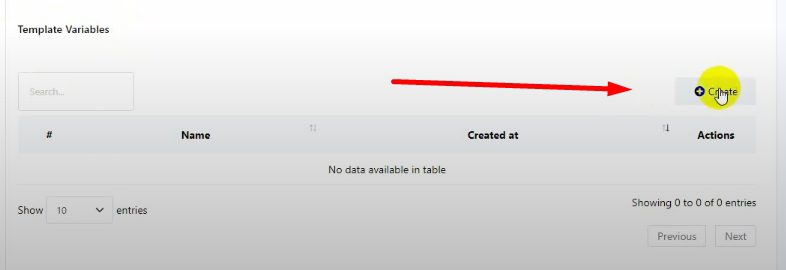
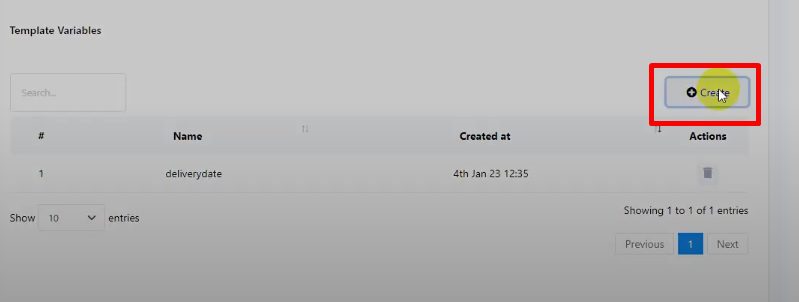
If you want to include dynamic data like delivery date or total price, use variables in the template. To create a variable:
Click “Create” under the template variables section.
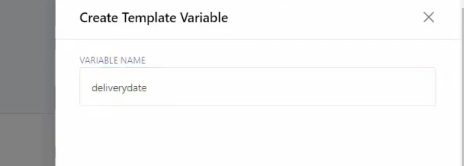
Name the variable and save it
.
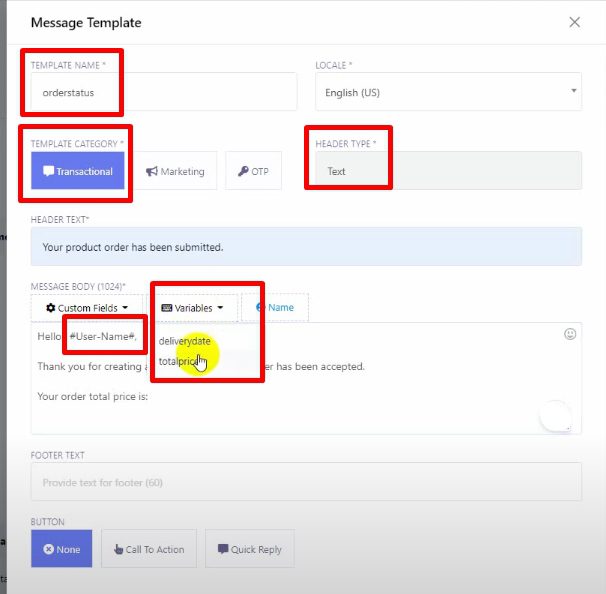
Configure the Template:
Template Name: Assign a name to the template.
Locale: Select the appropriate locale.
Category: Choose the template category (e.g., transactional).
Header Type: Select the header type (it can be text, image, video, or document).
Message Body: Write the message body and, if needed, insert variables by clicking on them.
Footer Text (Optional): You can add footer text.
Buttons: Add quick reply or call-to-action buttons. For quick reply buttons, assign a name and select the appropriate postback when using the template.
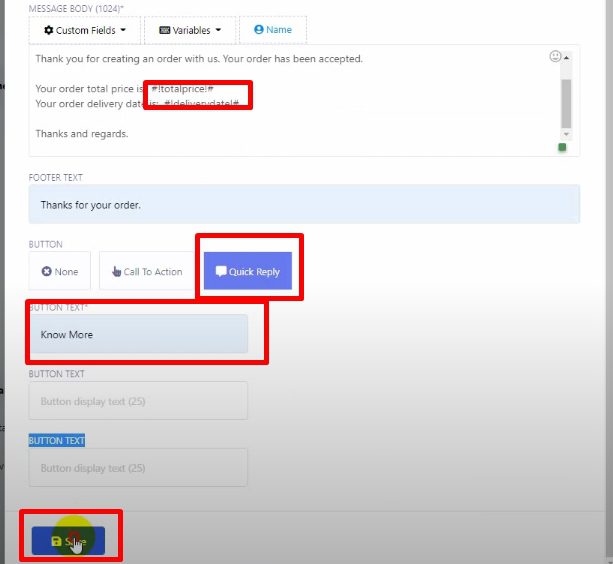
Save the Template: Click “Save.” The template will be submitted for WhatsApp approval.
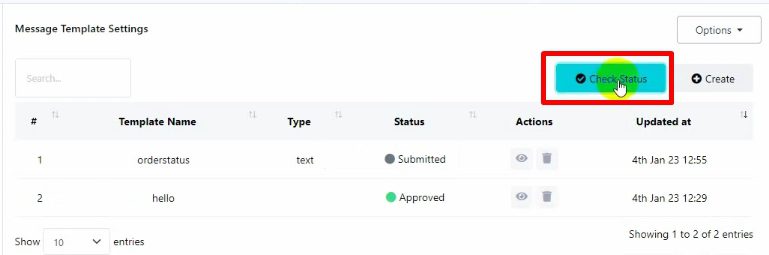
Check the Status: Ensure that the template has been approved. If it isn’t, make adjustments and try again.
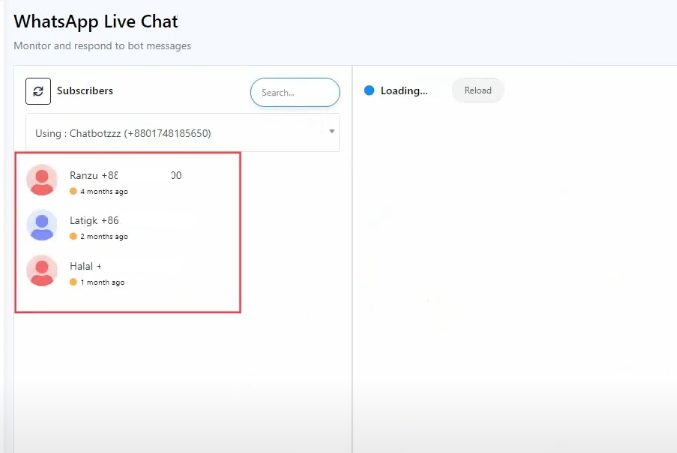
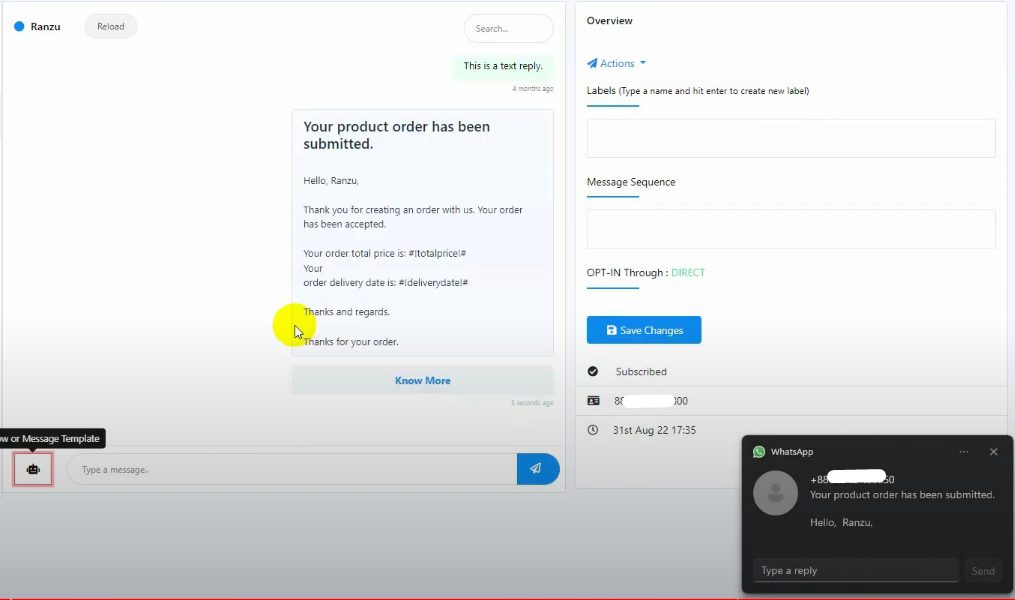
Go to “Live Chat” in BotCommerce.
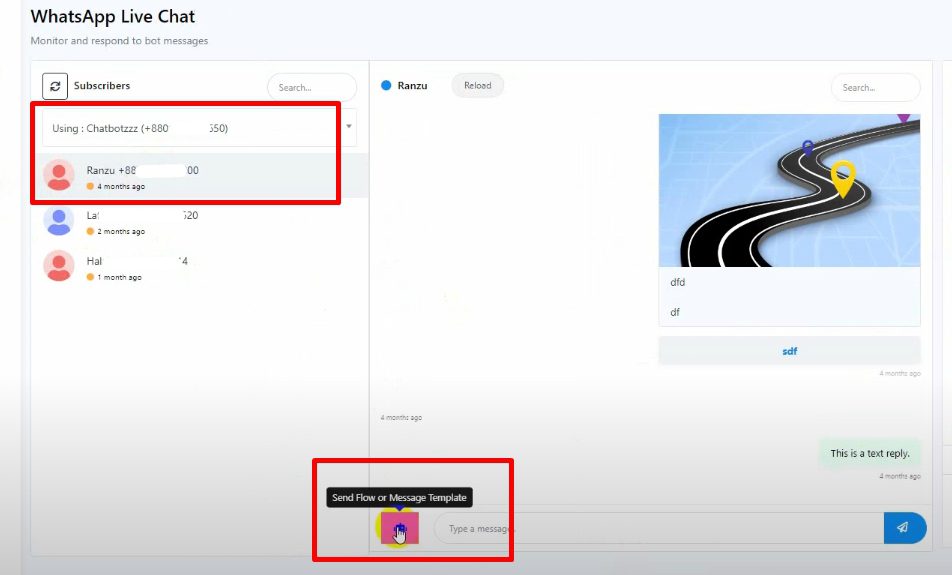
Select the user you want to send the template to.
Click “Send Flow or Message Template,” choose the created template, and assign custom values to the variables.
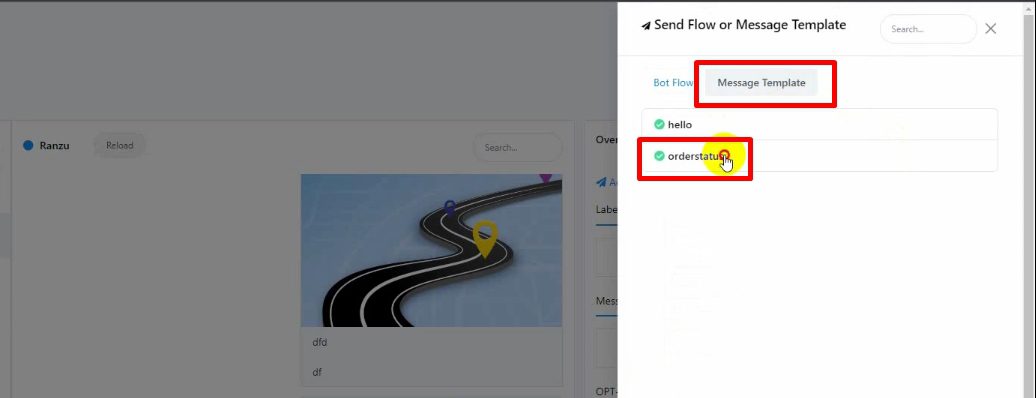
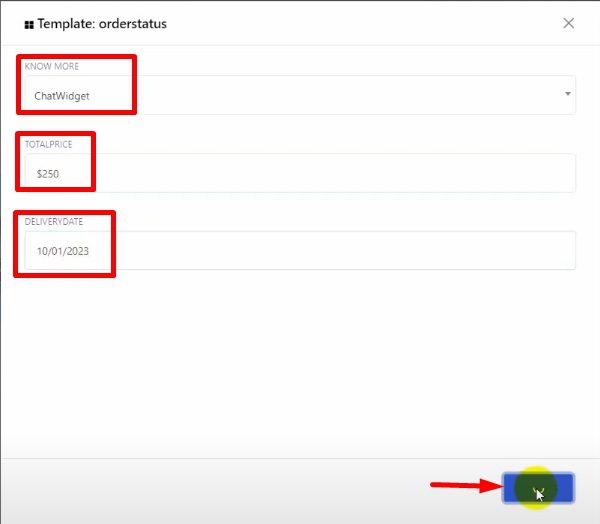
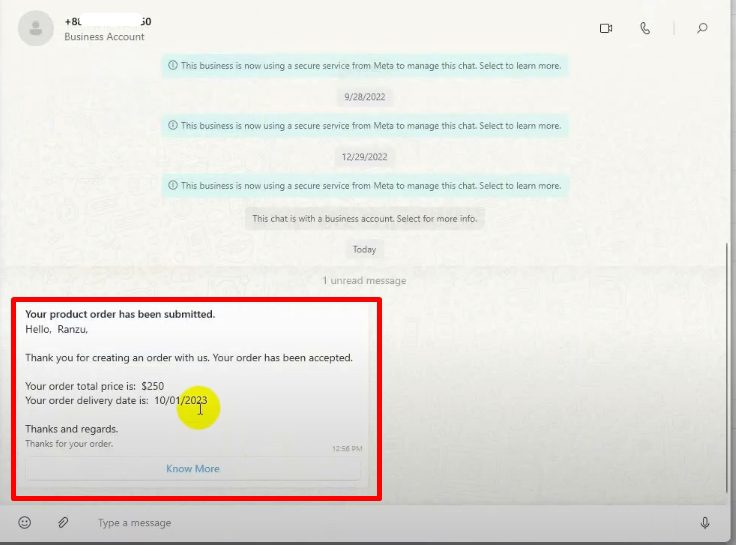
Send the message and verify that it was sent correctly.
And that’s it! You’ve now learned how to create and customize message templates for WhatsApp using BotCommerce. This will help you engage with your audience effectively while keeping your messaging consistent.
If you have any questions or need further assistance, don’t hesitate to reach out to our support team. We’re here to help!