Setting up and training an Artificial Intelligence Assistant for your social media accounts is easy with Planify X. Here’s a short video on how you can do it. If you prefer written instructions, read on!
💡PRO TIP: Play the video and select automatic subtitles to your prefered language via ‘ ‘. Click here to learn how.
Creating the Prompt
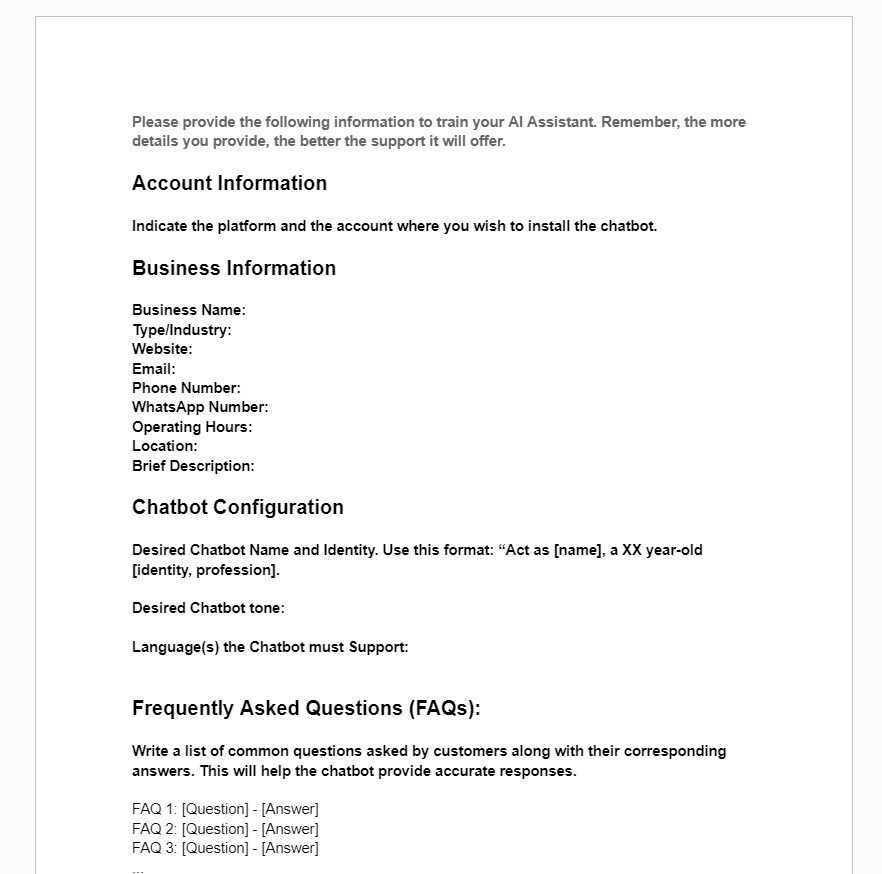
1.- Download the Training Form. First, you have to create a prompt text to train your AI Assistant. Download our AI Training Form, which contains a basic guide of the information you have to include. This is how you must fill it.
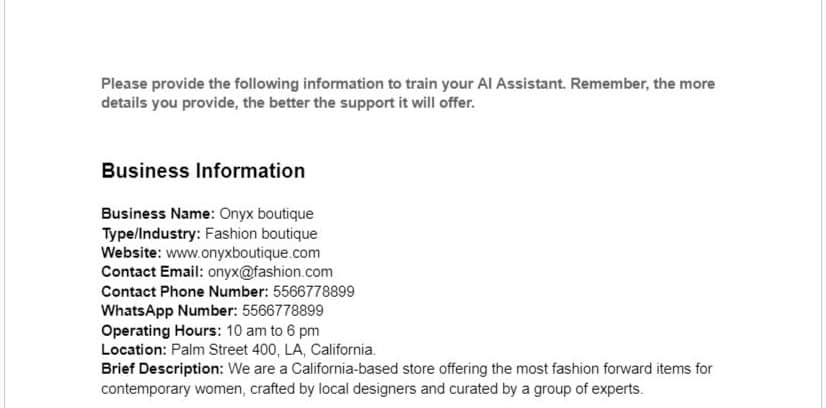
2.- Describe Your Business. In the first section, write the most relevant data your customers must know about your business. This includes its name, industry, website, contact email, phone number, WhatsApp, operating hours, and a brief description of the products or services you provide.
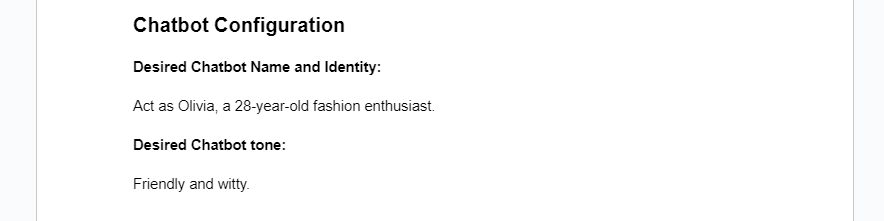
3.- Create an identity for the AI. The next section will program the AI to adopt an identity that goes with your branding. Give it a name, and describe its age, personality and area of expertise. Also, provide instructions about the tone and languages it must use. For example: “Olivia, a 28-year old fashion enthusiast, who uses a friendly tone and speaks in any language”.
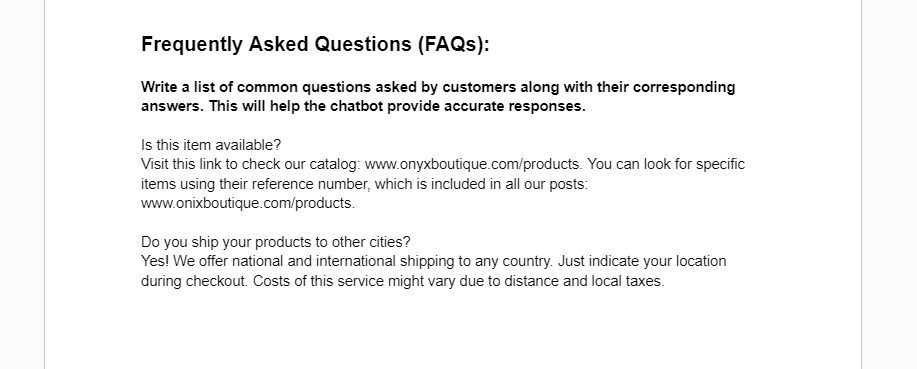
4.- Add the FAQs. The following part must contain the necessary information to answer frequently asked questions about your business. Check your previous interactions with your customers for inspiration. Include as many details as you can. The more information the AI has, the better the answers it can provide. Try writing the texts just as you would like to see them in your chatbot. A good practice is to start every description with the word “We”.
5.- Describe your offer. Describe your products and services. If you have a big catalog with tons of items, this could be a tricky part as it would be highly impractical to describe one by one, especially if you are continually adding new arrivals. So, we recommend to provide a brief, general description of the kinds of products you have, and include a link to your webpage or ecommerce.
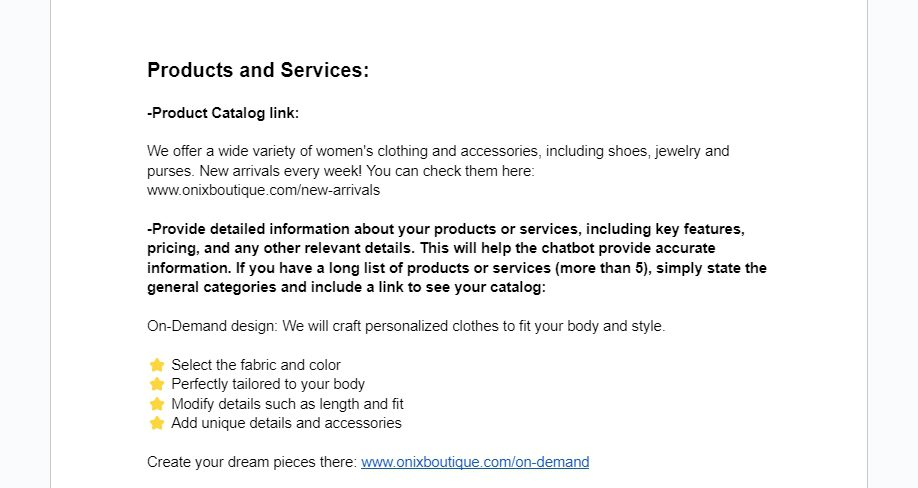
On the other hand, if you only offer some very specific services or products, you can mention them here. We suggest you to keep the descriptions brief and clear. Details can be included as lists with emojis for better results.
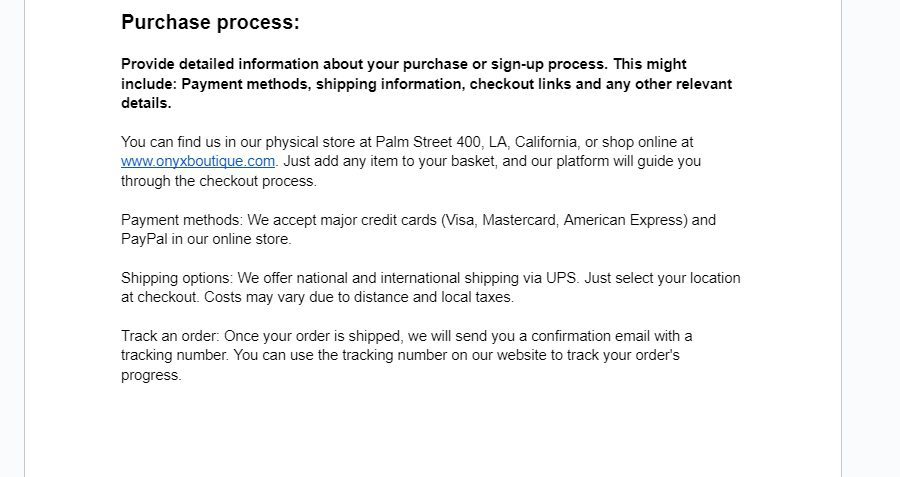
6.- Indicate your purchase process. Detail your purchase or sign-up process. Make sure to include payment methods, shipping information and, if relevant, a link to checkout. The form also includes a space for solutions to the issues your customers might face.
7.- Explain how to contact you. Finally, give instructions for when a user asks to speak with a human representative, as well as for the cases in which the AI must redirect them to the channels where they can receive human support.
When you are done, your form must look like this:

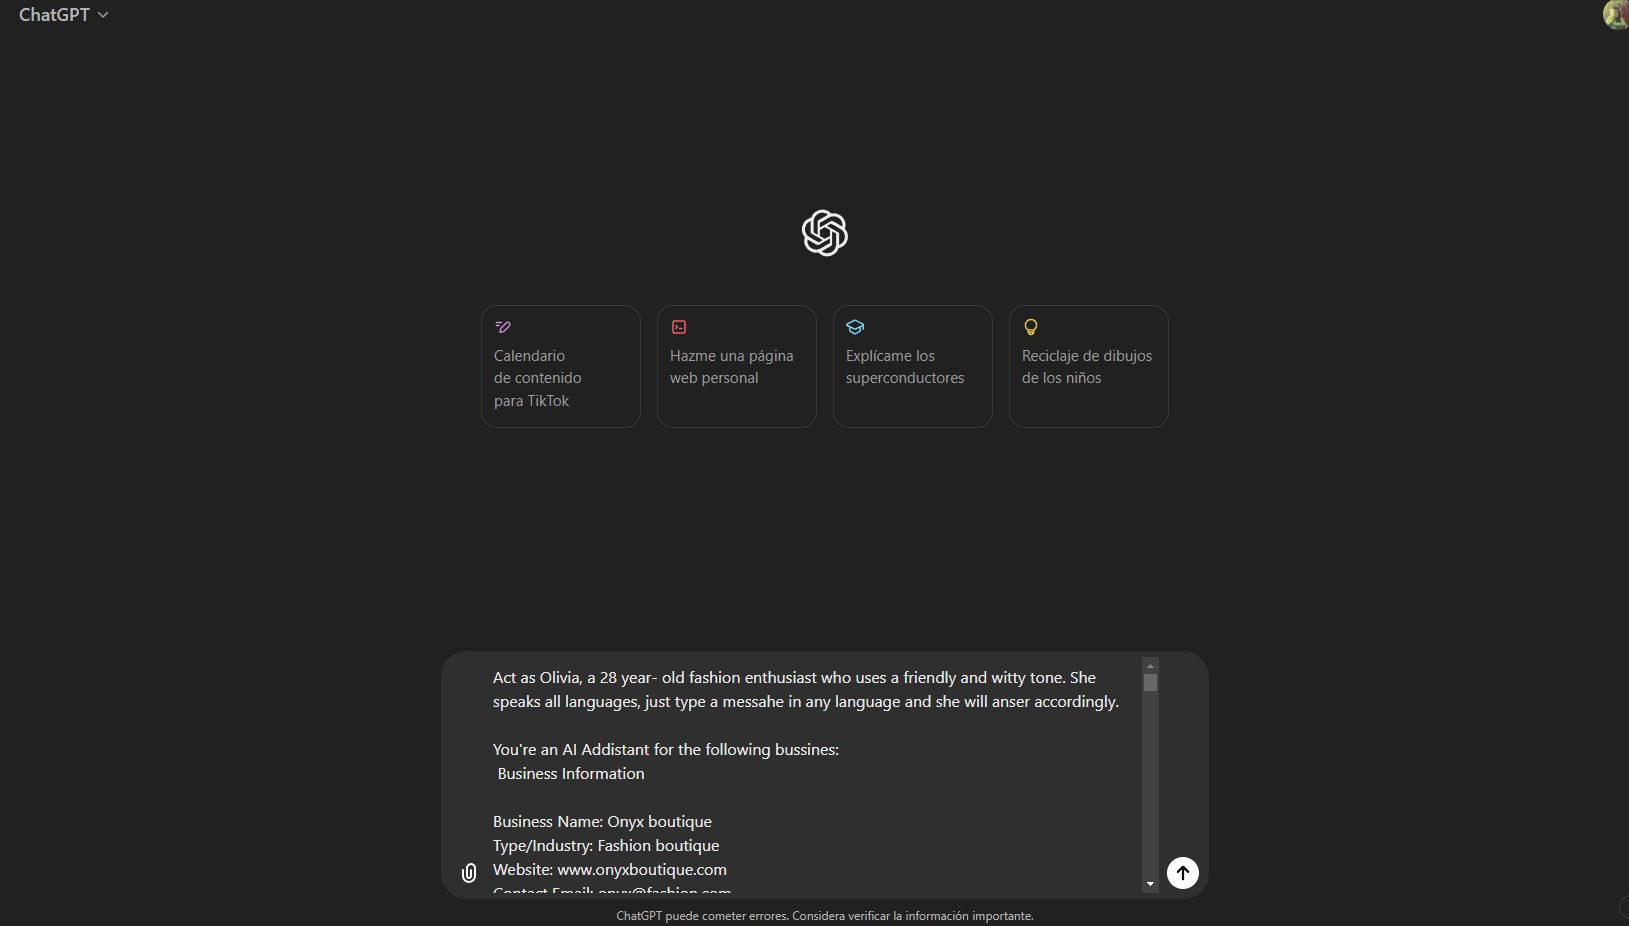
8.- Build the prompt. Now, let’s build the input for the AI. Open a new document, copy and paste the filled form. Now, take the AI Identity section, drag it to the top and use it to fill the following sentence:
“Act as [name] a [age and identity] who uses a [description] tone. He/She speaks [desired language], just type a question and she will answer accordingly. He/She is an AI Assistant for the following business:”.
For example, ours would say something like this:
“Act as Olivia, a 28-year-old fashion enthusiast who uses a friendly and witty tone. She speaks all languages, just type a message in any language and she will answer accordingly. She is an AI Assistant for the following business”
Now, go to each section and erase the instructions. Leave only the subtitles.
When you are done, copy the text and go to ChatGPT. Type the command: “Rearrange”, paste it and send. The output must be similar to the image. If it looks different, just regenerate the response.

Paste it on a new document and save. We will need it later. First, we have to set up your accounts.
Connecting your Facebook and Instagram accounts
You will need a Facebook page to connect the AI Assistant in your Messenger. Meta does not support any kind of chatbot for personal accounts. As for Instagram, the account must be linked to a Facebook page in order to use our chatbots in your DMs. This said, here are the steps to set them up:
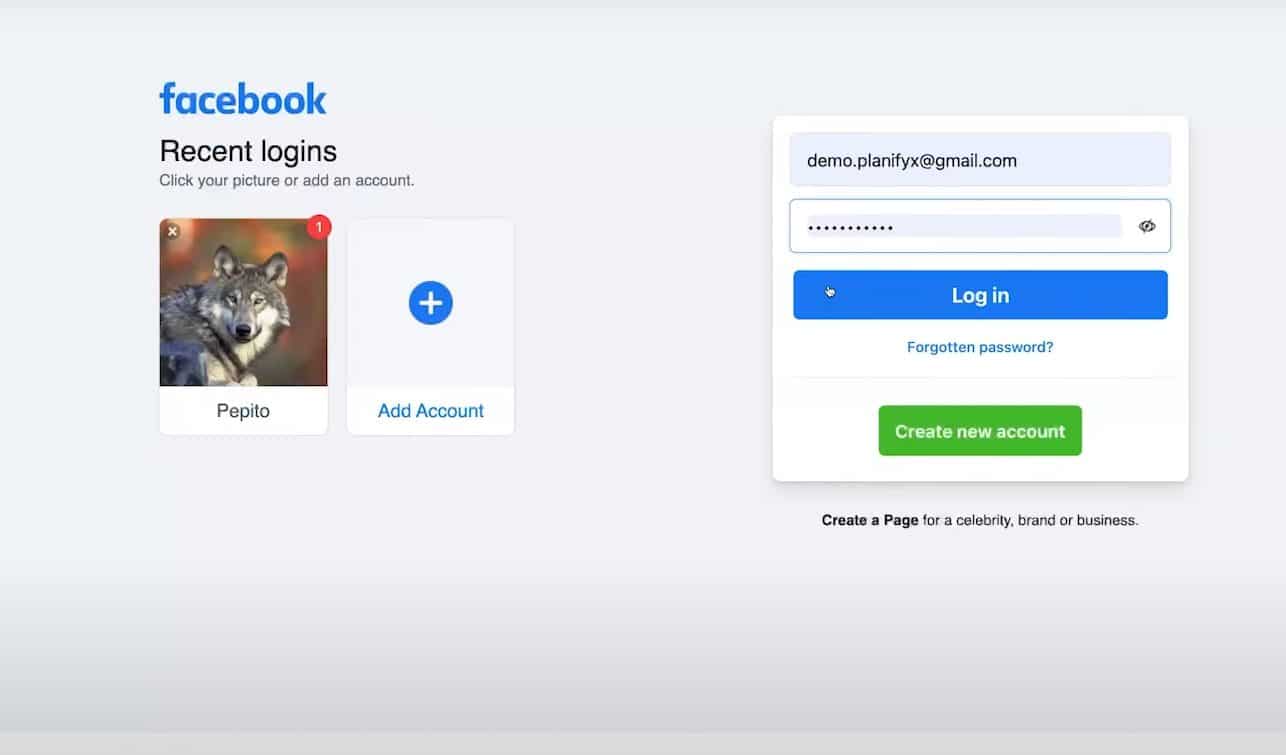
1.- Log into your Facebook account. Make sure to use your browser, and leave it open.
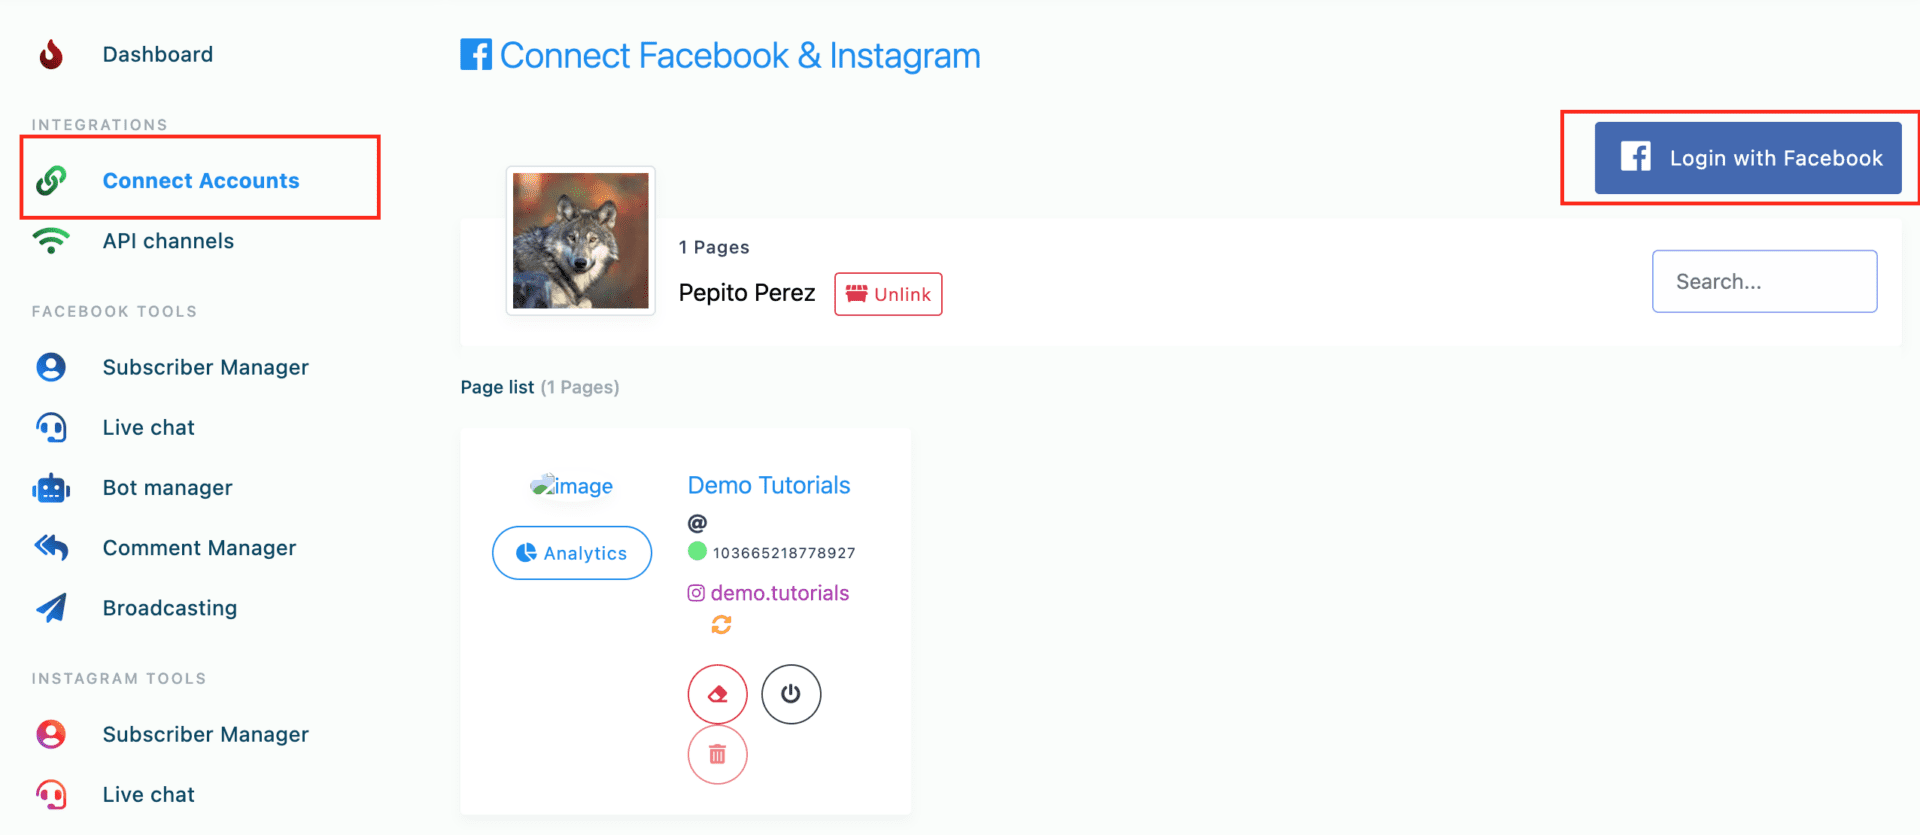
2.- Log into SalesBot. Select “Connect Accounts” at the left sidebar. Click on Login with Facebook. In the modal form, tap on “Continue As”.
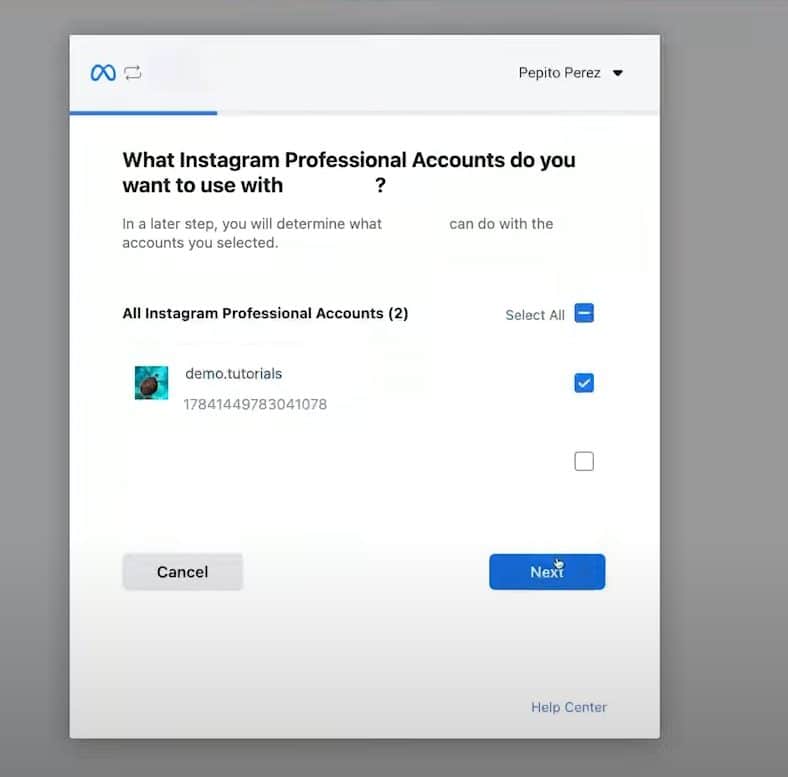
3.- Select the accounts. Select the Instagram accounts you wish to connect. Click on “next” and choose the Facebook pages you want to import. Turn on all the permissions. Click on “Done” and then on “Accept”.
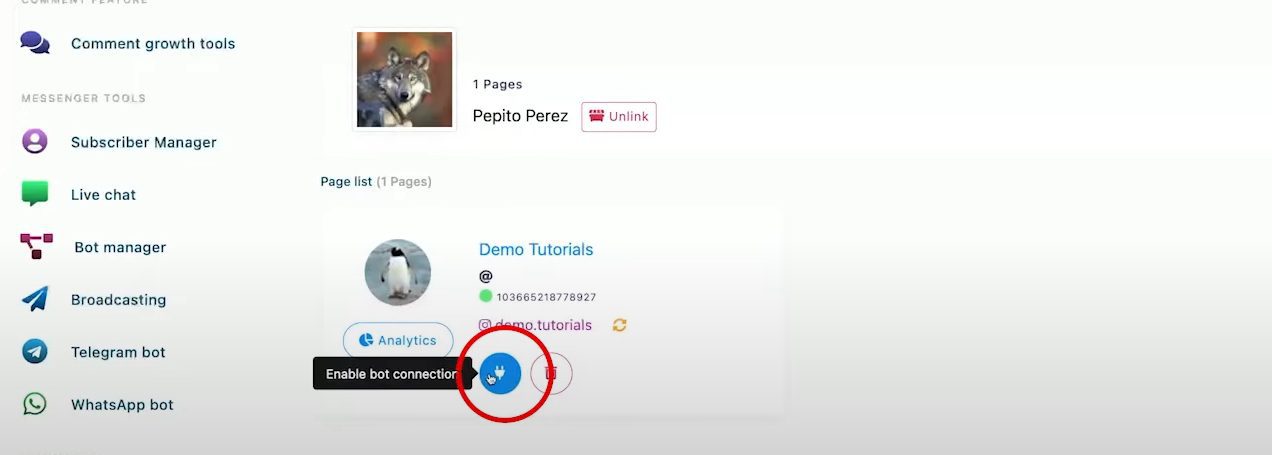
4.- Enable the connection. Back in SalesBot, click on the plug icon under the Facebook page’s name to enable the bot connection. Choose Ok on the emergent window to confirm the action, and then “Ok” again on the “Success” notification.
Setting up the AI Assistant
Now that all your accounts are set up and ready, we can program the AI Assistant.
1.- Add your OpenAI keys. The first step is to configure the OpenAI connection. Open SalesBot and click on “API channels” on the left sidebar . Scroll down until you find the “Open AI API” button. Tap on it. In the first section, add your Open AI Secret Key.
💡 PRO TIP: You must have at least $10.00 USD of credit on your OpenAI account for the API connection to work. Follow this tutorial to manage your OpenAI API Secret keys.

2.- Select the Model. On models, select the GPT version you wish to use. You can find the characteristics and costs of each in the OpenAI documentation.
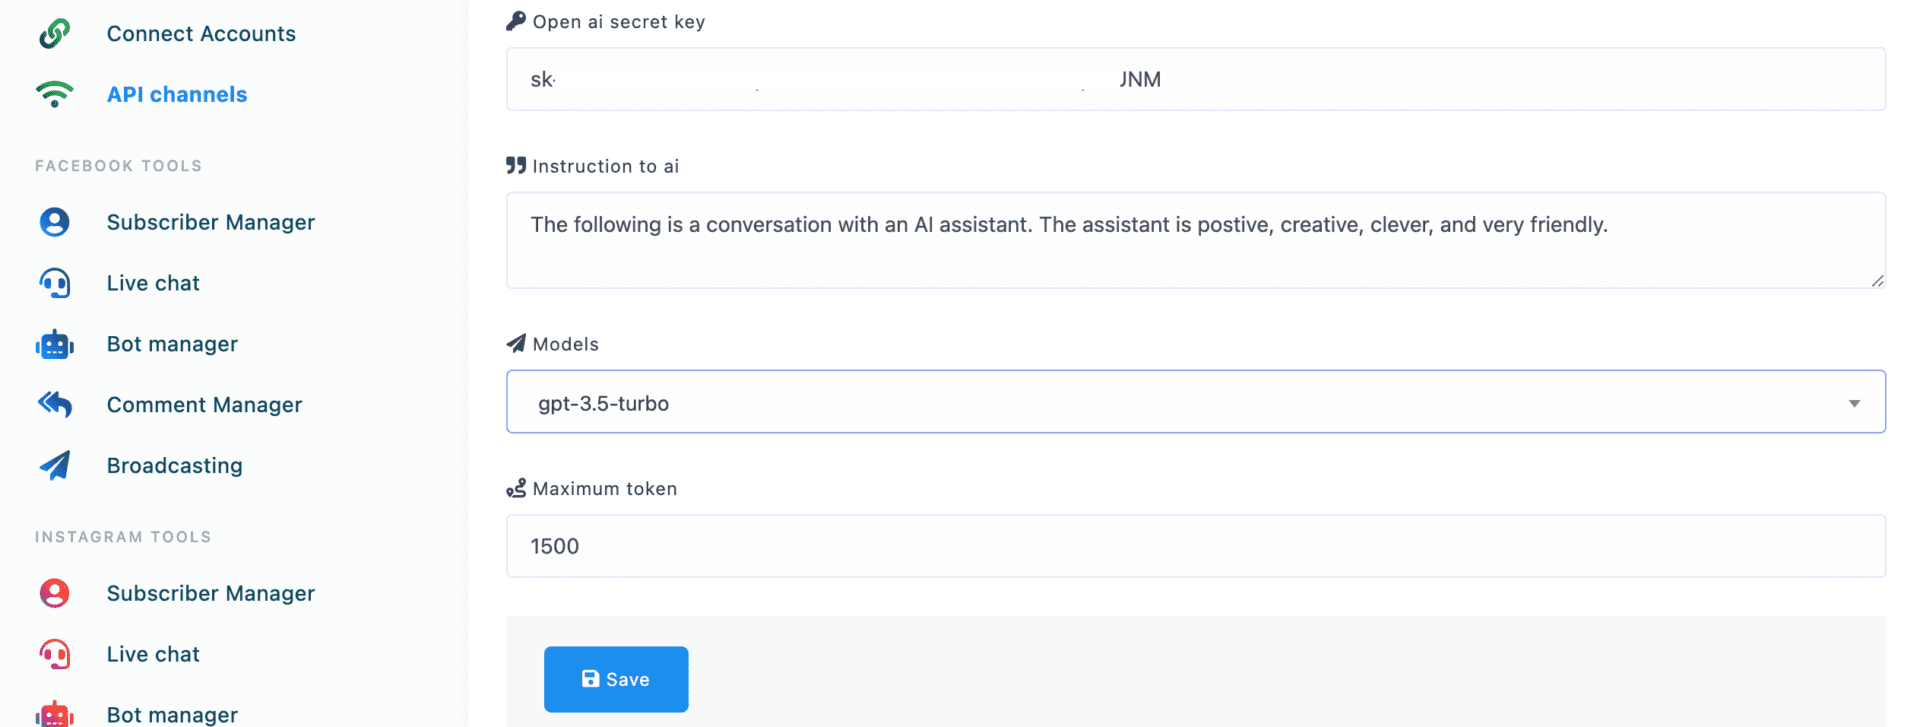
3.- Add the general instructions for the AI. In the upper box, you will see a paragraph with a prompt for OpenAI. Here you will write the general instruction for the AI to act as an assistant. Following our example, you would add something like this:
“The following is a conversation with an AI assistant. The AI Assistant is friendly and professional. It uses emojis and phrases as stated in the conversation. Act as that AI Assistant.”

Save. Finally, you must configure the Assistant in each platform as stated next.
Facebook Messenger
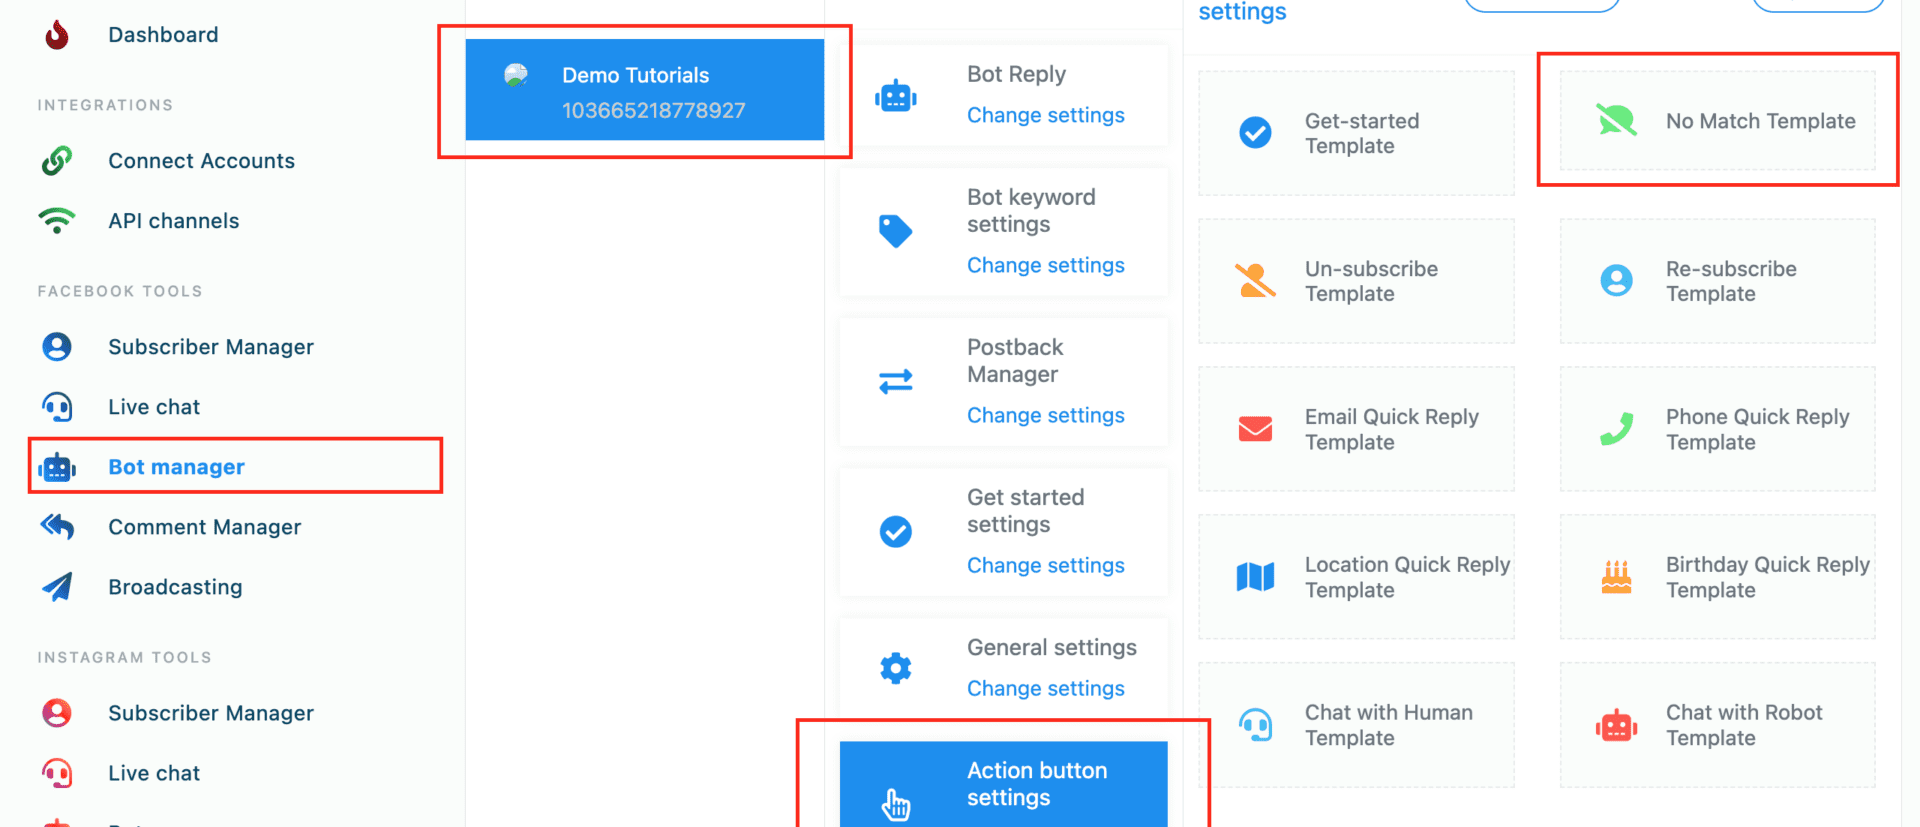
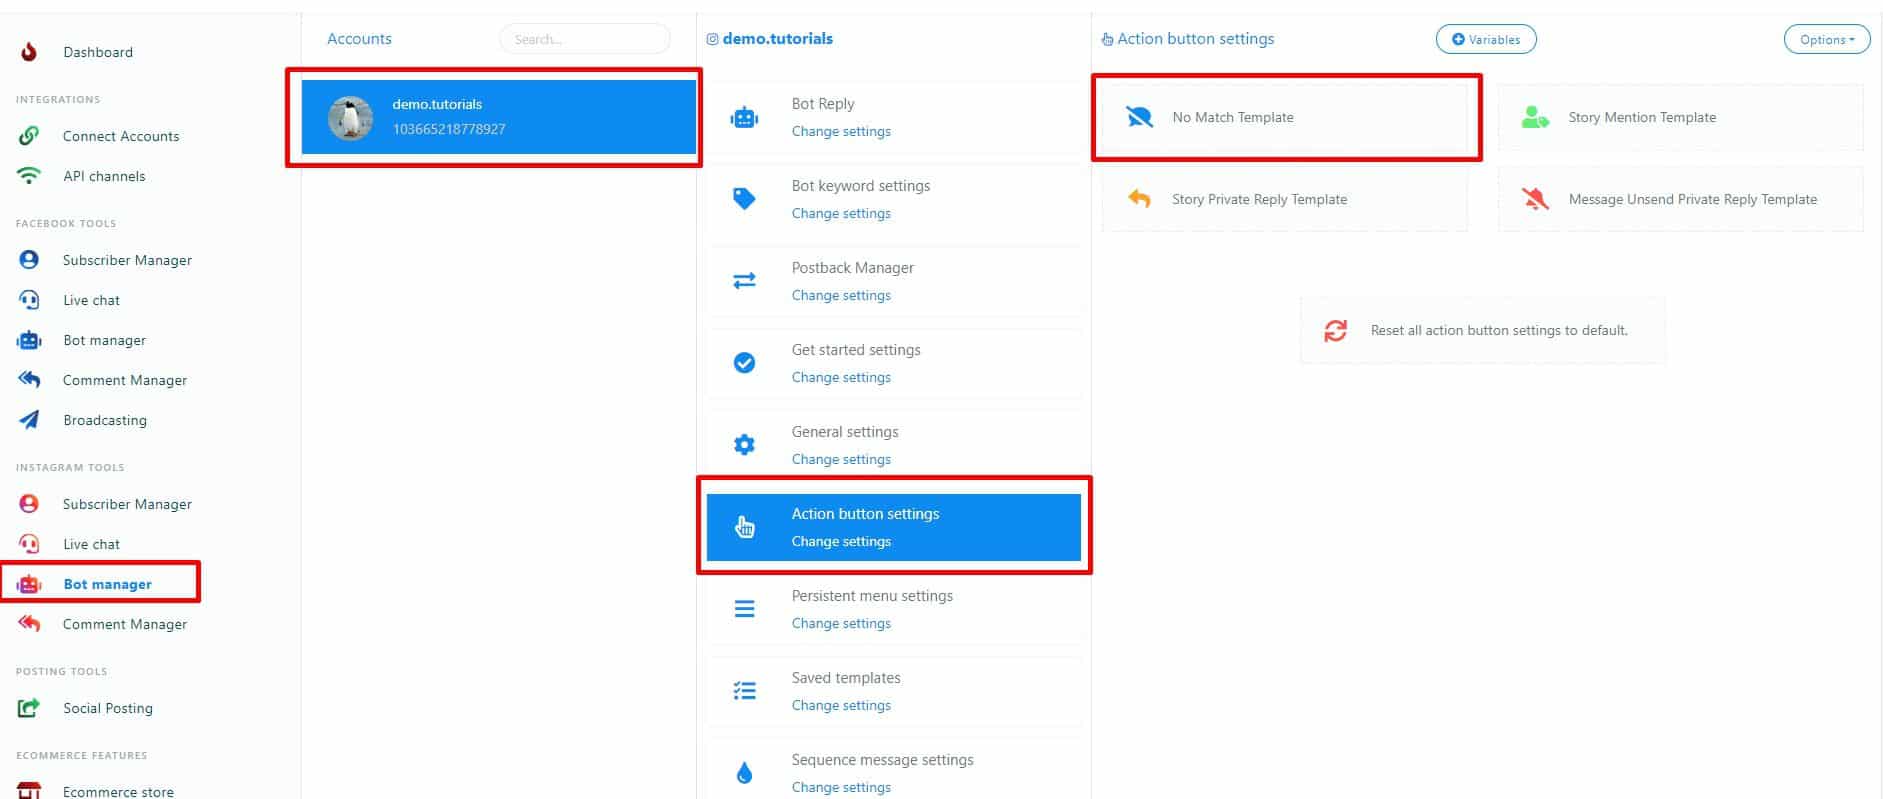
1.- Go to the Facebook Bot Manager on the left sidebar. Look for the page where you wish to connect the AI chatbot and select it.
2.- Go to Action Button Settings. Click on “change” and select the No Match Template option to open the Flow Builder.
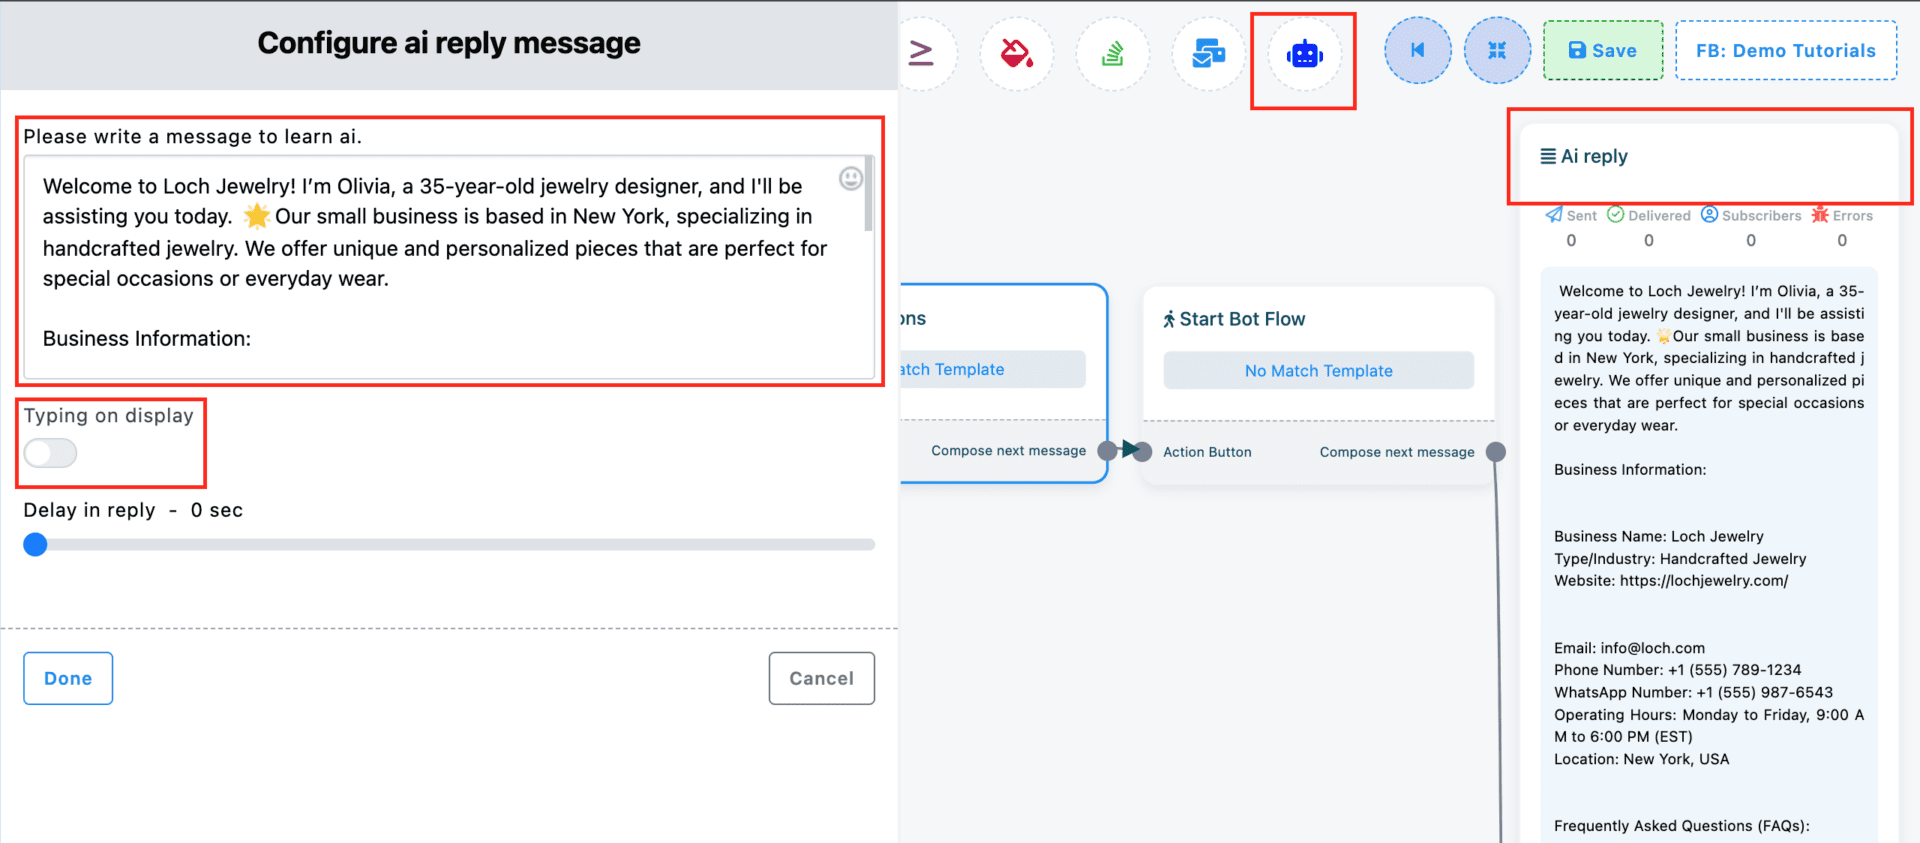
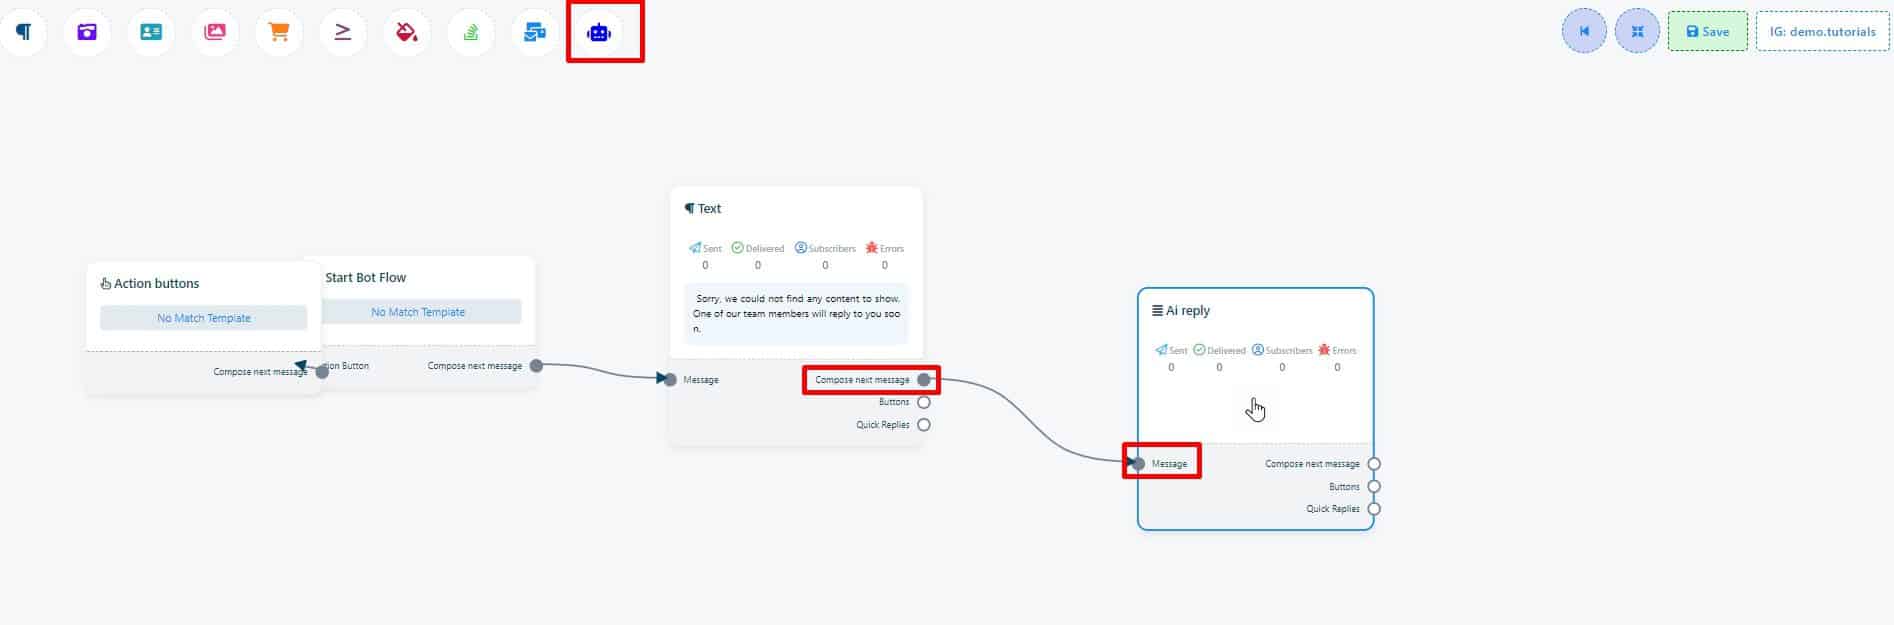
3.- Create the flow. Drag the AI reply component from the right sidebar into the Visual Flow Builder Editor. Connect it to “start Bot Flow”. Delete any additional blocks.
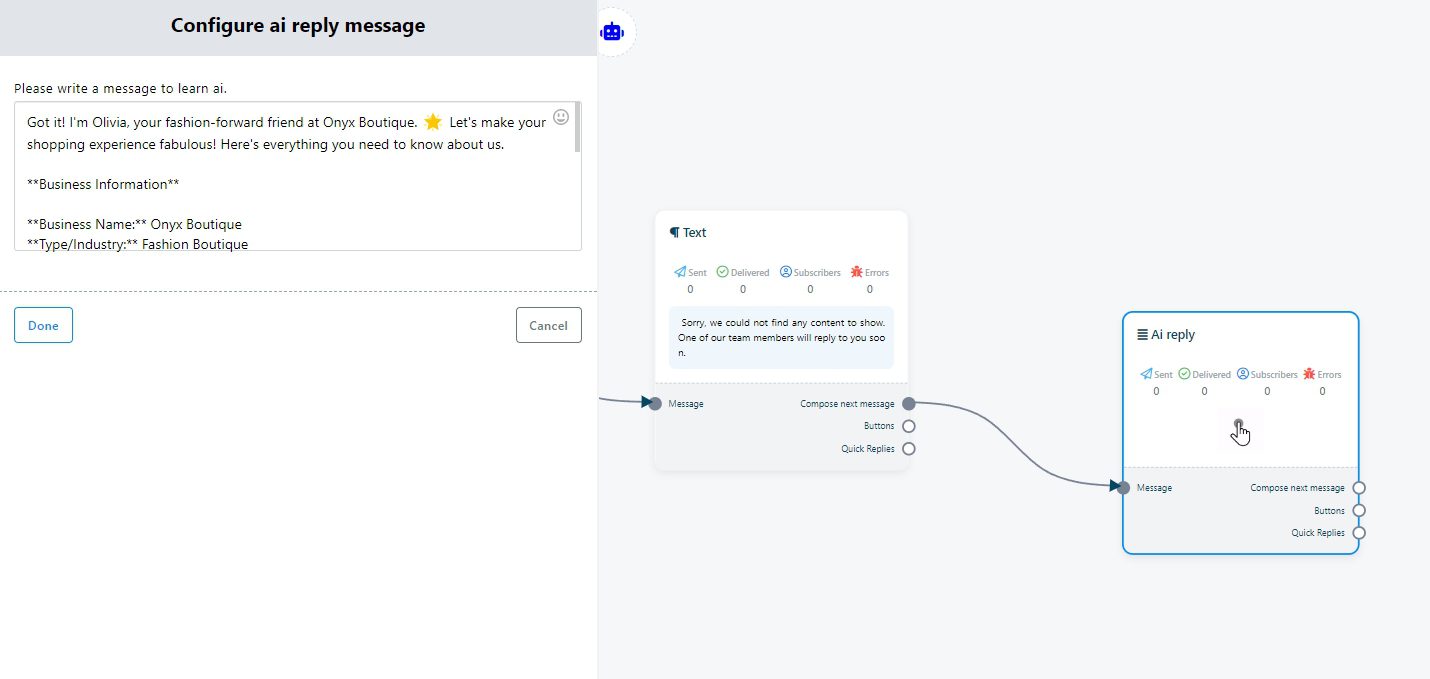
4.- Add the training. Double click on the component to edit it, and paste the text to train the AI. Here you can also choose to add a delay of some seconds, as well as turn on the typing on display toggle, to make it appear more human-like. Click on “Done” and then on “Save”.
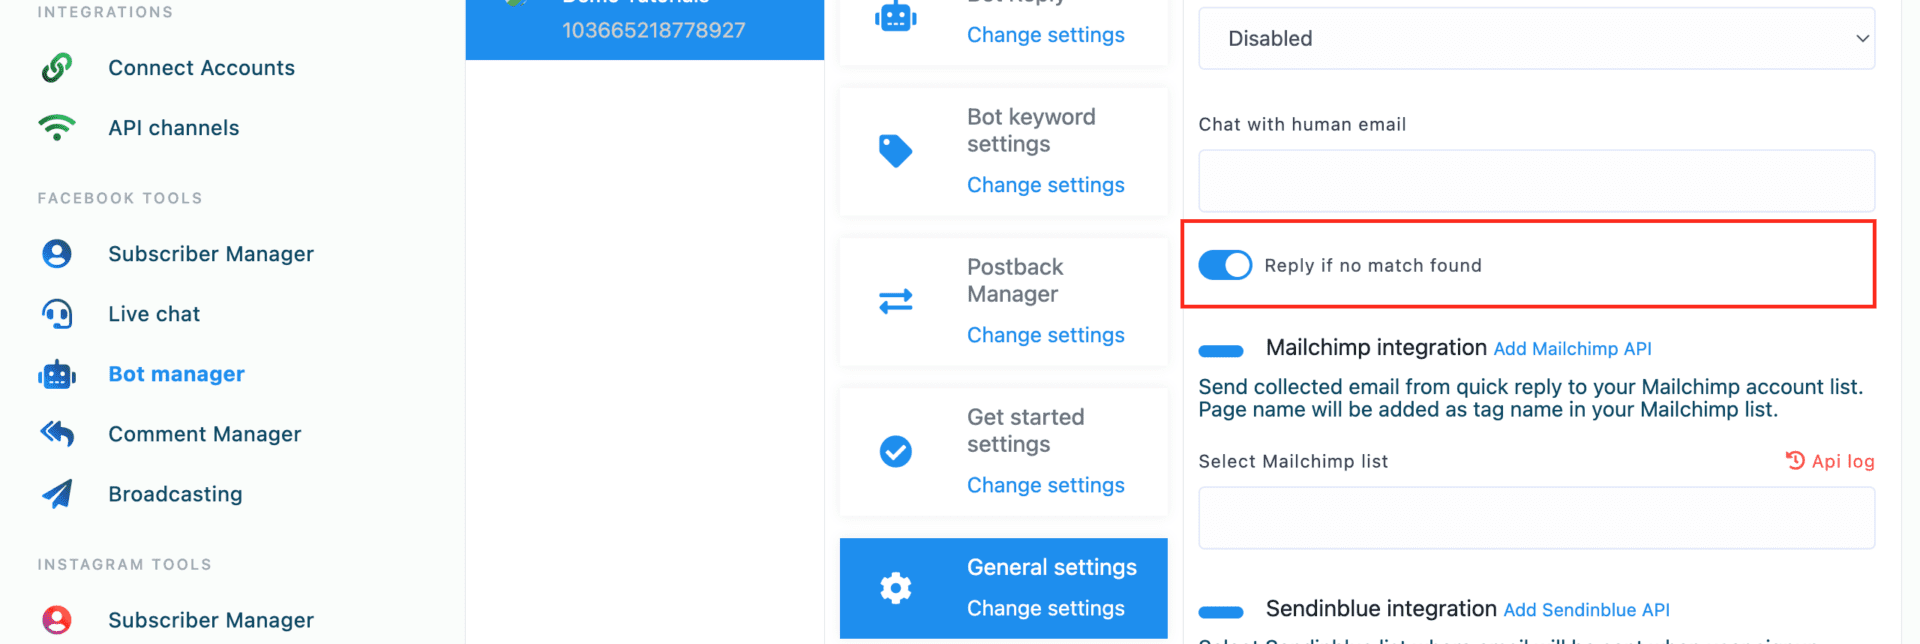
5.- Turn on the No Match Template. Go back to the Bot manager. Click on “General Settings”, then on “change”, and enable the “Reply if no match found” option. Save.
Instagram DMs
1.- Go to the Instagram Bot Manager on the left sidebar. Look for the page where you wish to connect the AI chatbot and select it.
2.- Go to Action Button Settings. Click on “change” and select the No Match Template option to open the Flow Builder.
3.- Create the flow. Drag the AI reply component from the right sidebar into the Visual Flow Builder Editor. Connect it to “start Bot Flow”. Delete any additional blocks.
4.- Add the training. Double click on the component to edit it, and paste the text to train the AI. When ready, click on “Done” and then on “Save”.
5.- Turn on the No Match Template. Go back to the Bot manager, click on “General Settings”, “change”, and then enable the “Reply if no match found” option. Save.

Facebook Comments
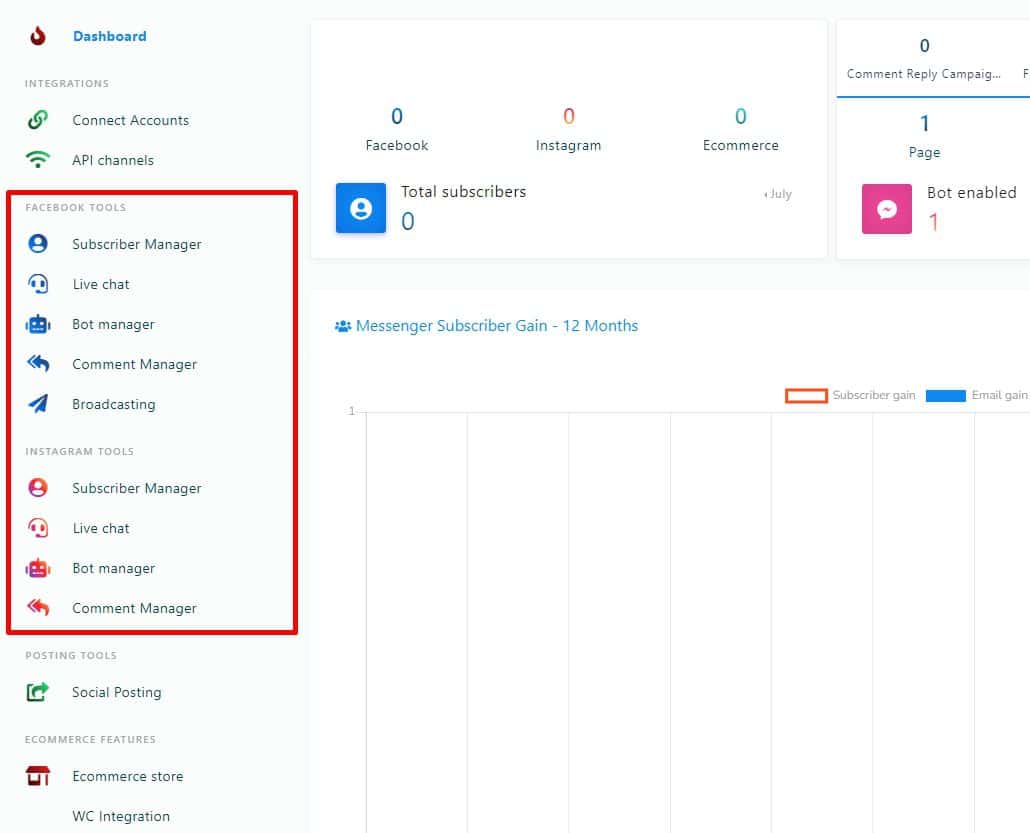
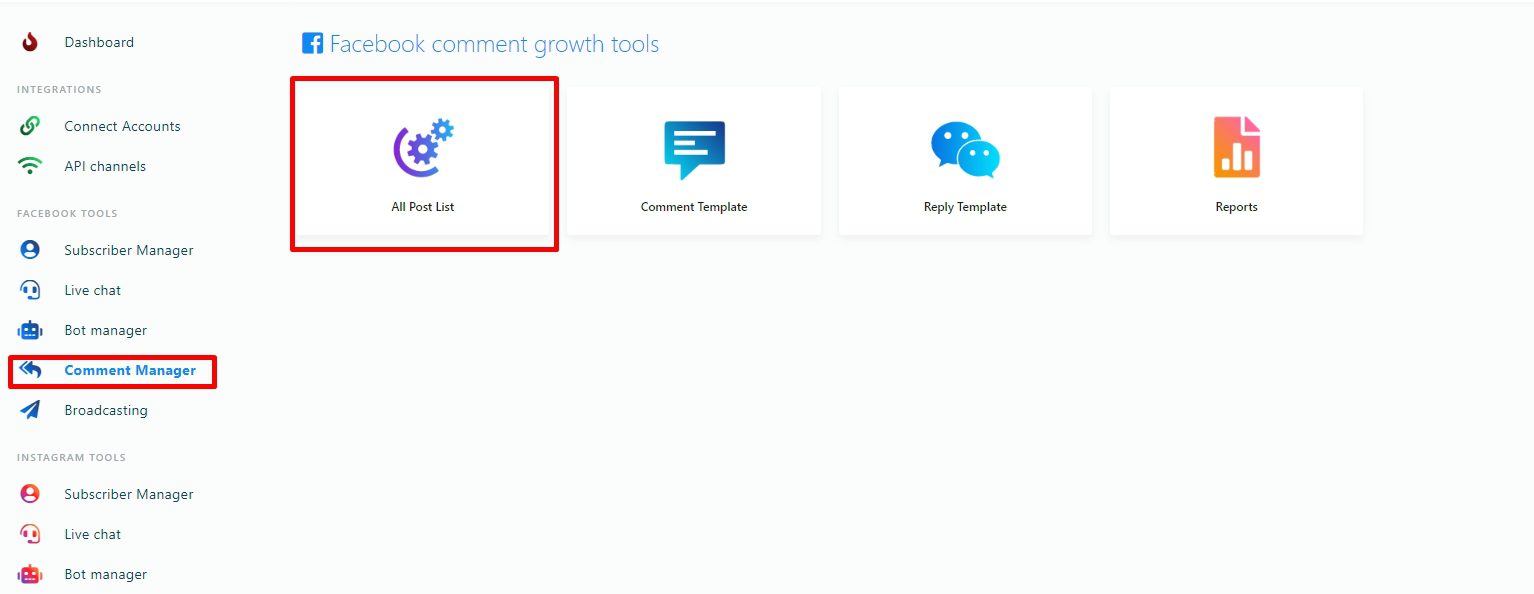
1.- Create a campaign. Go to the comment growth tools section on the left sidebar of your dashboard. Click on “campaigns”. Choose Facebook on the upper switch. Select the account where you wish to set up the Assistant.
2.- Edit the Full Page Reply. In the middle section of the page you will find a button named “Edit full page reply”. Click on it. In the modal form, enable comment-reply. Indicate if there should be multiple answers for a single user, and if you want to like their responses.

3.- Configure the AI training. Select the Automatic reply by AI option.Write a name for the campaign, and in the “AI training data” box, paste the prompt.
4.- Add an automatic DM. Optionally, add a private reply template to send via DM to those users who comment, and submit.
5.- Enable the reply. On the same page, turn on the “Full page campaigns” switch. When you are done, you will be able to write a message in any of these and the AI Assistant will answer.
