Unlike Android or desktop browsers, iOS and iPad require extra settings to allow web push notifications. Since iOS does not support push notifications for regular websites, you need to turn your site into a Progressive Web App (PWA) by creating a manifest.json file. This file helps iOS recognize your website as an app when users add it to their home screen. Follow these steps to configure it correctly.
Go to Website in the left sidebar (your platform must be in Web Push Notification mode). Scroll to the iOS/iPadOS Configuration section and fill in the required fields:
- Short Name: A brief app name.
- Full Name: The complete app name.
- Start URL: The domain and slug of the page where the app should open when launched from the home screen.
- Background & Theme Colors: Define the app’s appearance.

Enable the Home Screen Display Guidance. iOS requires users to manually add the PWA to their home screen to allow push notifications. Set up the pop-up guide prompting users to tap Add to Home Screen. This will ensure they complete the necessary step to activate notifications.

Once the configuration is complete, click on Save to create the manifest.json file. Download it.

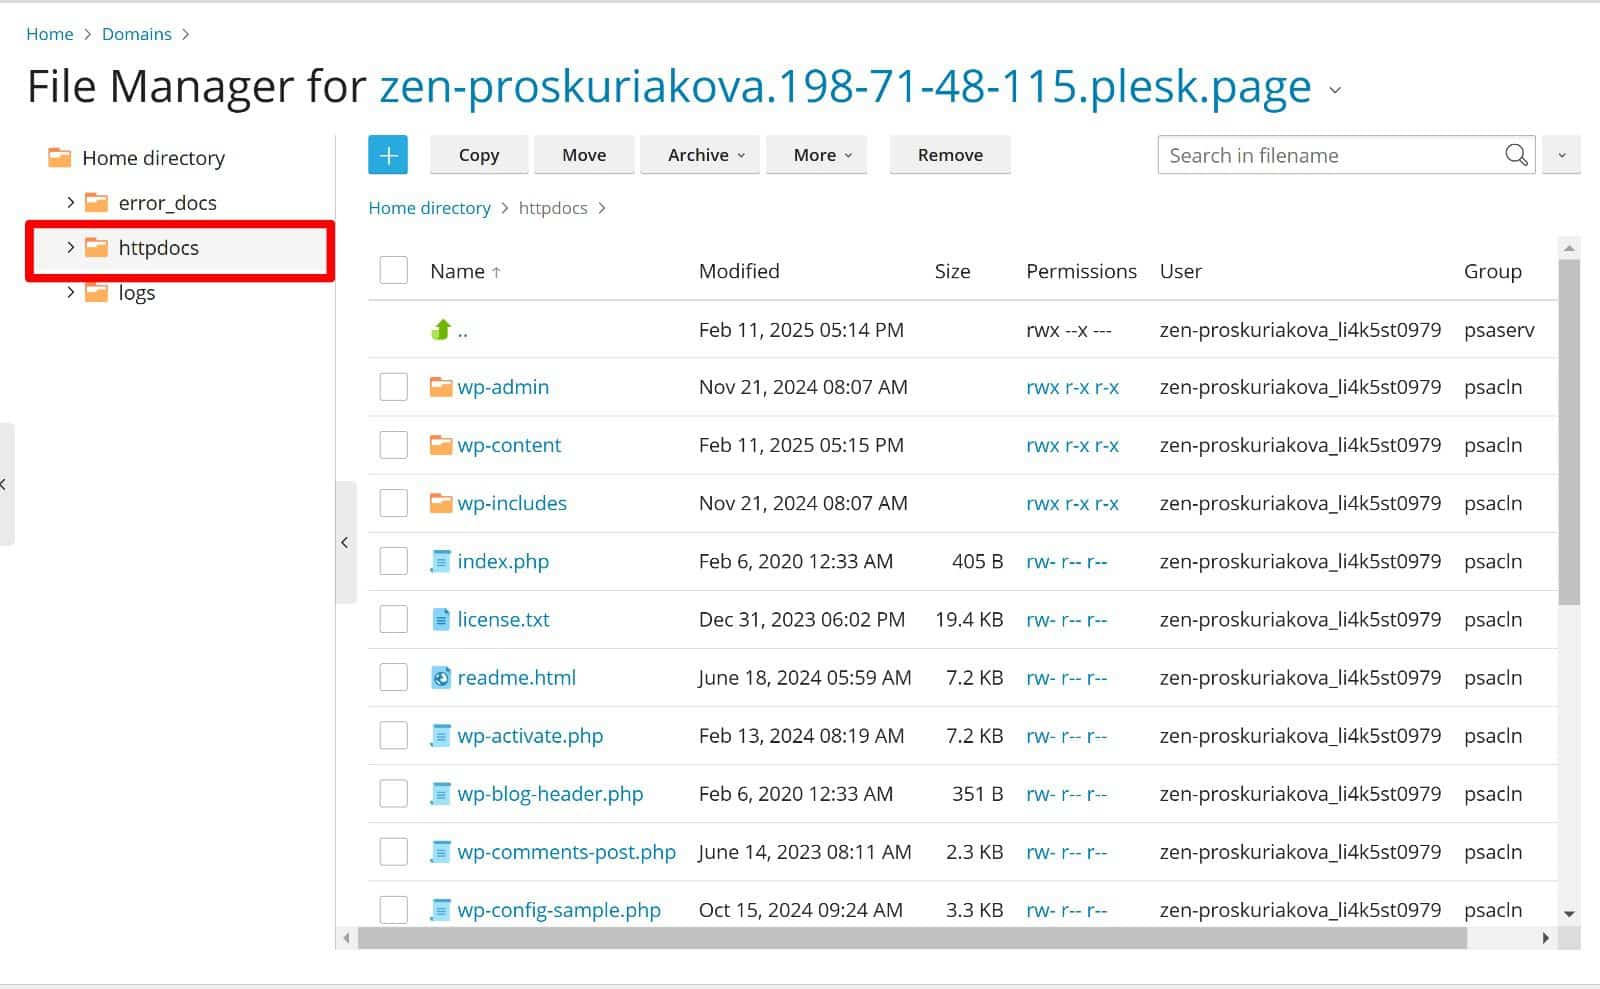
Upload the generated manifest.json file to your website’s root directory. If you are using WordPress, you can upload it via an FTP client or file manager. If you are hosting on Plesk, cPanel, or other platforms, locate the public_html folder and place the file there.
That’s it! Now, your users can add your site as an app on their iPhones or iPads through the pop-up guide you created and receive push notifications just like on Android or desktop.
