Within the Settings section, find and select the option labeled “Company Settings” to begin personalizing your company information.
Image Customization
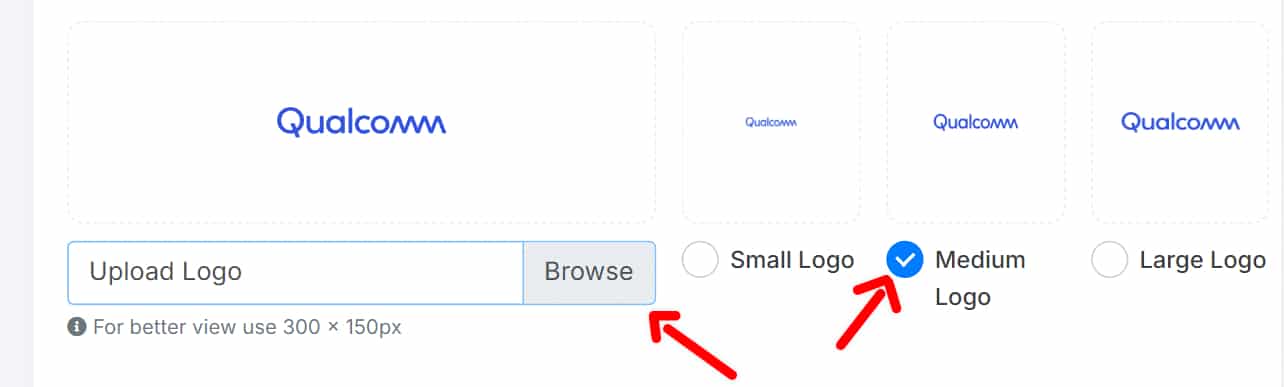
Your company’s logo will be displayed on the reservation portal and in communications with clients.
Click on the “Upload Logo” button. Select the logo file from your computer and adjust the size as needed to ensure it displays correctly.
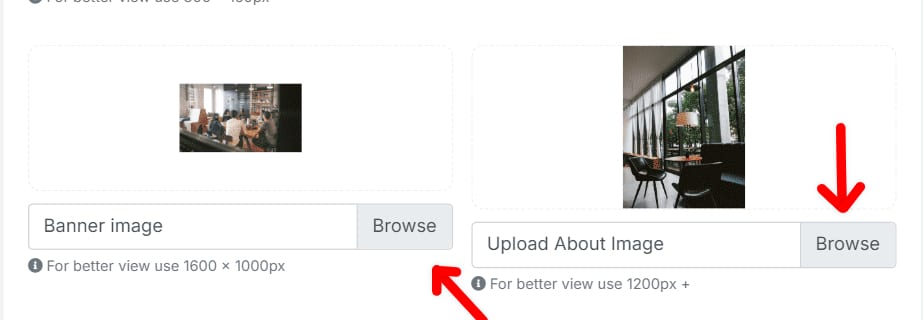
Upload Banner Image and About Image: The banner image is used to personalize the appearance of the portal. Click on the “Upload Banner” button. Upload the image you want to use as the banner, adjusting the size as necessary.
The “About” image provides a visual representation of information about your company. Click on the section to upload the “About” image and select the appropriate file from your computer.
Basic Company Information
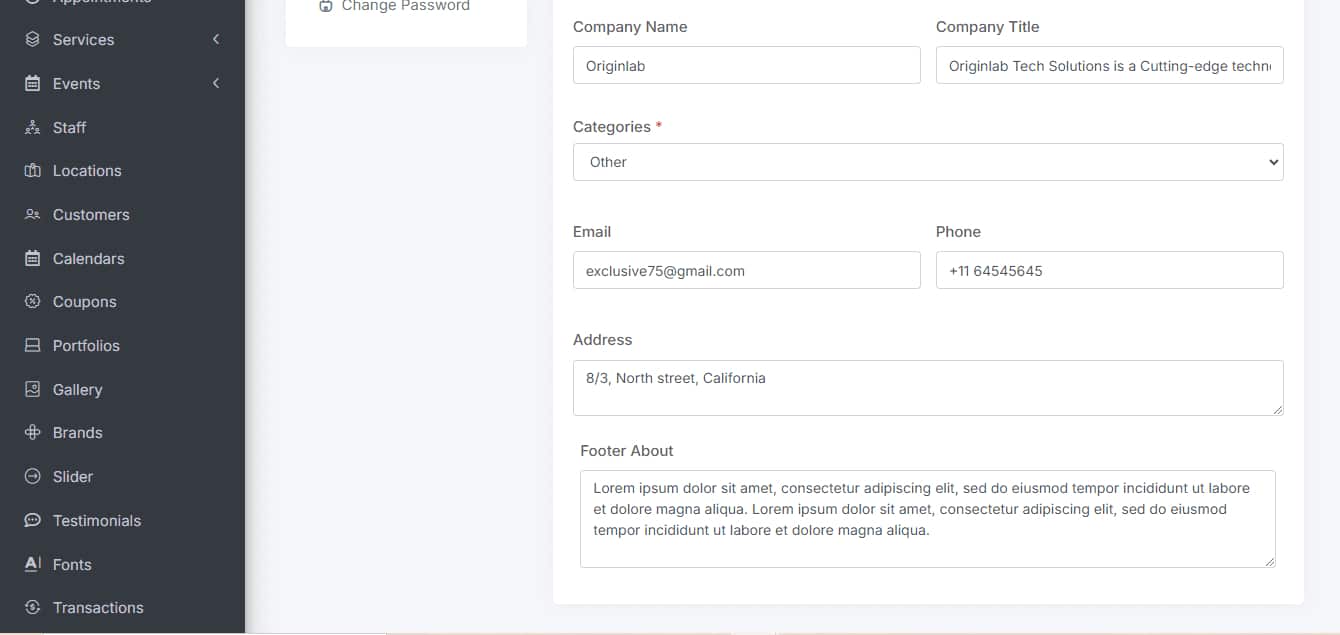
Company Name: Enter your company’s official name, which will appear on all documents and communications. Click on the corresponding field and enter your company’s name. Ensure it is correctly spelled to maintain consistency across all interactions.
Company Address:Provide your company’s physical address, important for communication and potential shipments. Fill in the fields for the address, city, state, and postal code, as well as the phone number and email address. Make sure all information is accurate to avoid communication issues.
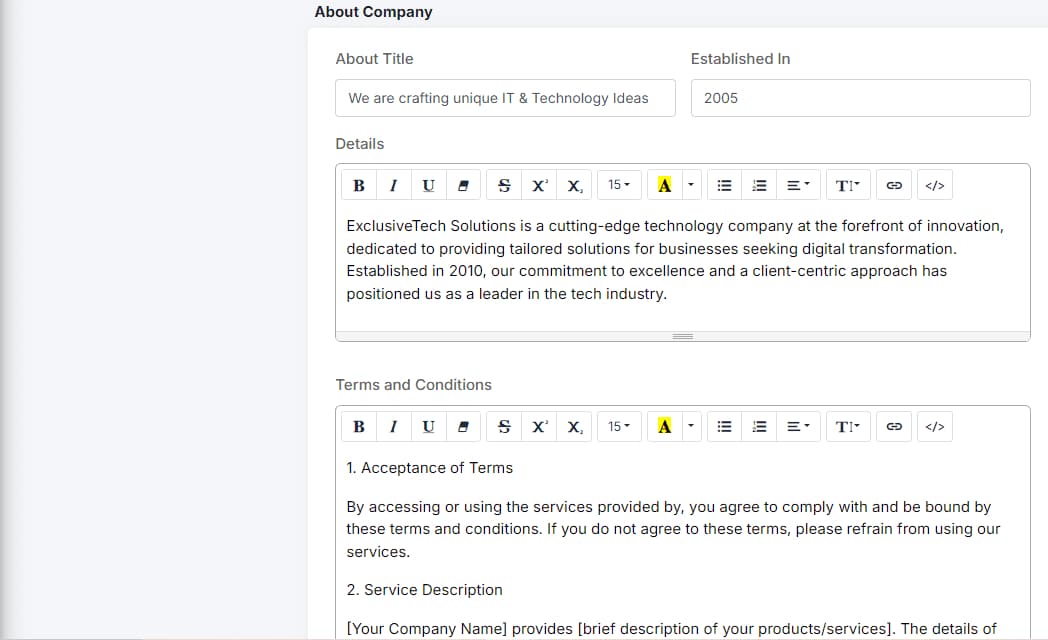
Company Details: Add relevant information about your company, including the year of establishment, terms and conditions, and privacy policies. Enter the details in the provided fields. Include the company’s history, applicable terms and conditions, and relevant privacy policies.
Review and Save
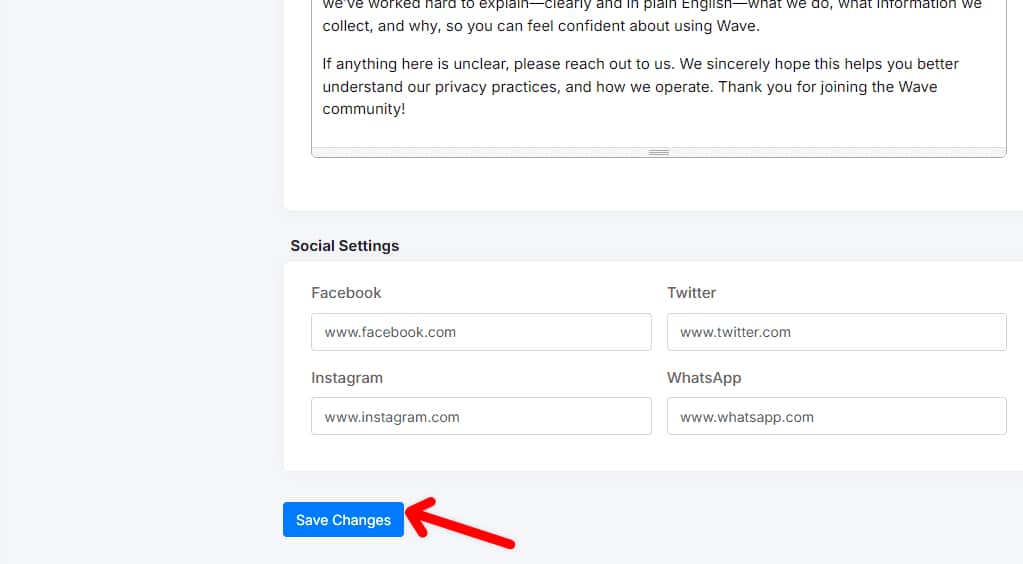
Review Information: Before saving, review all information to ensure it is accurate and complete. Check all fields, including images, name, address, and additional details.
Click on the “Save” button to update the information in your account.
This tutorial is designed to provide a clear and professional guide for configuring company settings in ScheduleMeet. If you have any questions or need additional assistance, please contact ScheduleMeet technical support.
