This is a step-by-step guide to configure auto response settings in Bot Manager
Navigate to the Auto-Response Section
In the menu, click on Bot Manager to access the management panel for your bots.
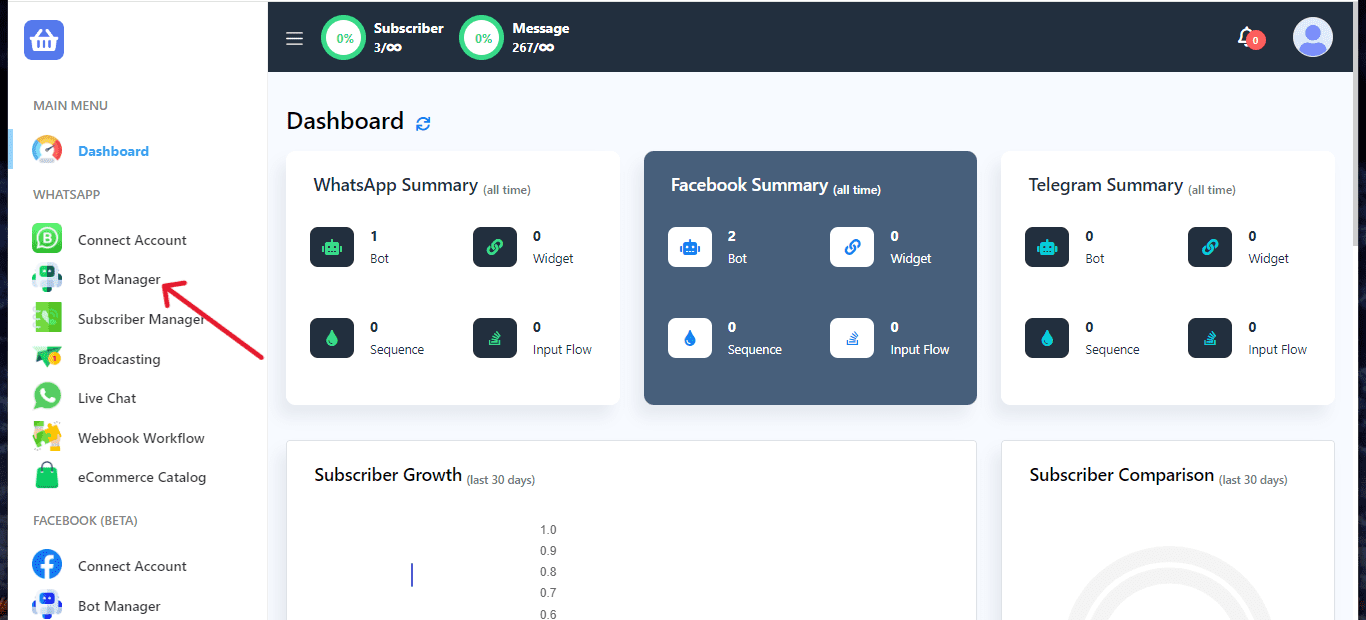
Once inside the Bot Manager, locate the Settings or Configuration option.

This section allows you to set up different automation features, including auto-responses.
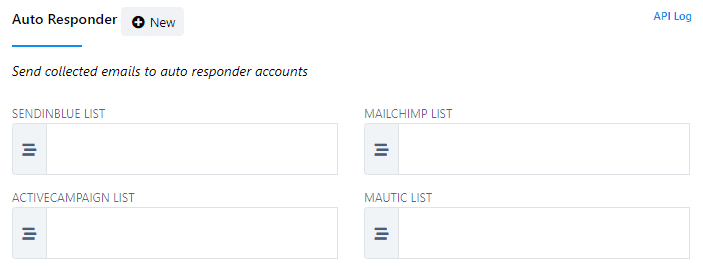
In the Configuration menu, look for an option labeled Auto-Response Settings.
Click on this section to begin configuring your auto-responses.
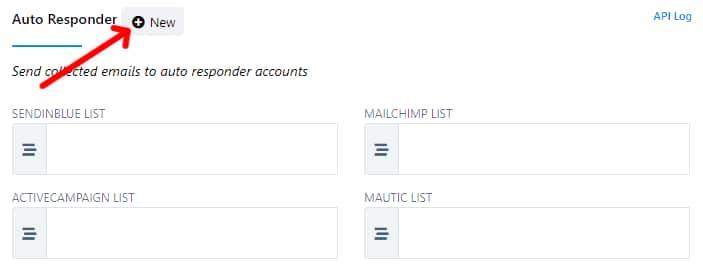
Create Auto Responder Profile (If Needed)
If you haven’t created a profile, click “New” next to “Auto Responder” and then “Auto Responder Profile.” Select the service, fill in required fields, and save the profile.

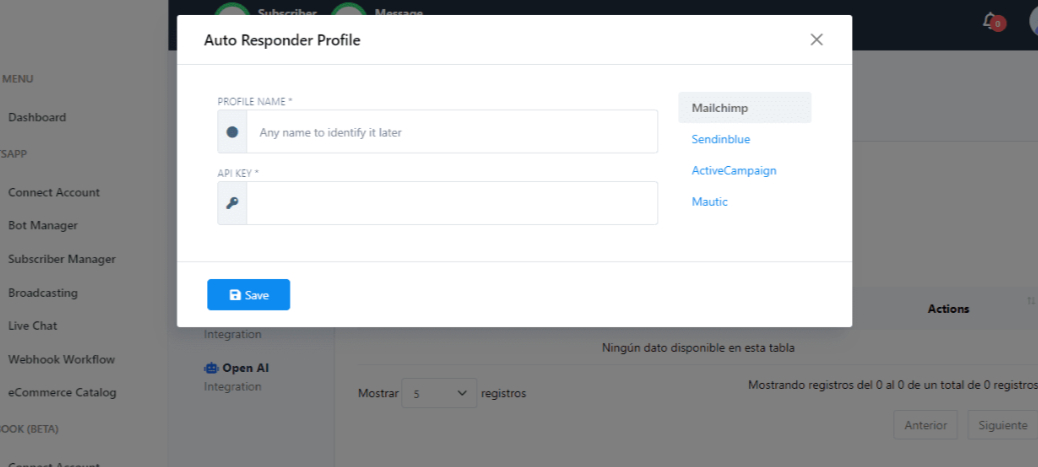
Enter the required information in each available field, such as names, emails, descriptions, or any relevant data.
Ensure that all the data is correct and complete.
Once you’ve verified the information, click the “Save” button to store the changes or the new entry.

This setup streamlines the process, automatically integrating collected email addresses into your selected auto responder service as users interact with your bot.
By following these steps, you can efficiently configure auto-response settings in BotCommerce, ensuring timely replies and smooth communication with your users.
