Adding shapes to your images is a practical and useful feature when editing, allowing you to enhance your visual content with various forms. Here’s how to do it in Resize Pixel:
Step 1: Access the Shapes Tool
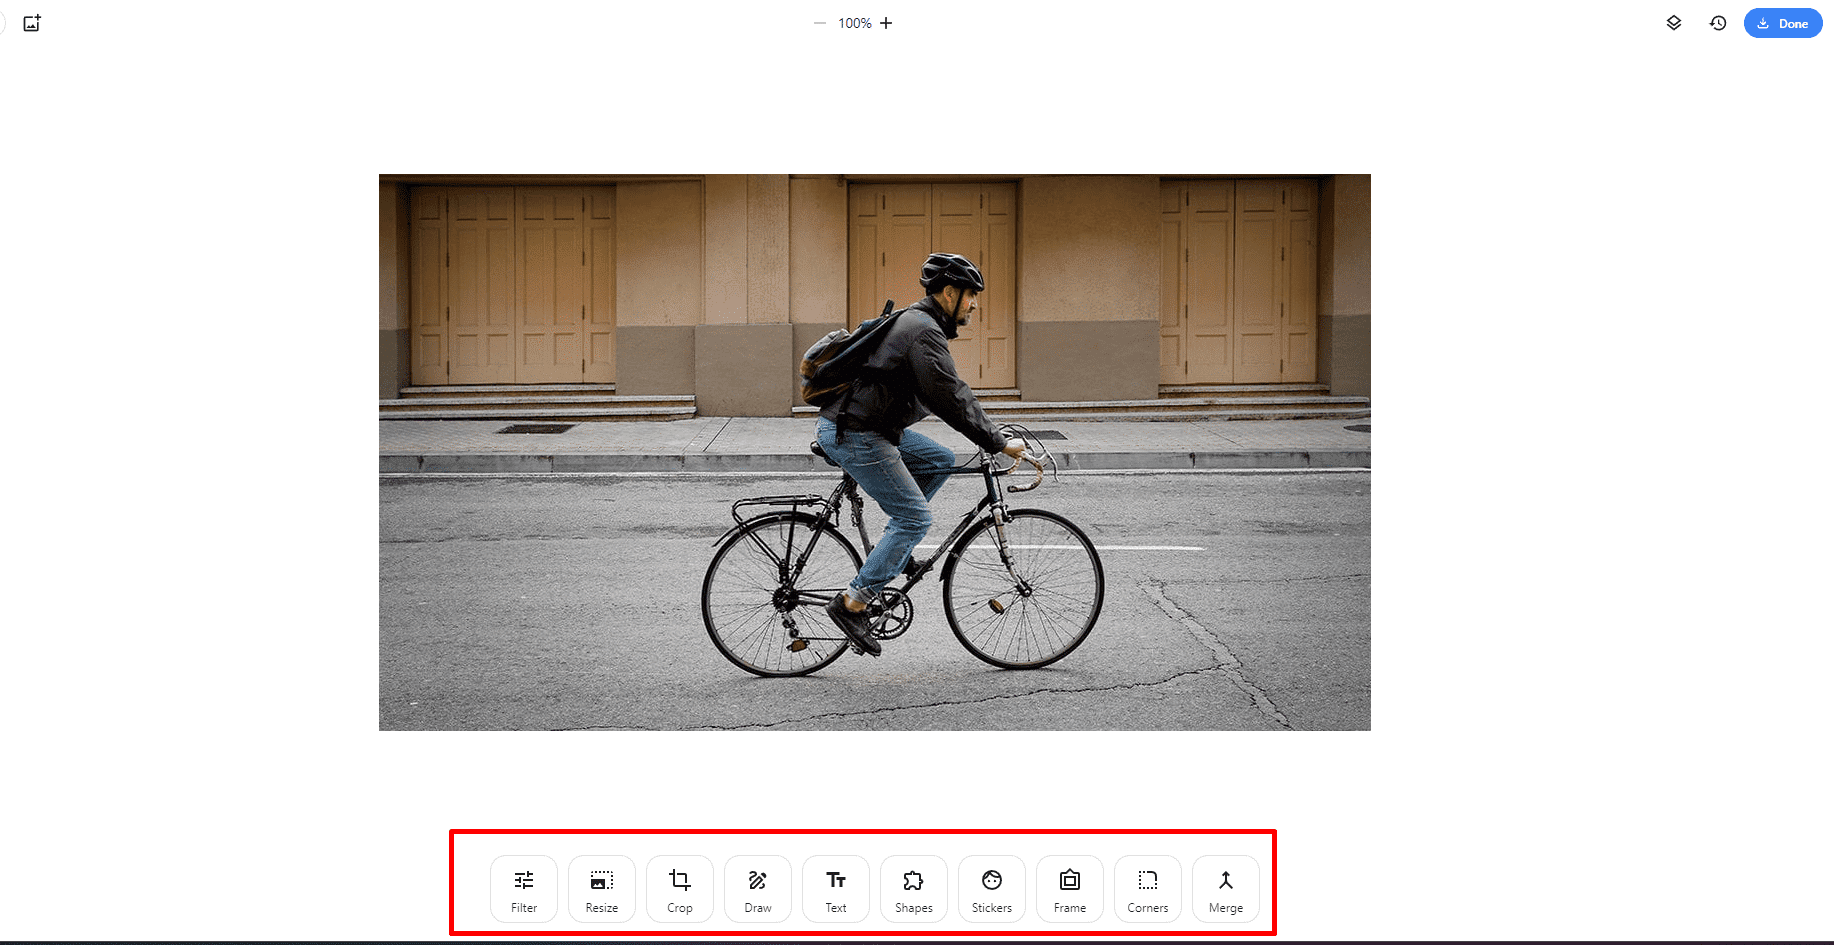
Navigate to the editing tools: After uploading and preparing your image, scroll down to the bottom where various editing tools are numbered.
Step 2: Select the “Shapes” Tool
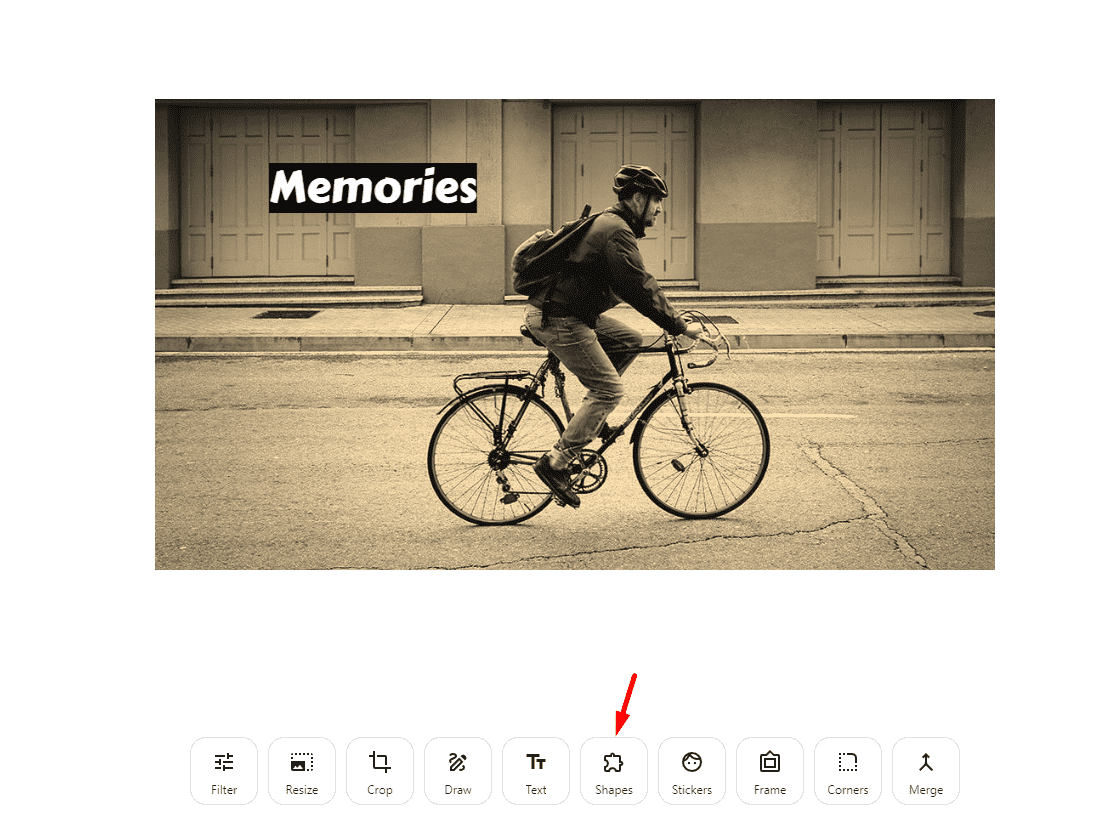
Click on “Shapes”: The sixth tool you will see is “Shapes”. Clicking on it will display boxes where you can select and customize the shape you want to add to your image.
Step 3: Customize the Shape
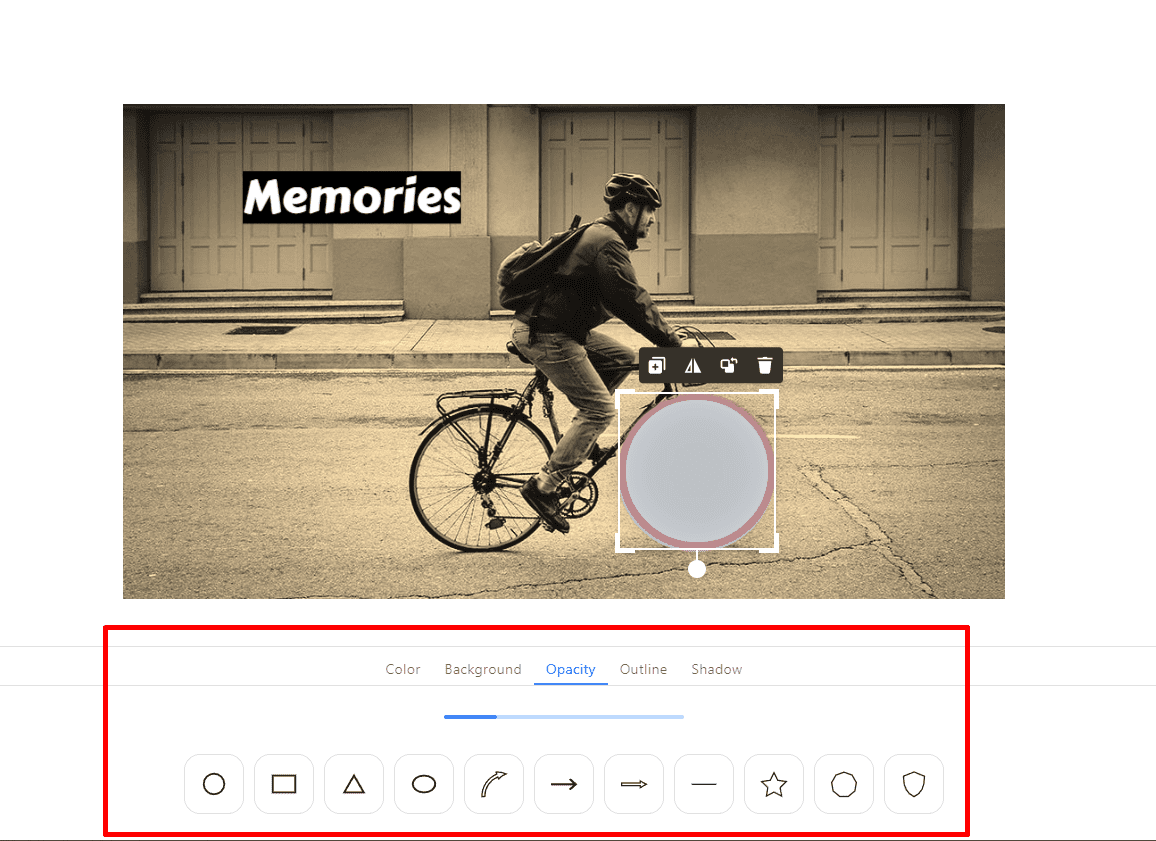
Modify the shape features: Depending on your needs, you can adjust the size, color, format, shadows, and more of the selected shape.
Step 4: Apply the Chosen Style
Click on “Apply”: After applying the desired shape and style, remember to click on the top right button labeled “Apply” to save the changes to your image.

