This functionality becomes invaluable when you want your documents to be received and viewed exclusively by a specific person, providing an additional level of security and privacy.
Sender
Upload Your Files: Initiate the process by uploading your files.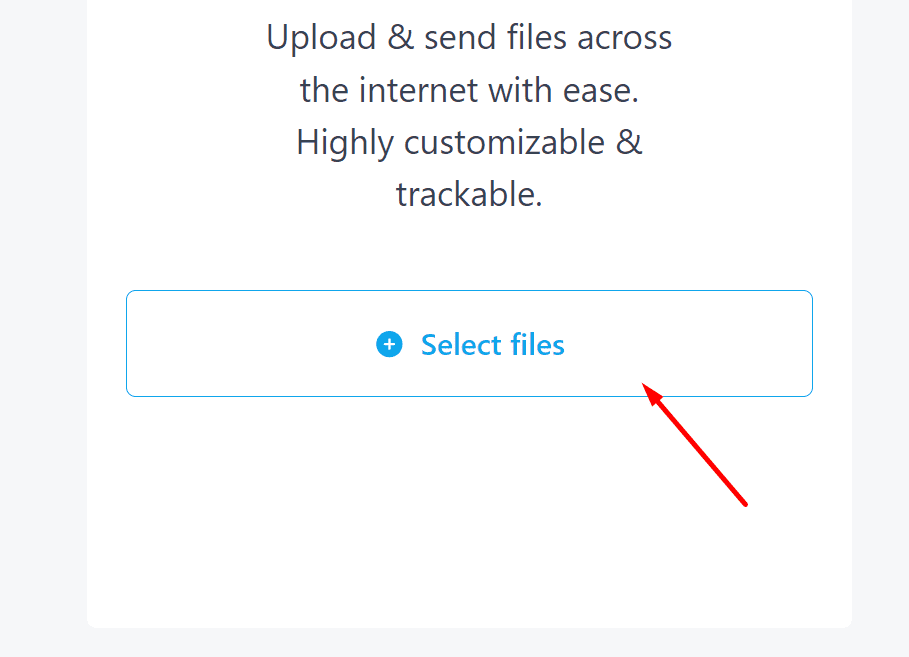
Customization and Lock Selection: After selecting your files, assigning names, adding descriptions, and customizing URLs, head to the padlock icon located below the personalized URL.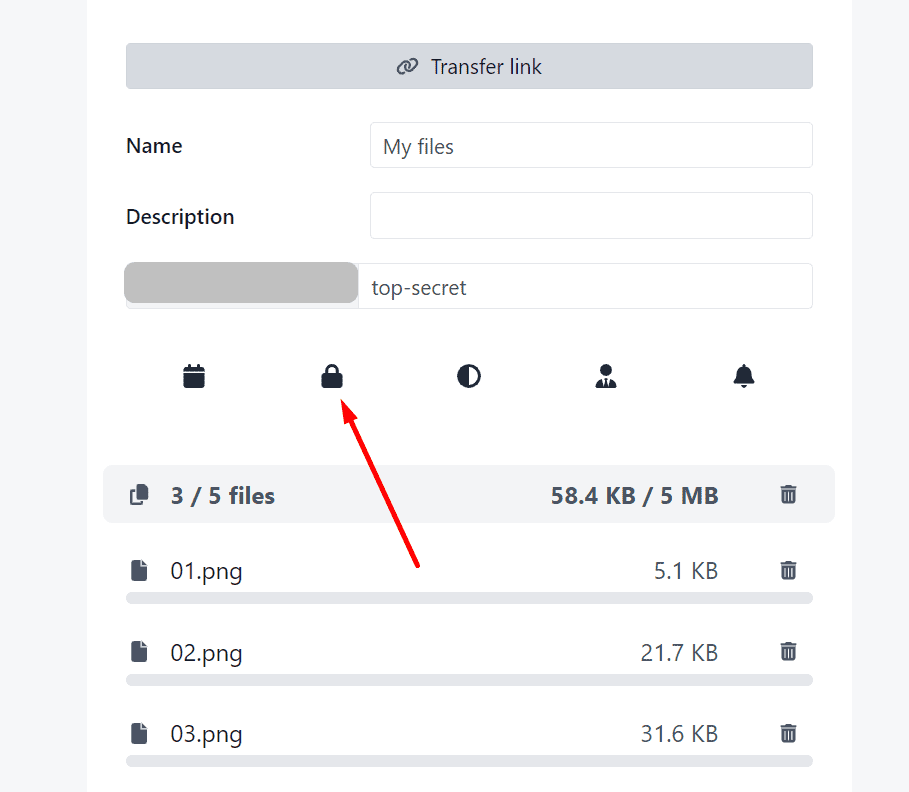
Password Configuration: In this designated space, set the password that will unlock your files.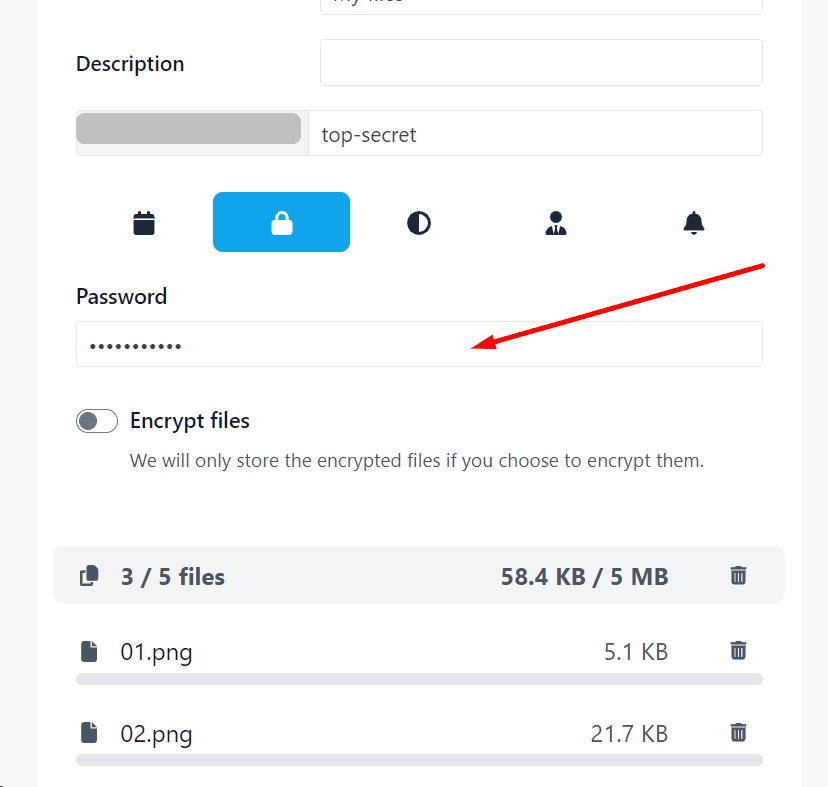
Encrypt Files: Additionally, you have the option to encrypt your files, providing an extra layer of security. After configuring your security preferences, conclude the upload of your files.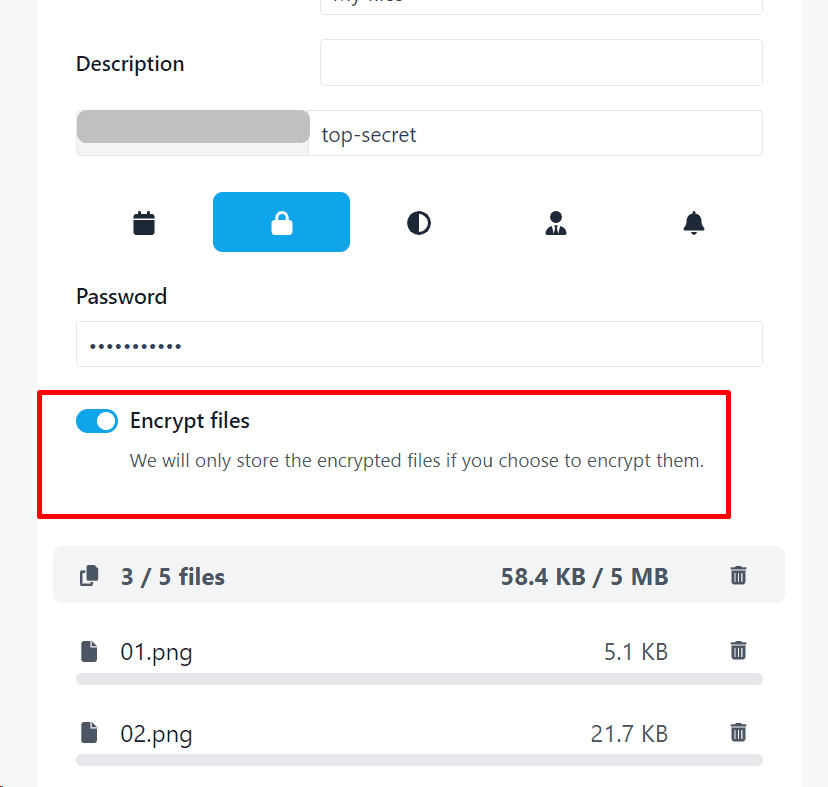
Recipient
If you wonder how straightforward it will be for the recipient, here’s a detailed example.
Reception and Unlocking: After receiving the URL of the files, the recipient will enter the interface, where they simply need to enter the password you shared previously.
Downloading Unlocked Files: Once the password is entered correctly, the files will be ready for immediate download.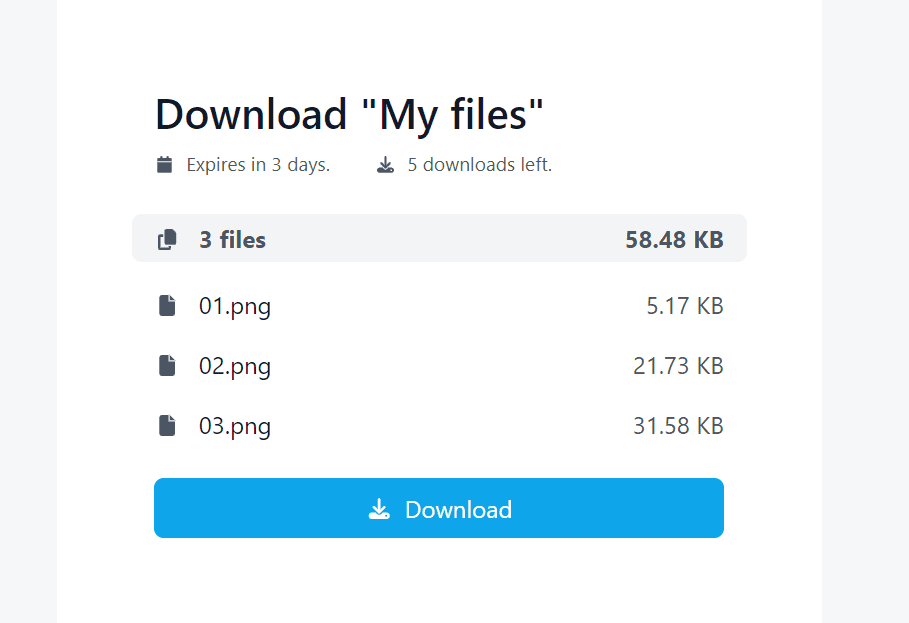
Extra Consideration For Encrypted Files: In the case of having encrypted files, they will be securely downloaded as a ZIP file, ensuring enhanced protection.
