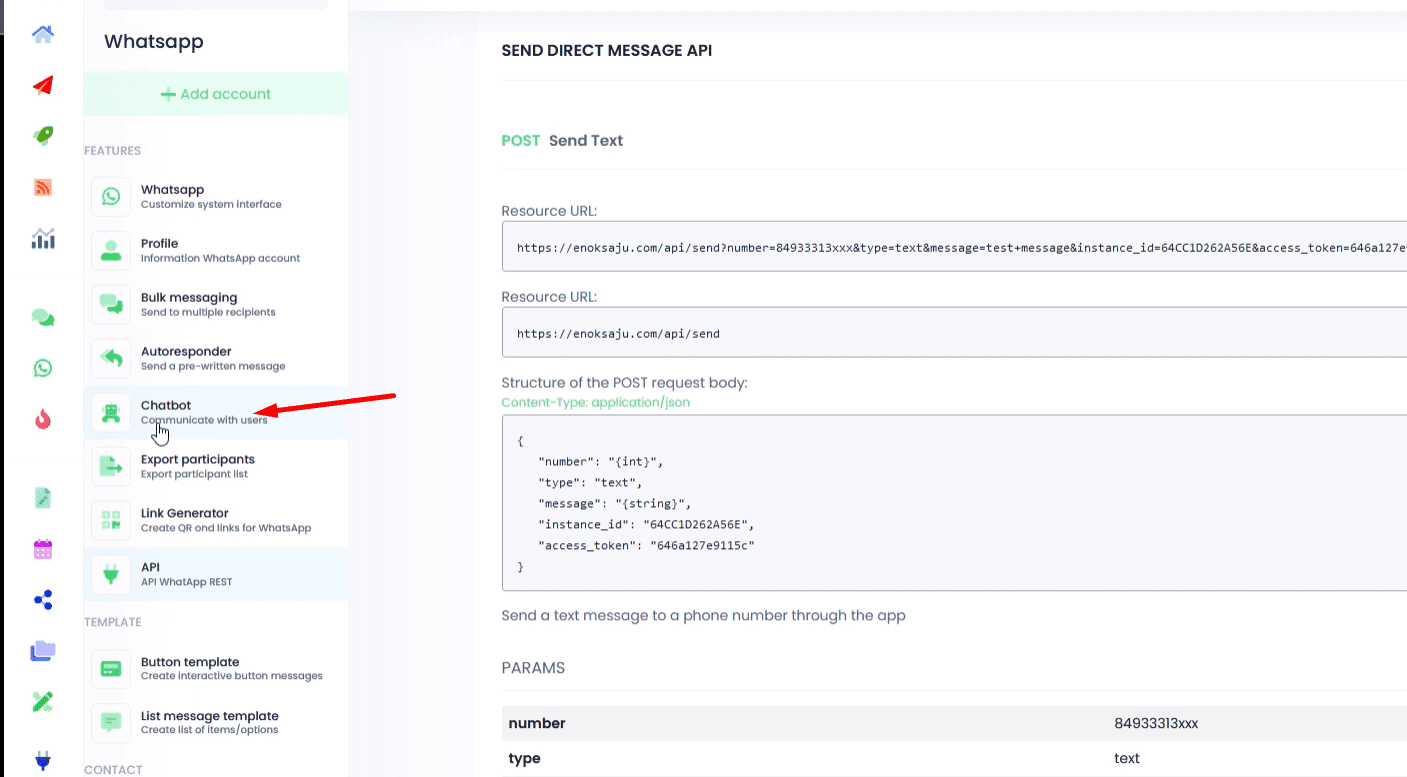
To set up the bot for sending notifications, it’s necessary to create an API within the same system.

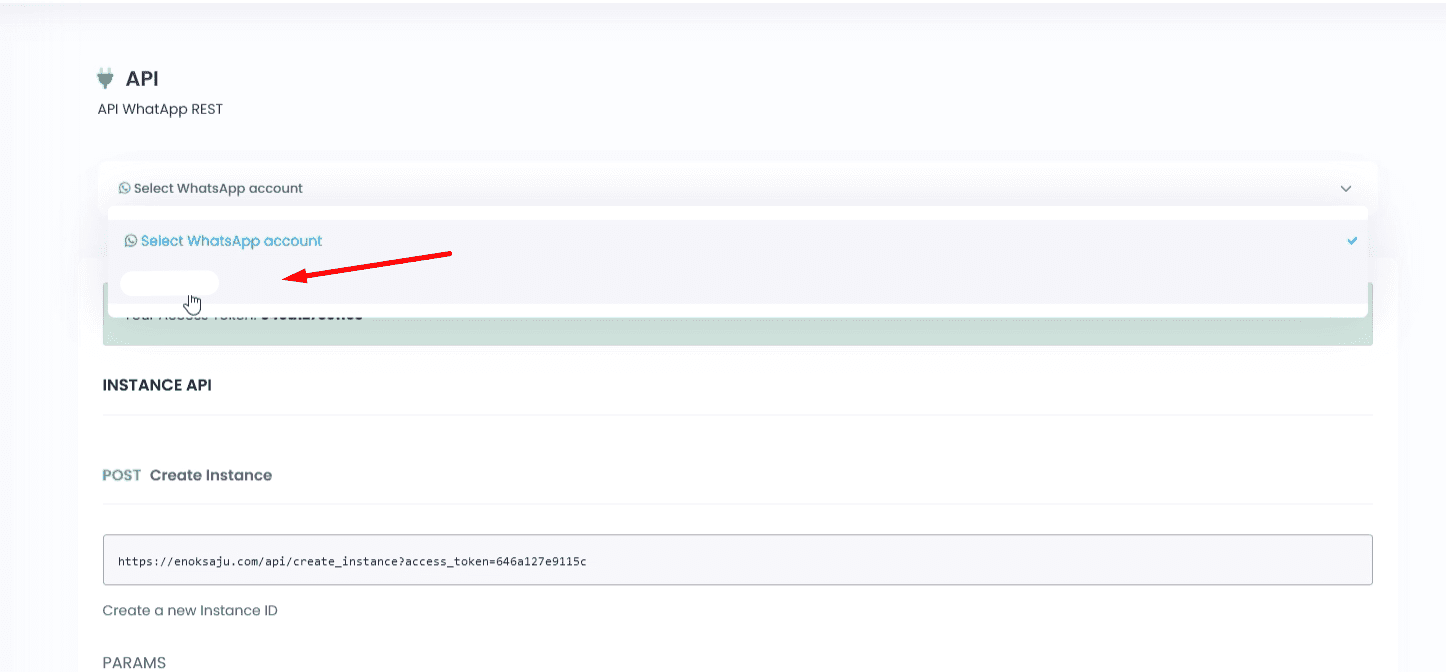
Firstly, ensure you have a connected WhatsApp account, which will be the sender of notifications.
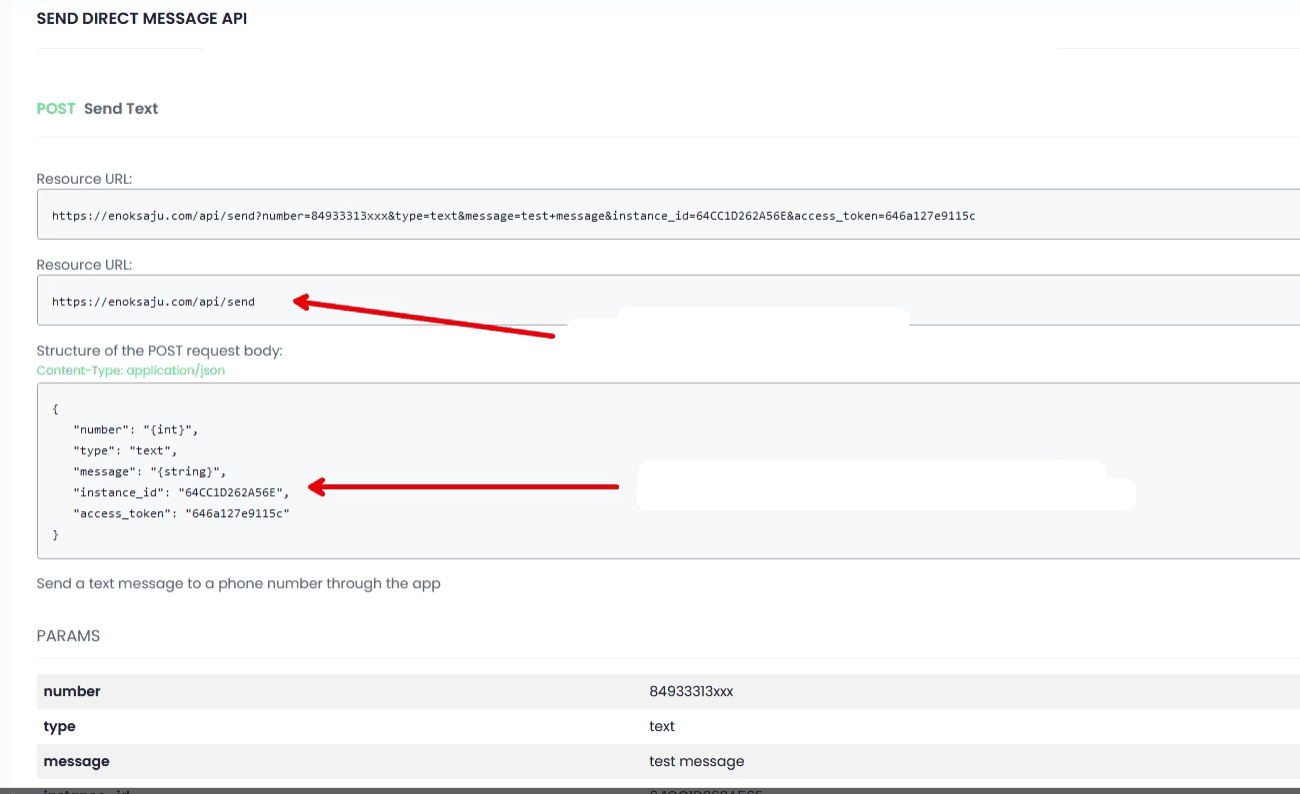
Select that option and navigate to the “Send text” section.
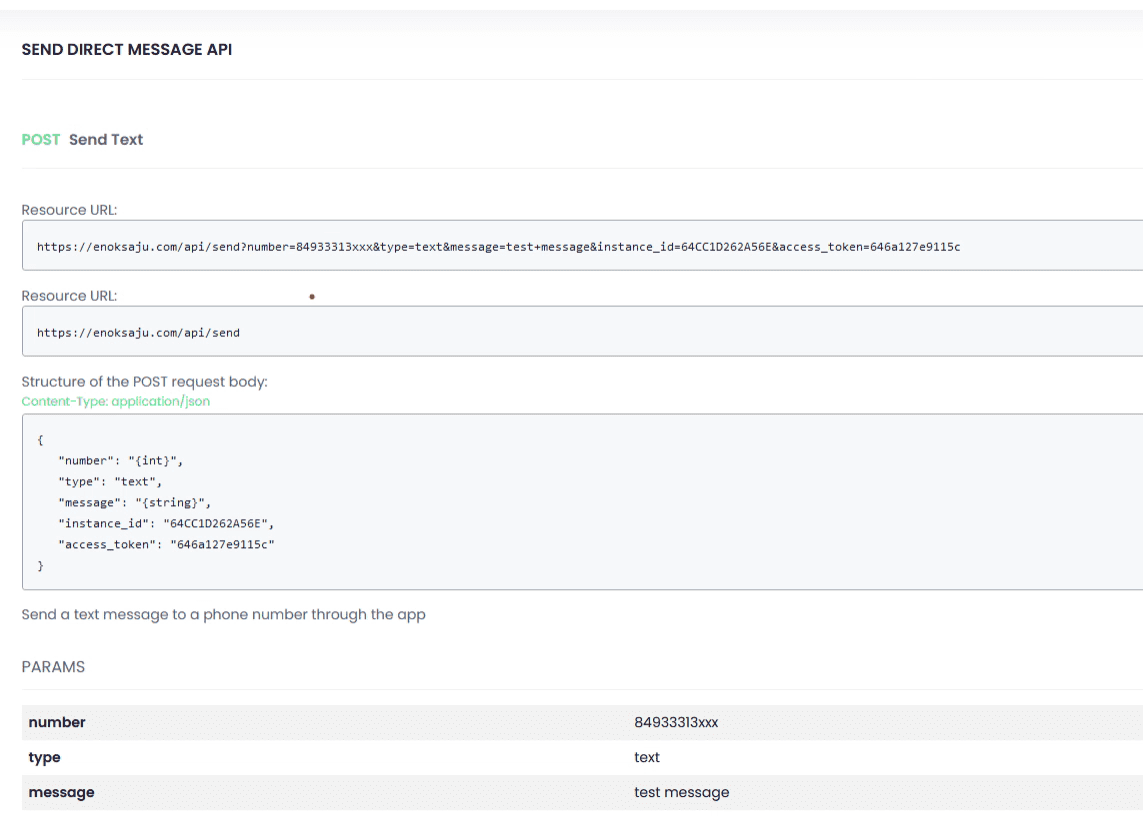
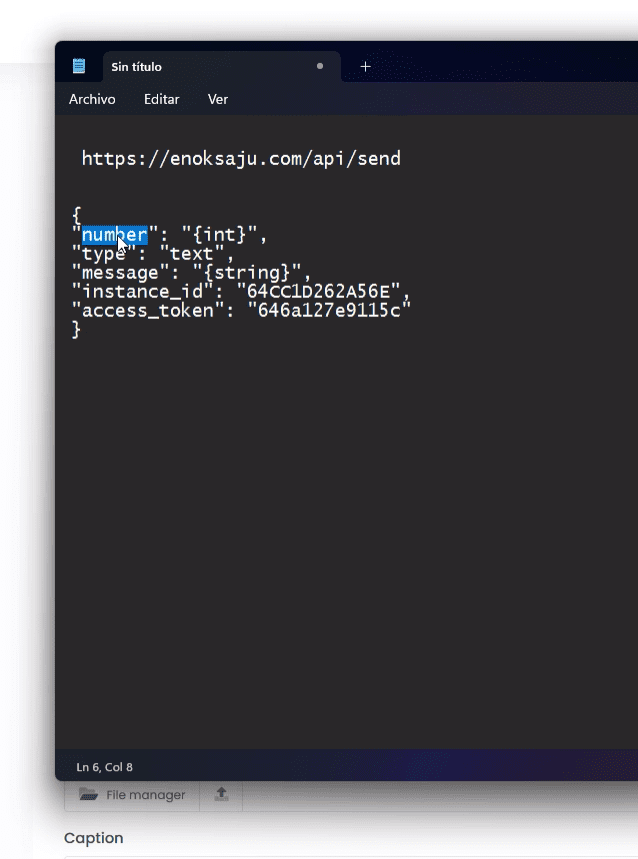
Copy the URL marked in the “Resource URL” space and the content in the “Structure of the POST request body.” Remember, you’ll need these to fill in the field names, instance ID, and access token. This step is crucial for proper functioning.
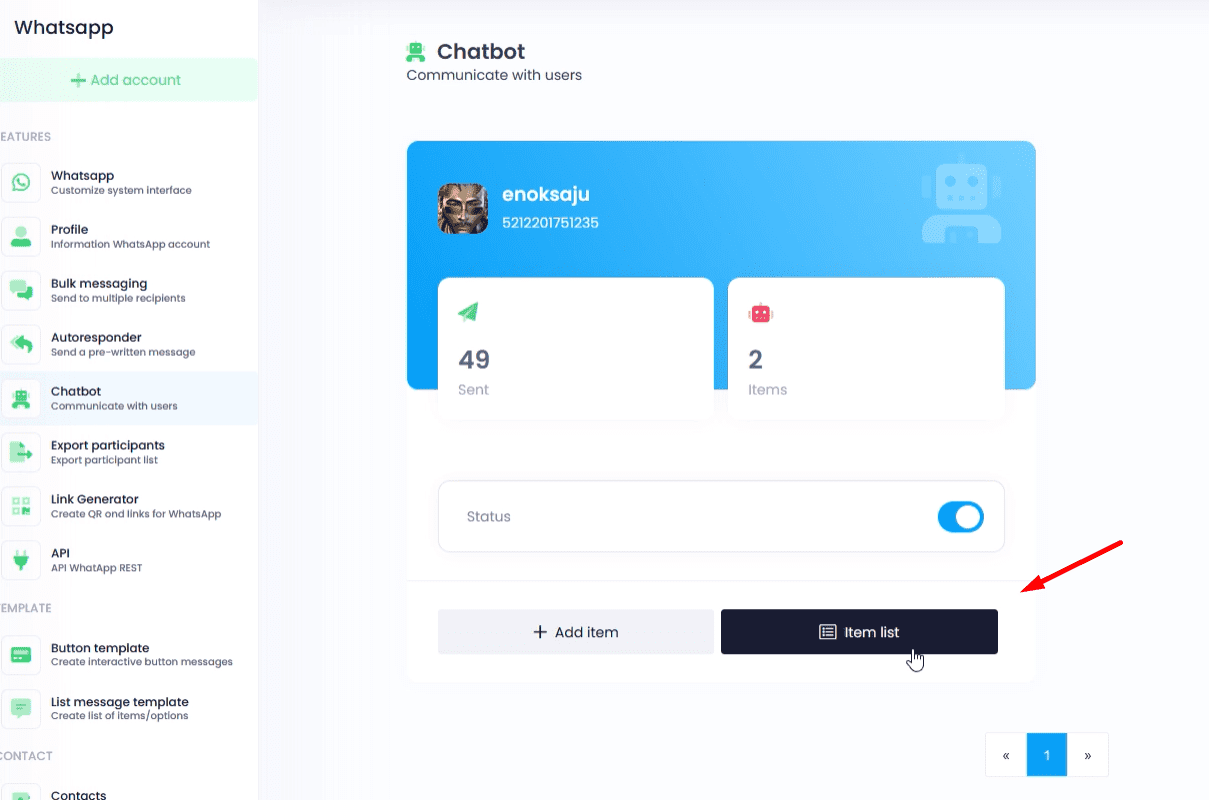
With this information copied, proceed to the Chatbot section.
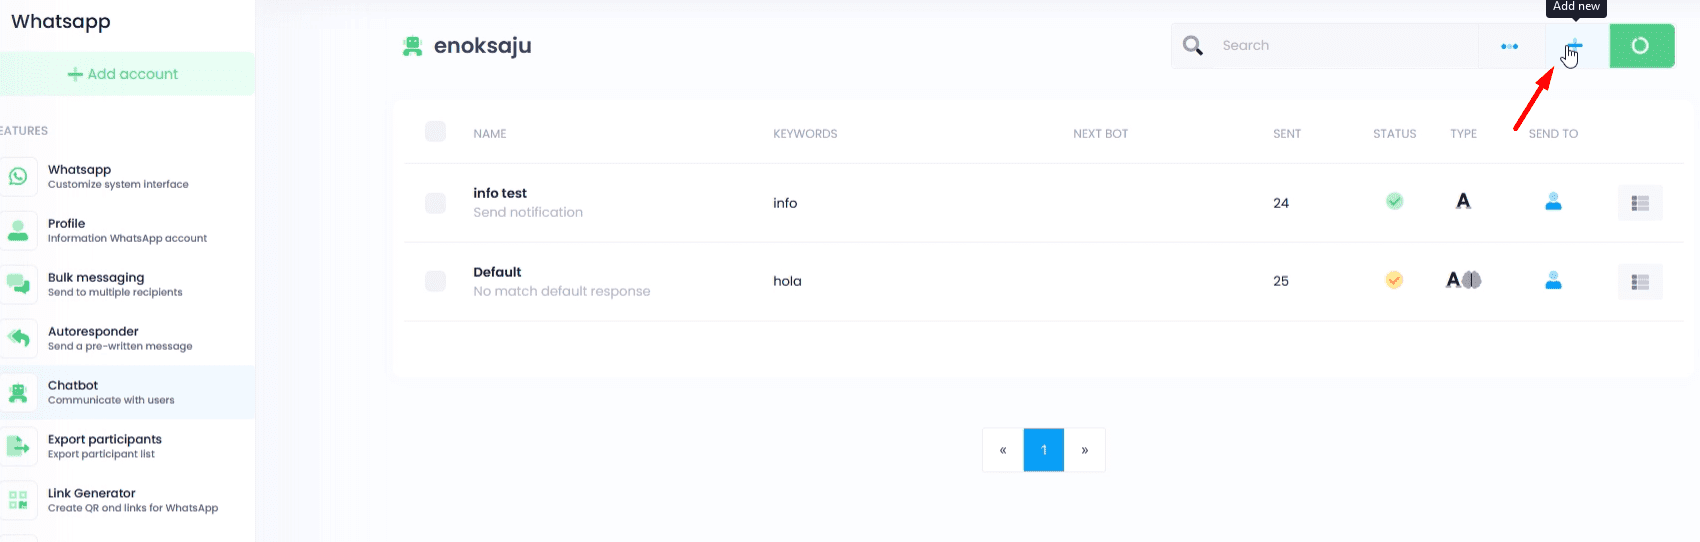
Select “Item list” and “Add new.”
In the configuration, maintain the values as needed. The message is sent to all members, and the message type to be sent is selected.
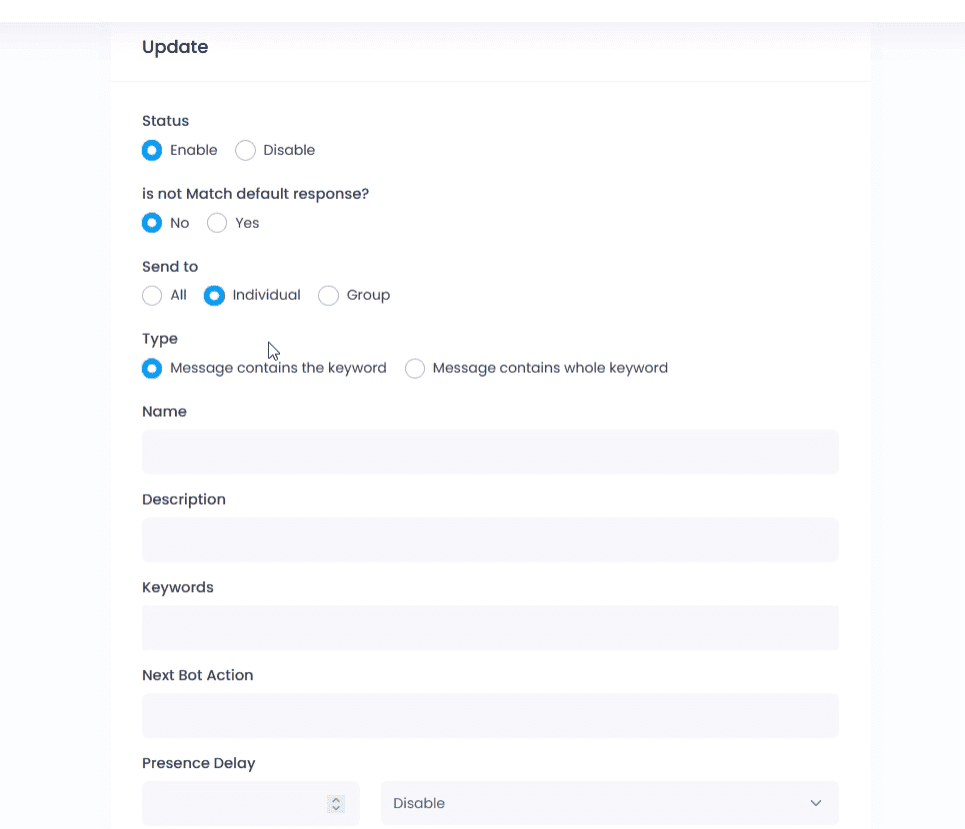
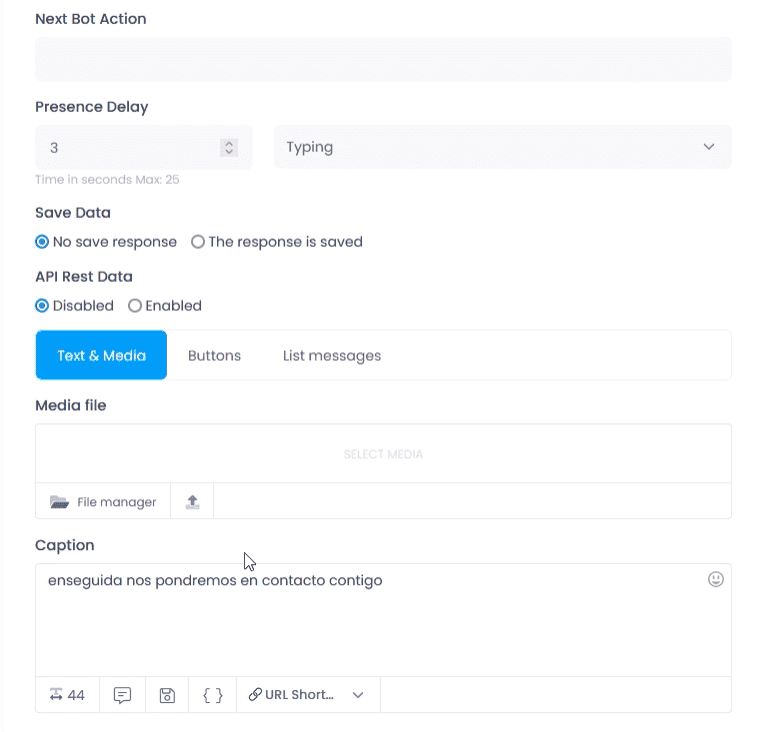
Name the campaign, add a description of the chatbot, and configure the following characteristics according to your needs.

In this section, it’s important to select “Post” and paste the previously copied URL.
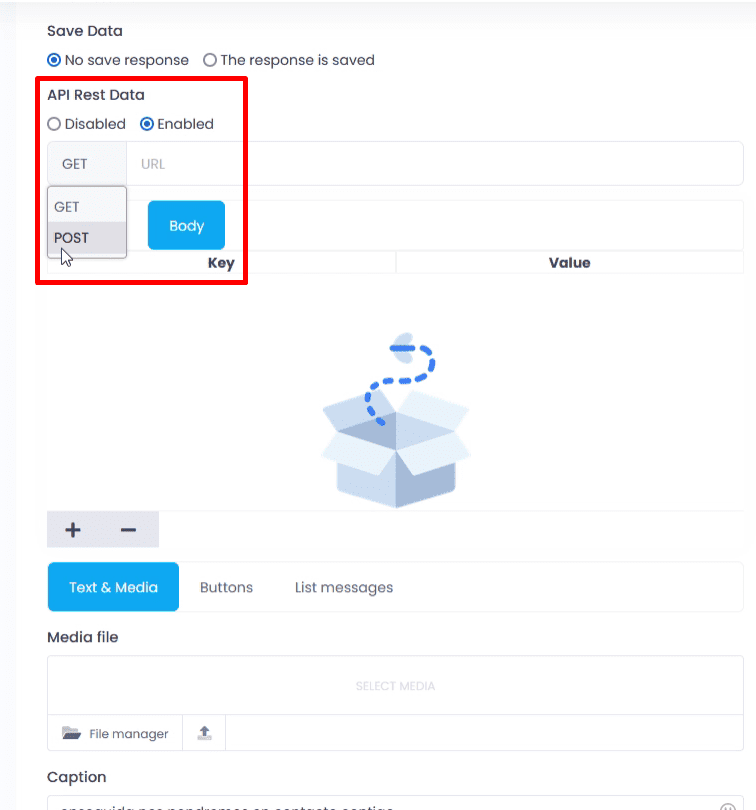

Add each field copied one by one:

Input the number to which the notification will be sent. Insert the message or text it will receive.

Important: These changes define the account from which the messages will be sent.

Once everything is set up, simply press “Submit.”

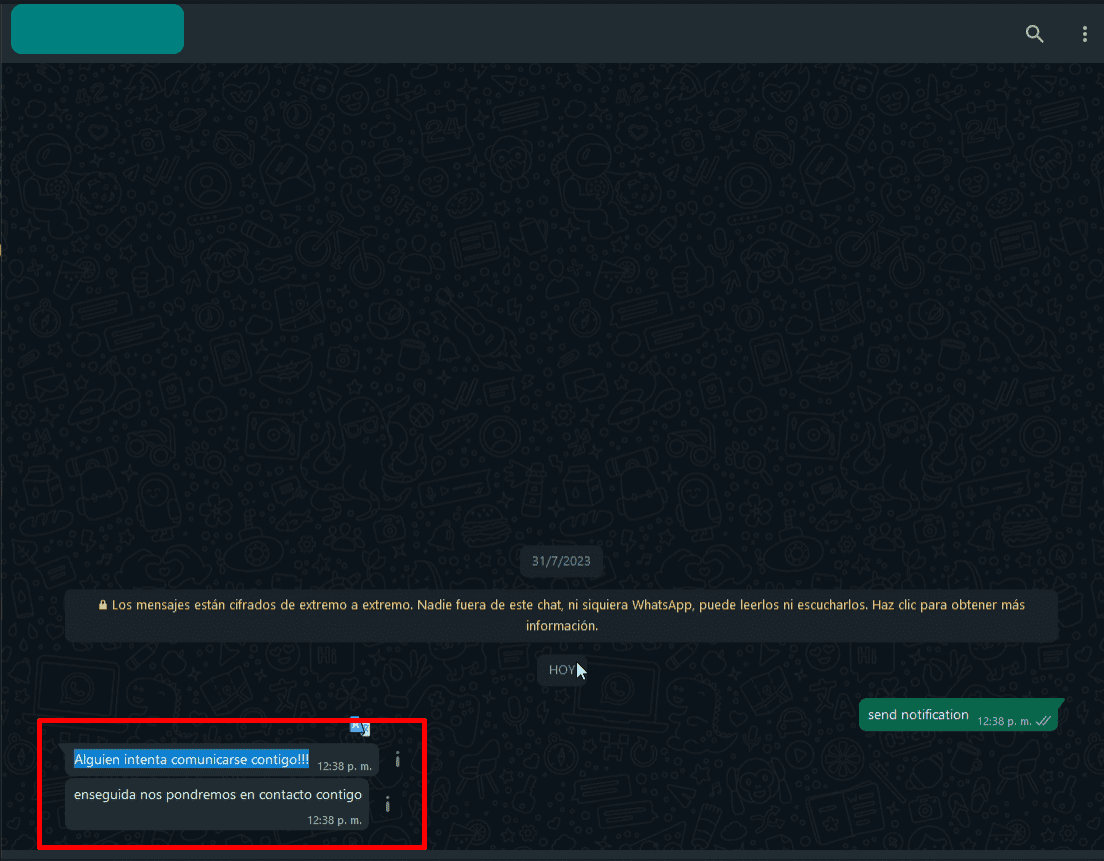
Done! You’ll have periodic notifications scheduled. You’ll notice the messages in the recipient number as follows.