This article is a complete guide to Team Management and WhatsApp conversations assign to agent with BotCommerce
Access the BotCommerce Dashboard
Go to BotCommerce dashboard.
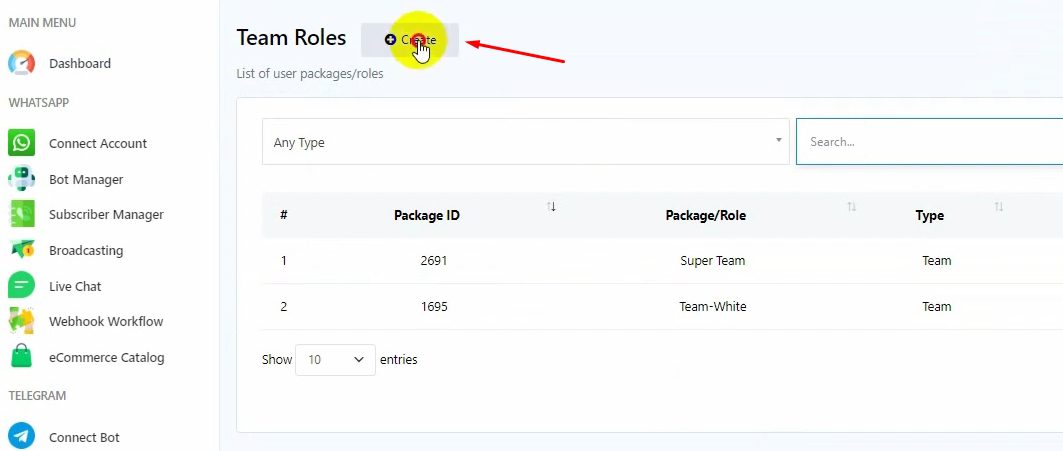
Navigate to “Team Role.”

View existing teams (e.g., Super Team, Team White).

To create a new role, click “Create New Role.”
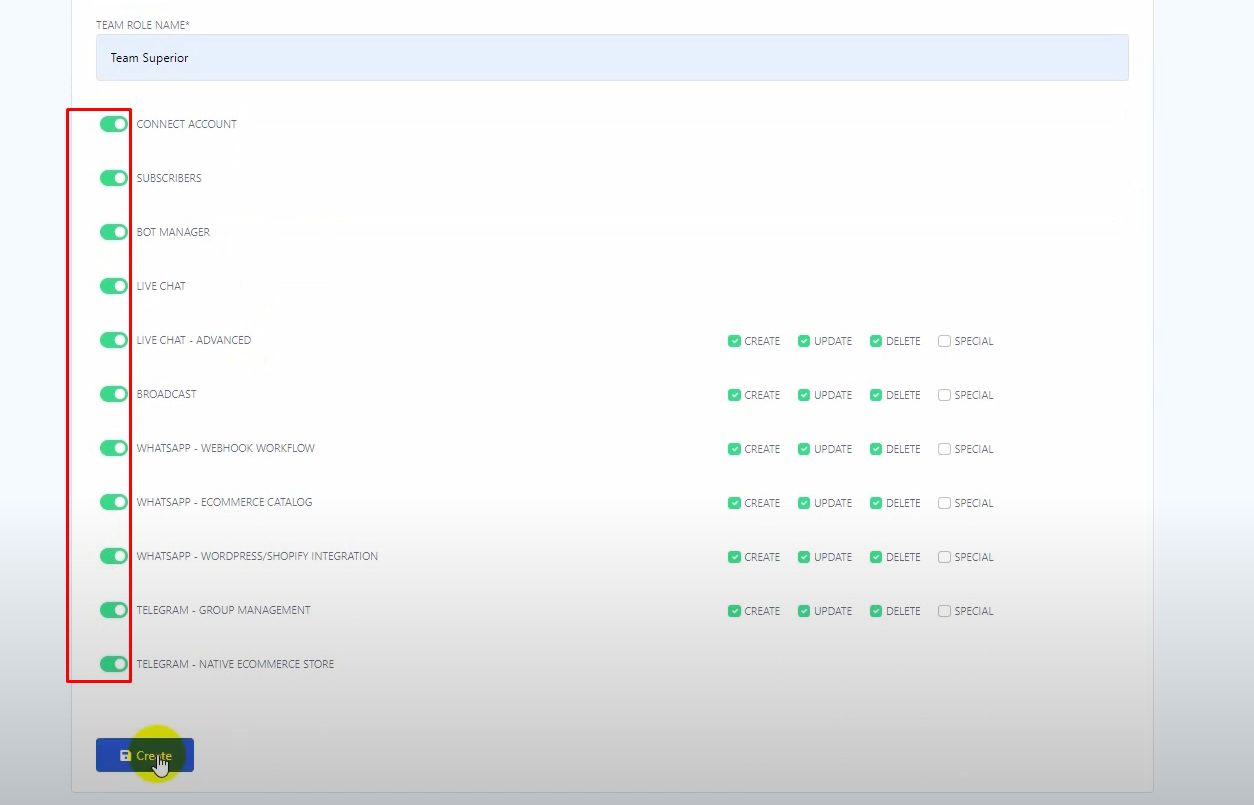
Name the role (e.g., Team Superior) and assign permissions.
Add Team Members
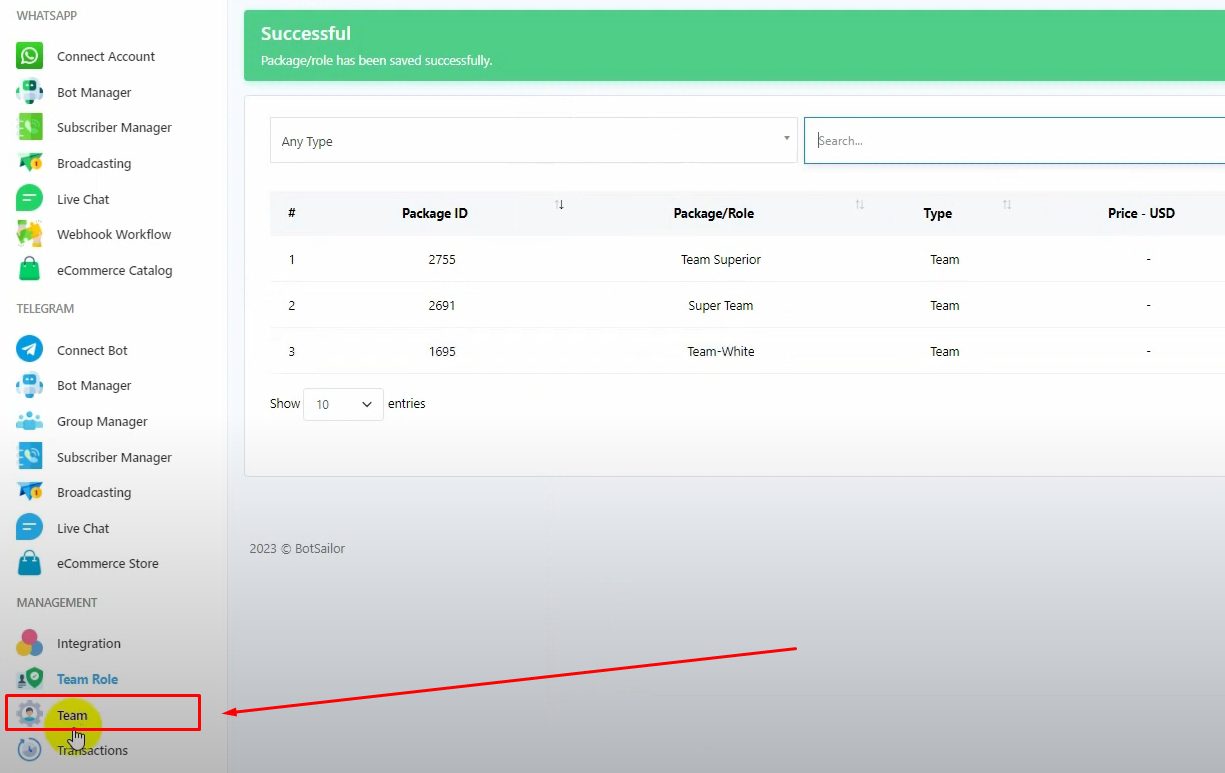
Go to “Team Members.”
Click “Create New Member.”
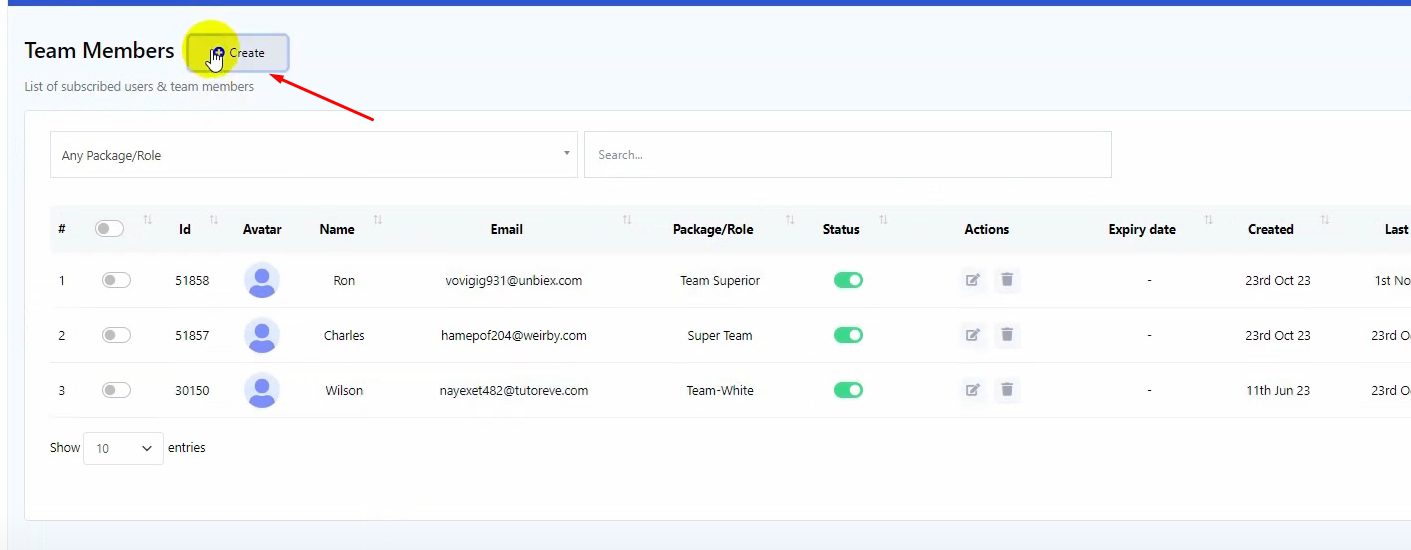
Fill in details (name, email, password).
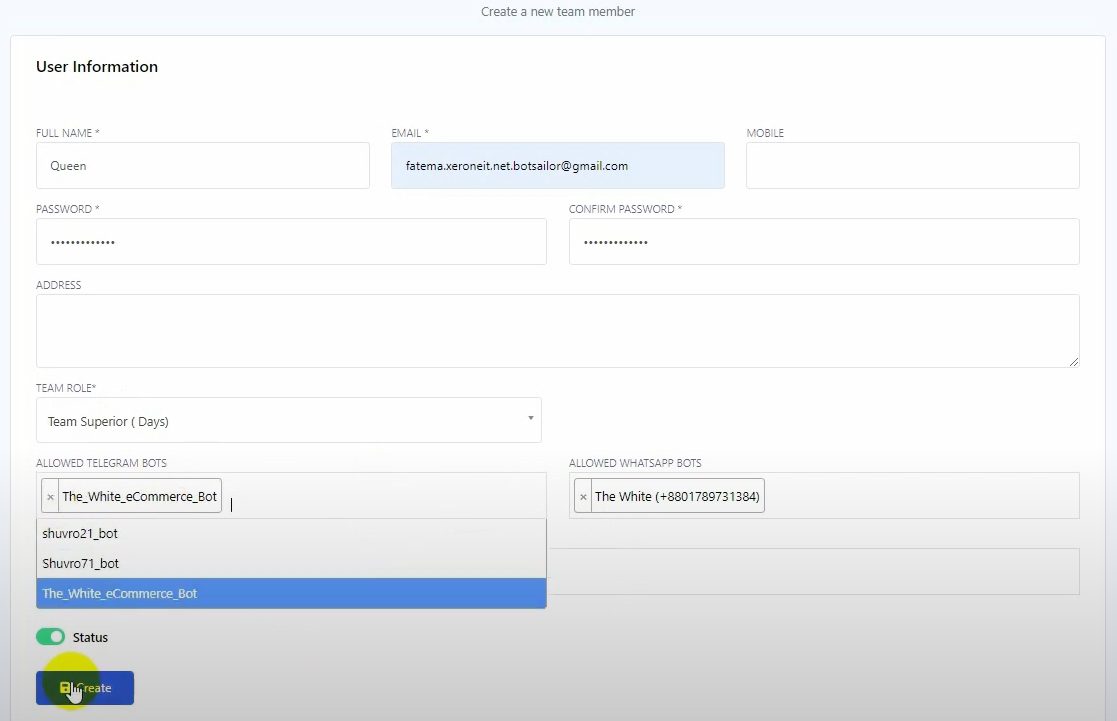
Assign the member to a team (e.g., Team Superior).
Set access for Telegram bot, WhatsApp bot, and e-commerce store.
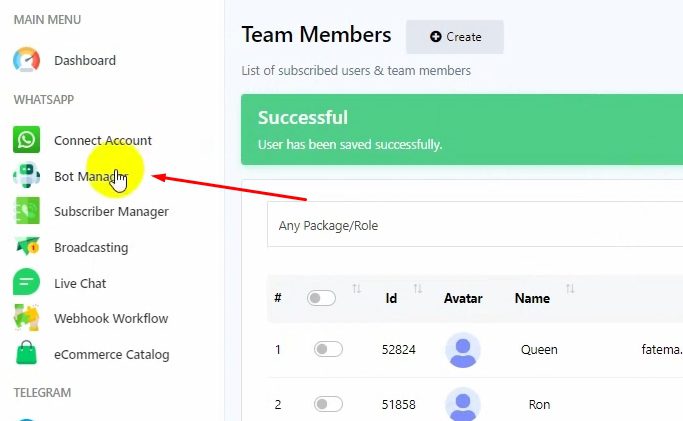
Click “Create.”
Assign Conversations to Agents
Go to Bot Manager and create a new bot.
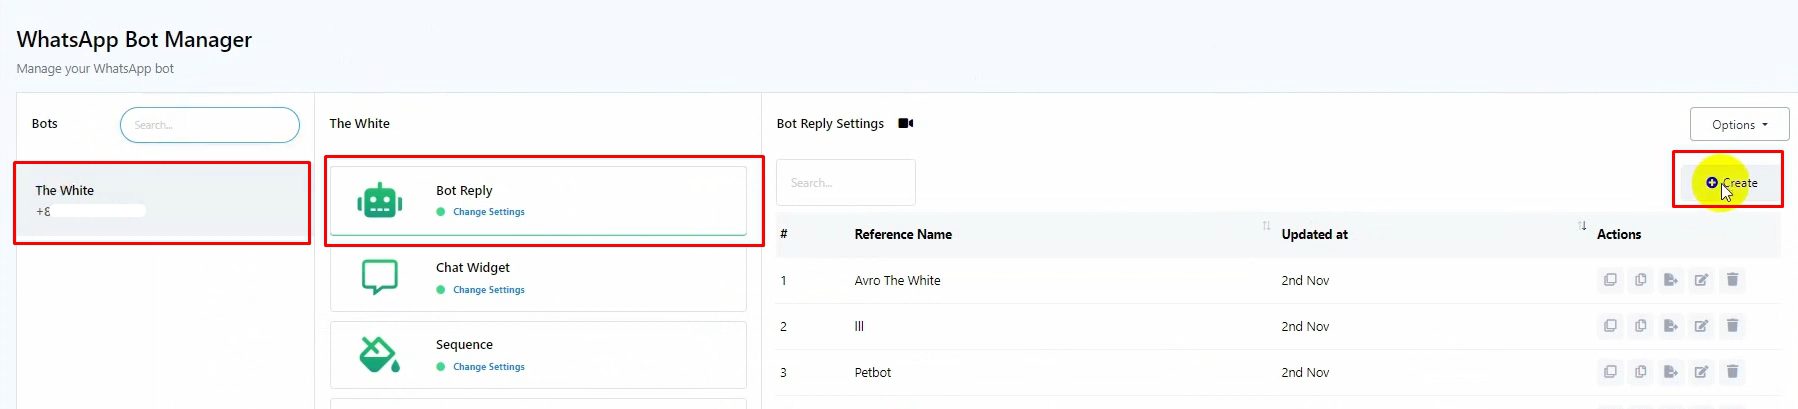
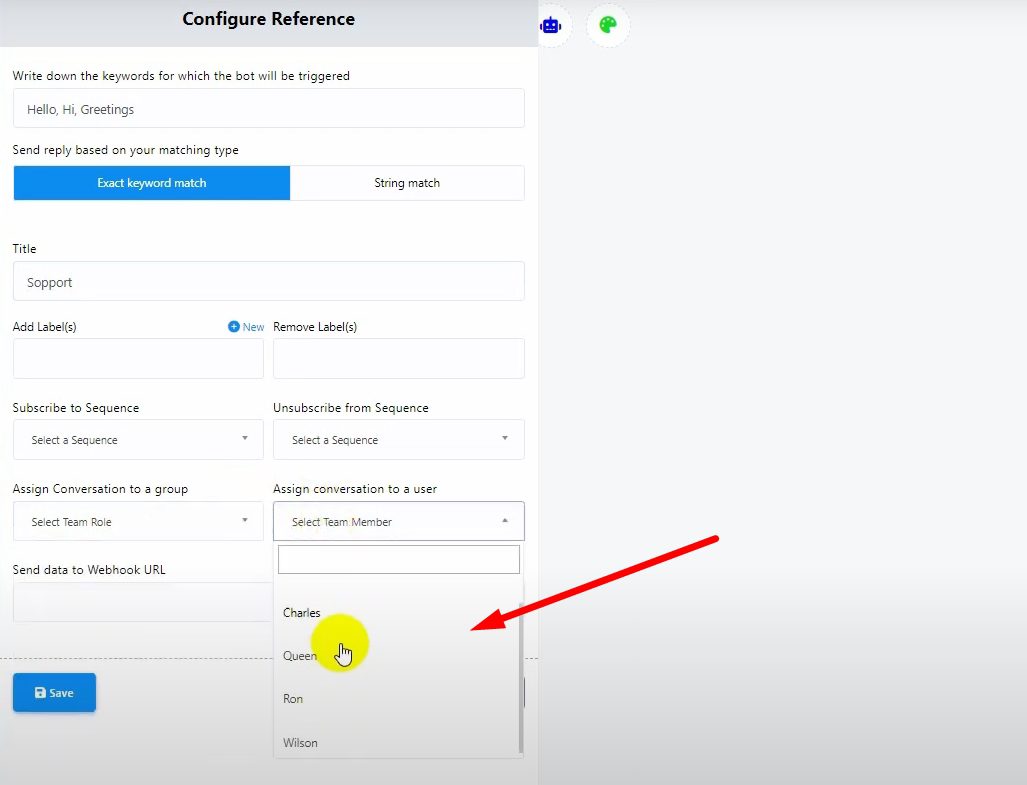
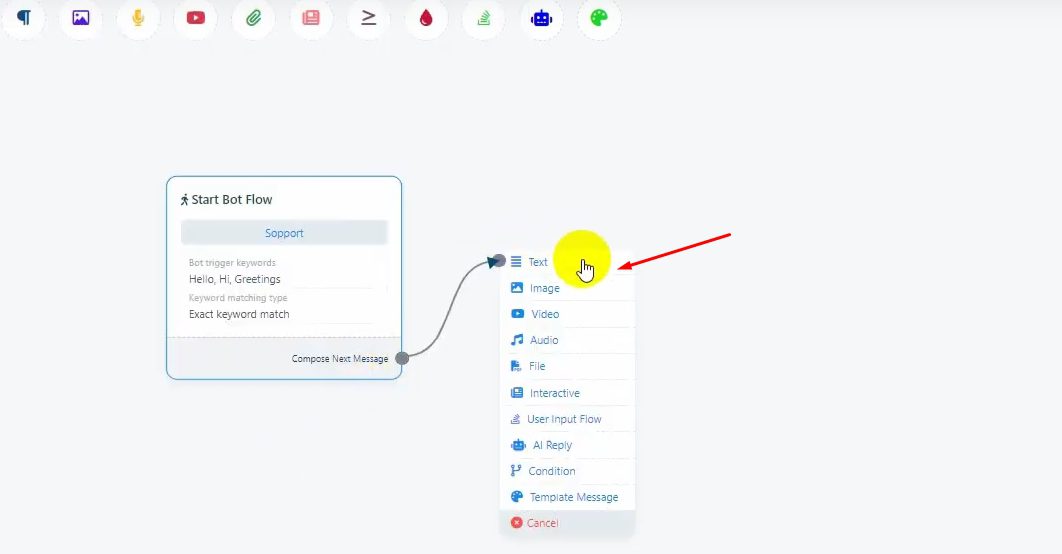
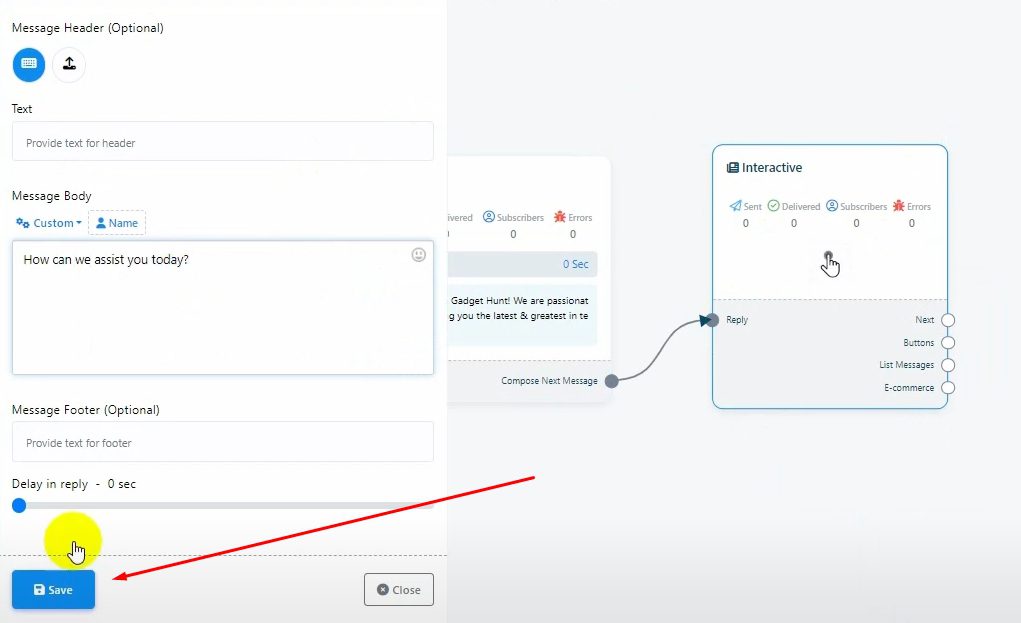
Add trigger words and a welcome message.
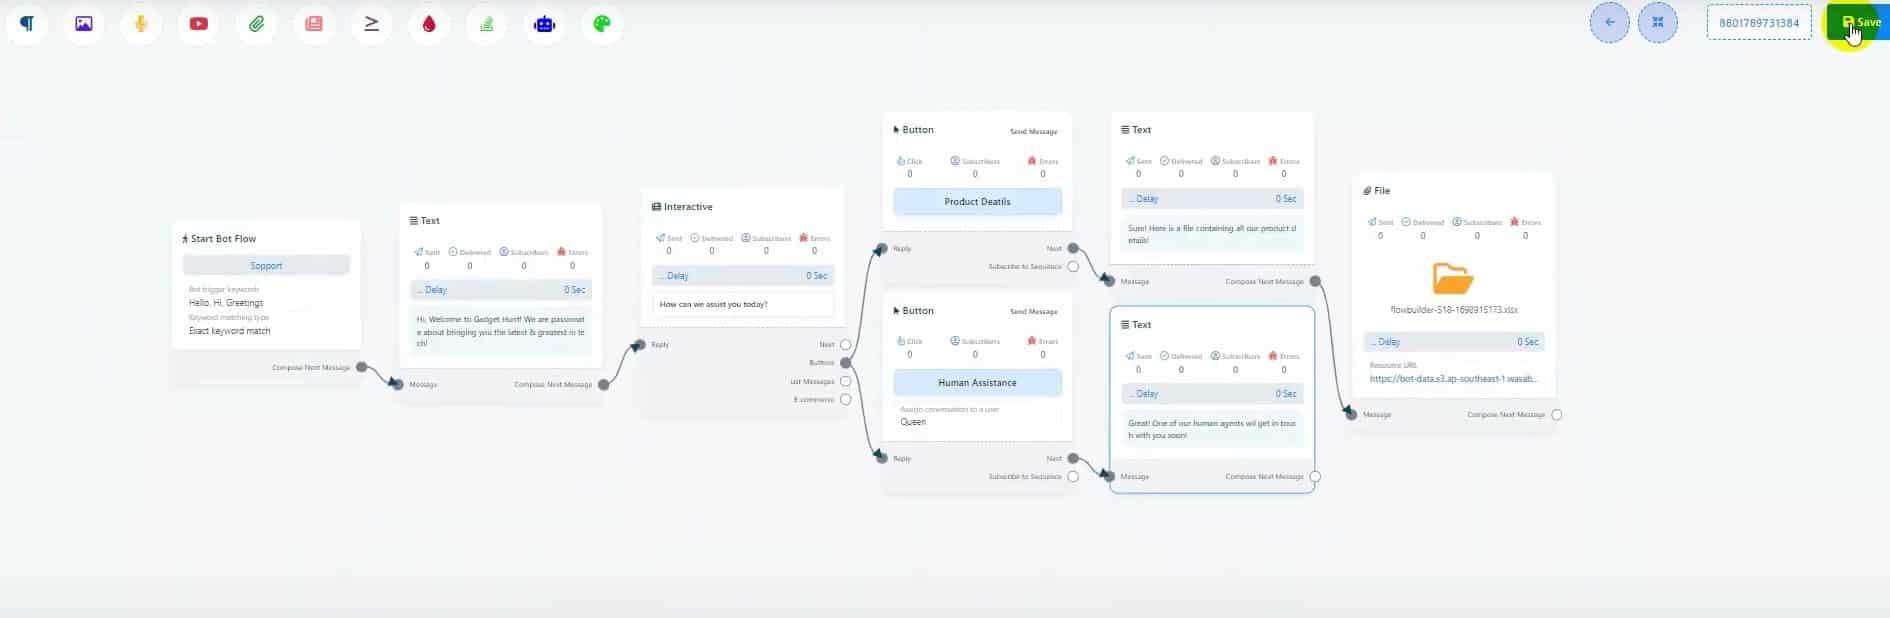
Use the interactive element to create options like “Product Details” and “Human Assistance.”
Assign “Human Assistance” to a specific team member or group (e.g., Queen).
Go to “Action Buttons” and select “Chat with Human.”

Customize the flow and assign to a team or user.
Save changes.
Set Default Action
Navigate to “Configuration.”
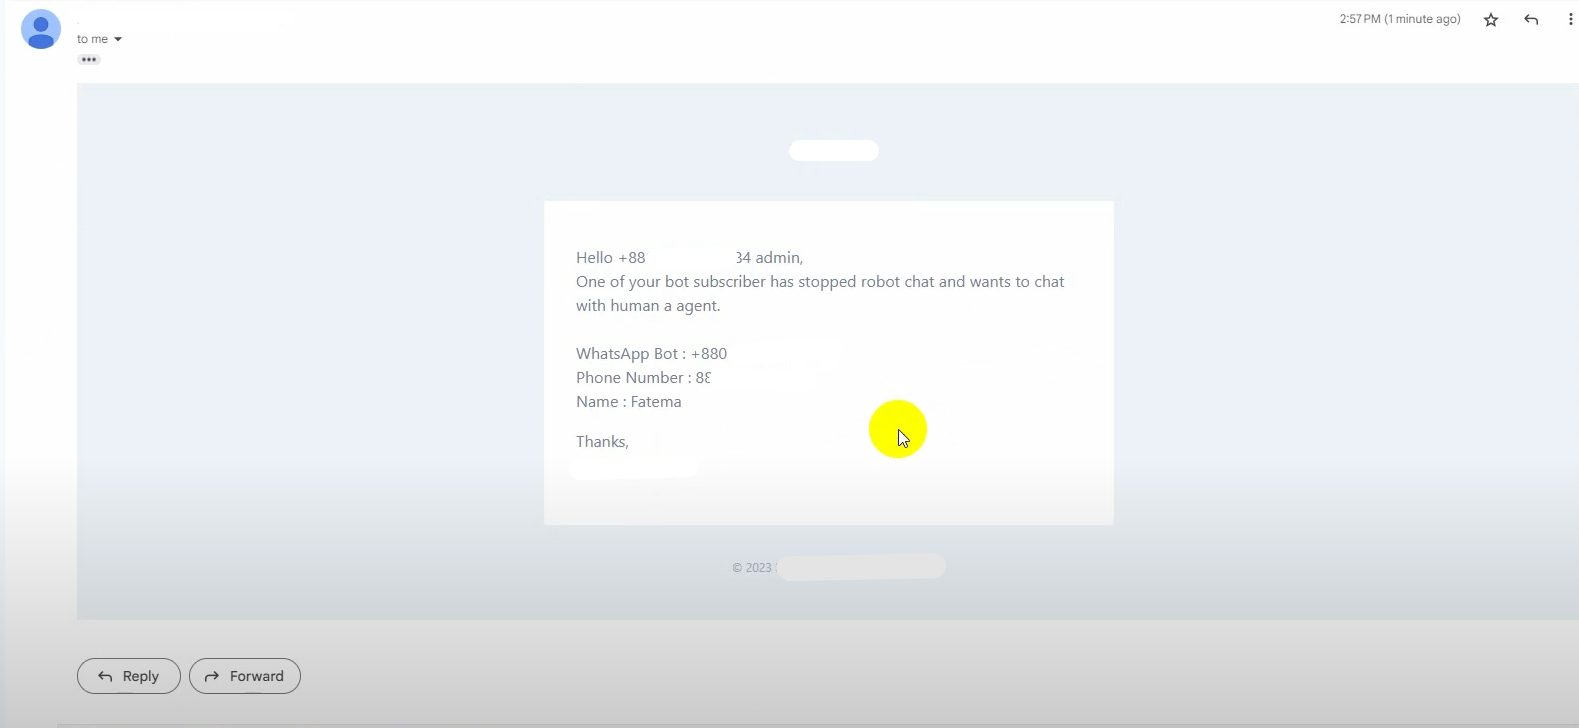
Add an email for chat with human notifications.
Save settings.
Testing the Setup
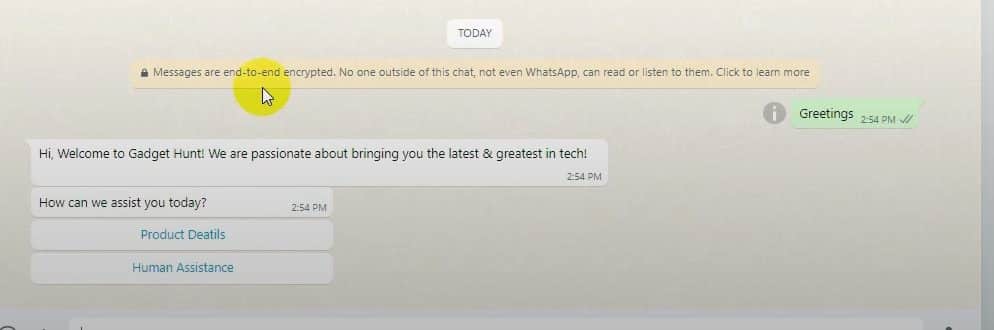
Send a message to the bot.
Choose “Human Assistance” to see the automated response.
Check the team member’s account for the notification.
Resume Bot Reply:
Go to “Subscriber Manager.”


Select the subscriber and click “Resume Bot Reply.”
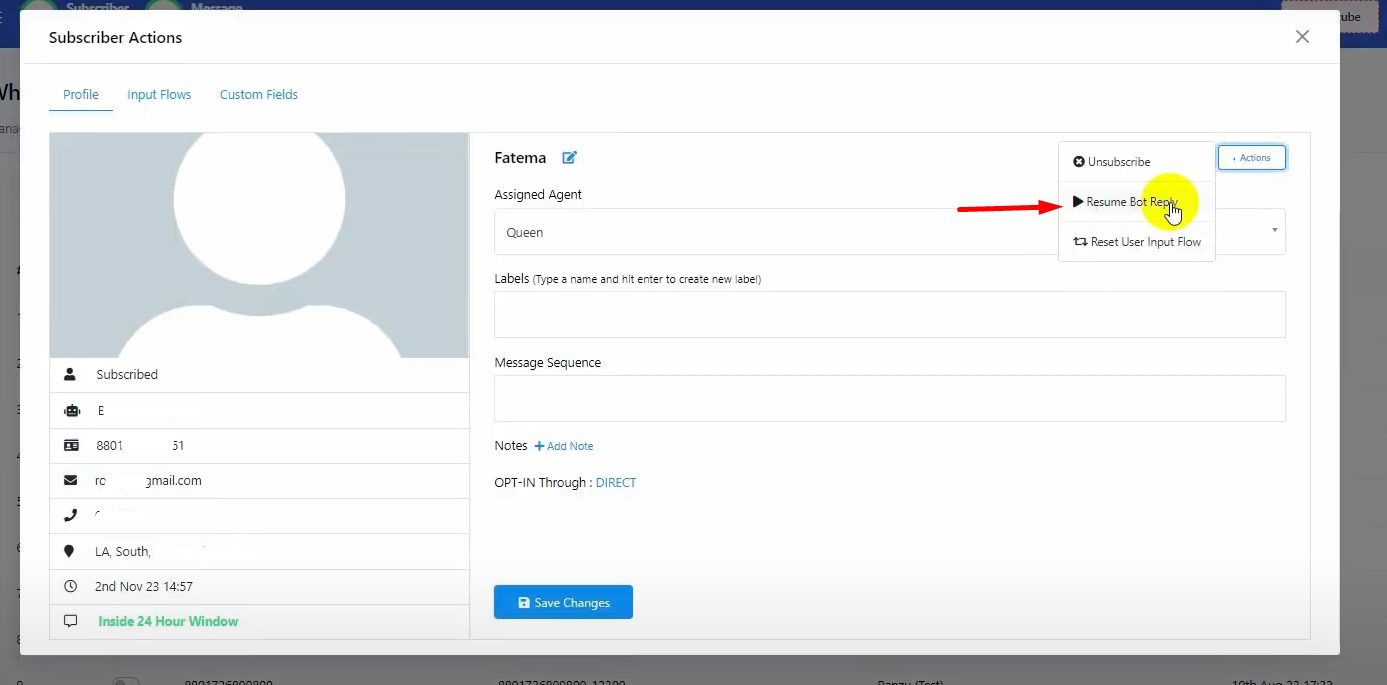
Test the setup by messaging the bot and selecting “Human Assistance.” Ensure the assigned team member gets the notification. Use “Resume Bot Reply” to continue automation. Your configuration is complete!