When you are filling out the Reseller form, you will be asked to provide a domain and point it to our server. It is crucial to complete this step; otherwise, the installation of the app will not be completed.
You can acquire your domain on platforms like Go Daddy, Hostinger and Namecheap. They have different packages that can fit your needs. Once you got it, you just have to point it to our server following the steps below.
It is important to notice that in this example we are using GoDaddy, but you need to replicate the steps with any other provider. Remember, on YouTube, you can find tutorials for your specific provider (for example Hostinger, Namecheap, etc.). Just search in the YouTube search bar: “How To Point Domain To IP [Your Supplier] Tutorial”.
Pointing your domain #
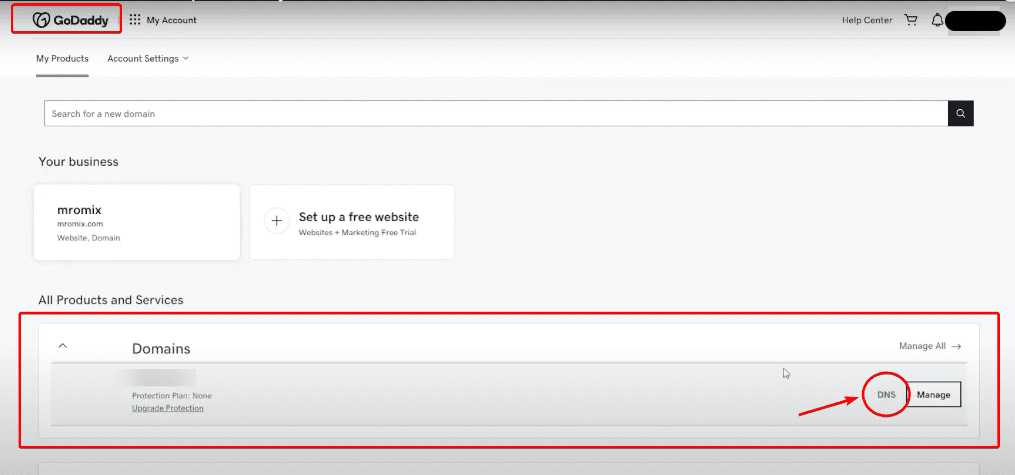
In your GoDaddy account dashboard, navigate to the Domains area and click on DNS.
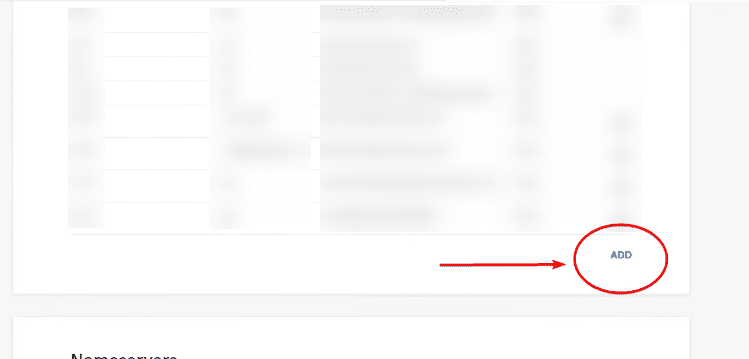
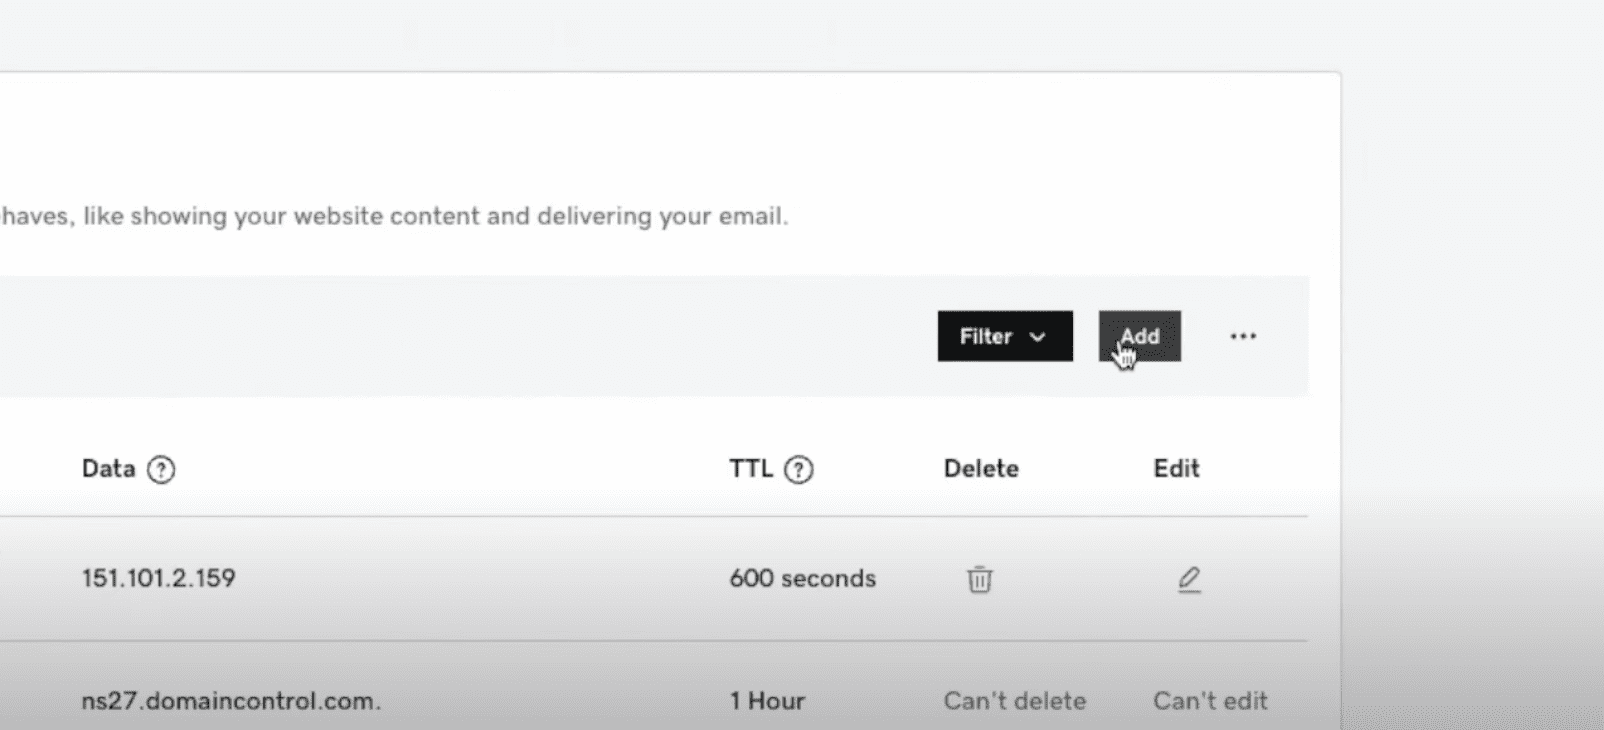
Then, click on “Add” to create a new “Record”.
Select the A Record type. In the Host field, you should enter “@” if you want to point your “full” domain (yourdomain.com) or enter the first part of the subdomain, for example, “app” (if your subdomain is app.yourdomain.com). Typically, you only need to enter the word before the first dot, and the system automatically completes it.
💡 PRO TIP: The DNS zones or domain configurations allow adding A type records for IPv4 or AAAA for IPv6, but we require A type. Some providers add AAAA records by default, which need to be removed.
💡 PRO TIP: If you use Cloudflare, make sure to disable the proxies (orange cloud icon) and SSL certificates.
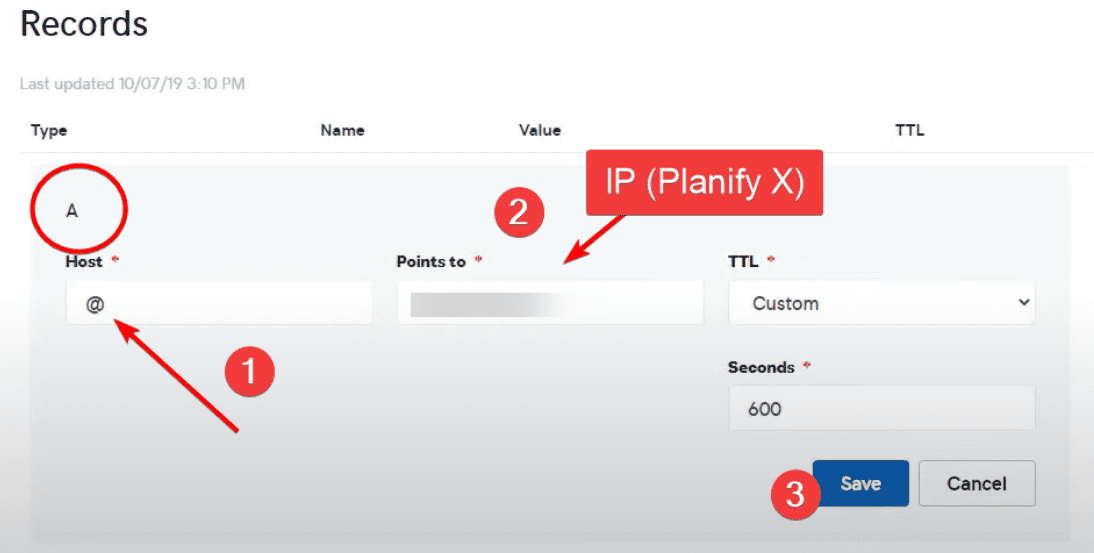
Then, in the “Points to” field, you should enter the IP address provided to you, and finally, click on Save.
💡 PRO TIP: The Planify X IP is the one you receive on the Activation Form after making the purchase.
Ready! This will make your domain point to our servers. Please note that it may take up to 24 hours for it to take effect and propagate across the entire internet.
💡 PRO TIP: Remember, if you encounter any issues during the process, you can contact your domain provider’s support team to assist you with making the change.
Pointing your WhatsApp subdomain #
In addition to your main domain, you will need to create a .wa subdomain to host the WhatsApp tools in your app. It should be formatted as follows: wa.yourdomain.com. Once you have it, here are the steps to point them to our server too.
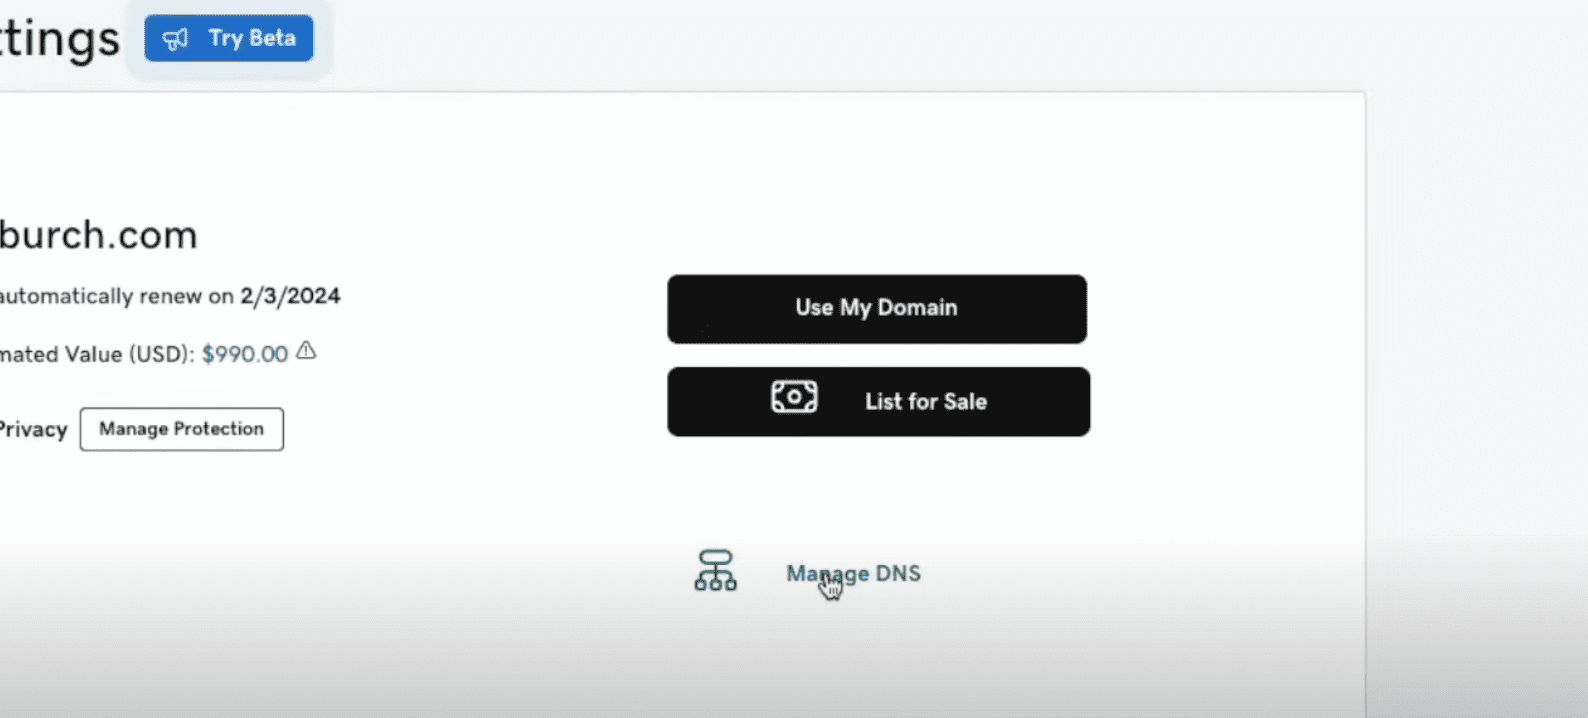
Go to your domain settings and click on Manage DNS.
Scroll to your DNS records and click on Add.
Select the A Record type. In the Host field, enter the first part of the subdomain. In this case, it will be “wa” so your subdomain is wa.yourdomain.com. Typically, you only need to enter the word before the first dot, and the system automatically completes it.
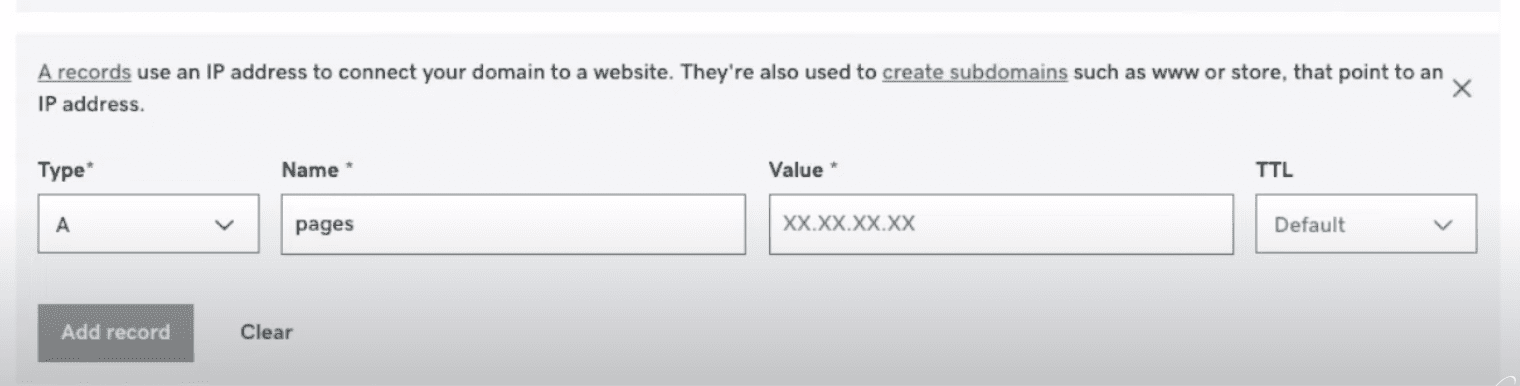
In the Value field, add the Planify X IP Address again and click on Save.
Done! Your subdomain is ready. Remember, you should do this one time for the WhatsApp tools, and two times if you have the Full Access license and wish to include TikTok. Please note that it may take up to 24 hours for these changes to take effect.
💡 PRO TIP: Once again, you can look for the steps of your specific provider on YouTube. Just search in the YouTube search bar: “How To Point SubDomain To IP [Your Supplier] Tutorial”.